This guide will tell you everything you need to know about the Manaan daily area that was released with SWTOR Update 7.1, including solo missions, heroics, achievements, and reputation rewards!
Table of contents
How to access the Manaan Daily Area
The Manaan Daily Area and the story arc related to it are only available after you complete the 7.0 story, which means you have to finish the main story on Manaan, released with Legacy of the Sith. And you need to do this on every character individually.
What you can do in the Manaan Daily Area
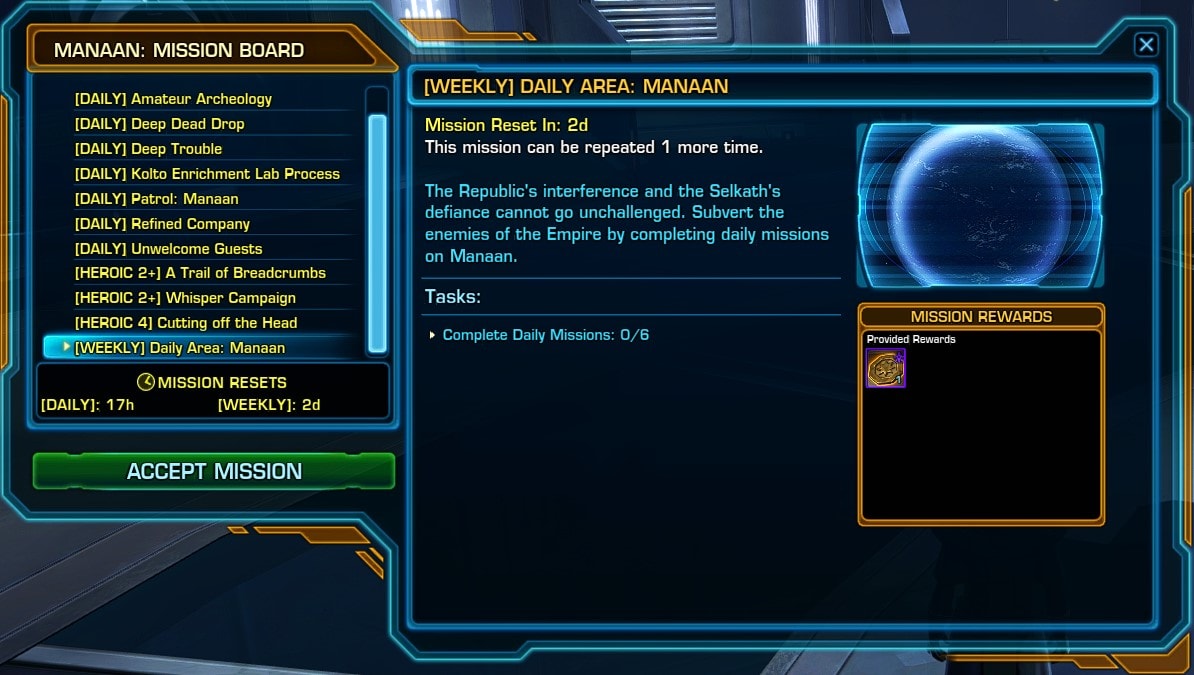
Manaan has 1 weekly, 1 patrol daily, 6 solo dailies, and 3 heroics. The weekly mission just requires you to complete 6 missions in the Manaan daily area, so any combination of the 9 missions will work.
Since the adds in the heroic area have more health and 2 of them feature a mini-boss at the end, you’ll be better off just sticking to the solo missions if you are concerned about speed.
Unfortunately, BioWare opted to not make each heroic count as 2 missions towards weekly progress, so there will be little incentive to do them outside of achievements and potentially reputation grinding.
The heroics themselves are soloable, even the H4, but the entire daily area will likely feel a bit more difficult than you’re probably used to because the enemies are actually level 80. You aren’t able to benefit from level sync making you more powerful on lower-level planets.
It’s definitely not ridiculous, it’s just a little bit of a jump in terms of enemy health and damage output similar to how Ossus and Onderon dailies are a bit harder than what you’ll find in CZ-198, Black Hole, etc.
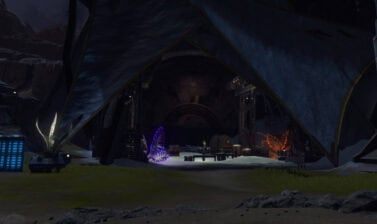
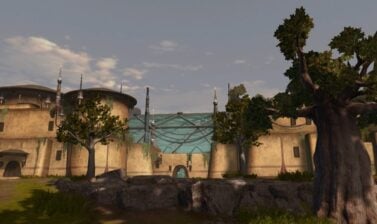
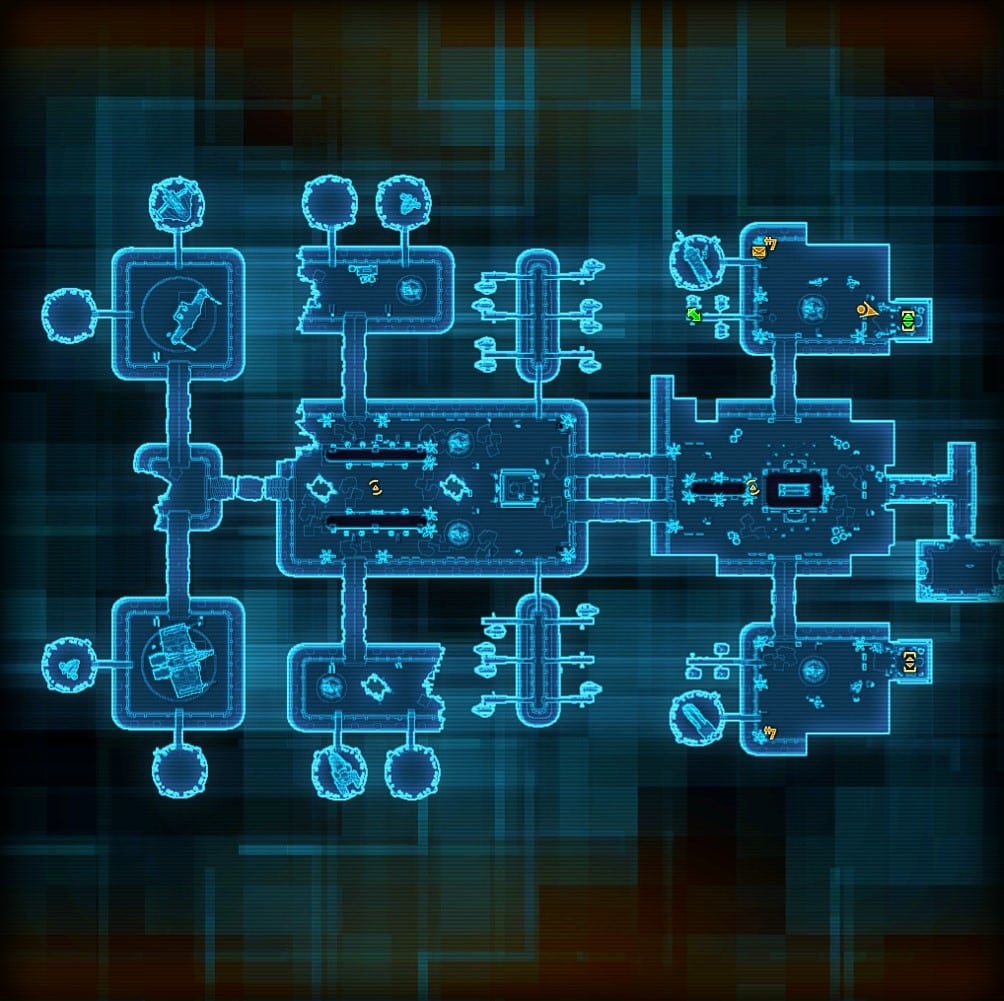
Manaan Daily Area Regions
Manaan features several completely distinct regions that you’ll mostly have to QT or taxi between. In this way, it’s kind of like how you zip around Ossus, especially with the missions at the Jedi Temple, but we haven’t ever seen a daily area this disconnected in SWTOR.
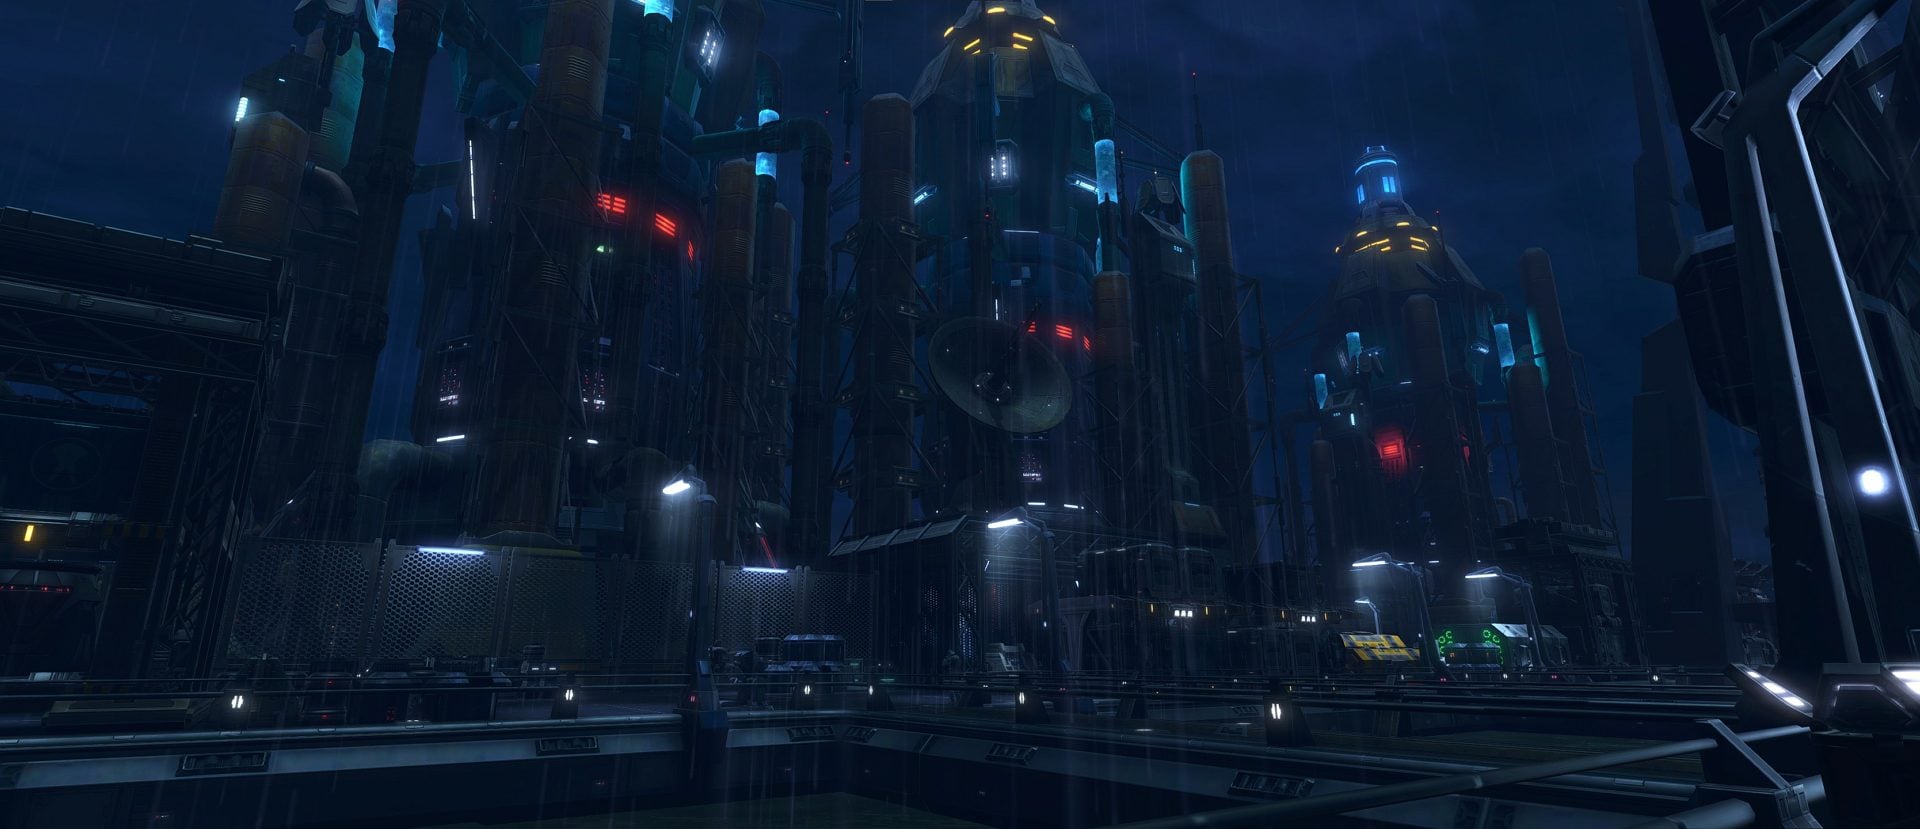
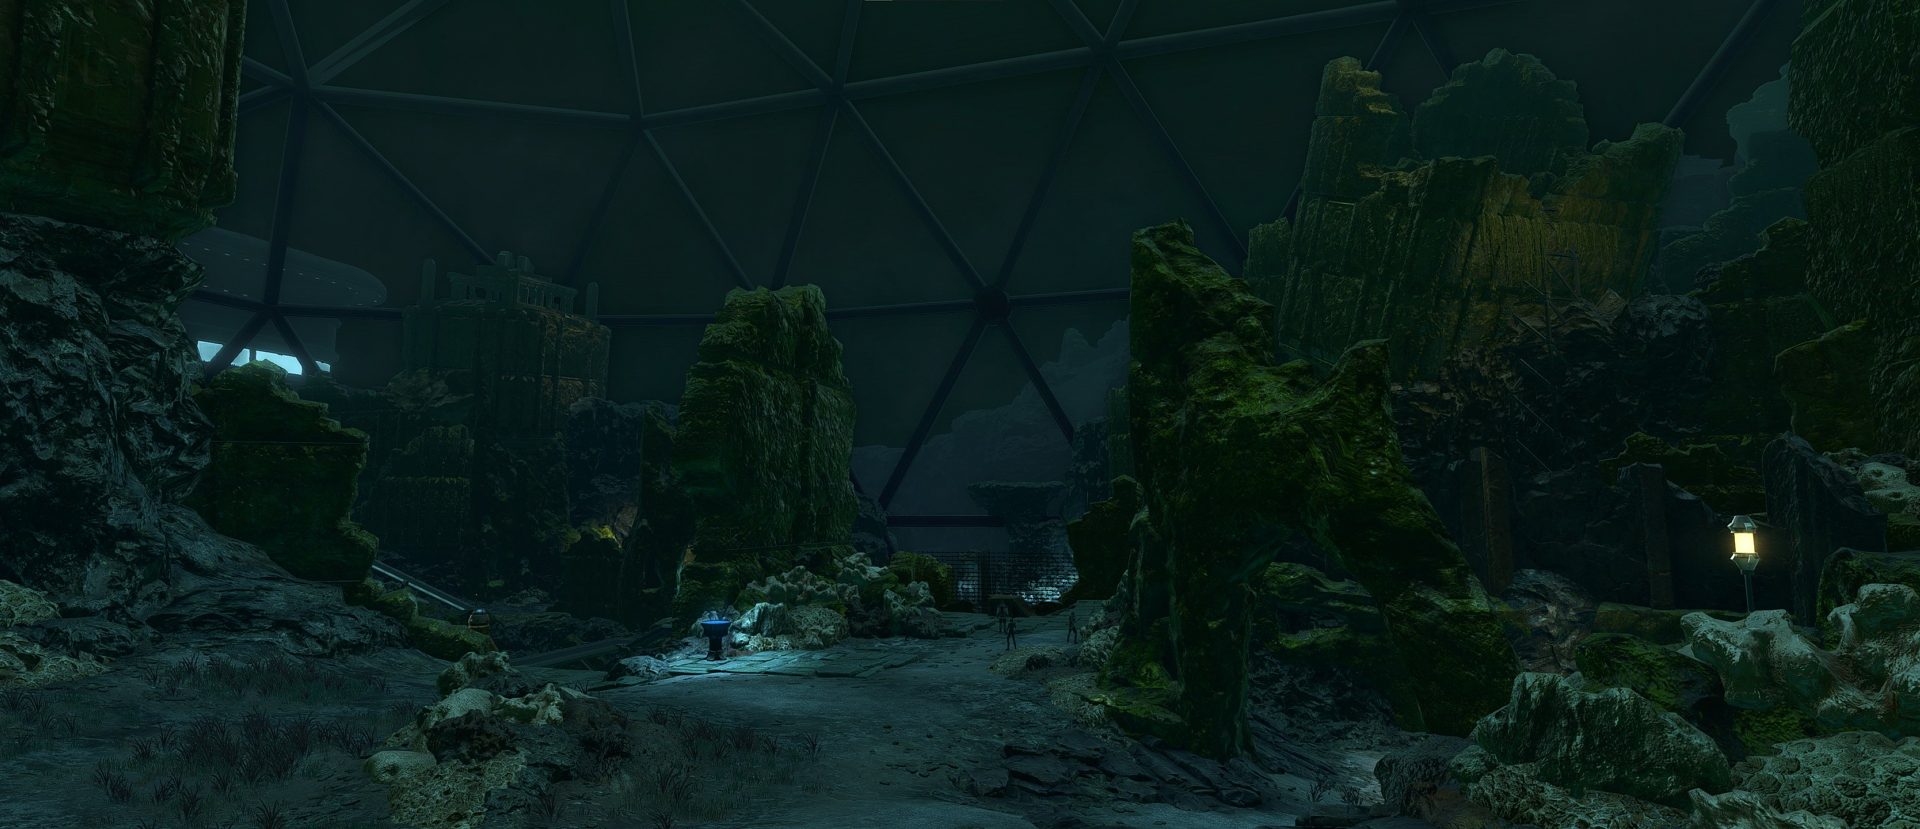
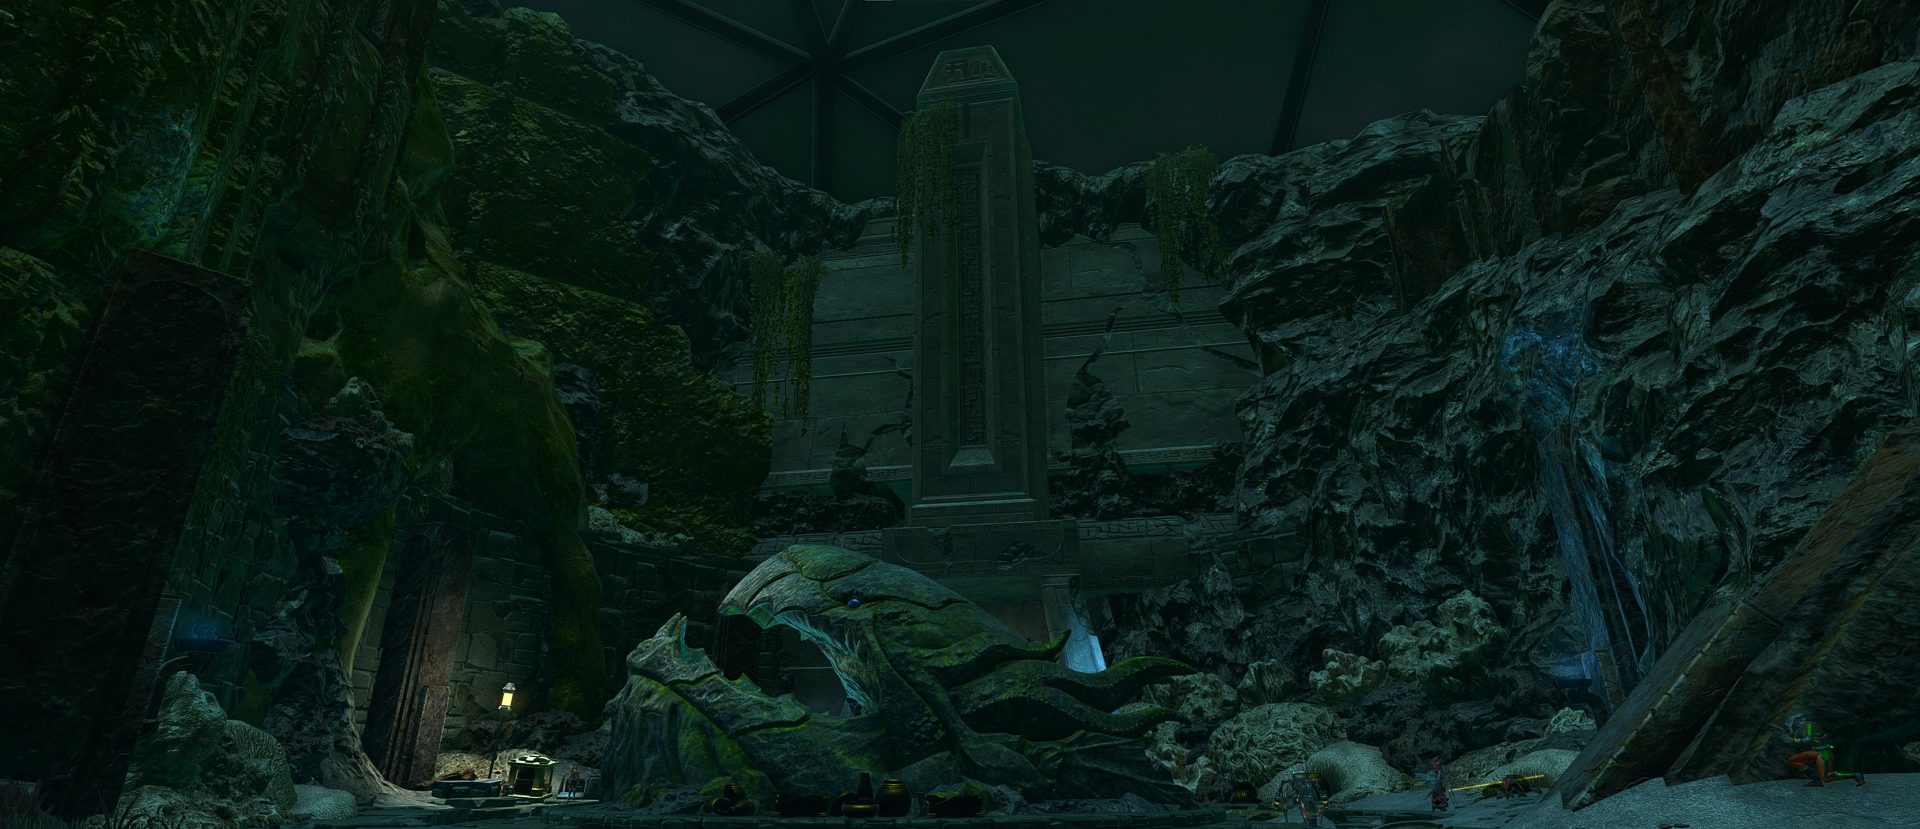
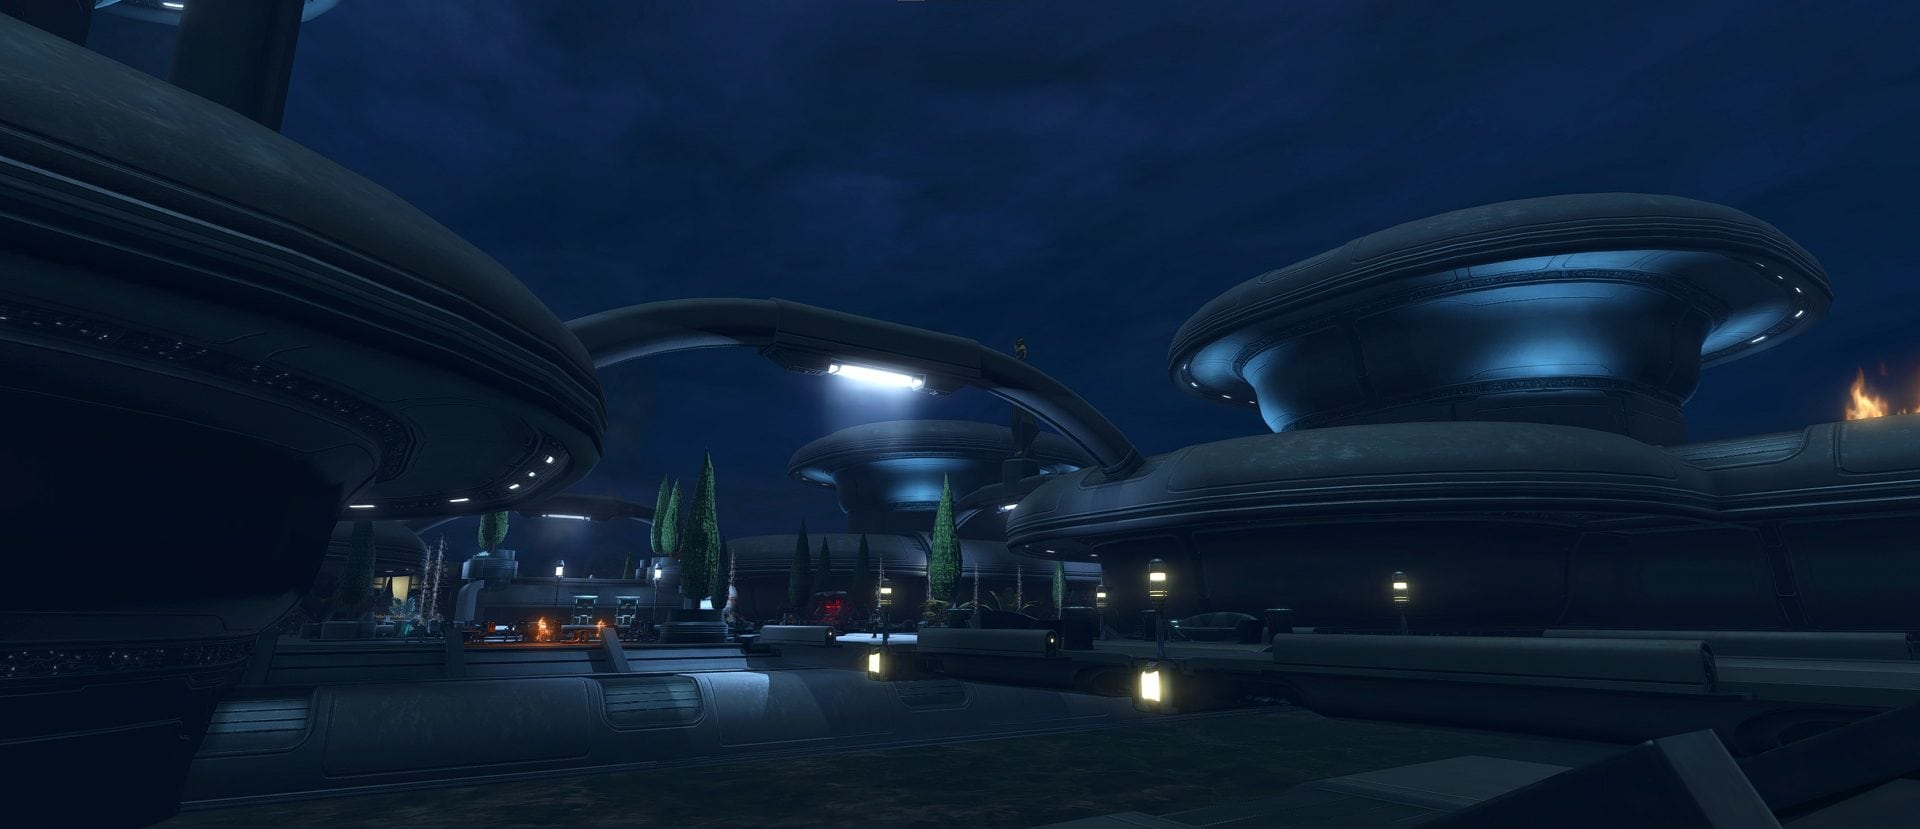
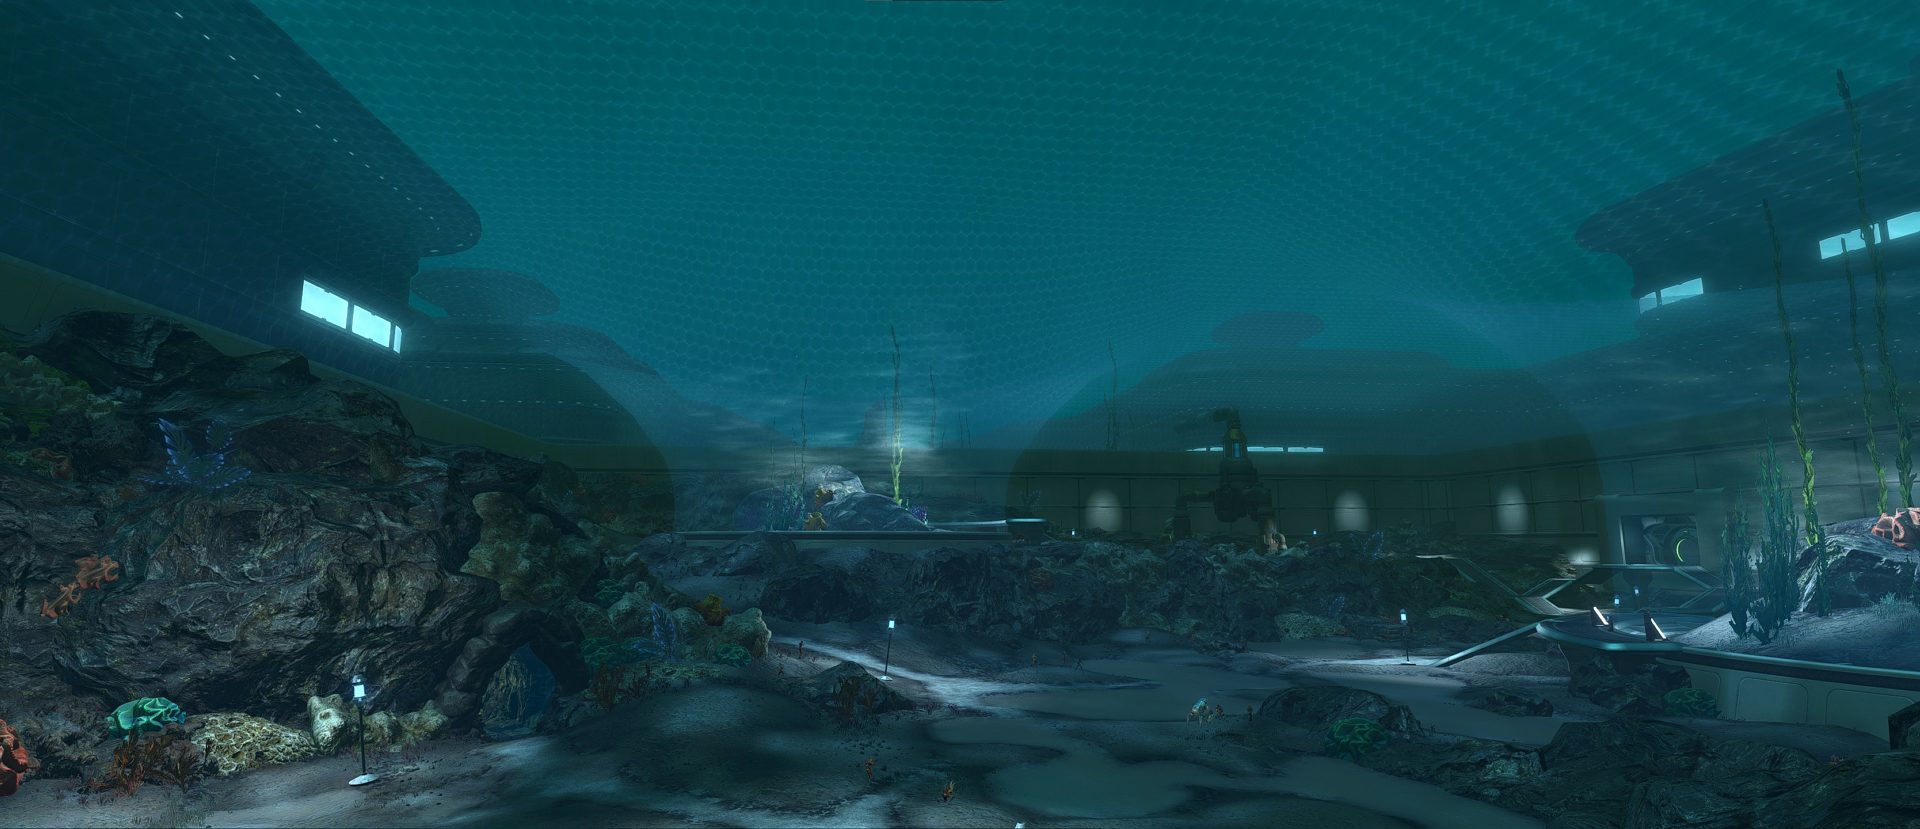
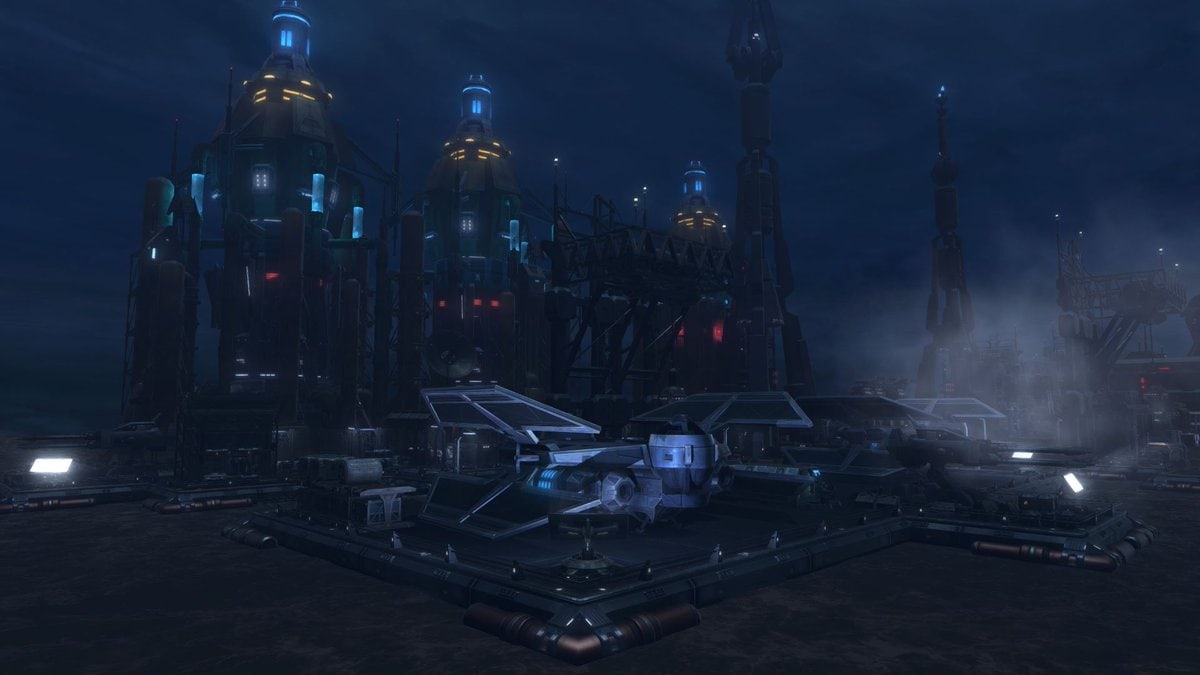
The only two regions that are physically connected are the Public Arrivals Port and Undersea Visitor’s Dome via a couple of elevators. The other 2 regions are the Imperial Kolto Refining Platform and Ancient Selkath City.
Most of the solo missions are at the Ancient Selkath City, but you’ll still need to visit the Public Arrivals Port and Imperial Kolto Refining Platform because they each have a dedicated mission. The Public Arrivals Port and Undersea Visitor’s Dome houses all 3 of the heroics.
Solo Mission Walkthroughs and Tips
The solo missions are pretty straightforward for the most part. Defeat these enemies, loot this specific thing from this type of enemy, click this blue thing, etc. There are only two missions I found to be a bit confusing at first, though I’ll update this section if I see comments for confusion about other parts.
Deep Dead Drop / Vital Intelligence
This mission has two components. First, you have to defeat Selkath until one of them drops a code cylinder (this will automatically progress the mission).
Second, you have to use the provided Seeker Droid on the piles of artifacts surrounded by yellow caution holotape. The mission is over once you’ve found the dead drop.
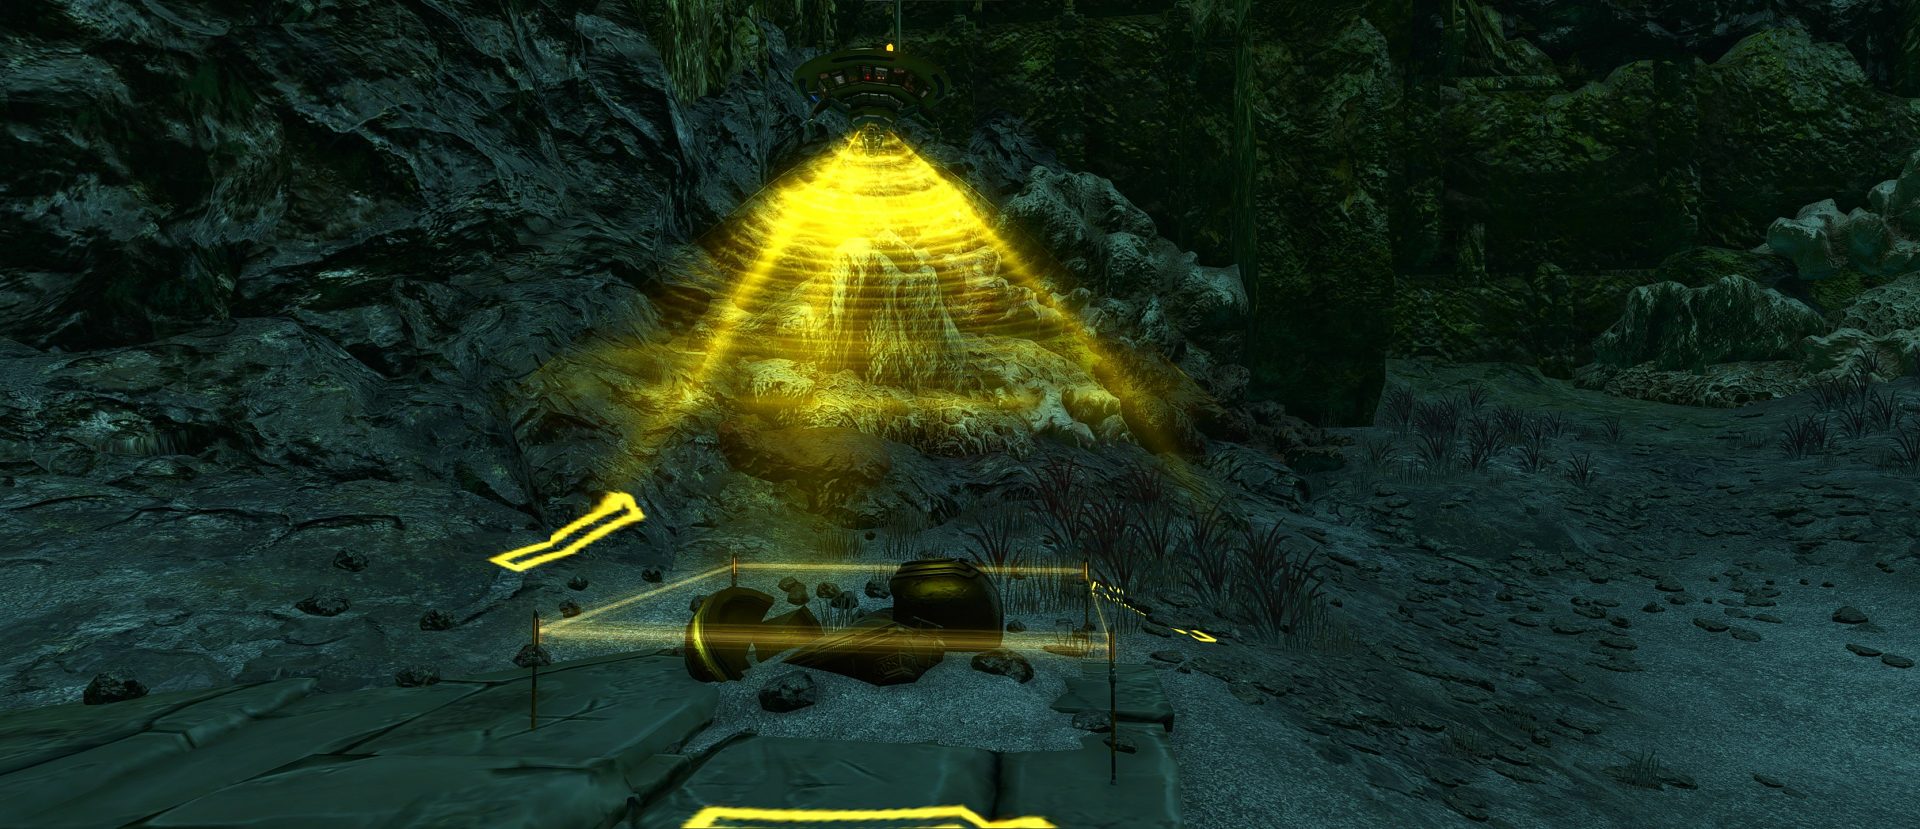
Keep defeating Selkath in the Ancient Selkath City until you can use the provided Seeker Droid and keep using said Seeker Droid at the artifact piles until you find the dead drop.
Kolto Enrichment Lab Process
Your job is to enrich a sample of kolto. First, you have to click on a little panel next to the fancy container, then you’re tasked with adjusting the temperature and pressure several times.
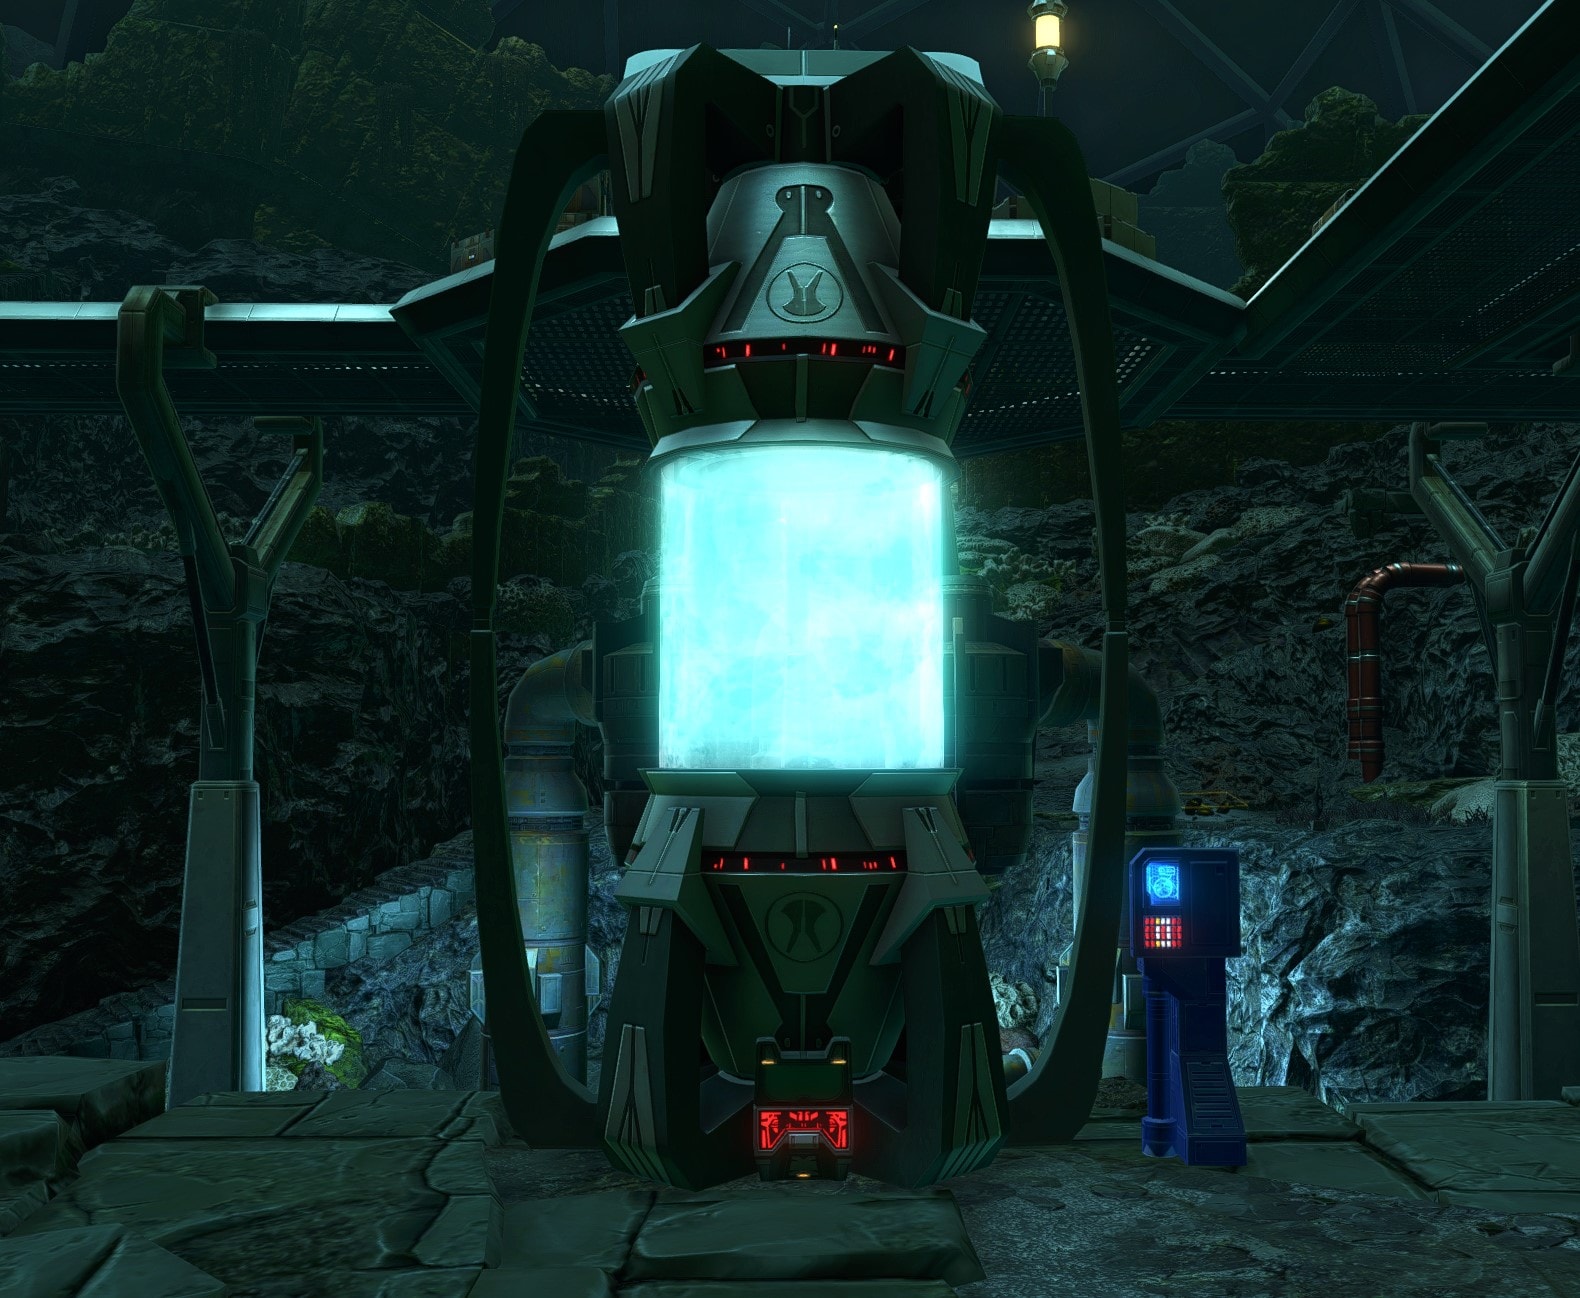
The two temperature adjustments are inside the pool of kolto while the pressure adjustments are on the bank of the lagoon. You don’t have to worry about which one is which, just click whichever is blue and you’ll be fine.


The actual adjustments seem to be random each time and can repeat, but the overall process resembles the cooking missions for the Feast of Prosperity event.
Once the kolto has been enriched, thanks to your hard work, don’t forget to go back up to the container where you clicked the first panel and retrieve a sample.
Recommended Path for the Solo Dailies
I recommend starting at the Imperial Kolto Refining Platform or Public Arrivals Port because defeating enemies is one of your missions and you have to click a console at the back.
This approach is by no means essential, but it enables you to focus more on the dedicated missions in the Ancient Selkath City and allows you to be done completely by the time you reach the bottom of that area.
If you opt to do the Ancient Selkath City first, you’ll potentially not have a reason to actually defeat the enemies on the way to the console, making the whole thing feel more like a slog.
Heroic Missions Walkthroughs and Tips
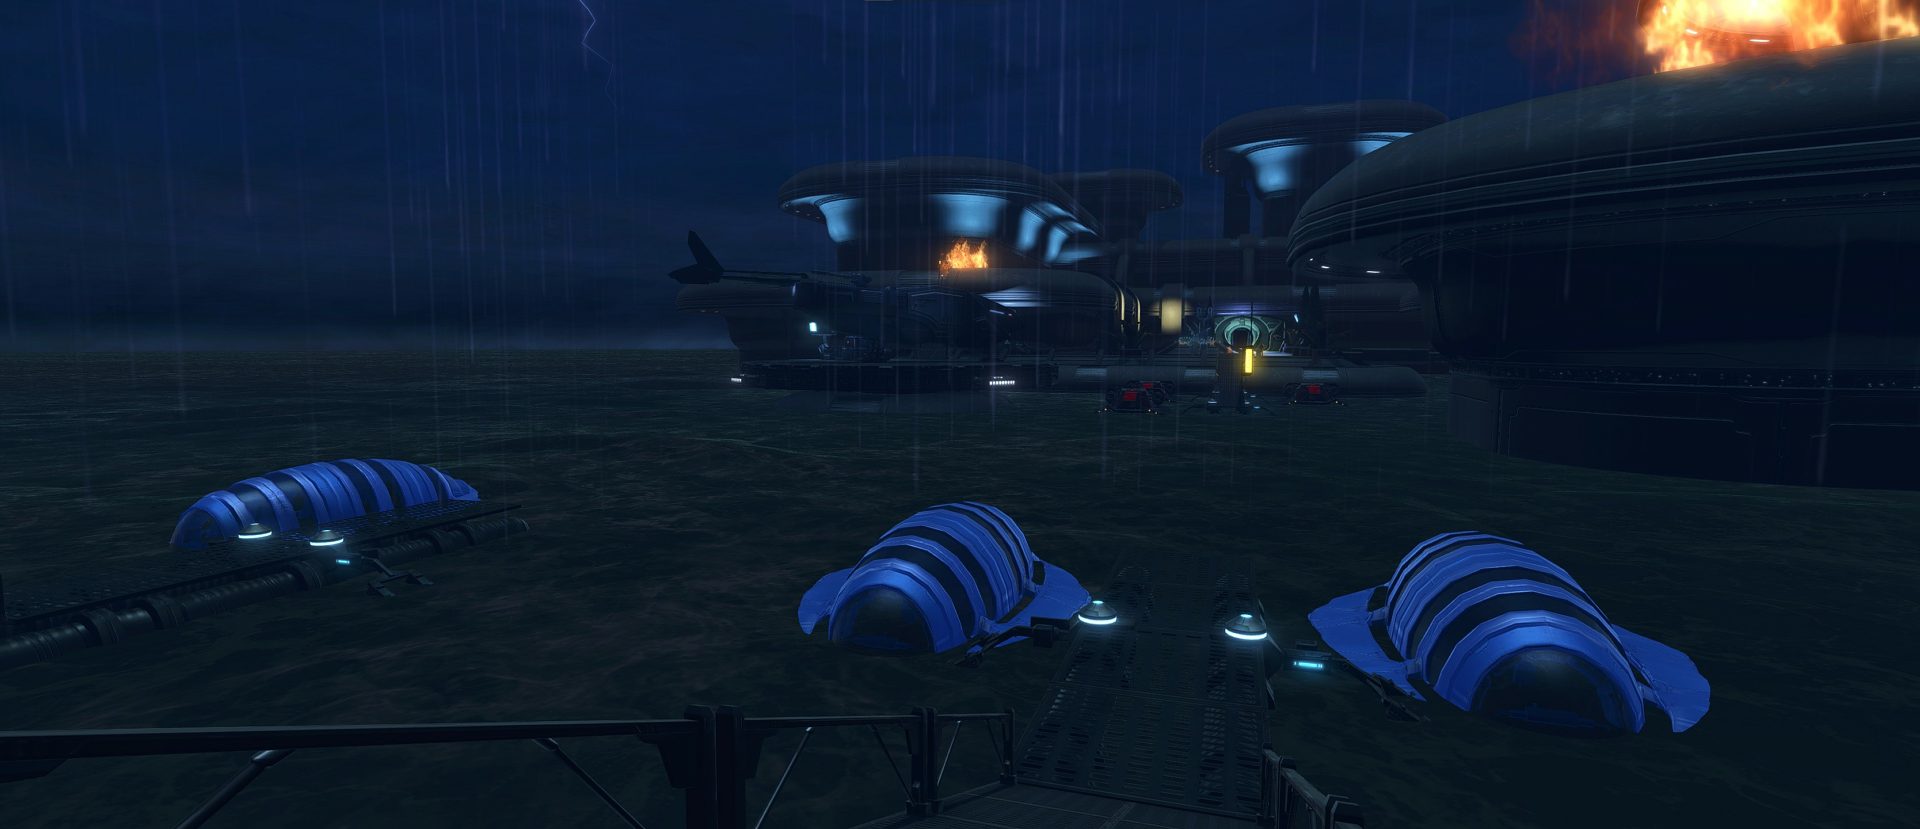
As I mentioned before, all the heroics take place at the Public Arrivals Port and Undersea Visitor Dome. All of them are soloable, though you’ll probably have a bit of trouble with the final boss of the H4, similar to other H4 bosses in the game.
Your first objective is to head towards the pier with all the submarines you’ll need to scan. Not all of the docks have two submarines, so if you want to save a bit of time, make sure you go to a dock that actually has two so you only have to travel between 2 instead of 3.
After they’re scanned, you’ll need to use Macrobinoculars that are provided for you to connect with a communications relay or something out in the ocean. The waypoint on your map would suggest you need to fight your way through a bunch more enemies to scan it with your Macrobinoculars, but you can see the pole from the submarine pier just fine.
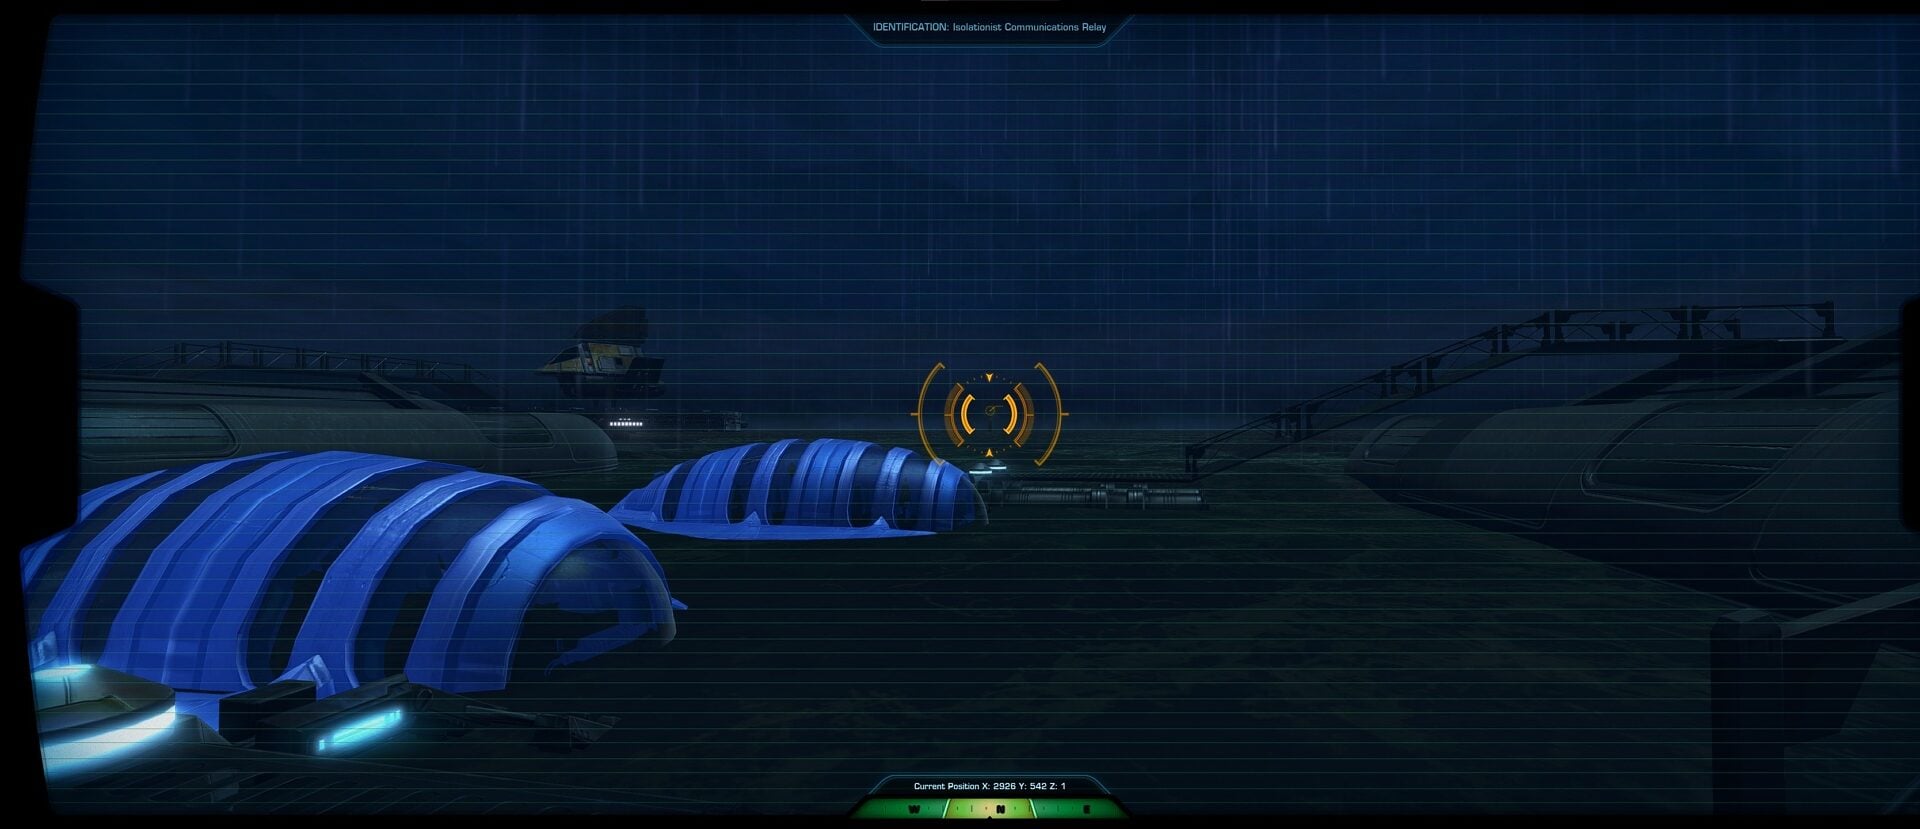
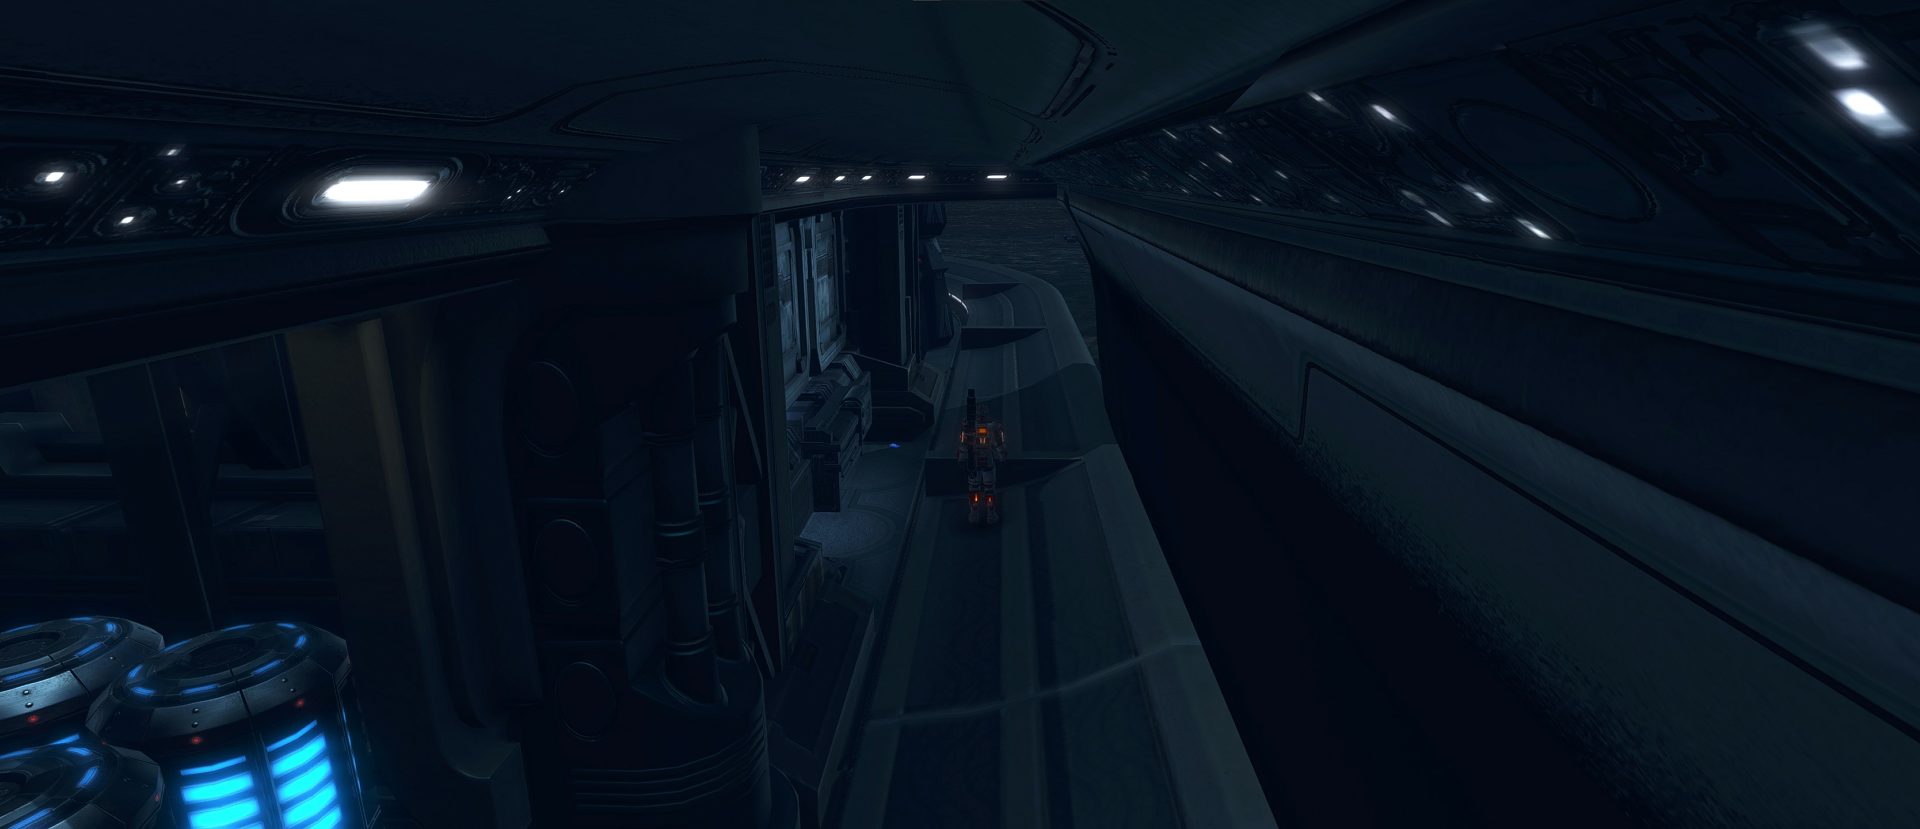
At this point, you should be done with the missions on the surface and should be ready to head to the Undersea Visitor Dome.
It’s a bit faster to Quick Travel back to the Public Arrivals Port Quick Travel point because the elevator to the Undersea Visitor Dome is nearby.
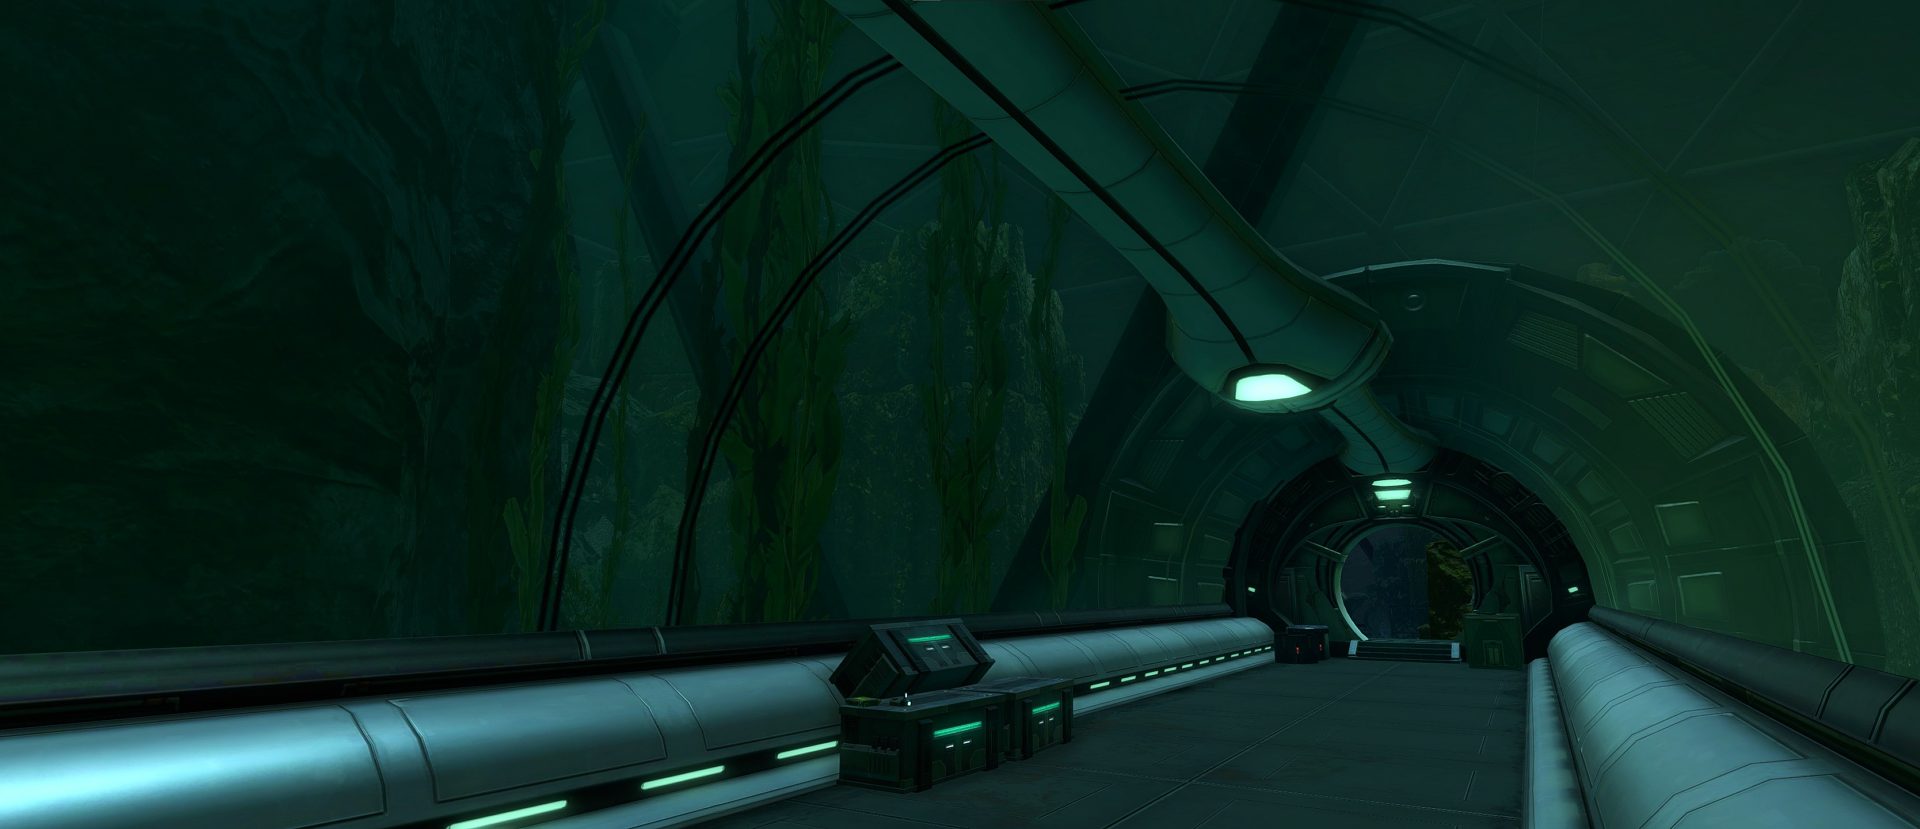
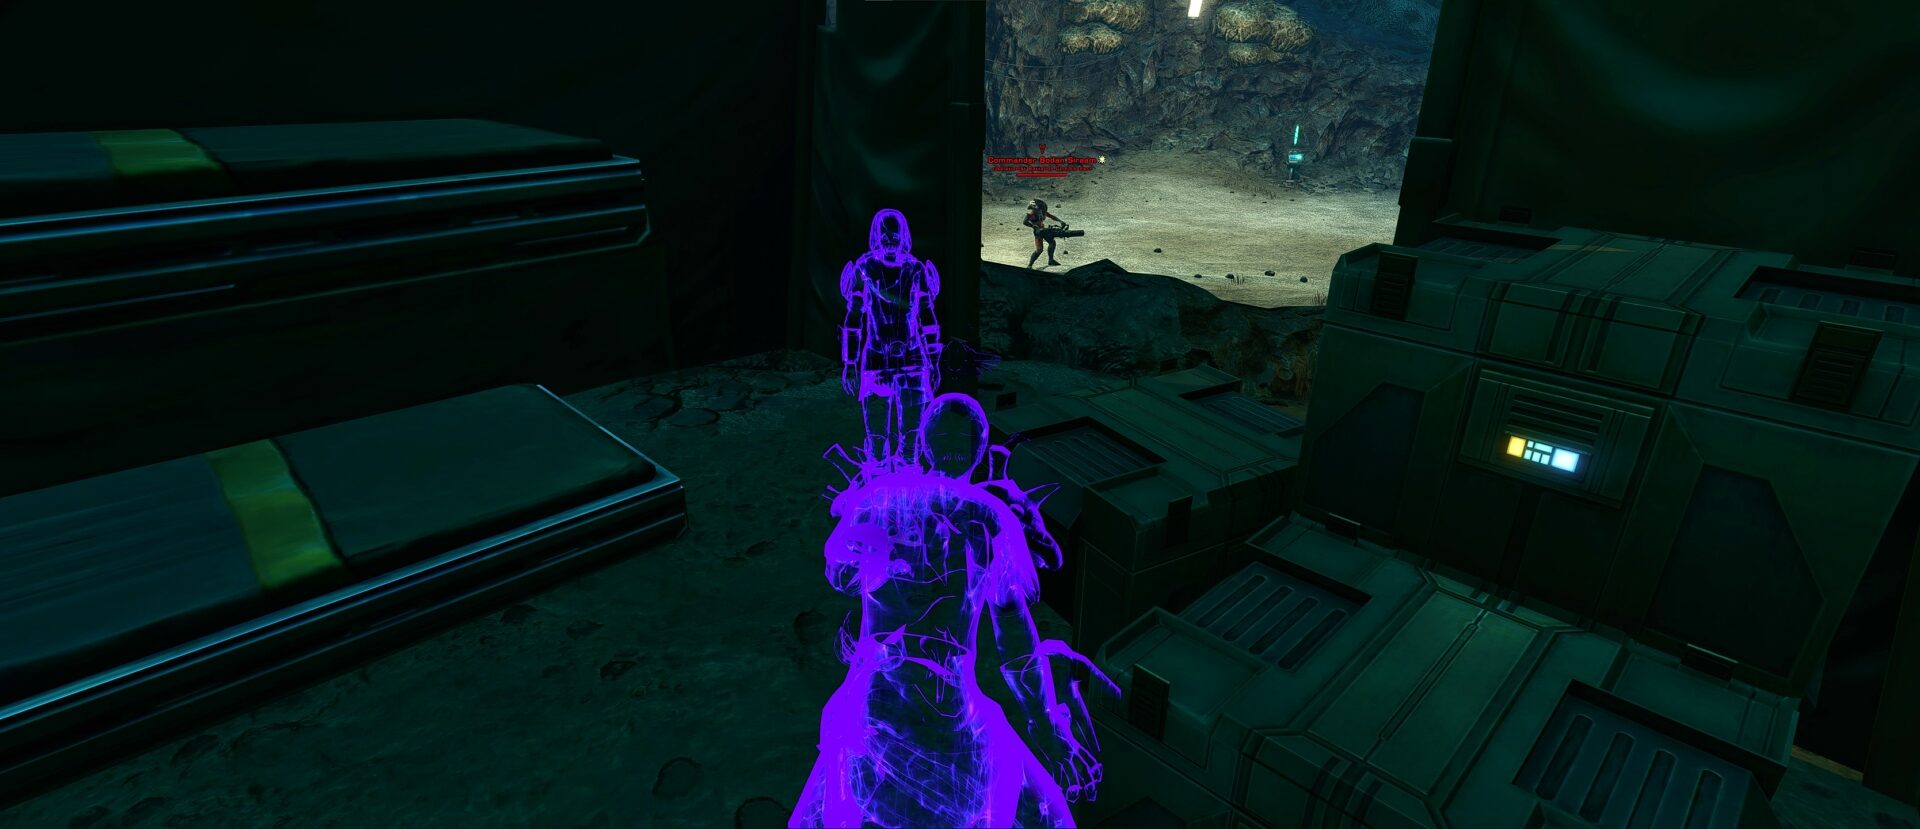
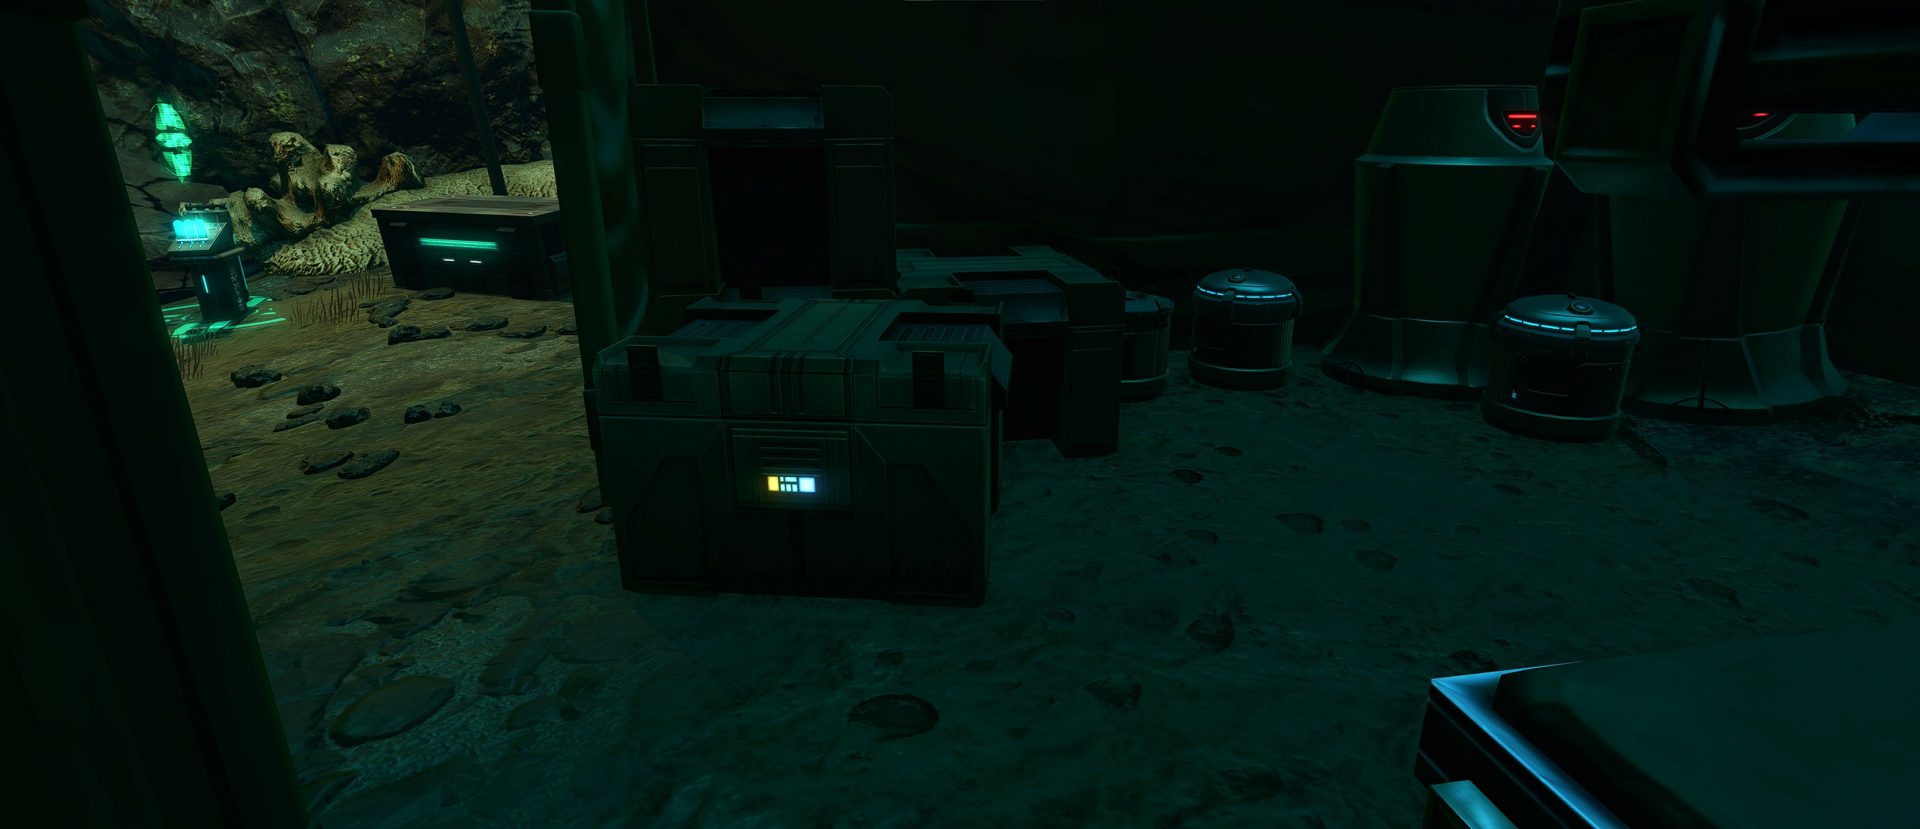
Once you’re underwater, there’s no need to actually fight any of the enemies; you just need to click on 5 of the glowing blue crates.
As a stealther, keep an eye out for crates where only 1 enemy is near the crate and is sleepable. The crates become clickable pretty quickly, so you only need to find a few nearby.
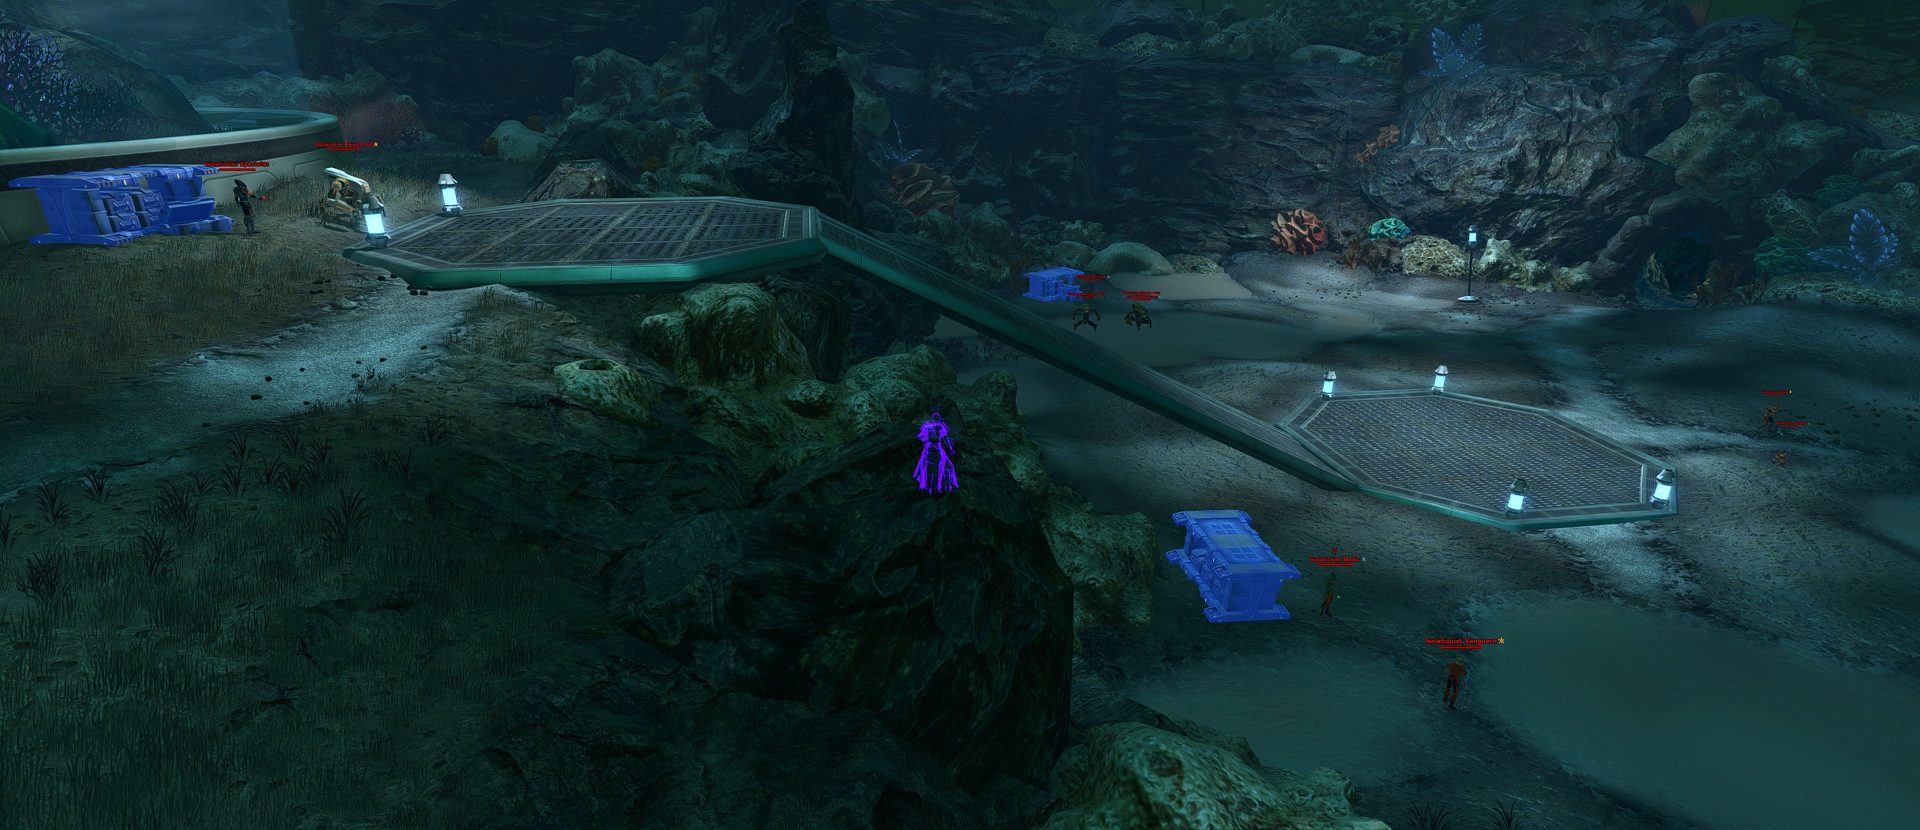
Try to stay near the cave since you’ll be heading there afterward. You need to click all the crates to unlock one of the phases in the cave.
The cave has a fork in it with each path leading to a different phase that has a mini-boss fight. The left fork has the H2 boss in it while the right fork has the significantly harder H4 boss.
Heroic 2+ Boss
This enemy has a couple of mechanics. They will summon adds a few times that can quickly be AoE’d down. The boss has a couple of casts, all of which are interruptible.
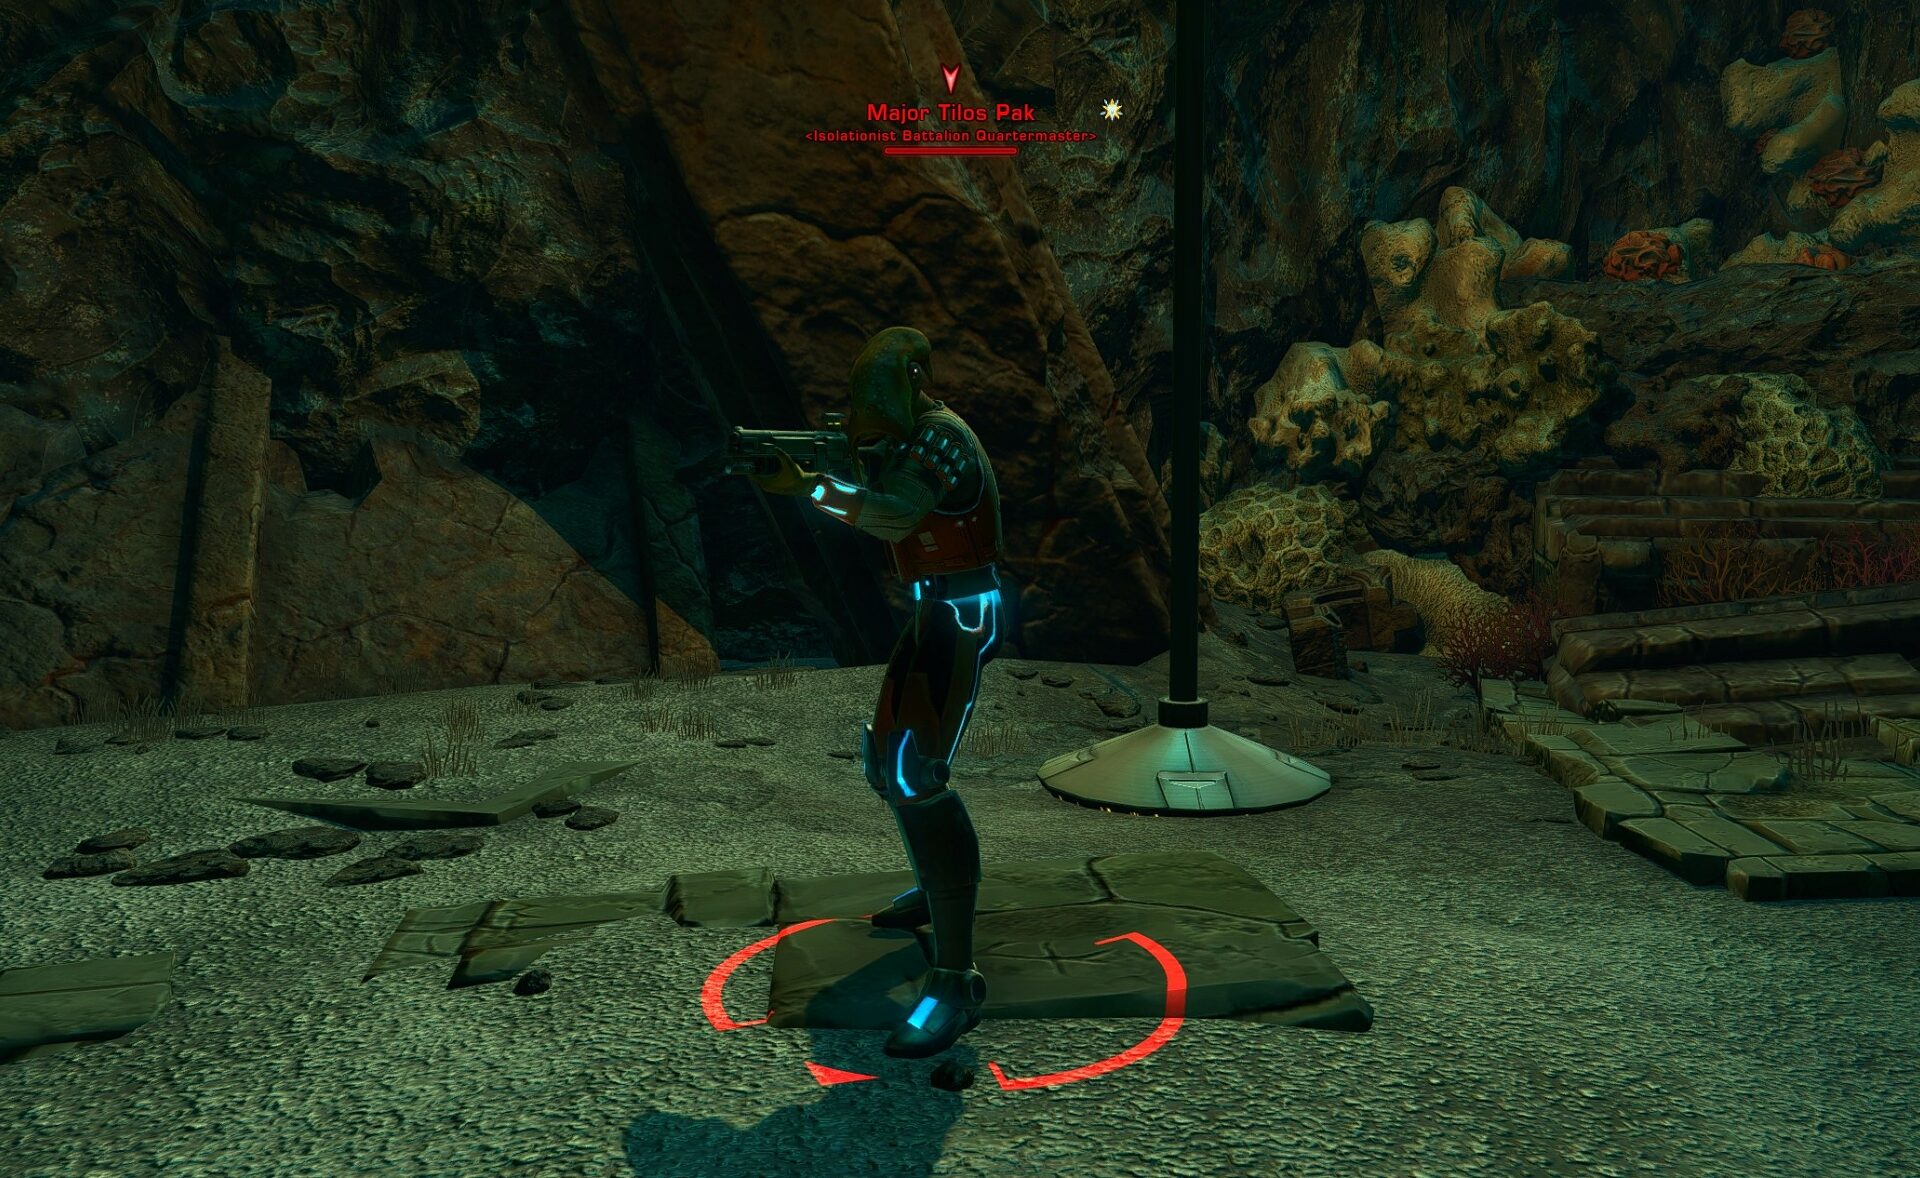
I recommend saving your interrupt for attacks besides the one where there’s a conal telegraph on the ground because you can just move out of that one; it doesn’t track as you move.
Otherwise, just use your interrupt on cooldown and use DCDs for casts you can’t interrupt and against adds.
Heroic 4 Boss
This boss hits pretty hard and summons 5-6 adds at a time at regular intervals. If you don’t deal with them in a timely manner, you will be overwhelmed.
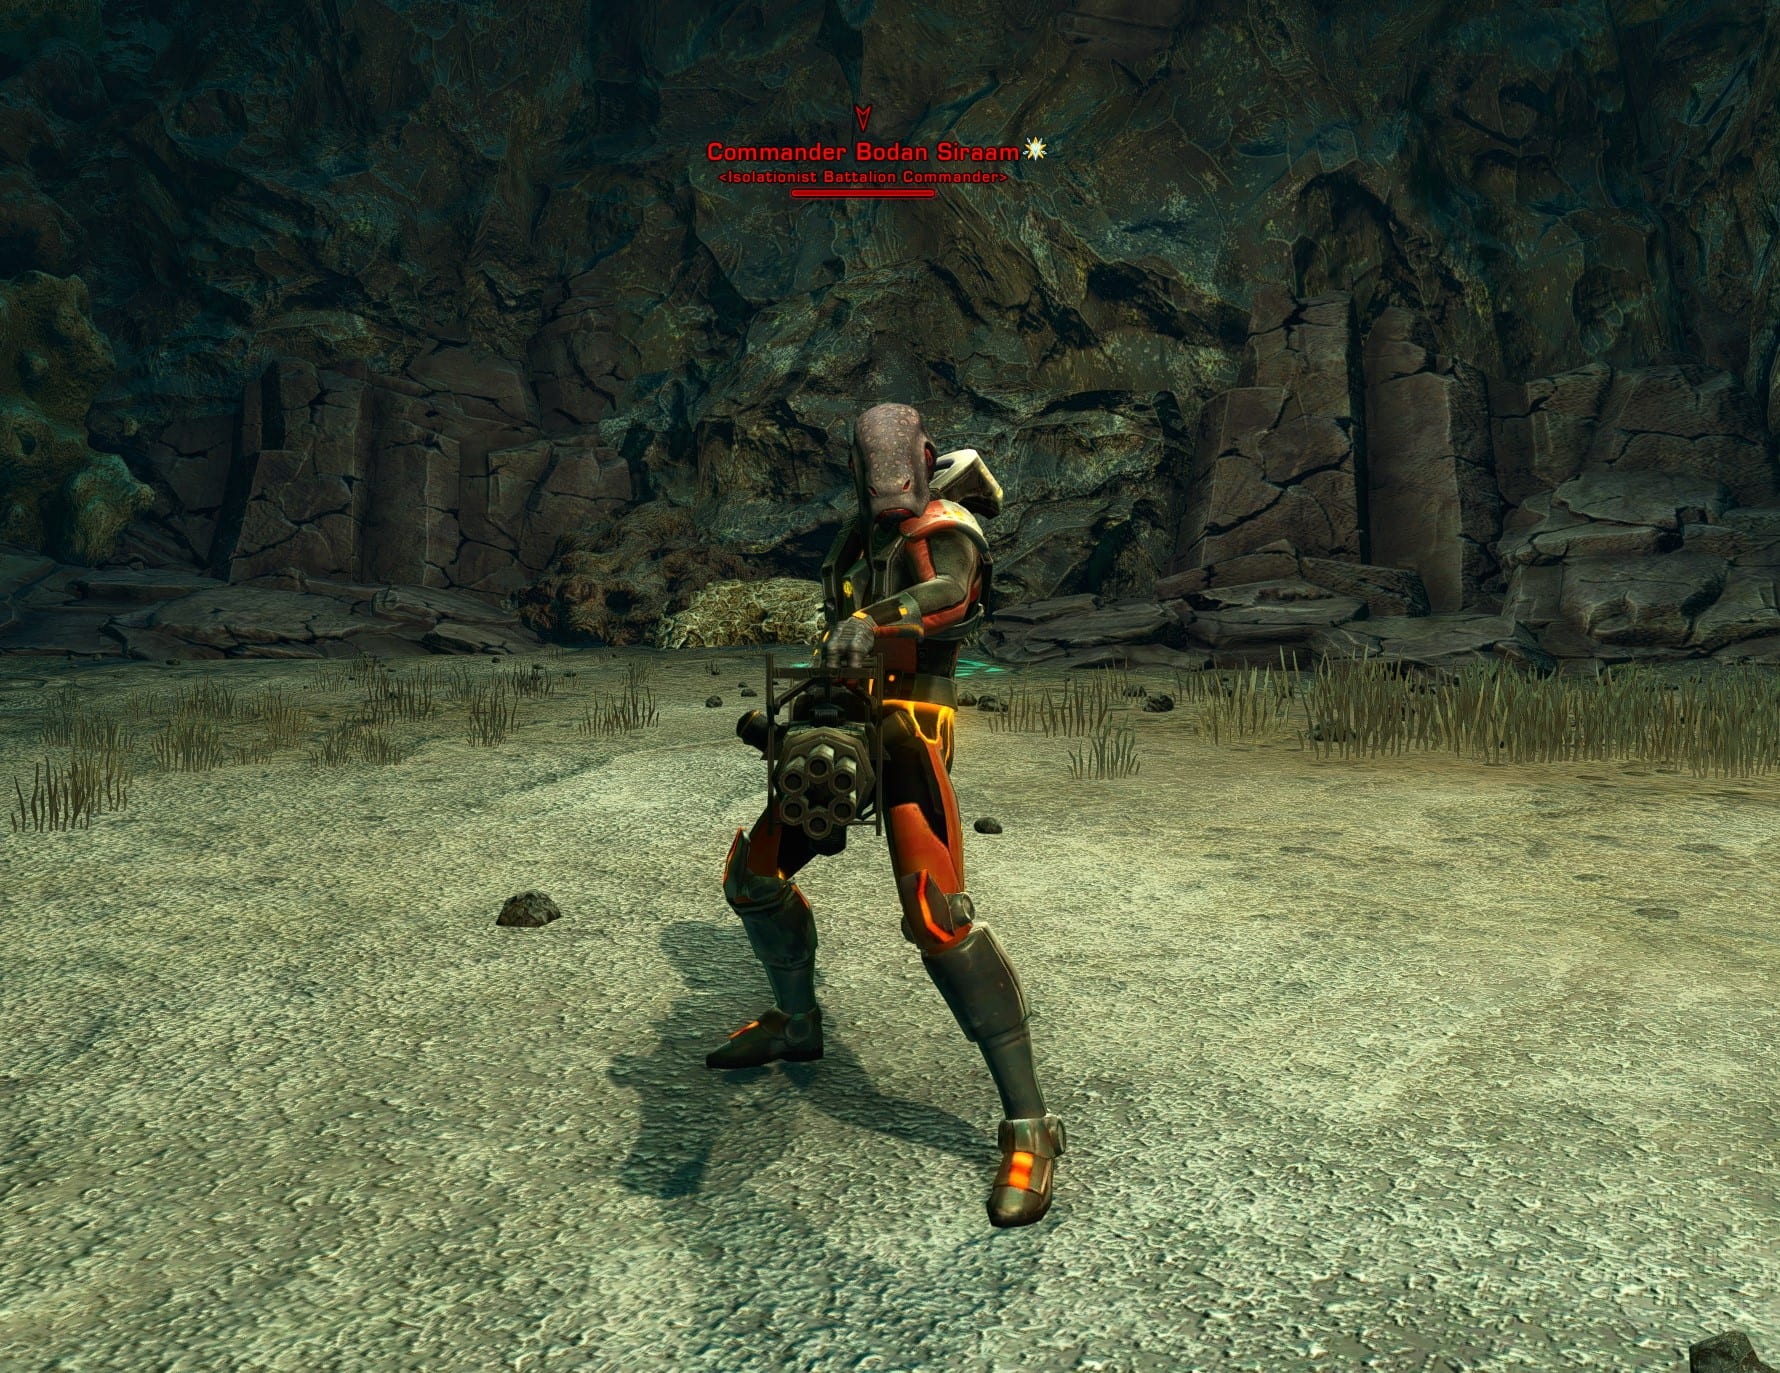
It’s best to LoS the boss up either in the tent or up the little hill cliff so the adds all run up and stack near the boss. Playing a DoT spec is pretty much mandatory since you’ll need to do a lot of rotational AoE to be able to defeat the boss in a timely manner while keeping up with the add spawns.
You’ll want to use ability tree buffs that prioritize AoE damage and survivability, though I’d stick to whichever tactical will have the greatest boost to single-target sustained DPS (except for Juggs / Guardians, which should use Cut to Pieces).
In case I wasn’t clear, the adds should be going down with rotational AoE from things like DoT spreads. You shouldn’t need to use your spammable AoE abilities to deal with them unless you fall behind or the adds aren’t getting grouped up enough. If this is the case, you might want to lean more heavily into AoE since you don’t have to worry about an enrage. The boss will take longer to defeat, but you won’t wipe unless you get overwhelmed by the adds.
The boss also does some casted attacks, which you should interrupt on cooldown. Use DCDs when your interrupt is unavailable. If your health gets too low, don’t forget that there are healing terminals down on the main level of the room. Remember to go back up to the hill so you can keep LoSing adds that spawn from the door.
Manaan Daily Area Secret Achievements
There are 2 secret achievements that exist within the Manaan Daily area and each of them can only be completed by a specific faction.
Converts and Compatriots (Republic-only)
This is a secret achievement that can only be completed by a Republic toon because it requires you to find 3 small clickables that are located exclusively in the Republic base for the daily area. “Converts and Compatriots” is worth 5 achievement points.
Datapad 1
The first datapad is located on the ground behind a tall shelf with some crates out by the taxi.
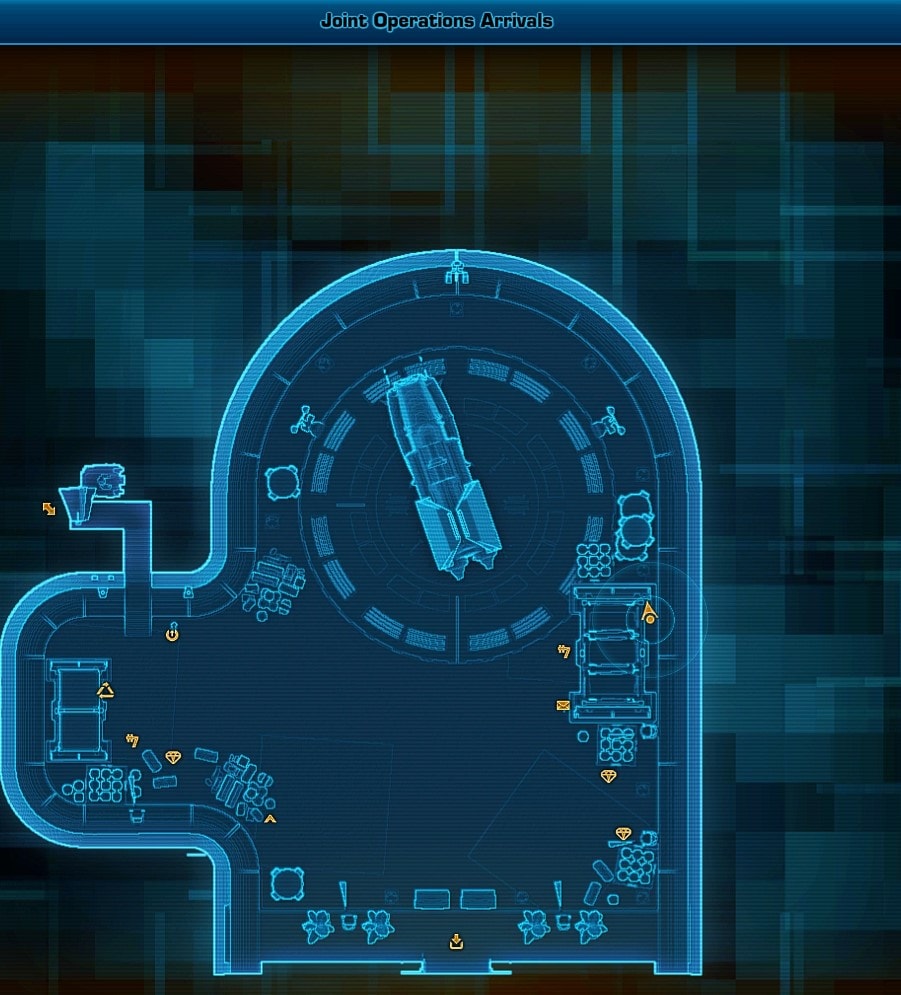
Datapad 2
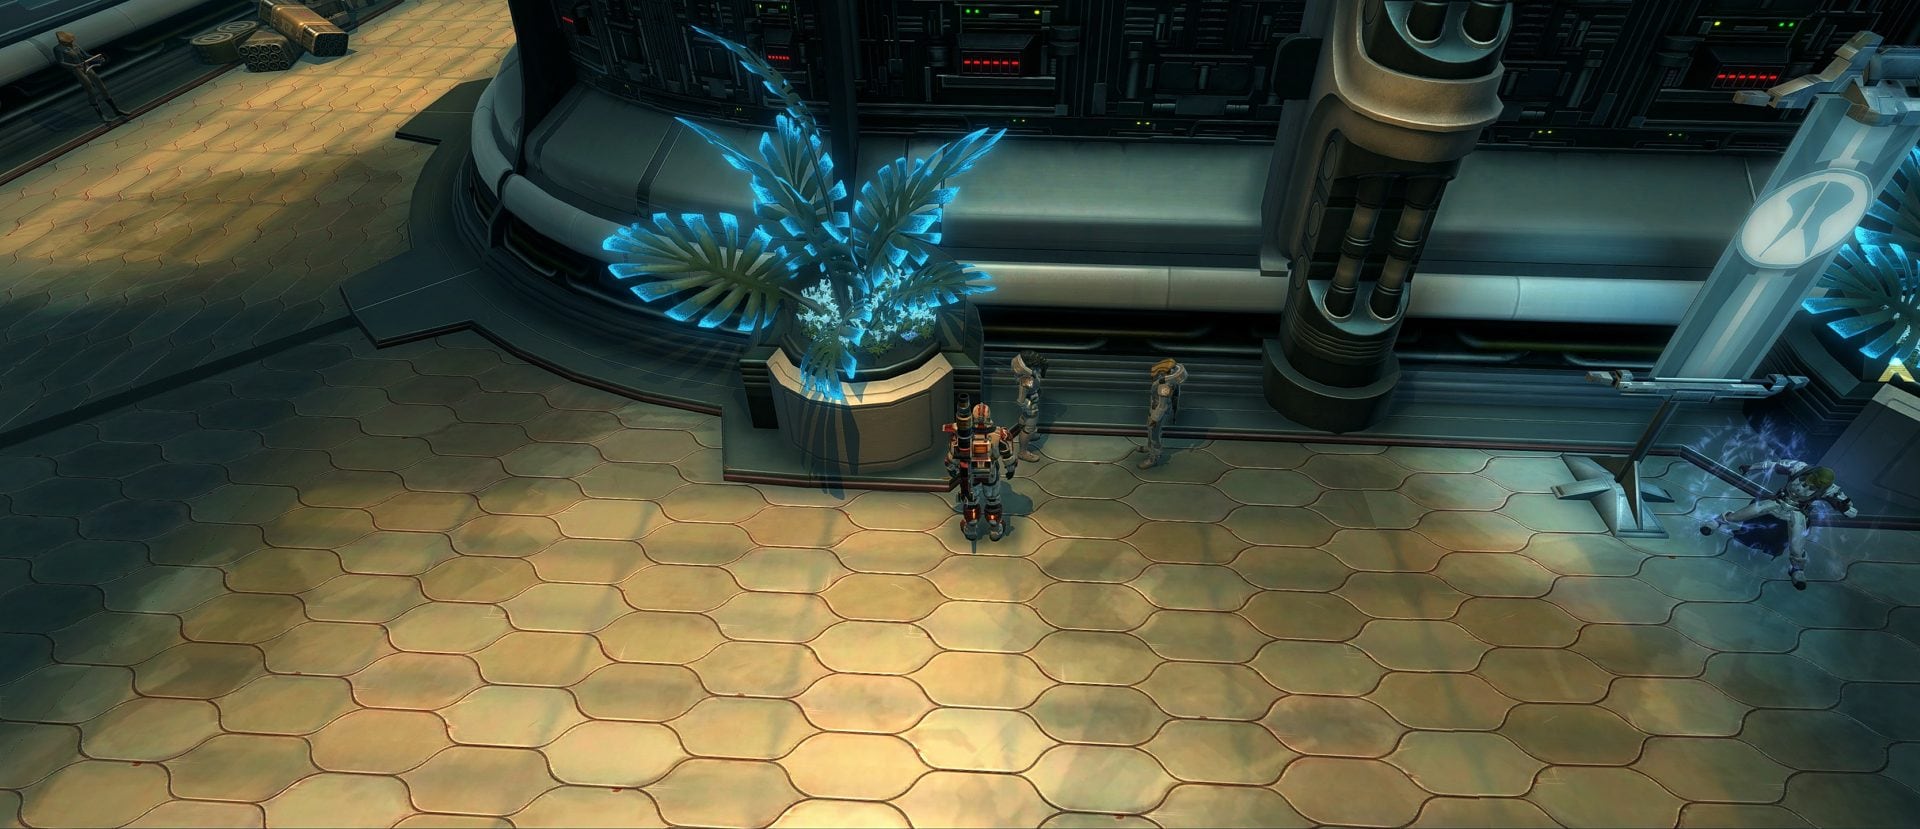
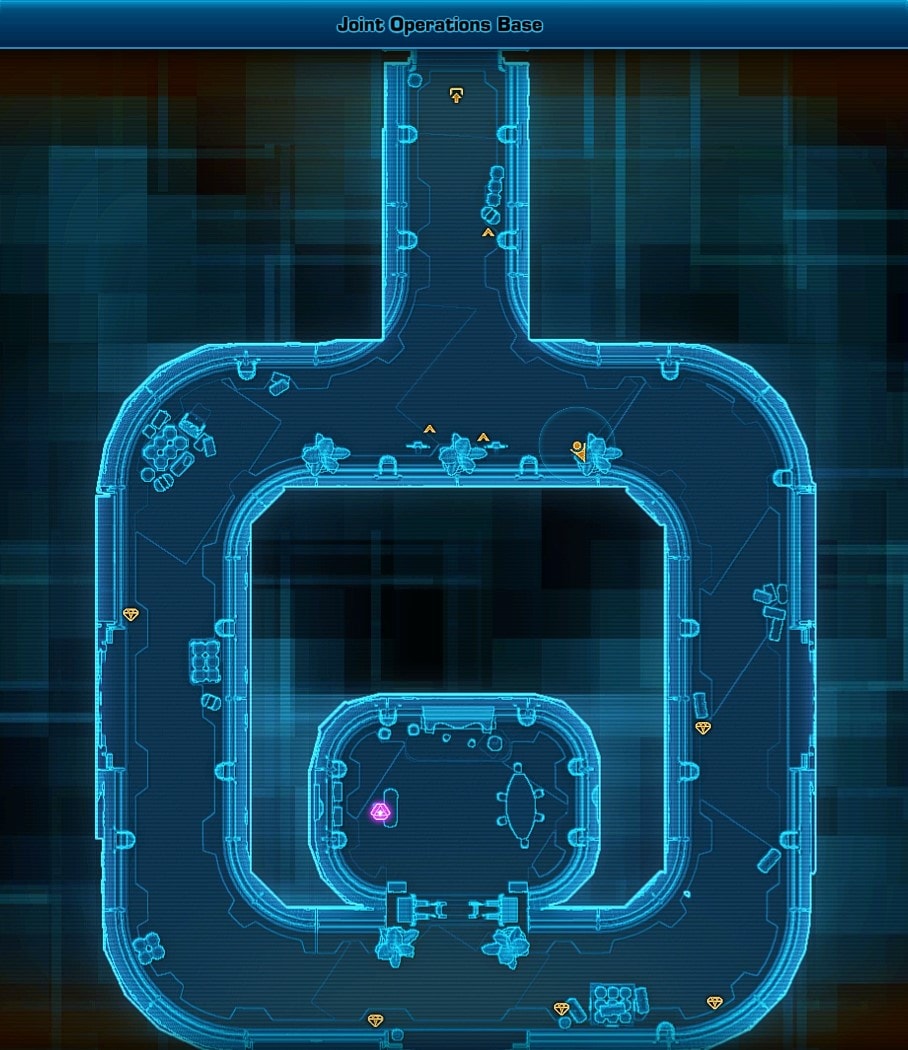
The second datapad is hidden in the soil of a Manaan Fern inside the Joint Operations Base.
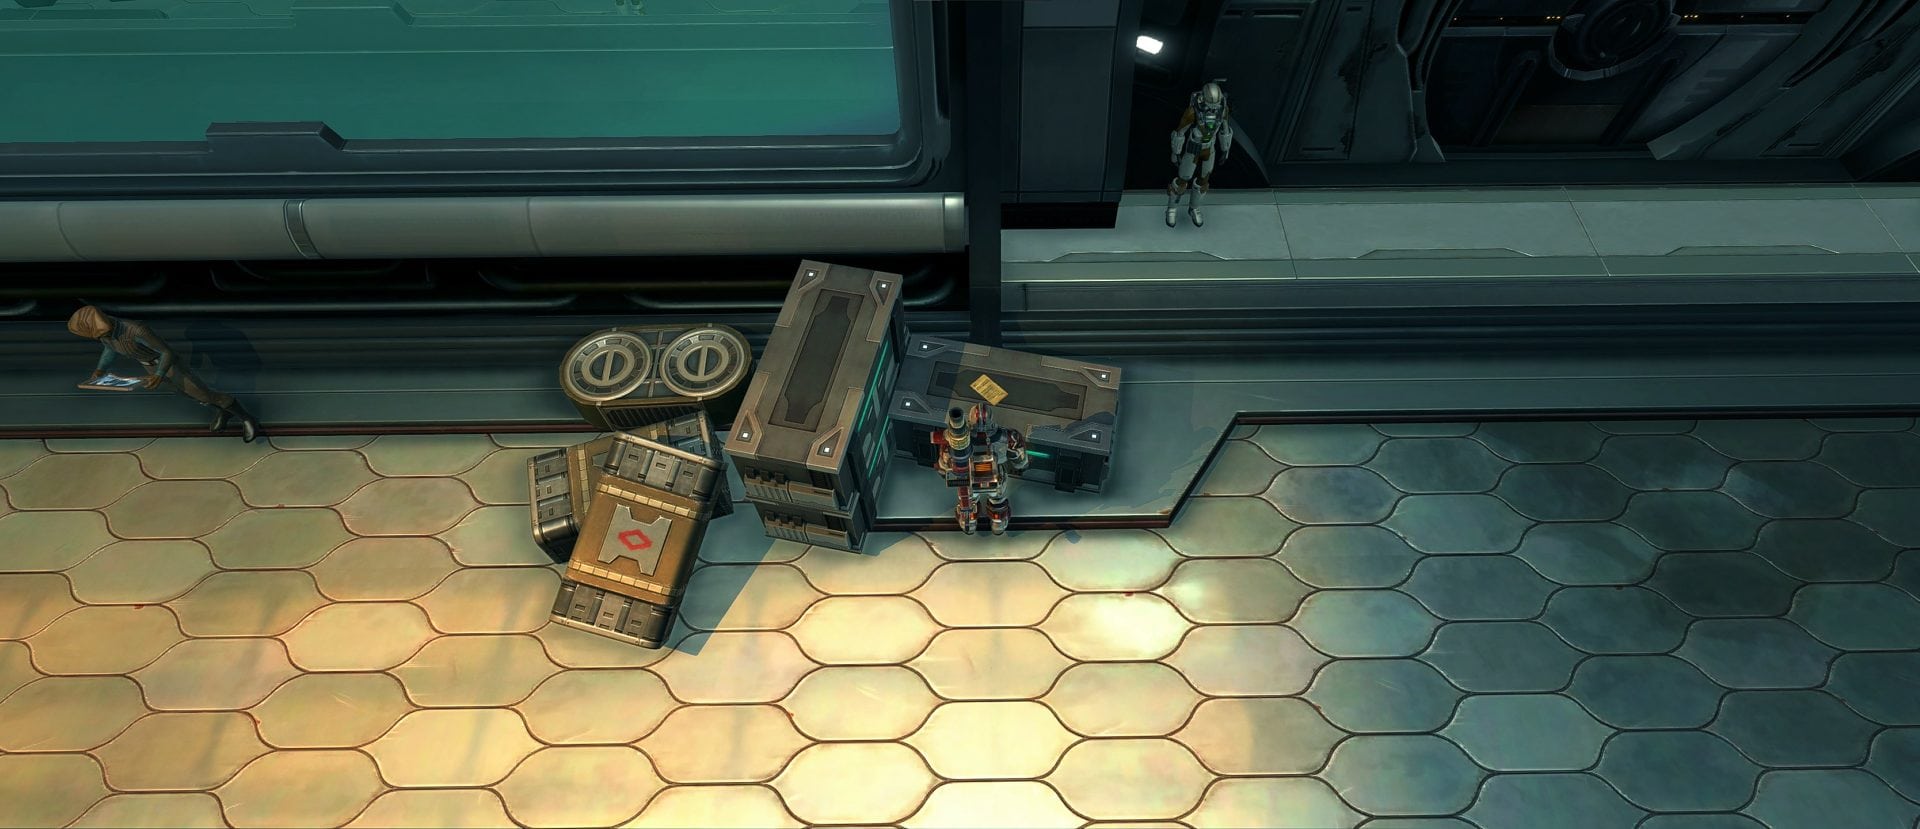
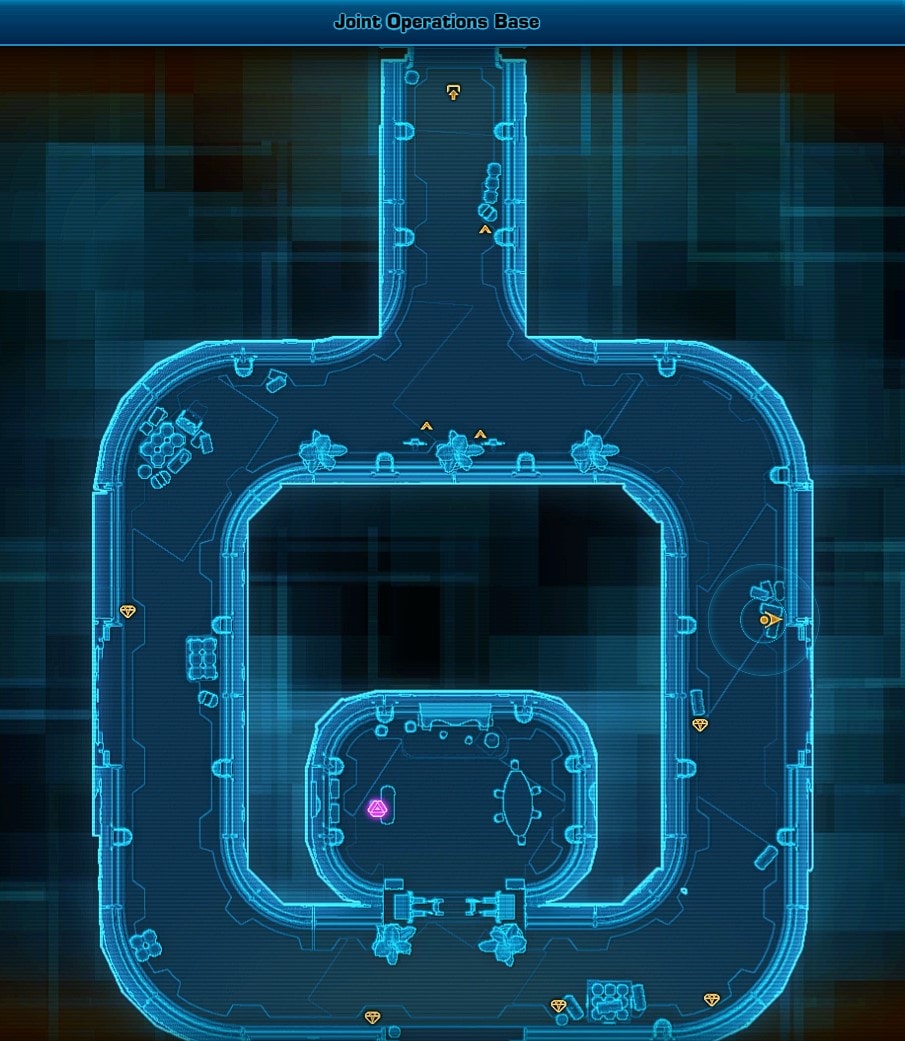
Paper
The piece of paper that the achievements refer to as a pamphlet is located on top of a crate not too far from where you found the datapad in the plant.
All Things in Moderation (Empire-only)
This is a secret achievement that can only be completed by an Imperial toon because it requires you to find 2 small clickables that are located exclusively in Imperial bases for the daily area. “All Things in Moderation” is worth 5 achievement points.
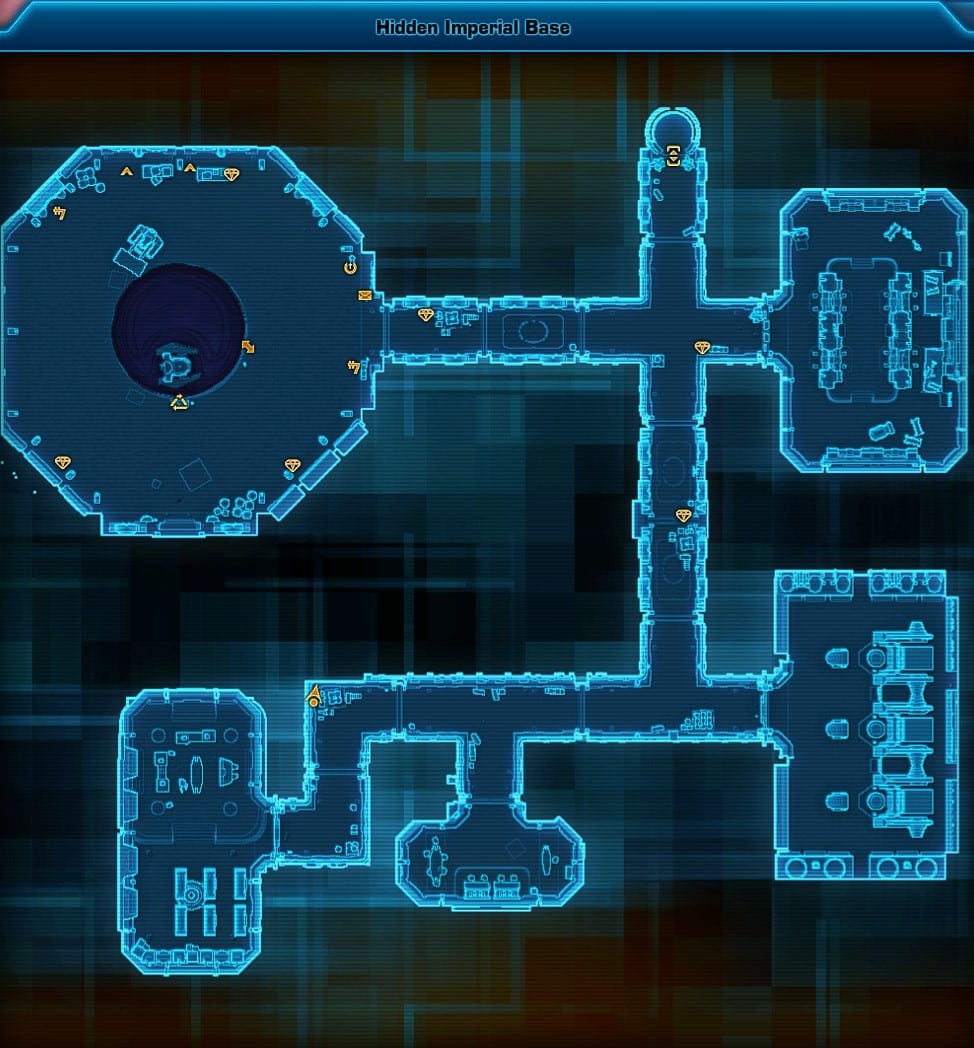
Datapad 1
The first datapad is located behind some Imperial crates and canisters in a corner at the southwest end of the Command Level of the Hidden Imperial Base.

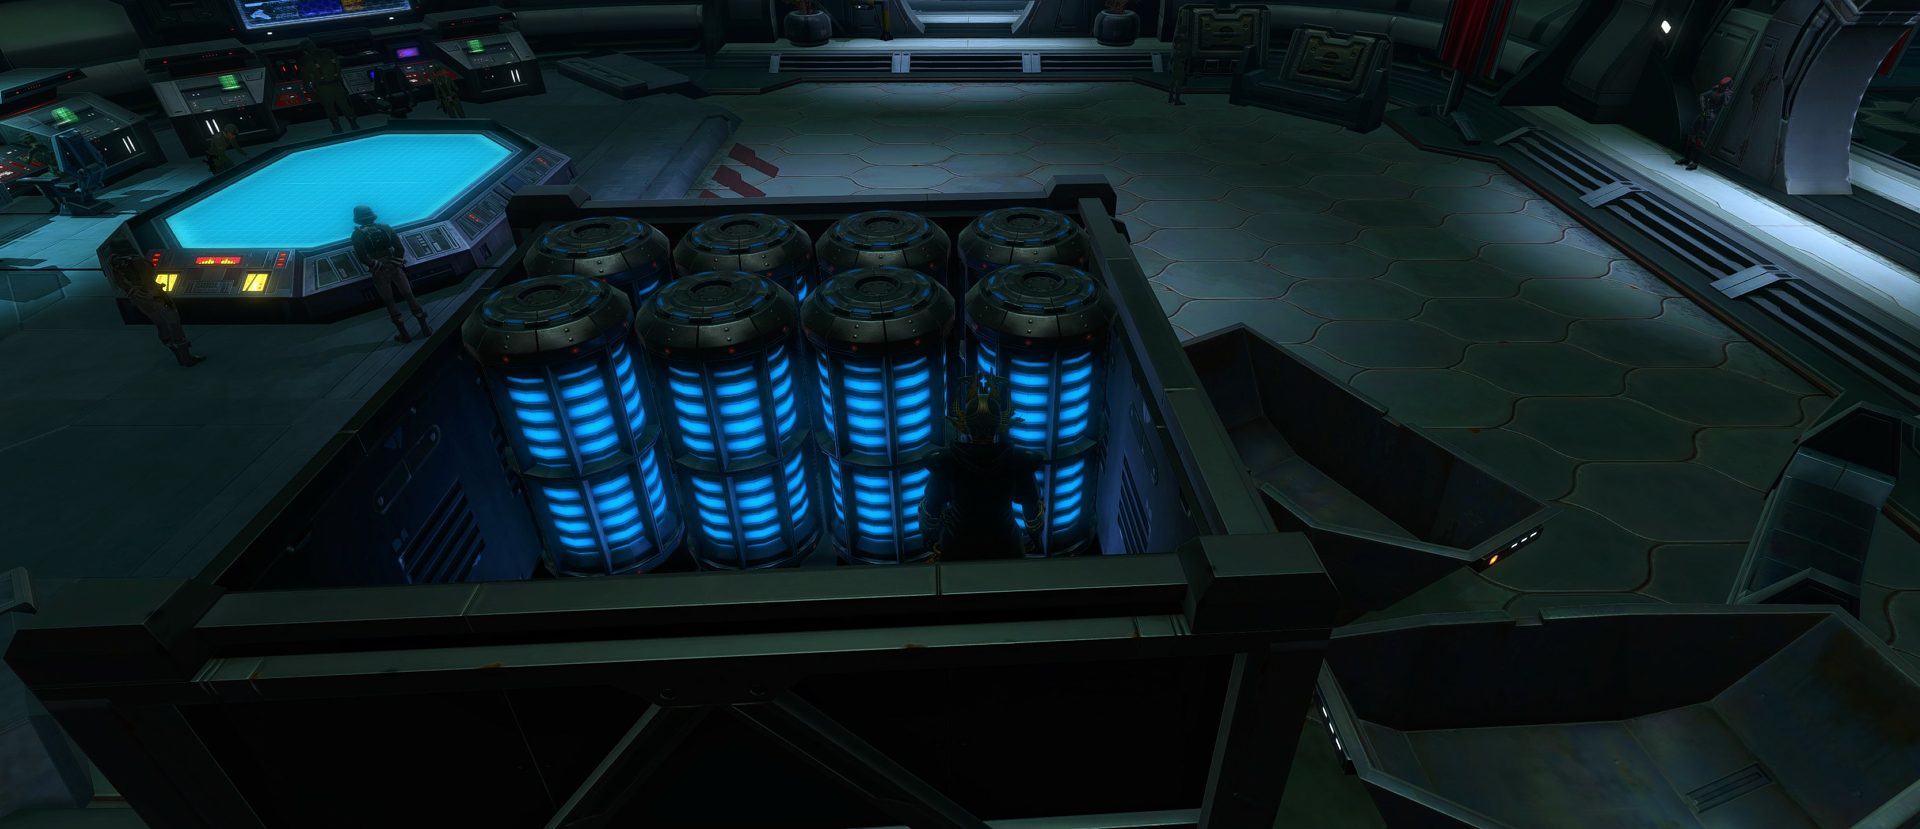
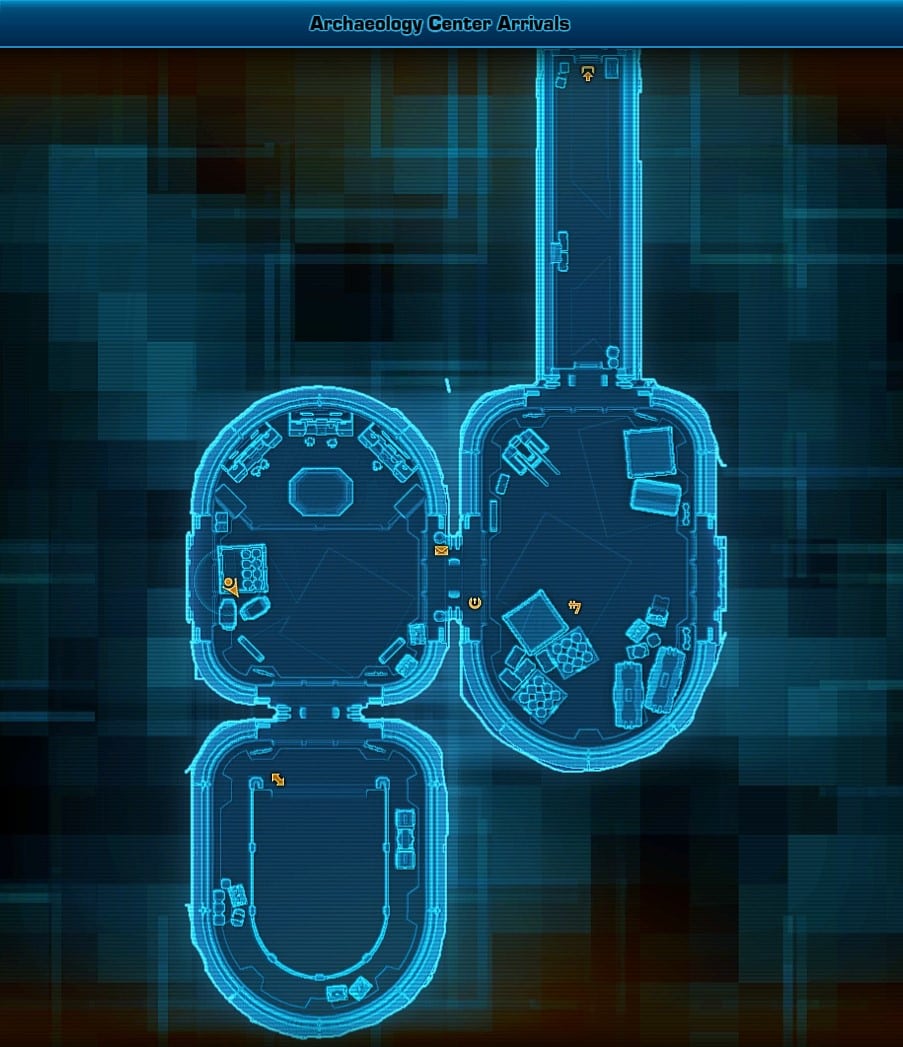
Datapad 2
The second datapad is located in this container of Kolto at Archaeology Center Arrivals, the taxi point for the Ancient Selkath City.
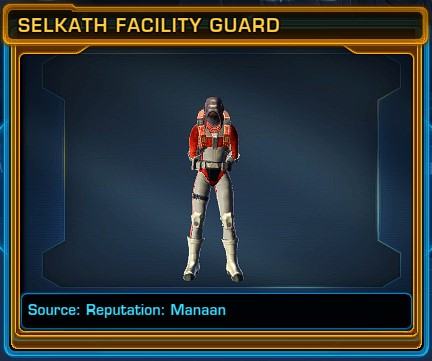
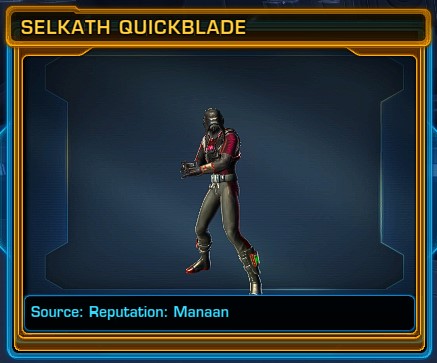
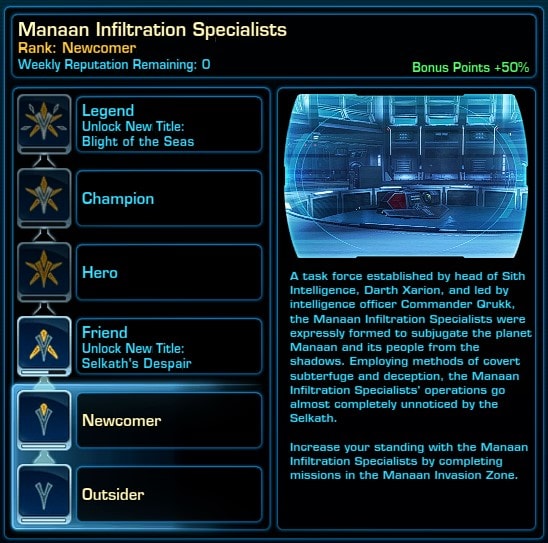
Manaan Reputation Rewards Full List
Manaan features a reputation track, but there is (thankfully) no dedicated currency, so you are free to purchase whatever you want so long as you meet the reputation requirement.
To be clear, these rewards are completely separate from the ones associated with the Depths of Manaan Flashpoint and do not cost any Manaan Research Data.
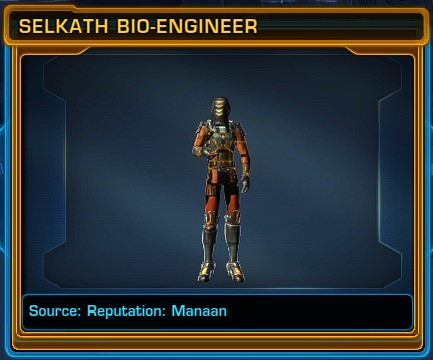
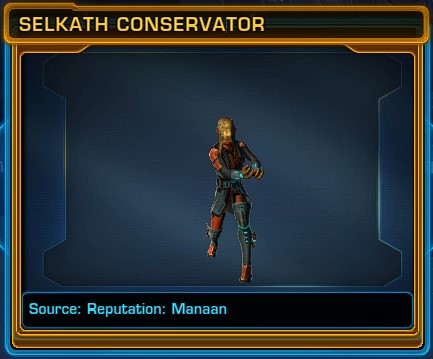
Armor Sets
Manaan has 2 armor sets available for purchase from the reputation vendor.
The Manaan Nightlight Armor costs 3.5mil for the full set.


The Manaan Defender Armor costs 900k for the full set.


Firaxan Weapons
The Firaxan Weapons are available for purchase from the reputation vendor for 180k credits each and come with the Blue Outline color by default. The turquoise stripe unfortunately does not change color to match the crystal you put in.


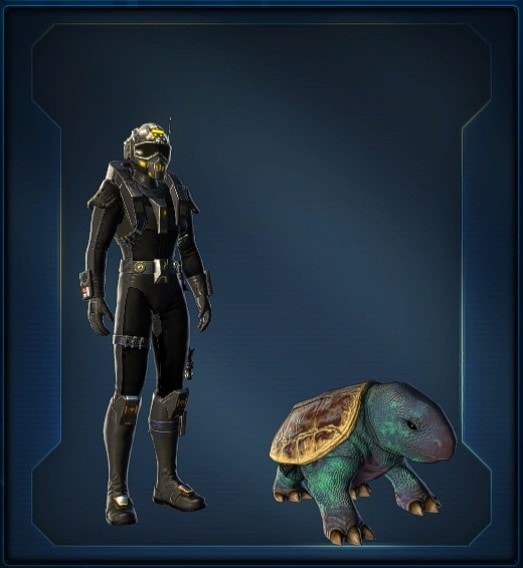
Miscellaneous Manaan Daily Vendor Items
The reputation vendor also sells a pet and character title. The adorable Cerulean Turtle pet can be yours for the low, low price of 250k credits!
The most expensive item on the vendor is The Waterlogged Title. Costs 1mil.

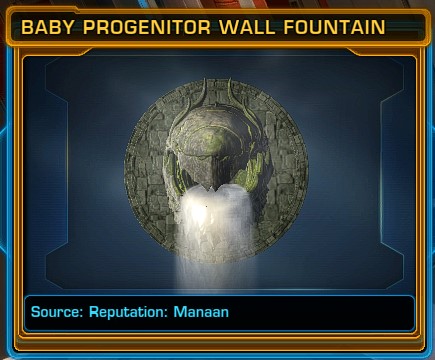
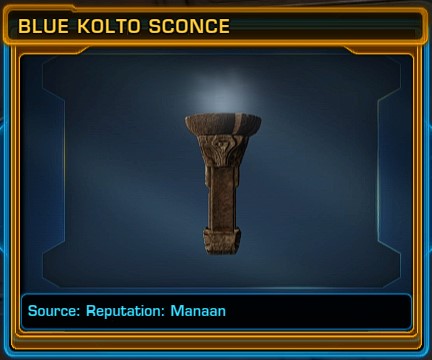
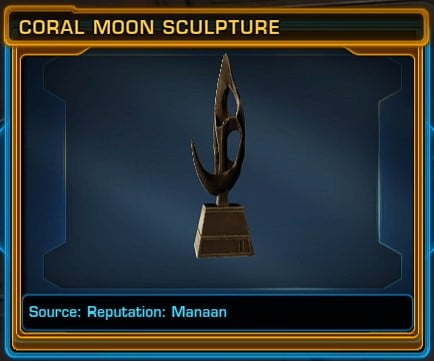
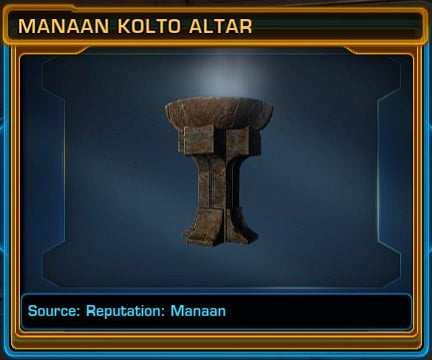
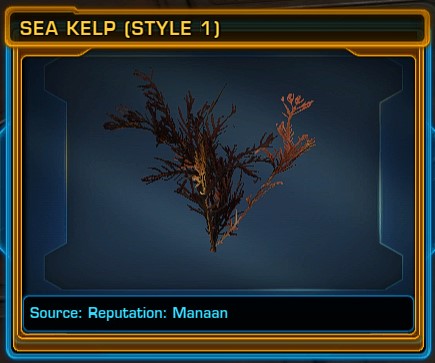
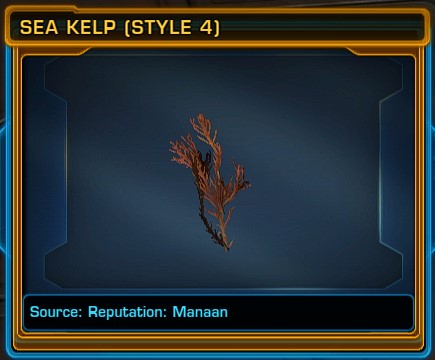
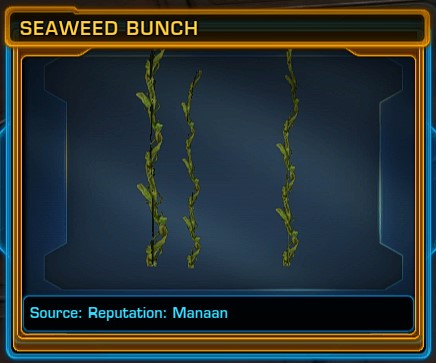
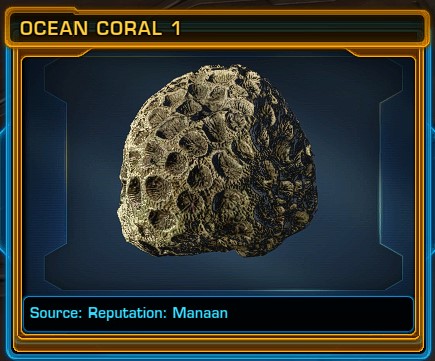
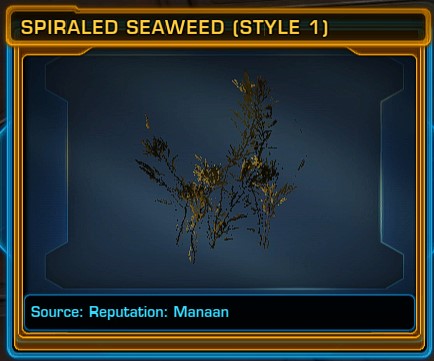
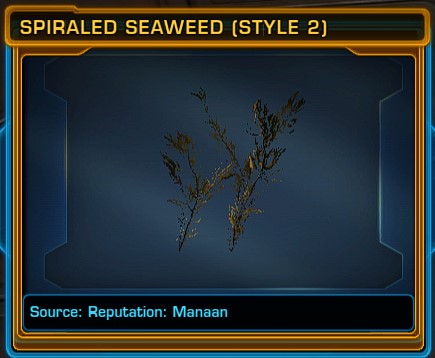
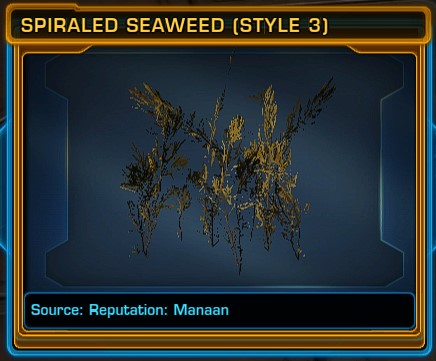
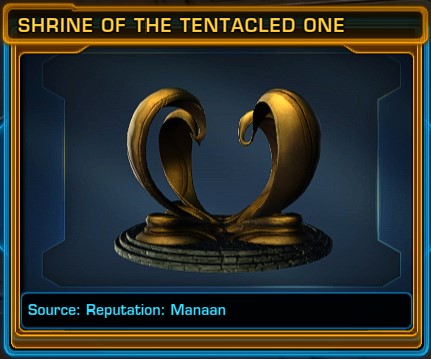
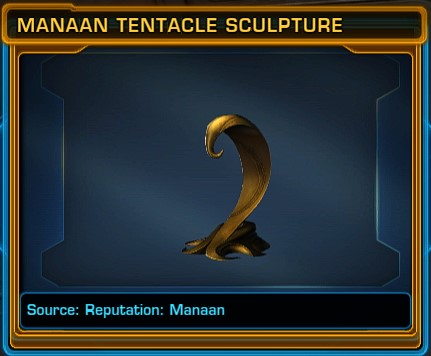
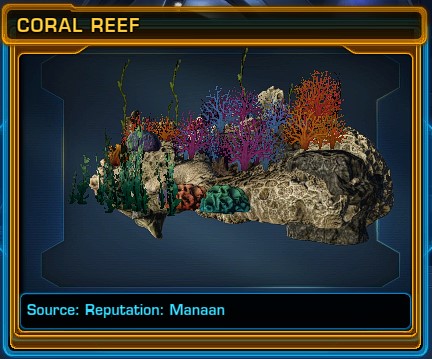
Manaan Decorations
The deco costs range from 75k to 750k depending on the size, so smaller ones are on the cheaper end while only the largest ones cost 750k. Most decos don’t cost more than 250k. These can also drop from regular enemies like on Ossus.