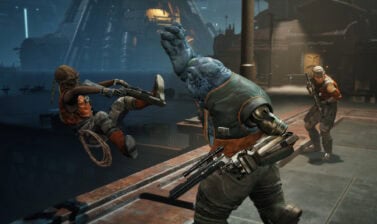
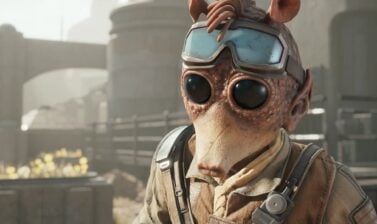
The Assault Specialization is a great offensive Operator in Star Wars Zero Company. This guide covers ability mechanics, weapon choices, secondary specializations, and build tips.
Best Assault Build at a Glance
The Assault Specialization aims to create a mobile Operator that’s the first to charge into battle. With their mobility, they can unleash a flurry of bolts on groups of enemies or get a good angle for flanking shots that have increased critical hit chance.
- Best Weapons: Blaster Rifle or Repeater
- Secondary Specialization: Heavy or Soldier
- Recommended Talent: Cold Blooded or A Life of Labor
- Cross Training Priority: Critical Hit Chance or Critical Damage
Let’s dive deeper and explain why and how each of those recommendations work together and how to use the Assault Specialization to its max potential in various situations.
Assault Abilities and Mechanics
The Assault Specialization provides four abilities, Sweeping Salvo, Bull Rush, Fleet of Foot, and Strike the Flanks. Investing in these skills can let an Operator that fights as a skirmisher, going in fast and hard.

Sweeping Salvo (Ultimate)
Unleash aggressive blaster fire that deals damage and Disorients all enemies within a large cone.
Sweeping Salvo has the Operator fire their blaster in a cone, dealing damage to all enemies within its area of effect and disorienting them. Disoriented enemies have a -20% chance to hit on their ranged attacks while this effect is active.
This counts as a blaster attack, so critical chance and any effect that can apply with blaster attacks can apply with Sweeping Salvo. This includes the Taunt from the Heavy Specialization, allowing them to taunt multiple enemies with Sweeping Salvo.
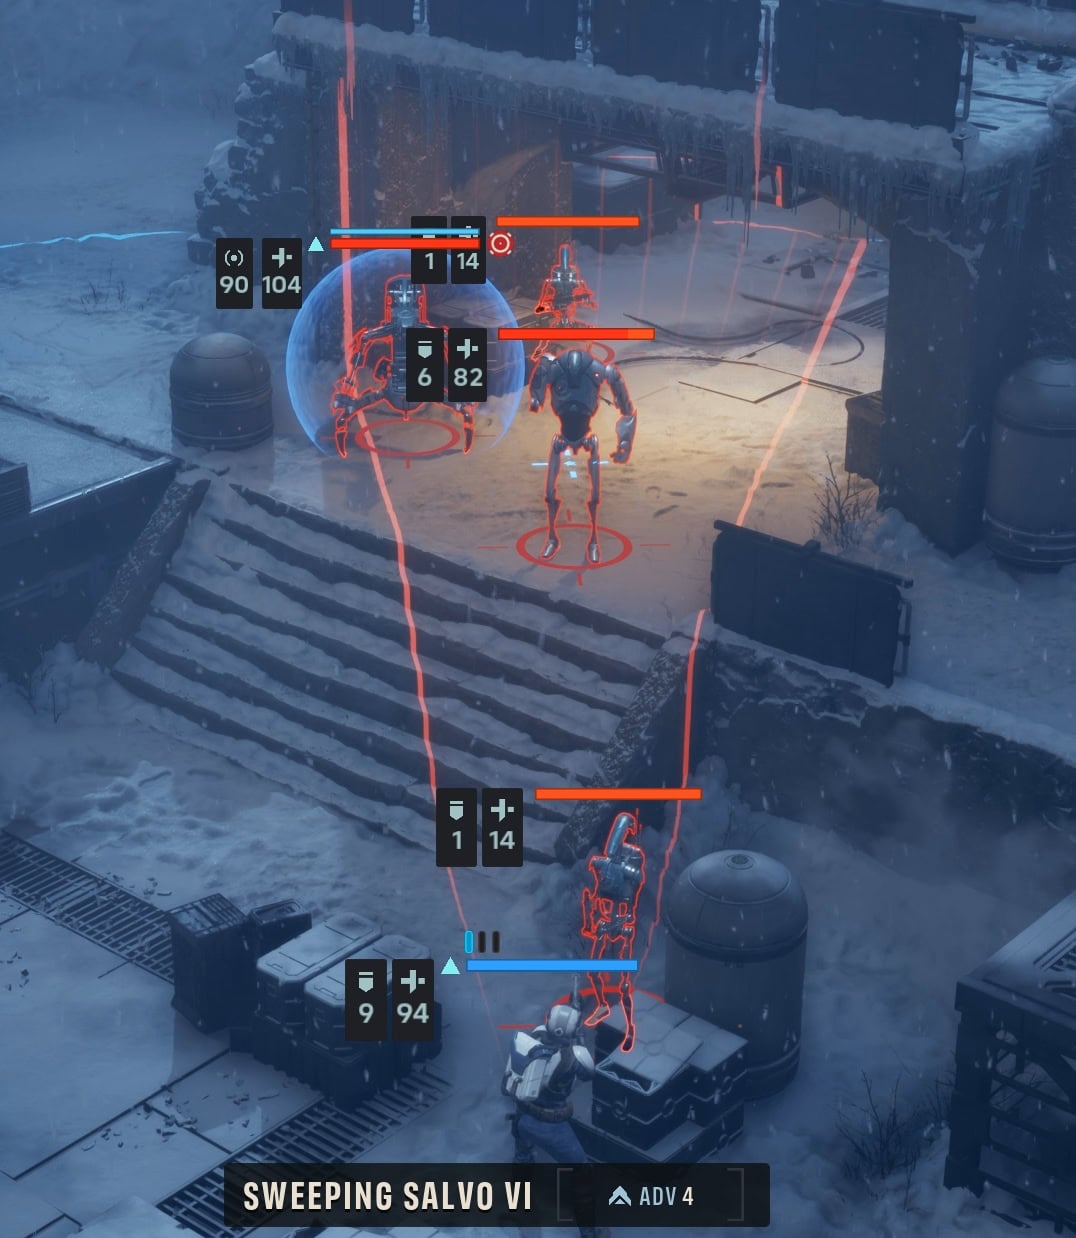
Modulator Weapon Mods can also apply their effects, allowing you to apply Shock or Burn against multiple targets. This is still affected by the percentage chance of the Modulator you’re using.

Bull Rush (Standard)
Charge into an enemy, dealing Melee Damage and Pushing it backwards.
Bull Rush is a melee attack that lets the Operator charge at an enemy, dealing melee damage and pushing them back. This will deal increased damage if the enemy impacts terrain, or can one shot them if pushed down a large fall and off the map.
Keep track of the enemy’s health bar when choosing your point of attack. Try to get increased damage by knocking them into something, or off the map entirely. Use this ability to cover distance to an objective while staying on the offensive.
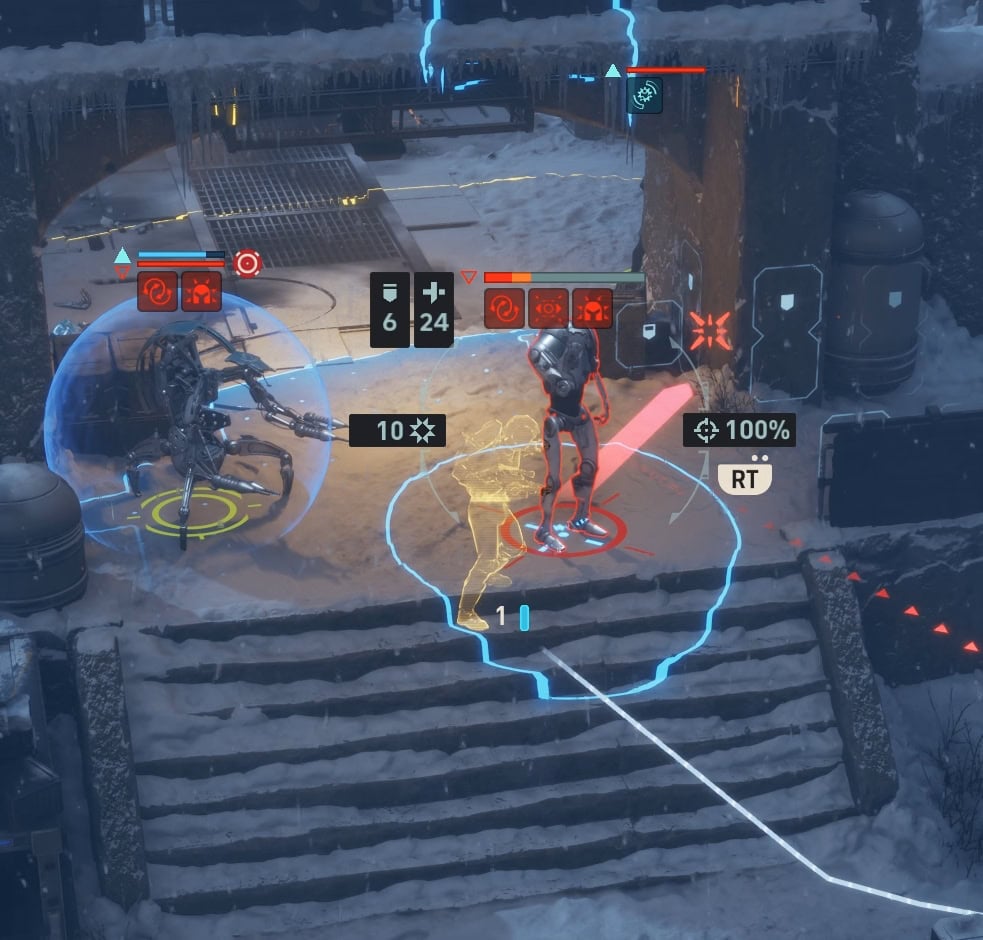
The Assault’s First Movement Range affects Bull Rush if they have not moved yet. This can allow them to tackle an enemy that’s far away if you’ve been stacking First Movement bonuses.

Fleet of Foot (Passive)
Increases this Operator’s First Movement by 1.0m.
This ability may not seem that impressive, but having your first movement increased is extremely helpful for getting an Assault Operator into position. You’ll need to stack this with movement bonuses from utilities and cross training rewards to get more use out of it.
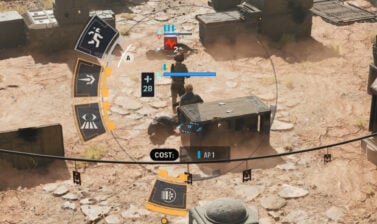
The first movement buff increases the range of the movement consuming the first AP used (seen as blue). This does not affect second or third movements using the second or third AP (seen as yellow and orange).
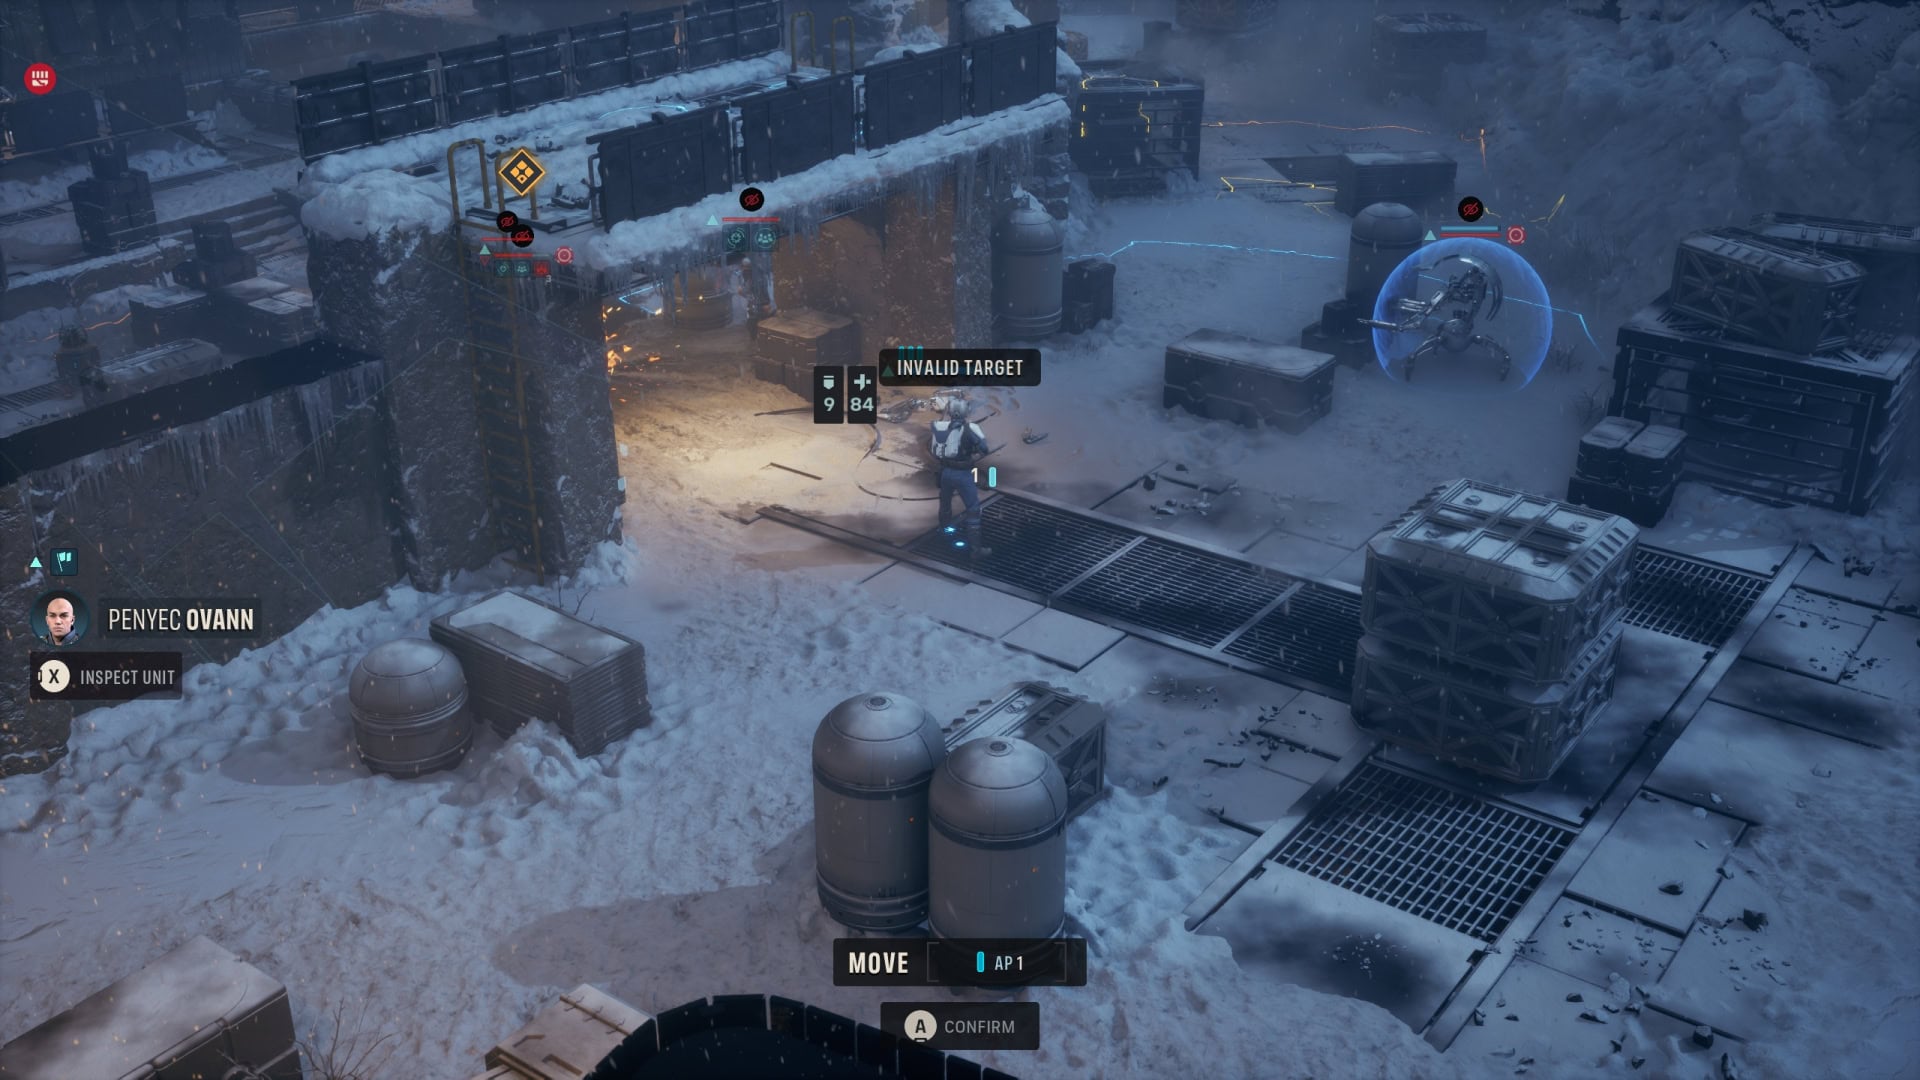
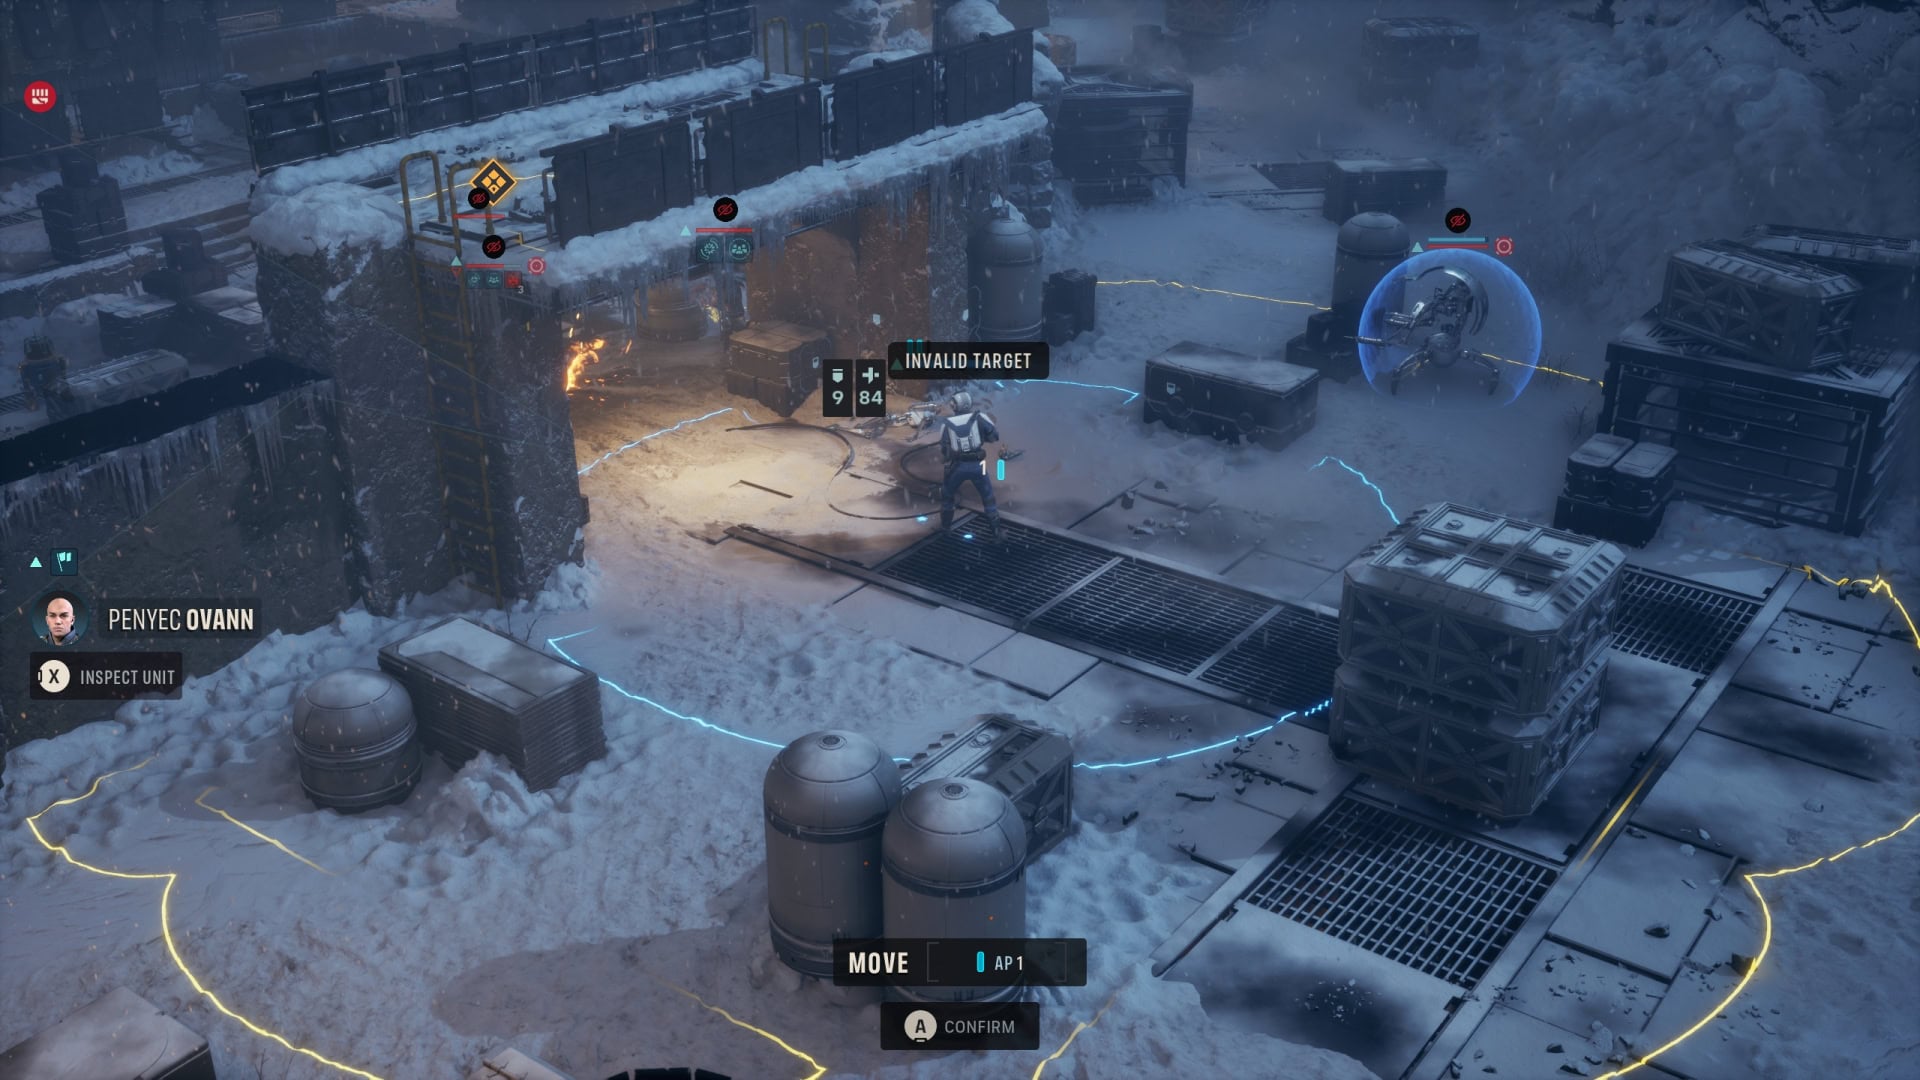
This only applies to the first movement action you make per turn, so you can’t take multiple 1 AP movements with increased range.

Strike the Flanks (Passive)
This Operator gains a +20% Critical Chance bonus against Exposed enemies.
If the Assault Operator can target an enemy from a position where they don’t benefit from cover, they get a +20% Critical Chance against them.
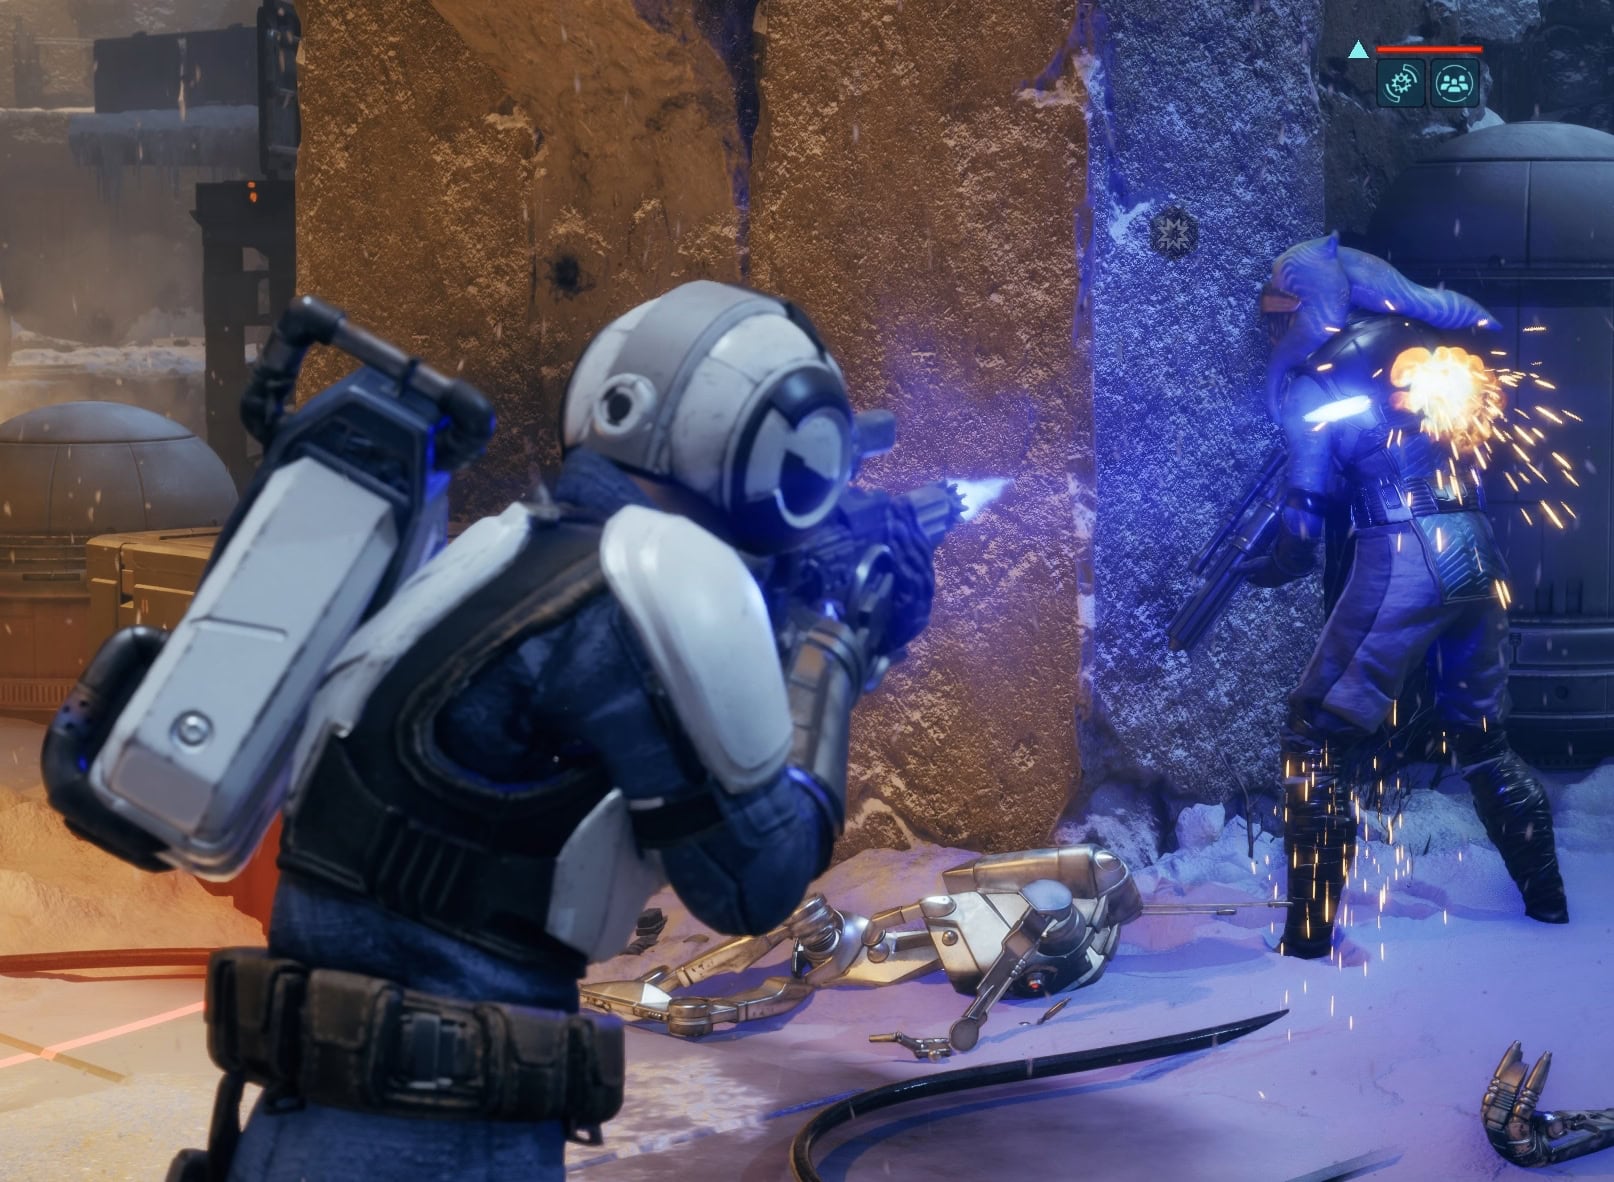
This is why your first movement range buffs are important, you can more easily take out enemies behind cover by attacking them from exposed angles.
Recommended Weapons
For the Assault, you’ll want to go with either the Blaster Rifle or the Repeater. The Blaster Rifle has great base damage and a good Critical Damage bonus. This is beneficial against mobile enemies as you can reposition with up to 2 AP, then fire off a flanking shot with your third AP.
If you have the means to keep enemies exposed such as a tank taunting them or crowd control, the Repeater shines a bit brighter than the Blaster Rifle. If you’re in a good position and have 3 AP, you can unload for a massive amount of critical damage against a target if you land a critical hit.
Best Secondary Specialization Pairings
There are three solid Secondary Specializations we recommend to use with Assault. If I had to boil it down to the two most useful, it would be Heavy or Soldier if you need a tank or DPS unit.
Heavy
The Heavy Specialization is a great choice to pair with Assault. As Sweeping Salvo can apply the Heavy’s taunt, you can taunt large groups of enemies. For 8 Advantage, you can use Bulwark to taunt a group of enemies on one side of the map, run over to the other and taunt the rest with Sweeping Salvo.
Soldier
Soldier is another great pairing as it increases your Blaster and Melee Damage (such as Bull Rush). It also provides another melee attack with Brutal Strike, and gives another AoE attack with Rocket Strike. A fun combo is to Brutal Strike an enemy, Bull Rush them to leave them exposed for you and others, then fire off a blaster shot while they’re exposed.
Gunslinger
Gunslinger will provide additional Critical Chance for Ranged Attacks while allowing more versatility with your actions. The Keen Eye passive can provide +15% Critical Chance for Ranged Attacks, making it at least 35% when paired with Strike the Flanks. This only increases further with Cross Training rewards and a Targeting Visor Utility.
Quick Draw also works well with the Assault’s Sweeping Salvo. If Sweeping Salvo leaves a group of enemies with low health, you can pick them off with Quick Draw. As Quick Draw restores 1 AP for defeating an enemy with it, this allows you to mop up easily.
In short, use Heavy for a tank, Soldier for better base damage and more AoE, or Gunslinger for higher critical chance for more flanking-focused strategies.
Recommended Talents
If your Assault Operator is a custom made, then the following talents would be good compliments:
Cold Blooded
This is a great talent for Assault as it can give you 1-2 stacks of Vicious, ensuring your next ranged or melee attack is a critical hit. With this, you can focus more on critical damage buffs rather than critical hit chance buffs.
A Life of Labor
A Life of Labor is a well balanced talent what increases your health, defense, melee damage, and critical hit damage. If you’re not sure which talent to choose or are new to strategy games like Zero Company, you can’t go wrong with this talent.
Grit
Grit is good if you’re looking to make your Assault act as an off-tank. This can grant up to 12 additional hit points and apply 1-2 stacks of Invulnerable. Each stack will let you ignore the damage of one incoming attack. A solid choice for an Operative that often gets into the thick of things.
Cross Training Priority
When acquiring Cross Training rewards that aren’t Focus Points, you’ll want to prioritize the following:
- Critical Hit Chance
- Critical Damage
- Health
- First Movement
Critical Hit Chance should be your go-to if you’re not using the Cold Blooded talent. Critical Damage is your go-to if you chose Cold Blooded as your talent, and can ignore Critical Hit Chance entirely.
Health and First Movement depend on if you have a tank or not. If your tank is taunting most if not all the enemies, you can focus on First Movement to more easily reach time limited objectives or to flank taunted priority targets.
If you’re running a team with no tank, the additional health will be more beneficial. The Assault will often be on the frontline and could use the extra durability to survive incoming attacks.