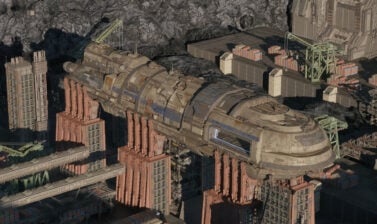
Everything you need to know about the Holotable in Star Wars Zero Company. Learn what and how to manage in the Influence, Operations, and Missions tabs.
Interacting with the Holotable
The game is divided into two gameplay sections: strategic combat on the field and resource management in The Den. The Holotable is what connects the two together.
The Holotable sits in the middle of the Command Center and is usually your last stop after managing your Operators and gear.
When you interact with the Holotable, you’ll see a map of the galaxy divided into 12 zones. Depending on which tab you’re viewing, you’ll find different information and actions you can take. The Holotable has 3 tabs:
- Influence
- Operations
- Missions
Influence Tab
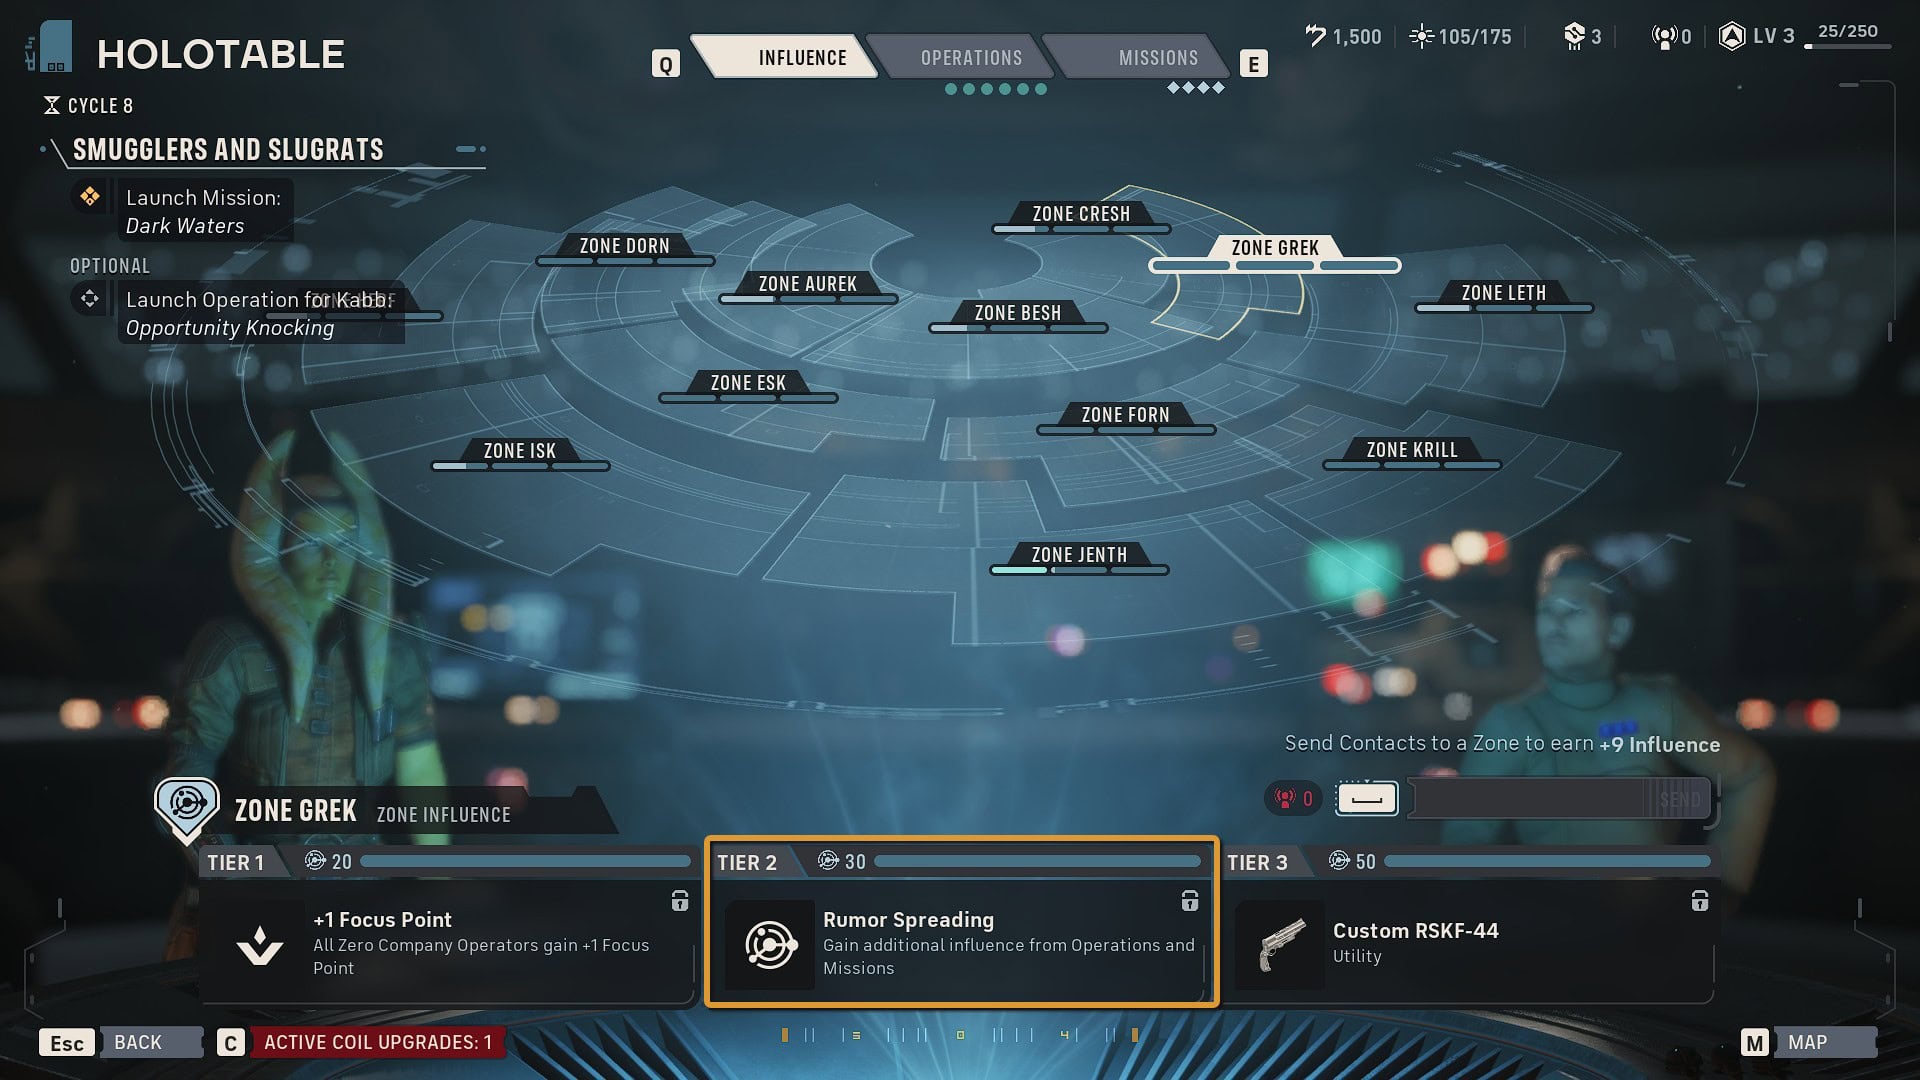
In the Influence tab, you’ll see rewards listed for three different tiers of Influence for each zone of the map.
To unlock the reward in each tier, you’ll need to accumulate different amounts of Influence: 20, 30, and 50 respectively. This means you will need to accumulate 100 Influence in a zone to receive all of its rewards.
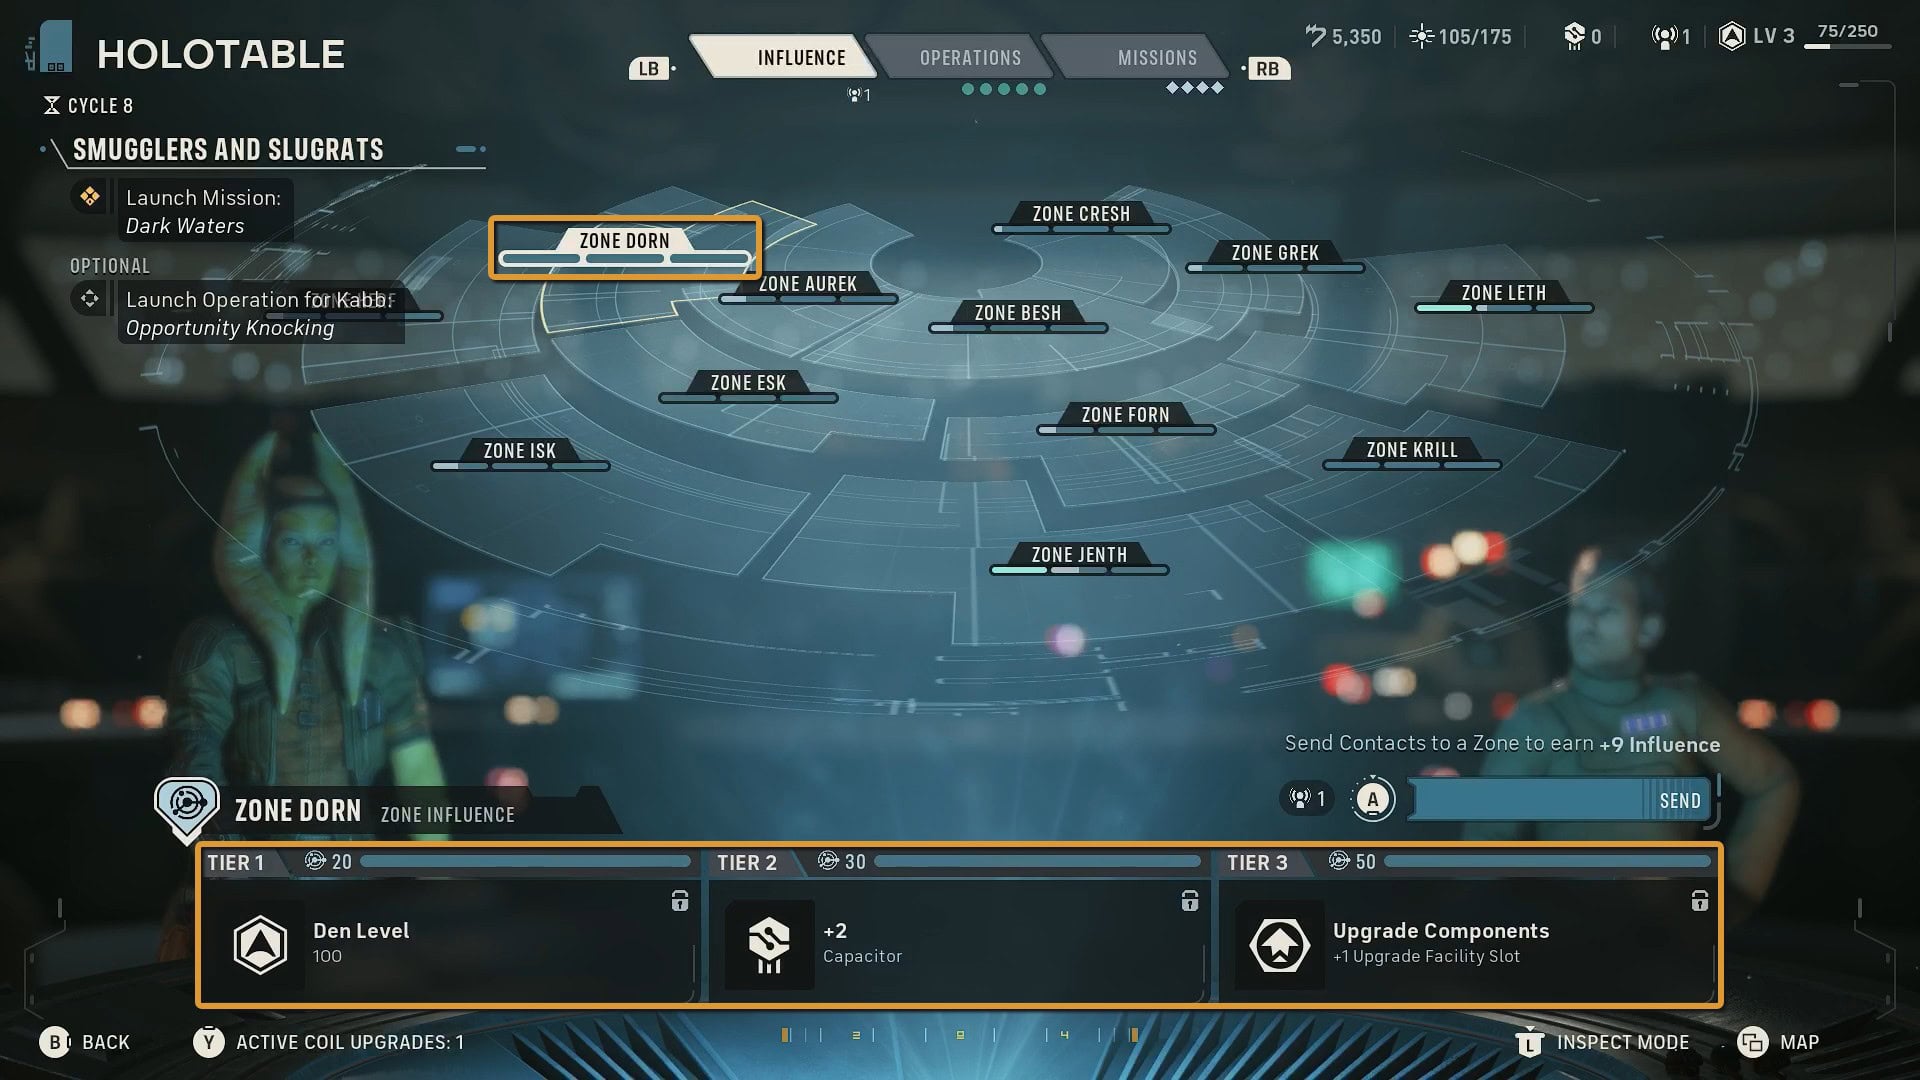
You can earn Influence in a few different ways, the main ones being Operations and Missions.
Operations don’t always list their rewards up front. In these cases you’ll see how much Influence you received in the success report after completing the Operation.
Missions on the other hand, always grant you 6 Influence after completing them. For both Operations and Missions, unlocking Rumor Spreading, the Tier 2 reward for the Grek Zone, increases the amount of Influence you receive.
| Region | Zone | Tier 1 Reward | Tier 2 Reward | Tier 3 Reward |
|---|---|---|---|---|
| Core Zone | Aurek | Crew Quarters: +1 Roster Capacity | Extra Padding: Increases Max Health by +4 for all Operators | Medpac Mk. IV Utility |
| Core Zone | Besh | Repulsor Units Mk. II Utility | +2 Focus Points: All Zero Company Operators gain +2 Focus Points | Weightless Stabilizer Weapon Mod |
| Core Zone | Cresh | +25 Intel Cap: Increases Maximum Intel | Intel Gathering: +5 Intel each Mission | Prototype Imploder Utility |
| Mid Zone | Dorn | Den Level 100 | +2 Capacitor | Upgrade Components: +1 Upgrade Facility Slot |
| Mid Zone | Esk | Trauma Kit Mk. II | Extra Padding: Increases Max Health by +4 for all Operators | Gas Dispenser Mk. IV Utility |
| Mid Zone | Forn | Advanced Range Scope Weapon Mod | Assassin’s Scope Weapon Mod | +1 Weapon Mod Slot: All Operators gain +1 Weapon Mod Slot |
| Mid Zone | Grek | +1 Focus Point: All Zero Company Operators Gain +1 Focus Point | Rumor Spreading: Gain additional influence from Operations and Missions | Custom RSKF-44 Utility |
| Outer Zone | Herf | +1 Capacitor | Jogan Fruit Pie: +30 Bond XP for everyone! | Lightning Modulator Weapon Mod |
| Outer Zone | Isk | Advanced Tracking Scope Weapon Mod | Den Level 175 | Ion Blaster Mk. IV Utility |
| Outer Zone | Jenth | +2,500 Credits | Improved Black Market: +1 Item at the Black Market | Hutt Roulette Prize: Unknown Exotic item. |
| Outer Zone | Krill | Crew Quarters: +1 Roster Capacity | Reinforced Underlay Mk. III Utility | Wildfire Modulator Weapon Mod |
| Outer Zone | Leth | Blue Milk Pancakes: +20 Bond XP for everyone! | Scavenging Techniques: +250 Credits each Mission | Smuggling Routes: Higher Quality Black Market items |
The only action you can make in the Influence tab is to assign Contacts to a zone. You can receive Contacts as rewards for executing Operations and Missions.
You’ll see the amount of Contacts you have on the top right corner of the screen between the Capacitors and the Den level.
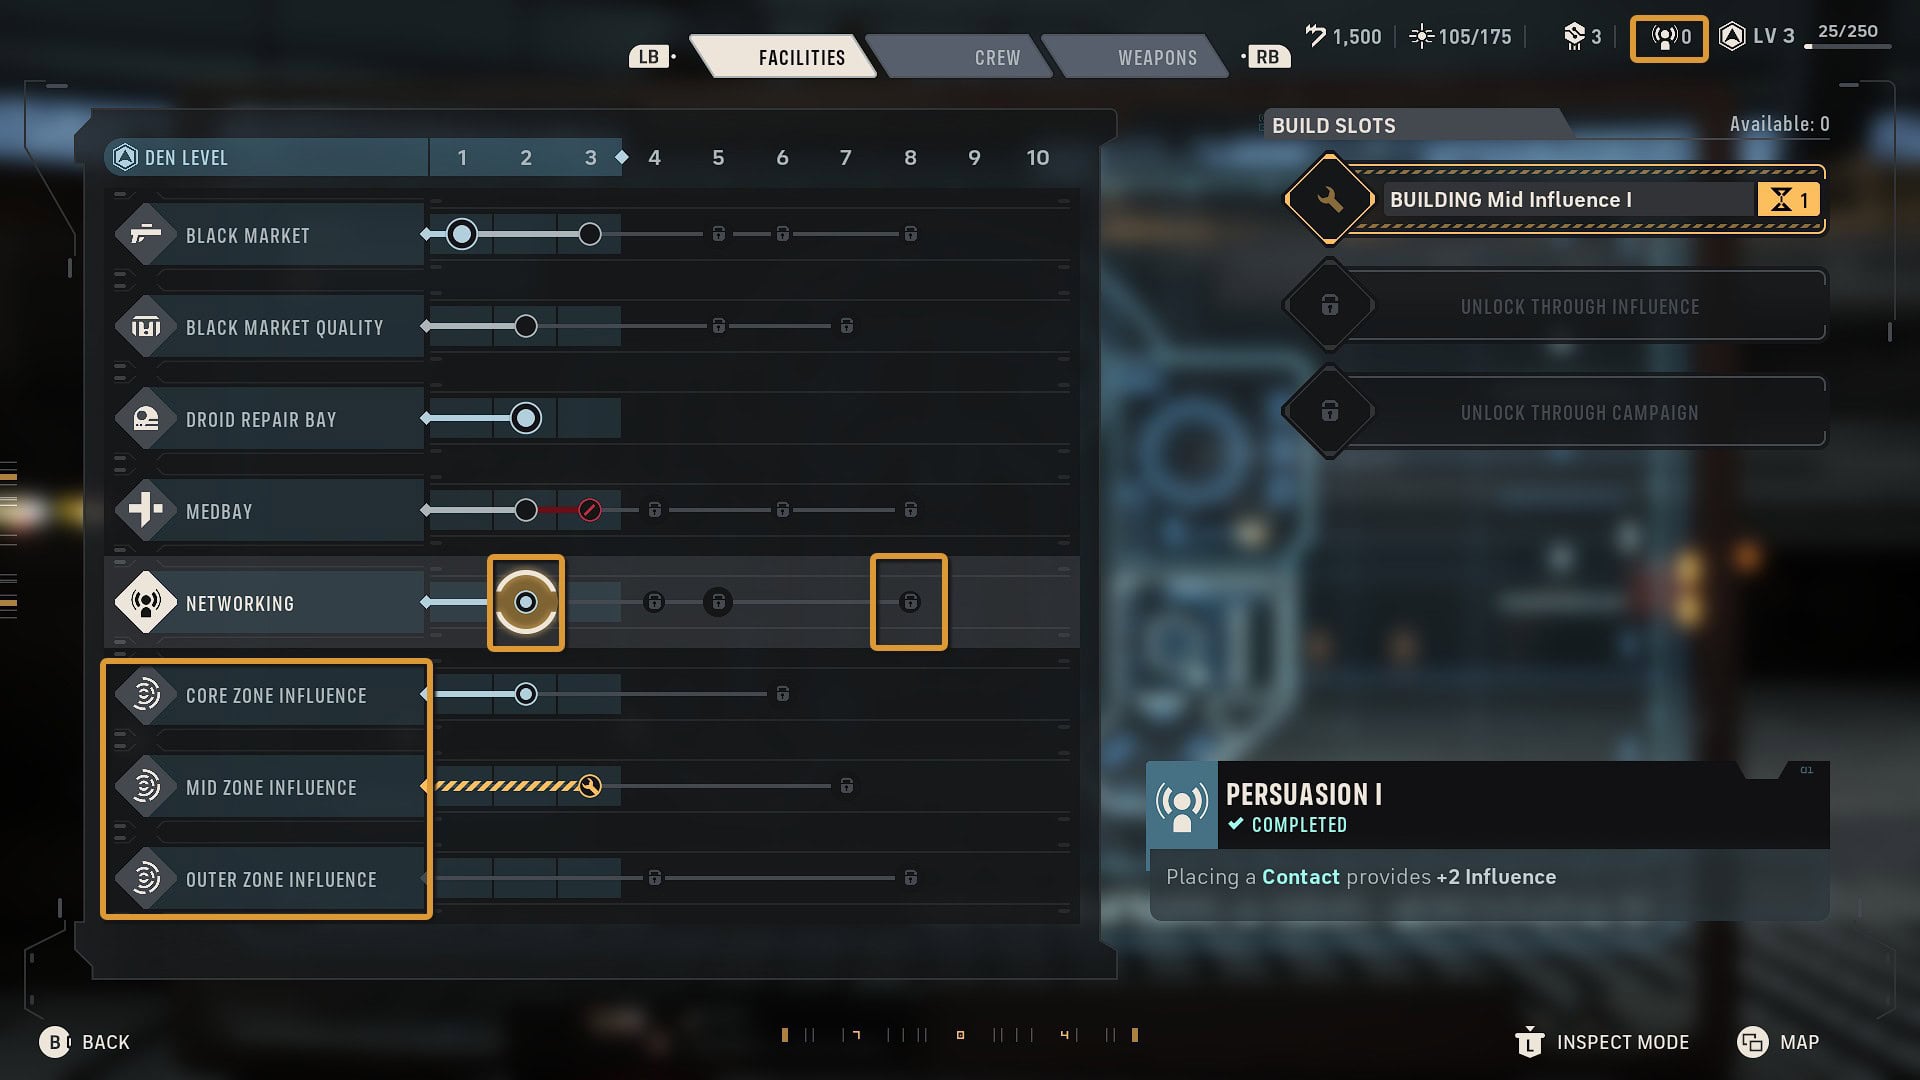
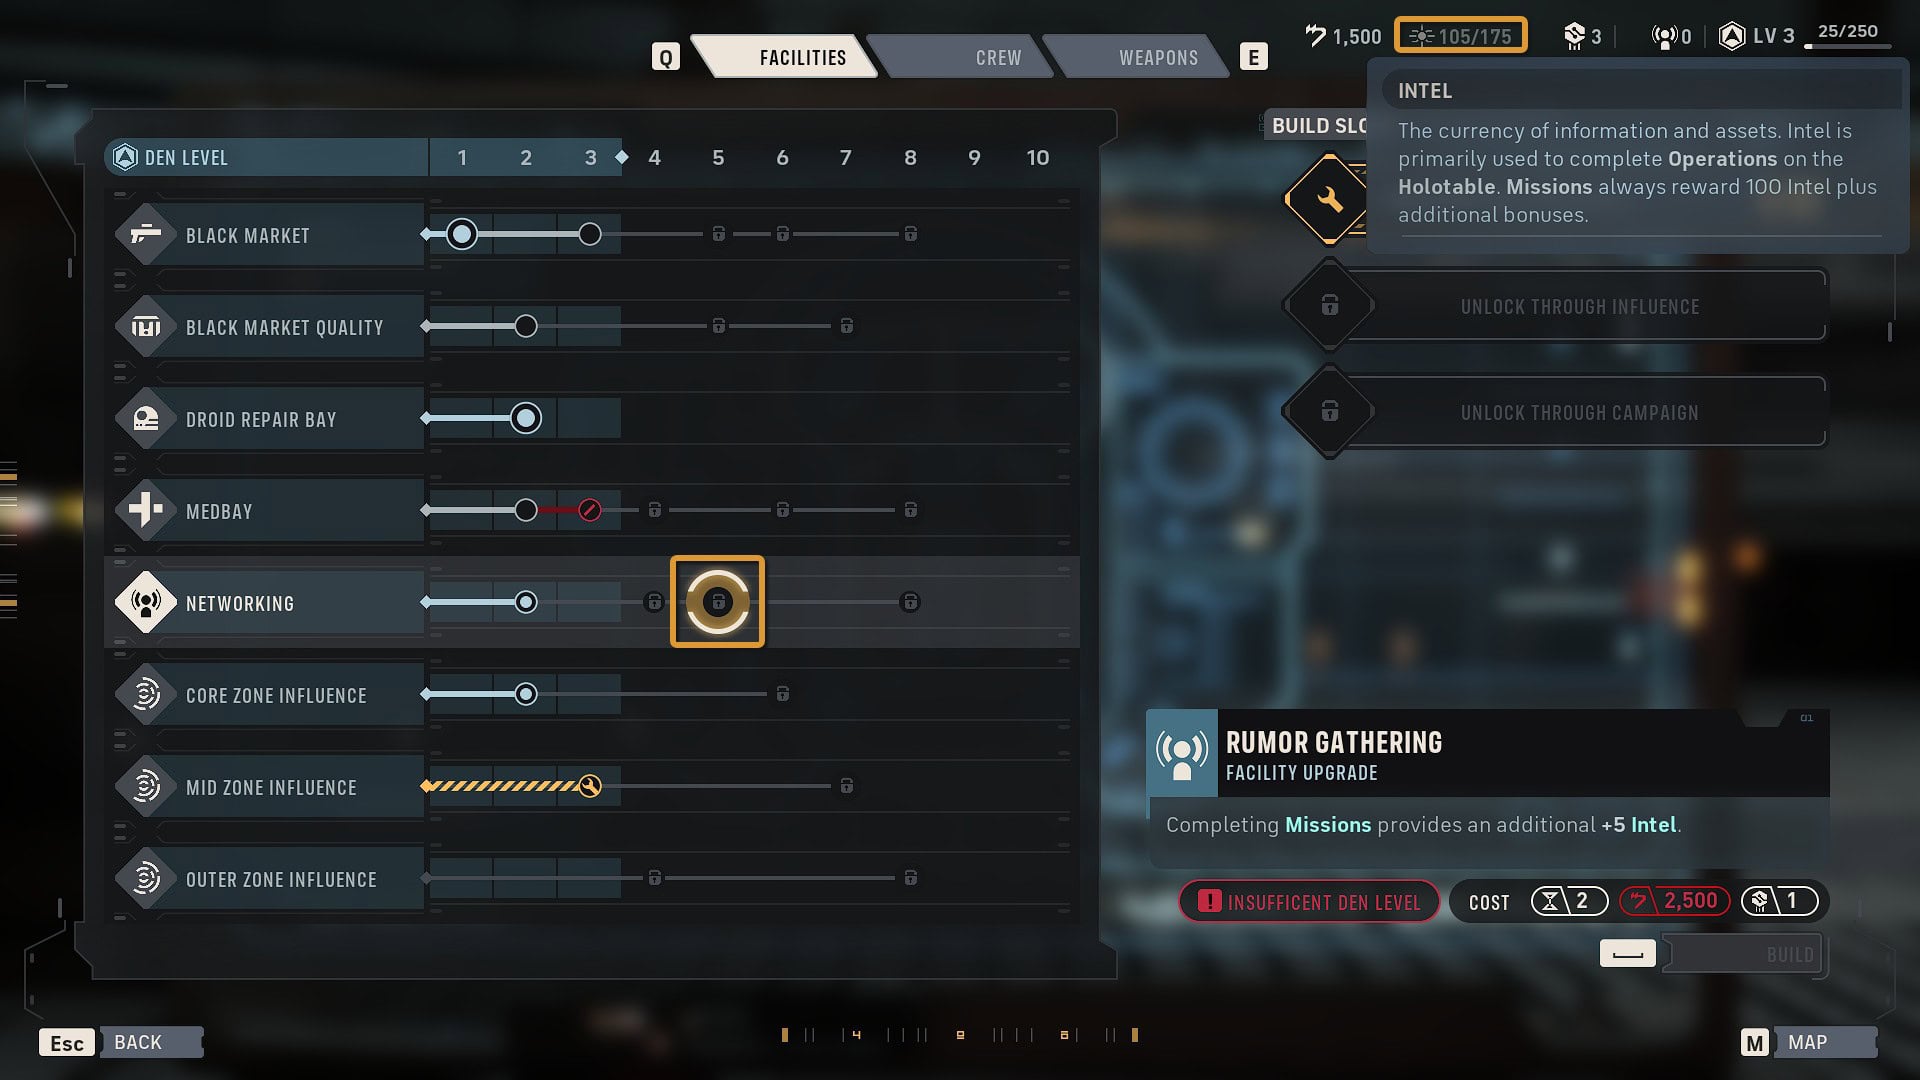
Each Contact grants you 7 Influence by default. This amount can increase by unlocking the first and fourth Networking nodes in the Upgrade Station. You can also receive Influence by unlocking nodes in the Zone Influence sections.
Operations Tab
This is the first tab you’ll see whenever you open the Holotable. Operations are assignments in which you’ll use Intel to resolve issues around the galaxy that need a less direct approach.
Everything here happens on the board, you do not get to play with your Operators directly. You assign them, and wait to see the results they produce.
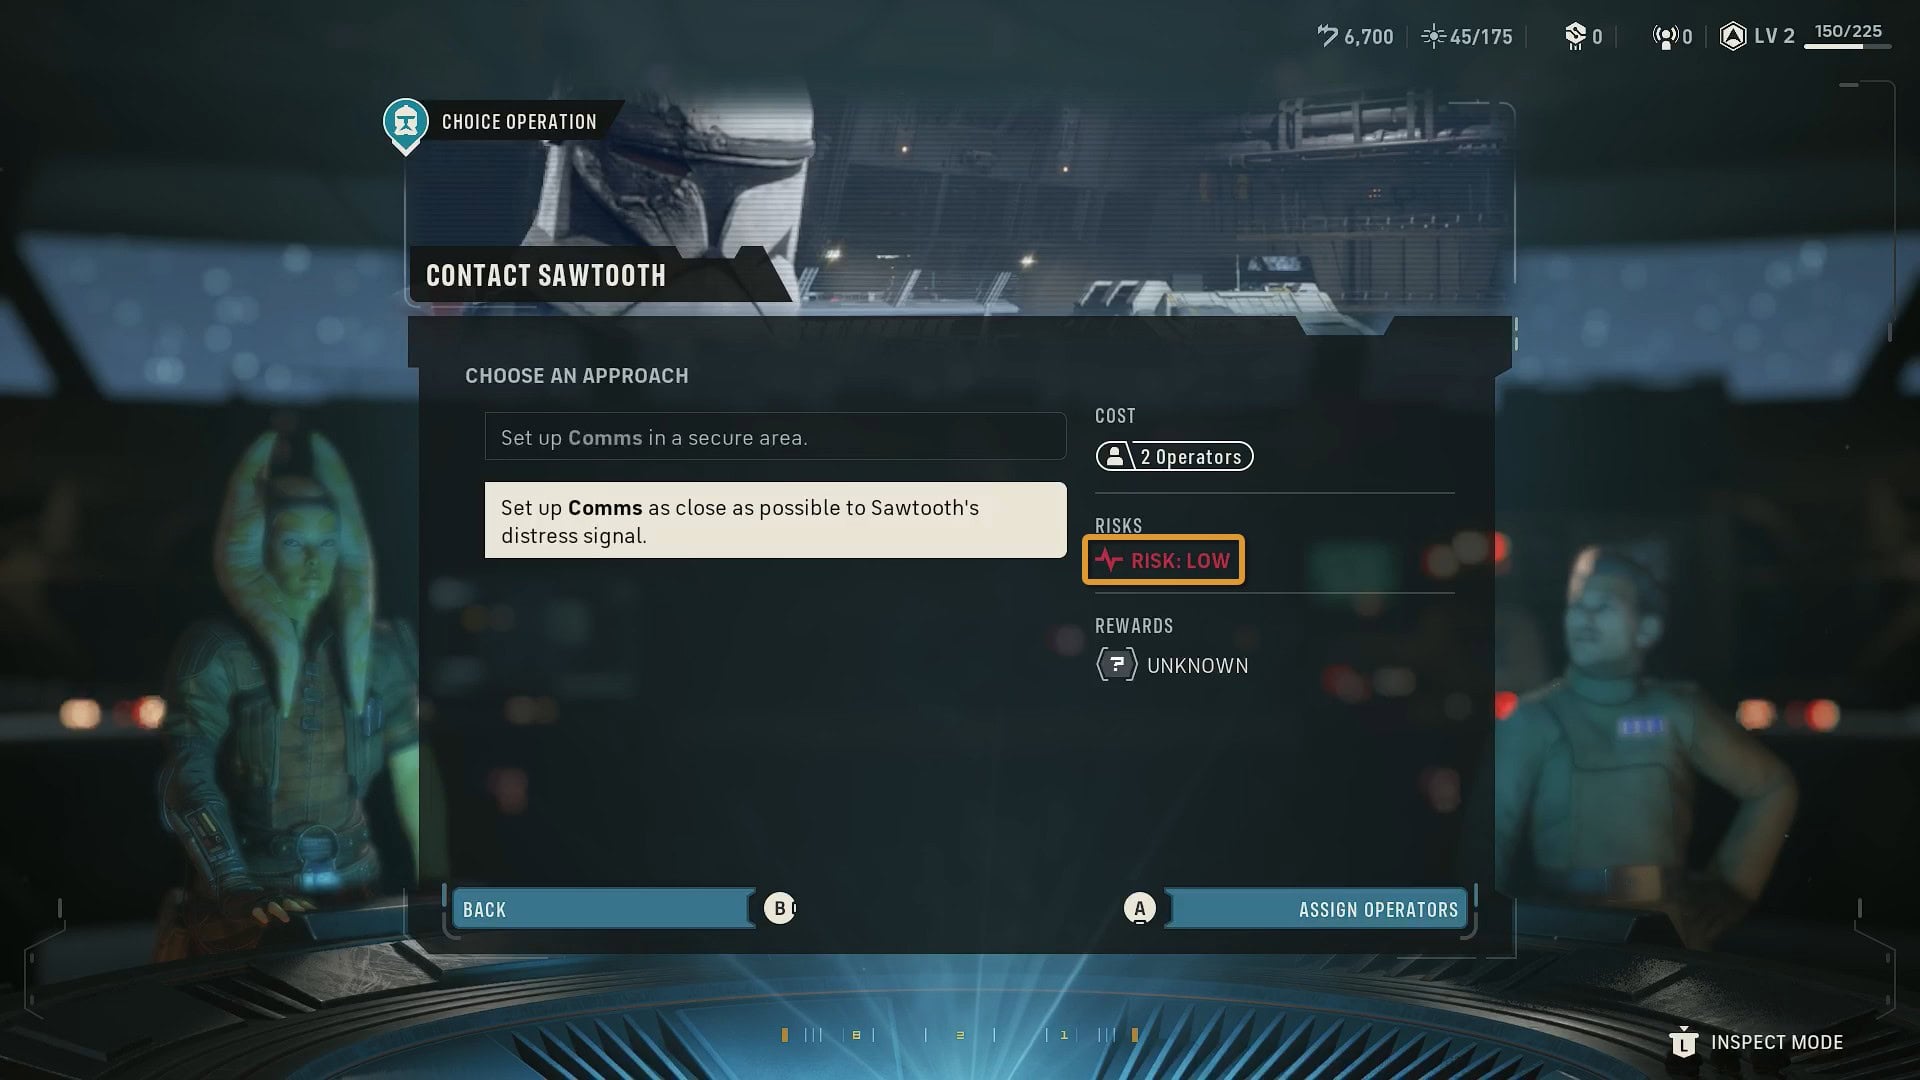
Some Operations will play out just by paying its Intel cost. Others will ask you to make a choice between multiple options and your rewards will vary depending on what you choose. When this is the case, the rewards for the Operation will be stated as “Determined by your choices.”
In some cases, you’ll have to assign Operators to execute an Operation. Since Operations resolve immediately, those Operators will stay available to deploy on Missions. The only drawback is that some Operations carry a risk of injury for the involved Operators.
Intel is a resource you’ll receive mostly from completing Missions. You’ll see how much Intel you have at the top of the screen to the right of your Credits.
You can increase the amount of Intel you receive after each Mission by unlocking the Tier 2 reward from the Cresh Zone and the second Networking node in the Upgrade Station.
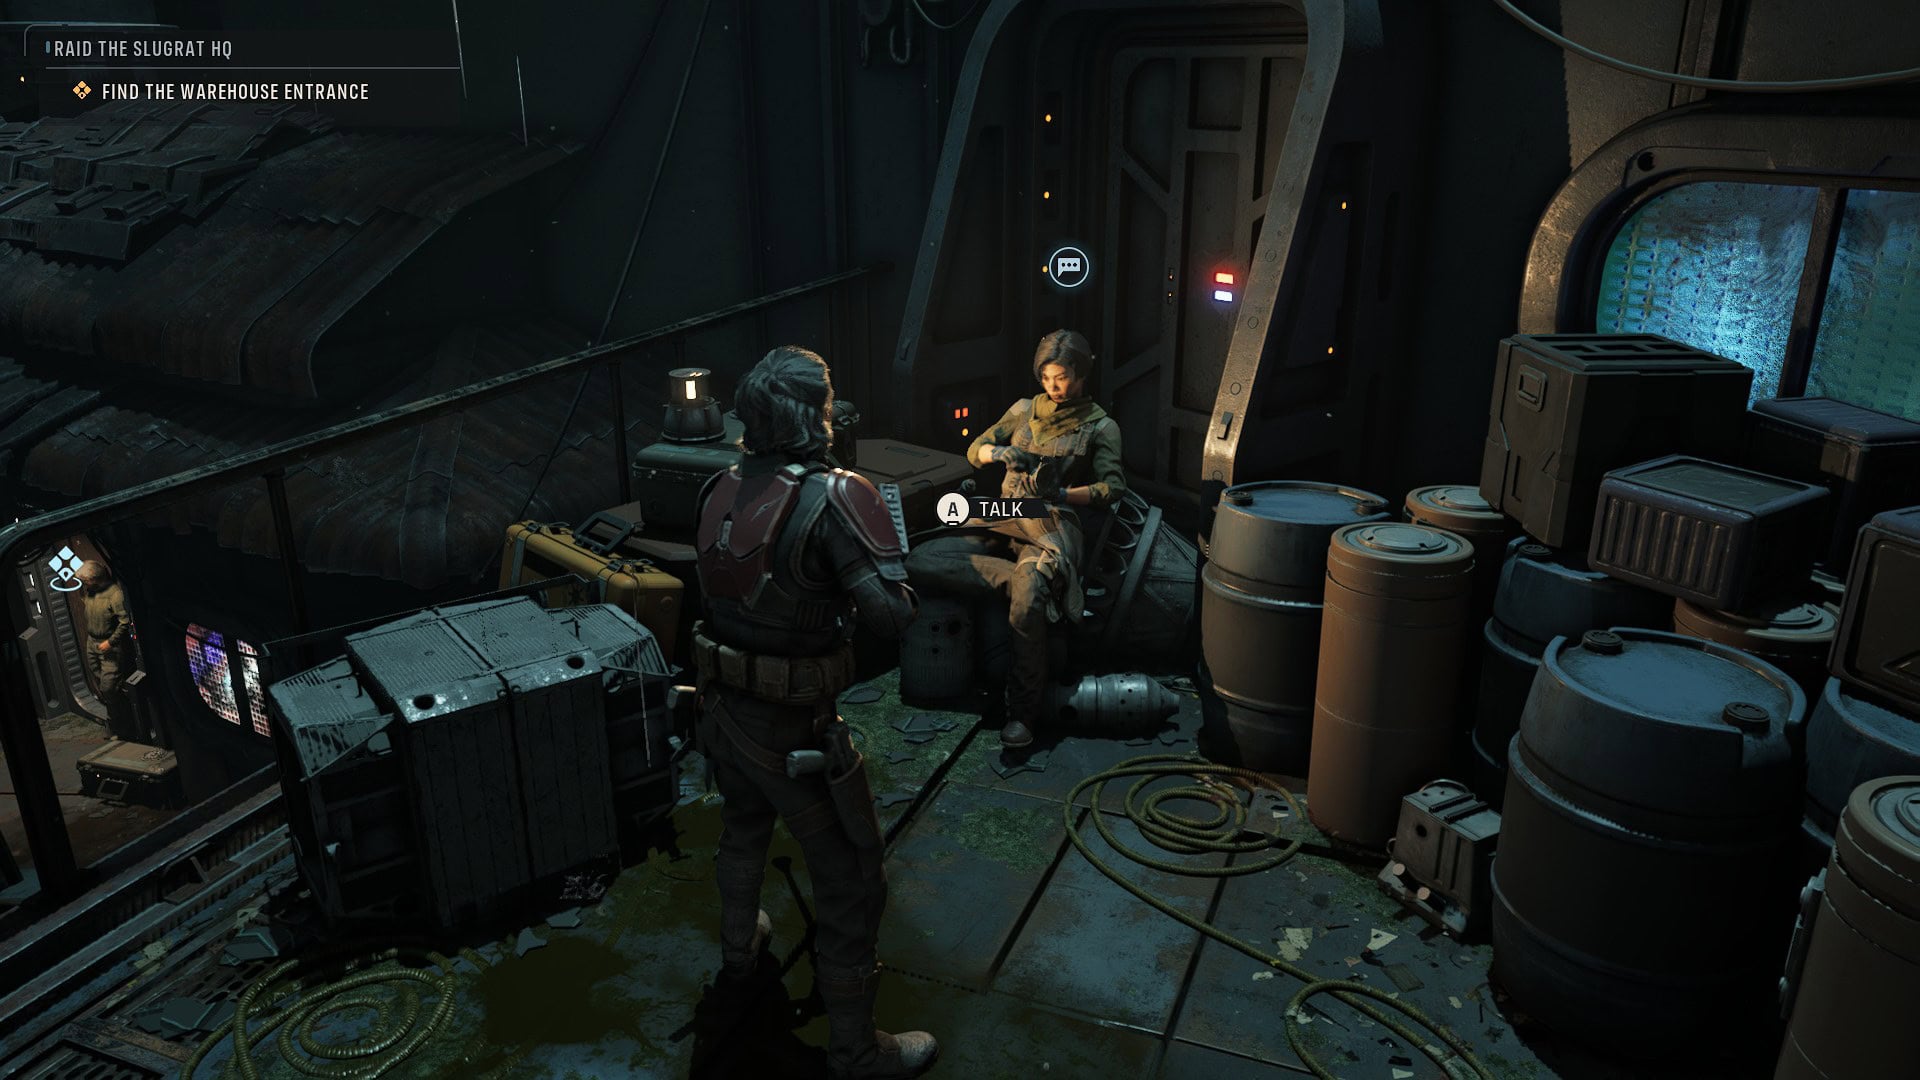
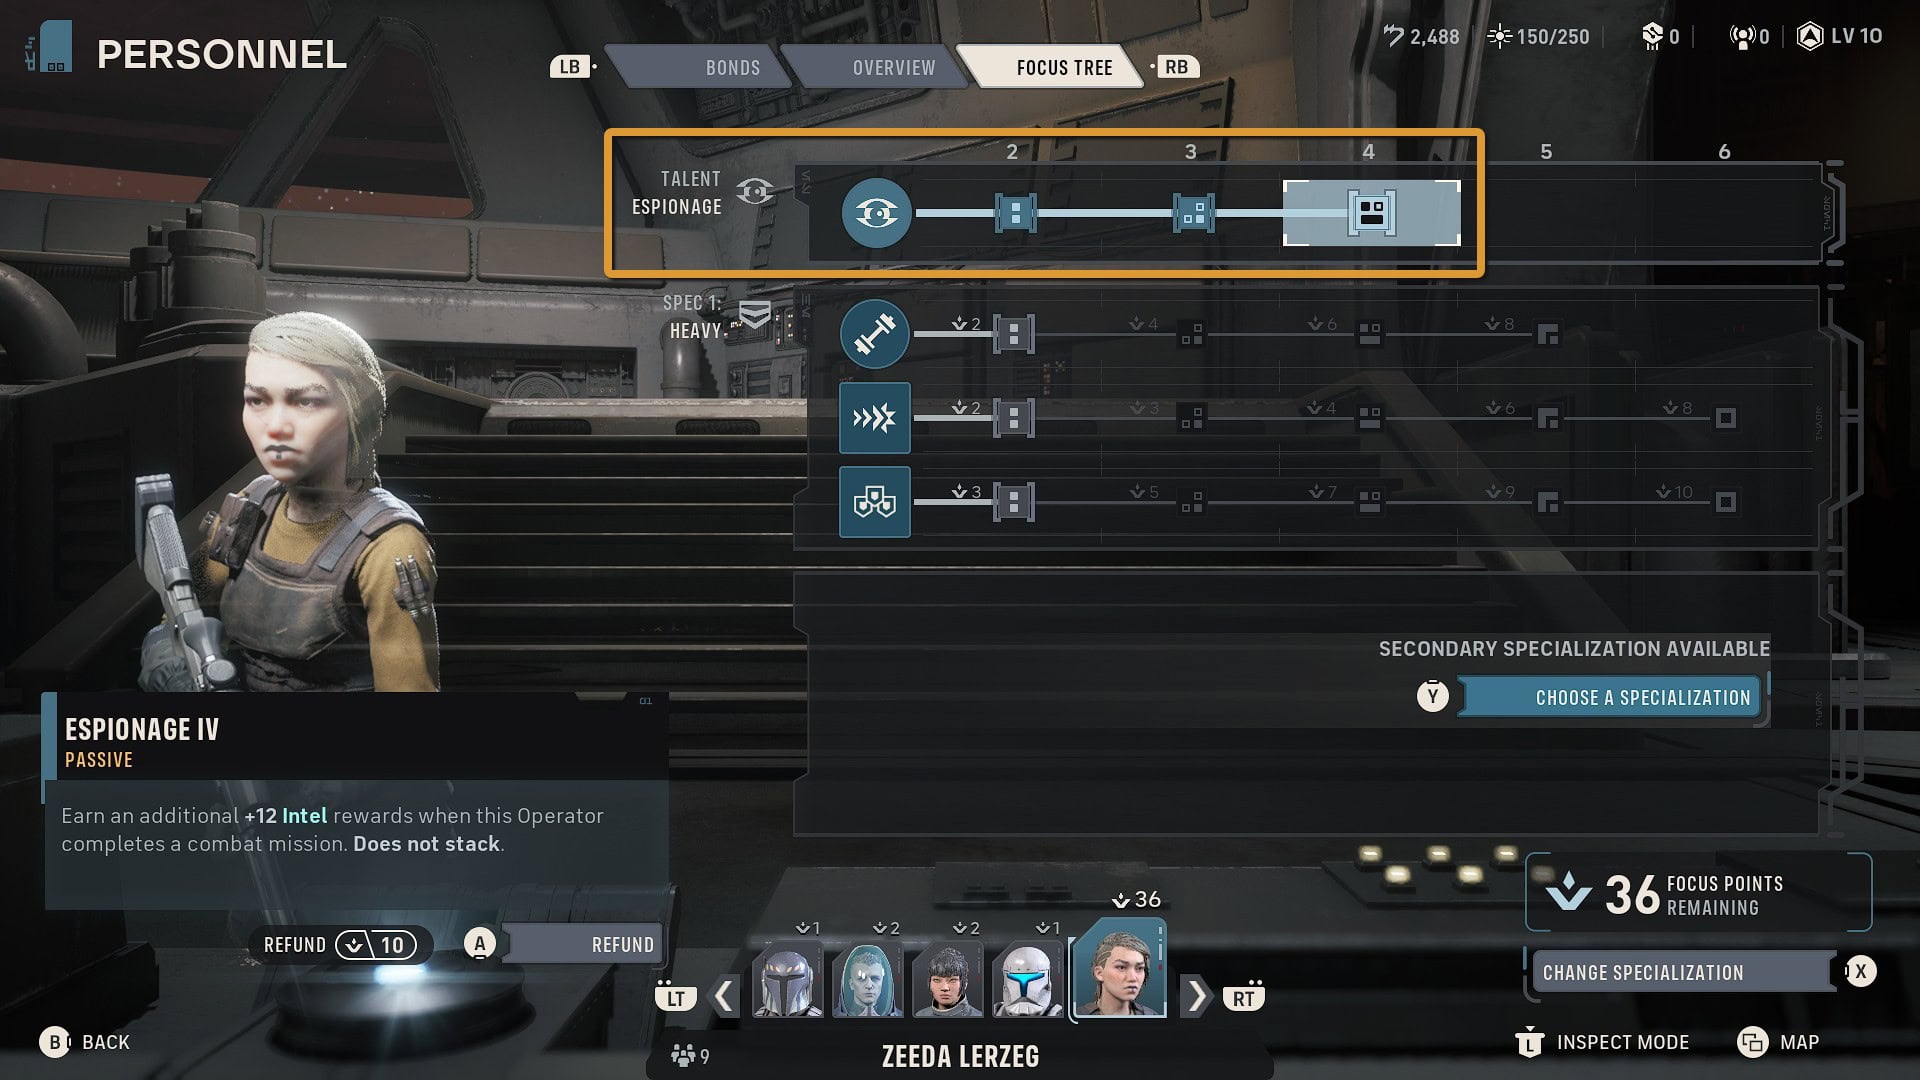
The last two Intel sources are interacting with NPCs or objects while on Critical Missions and deploying a unit with the Espionage talent on Missions. The talent grants additional Intel depending on its rank.
Executing any Operation will cost you anywhere from 25 to 100 Intel. All Operations have an expiration timer. When this timer reaches 1, it’s your last chance to execute it before it disappears from the Holotable in the next cycle.
Something to keep in mind when choosing which Operations to execute is their category: Regular Operations, Authored Operator Operations, Critical Operations, and Crisis Operations.
Regular Operations are the most common. They don’t affect the story in any way and are therefore the least important. Execute them based on the Influence Zone you want to grow.
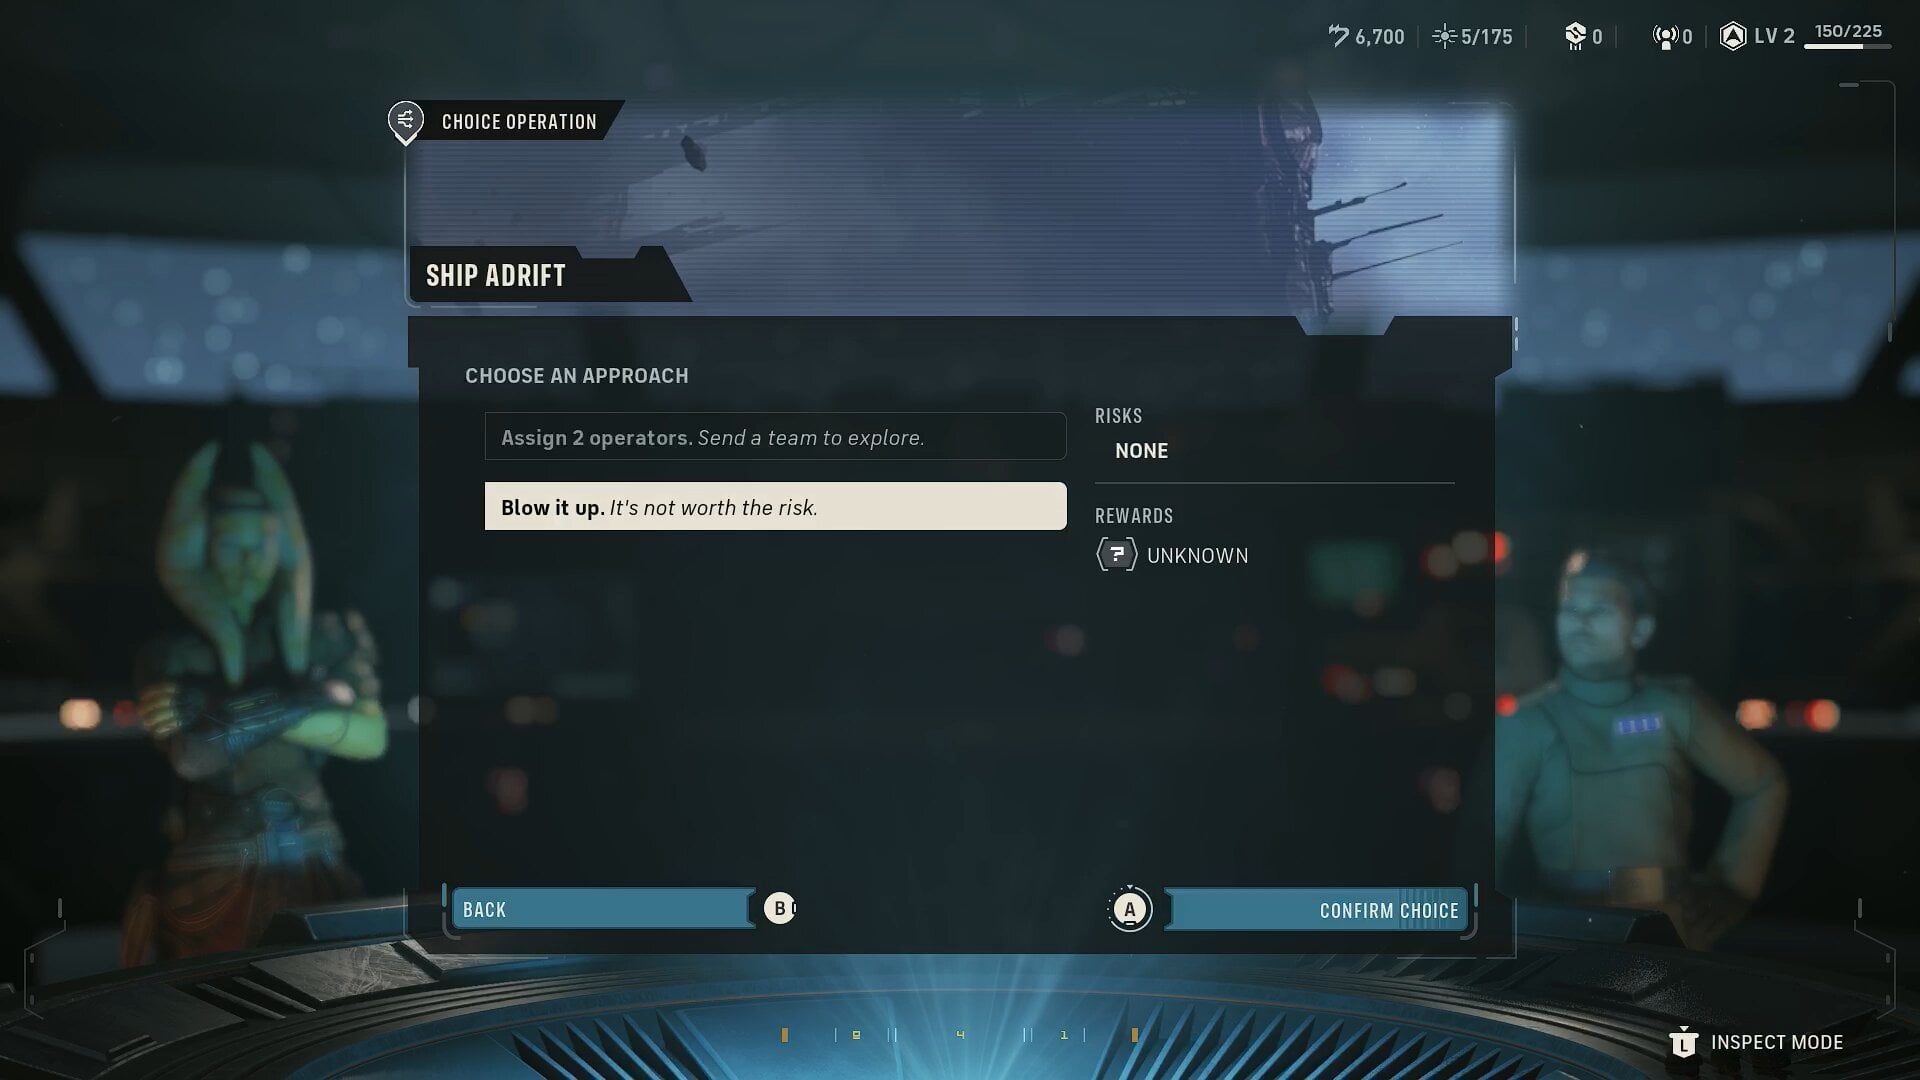
Authored Operator Operations are given to you at certain points during your playthrough by talking to the Authored Operators on your team when visiting The Den. You’ll need to execute these to progress their respective storylines.
You really want to execute these, especially if you have Authored Operators on your team. Completing them can grant you very good items and a Bond Level increase.
Authored Operators are those who join you and show up as part of the main story, such as Trick, Cly Kullervo, and Jae Mordant to name a few.
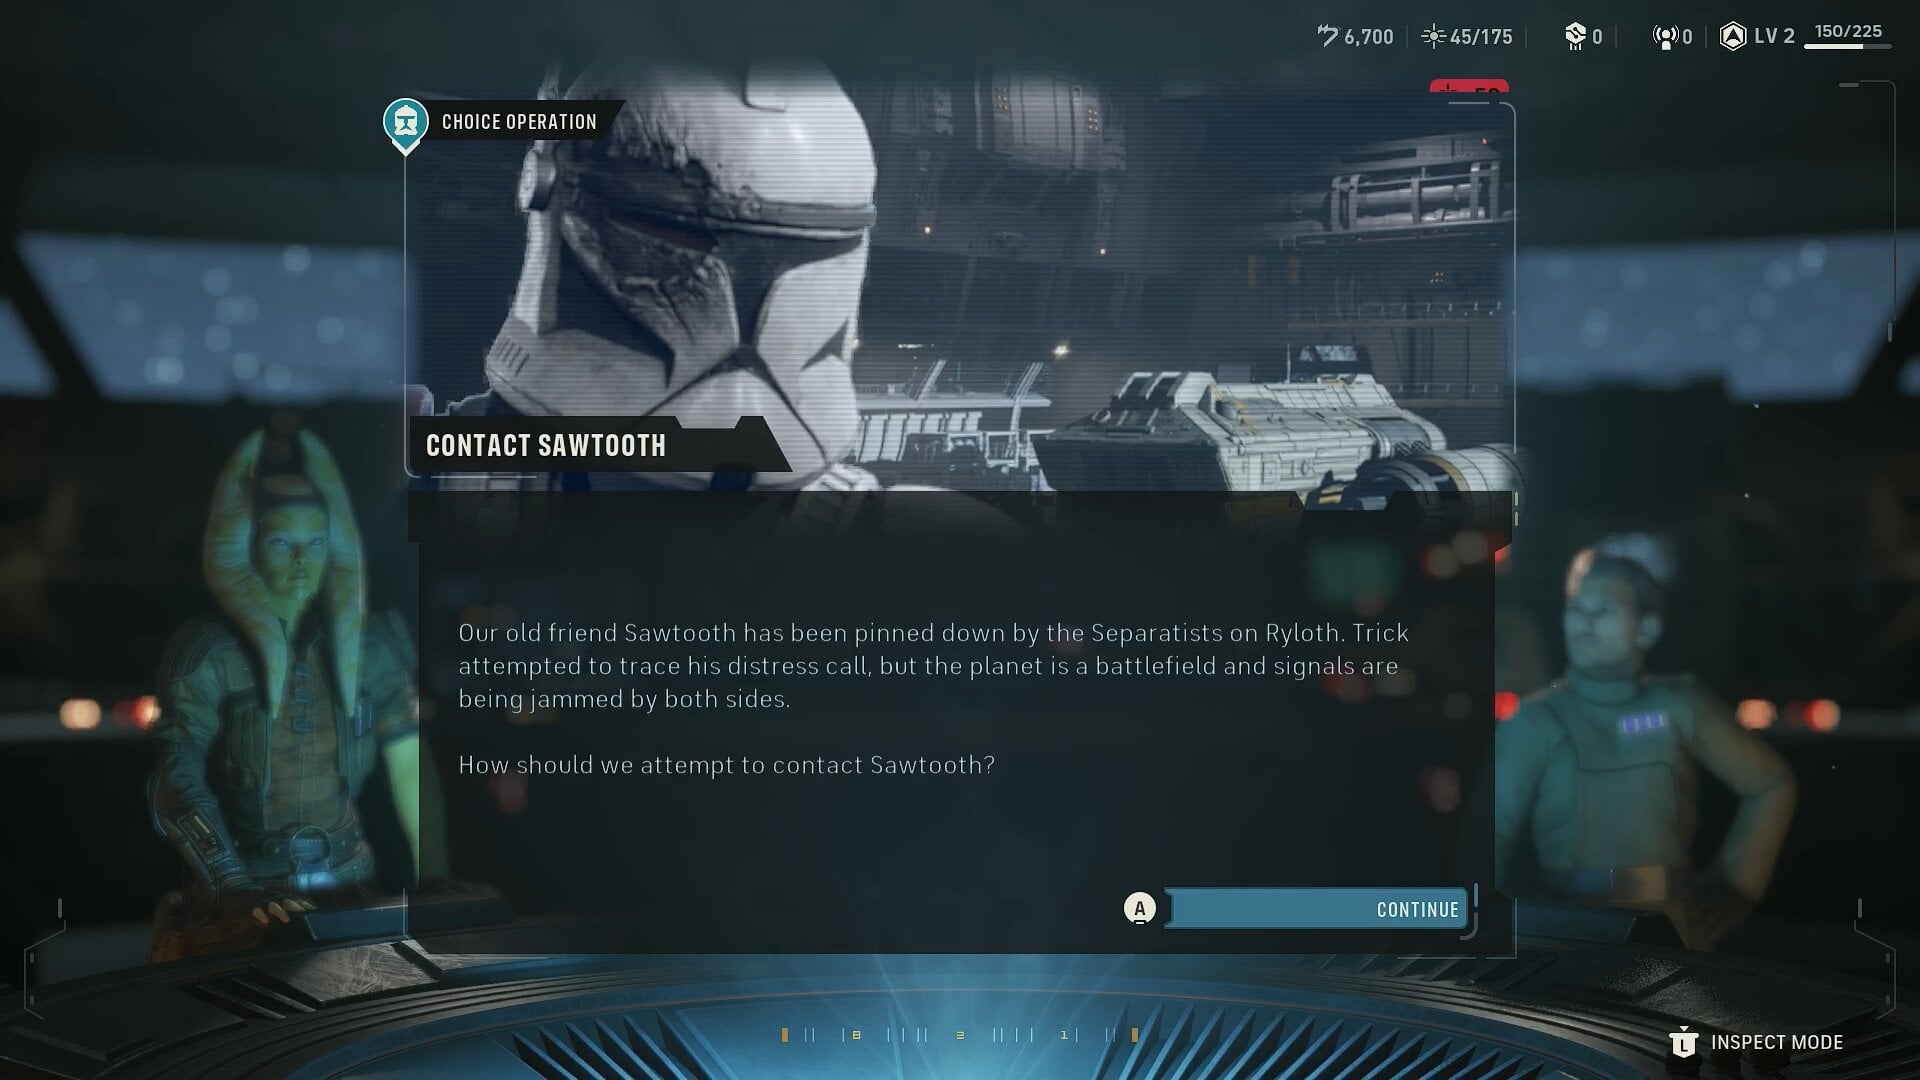
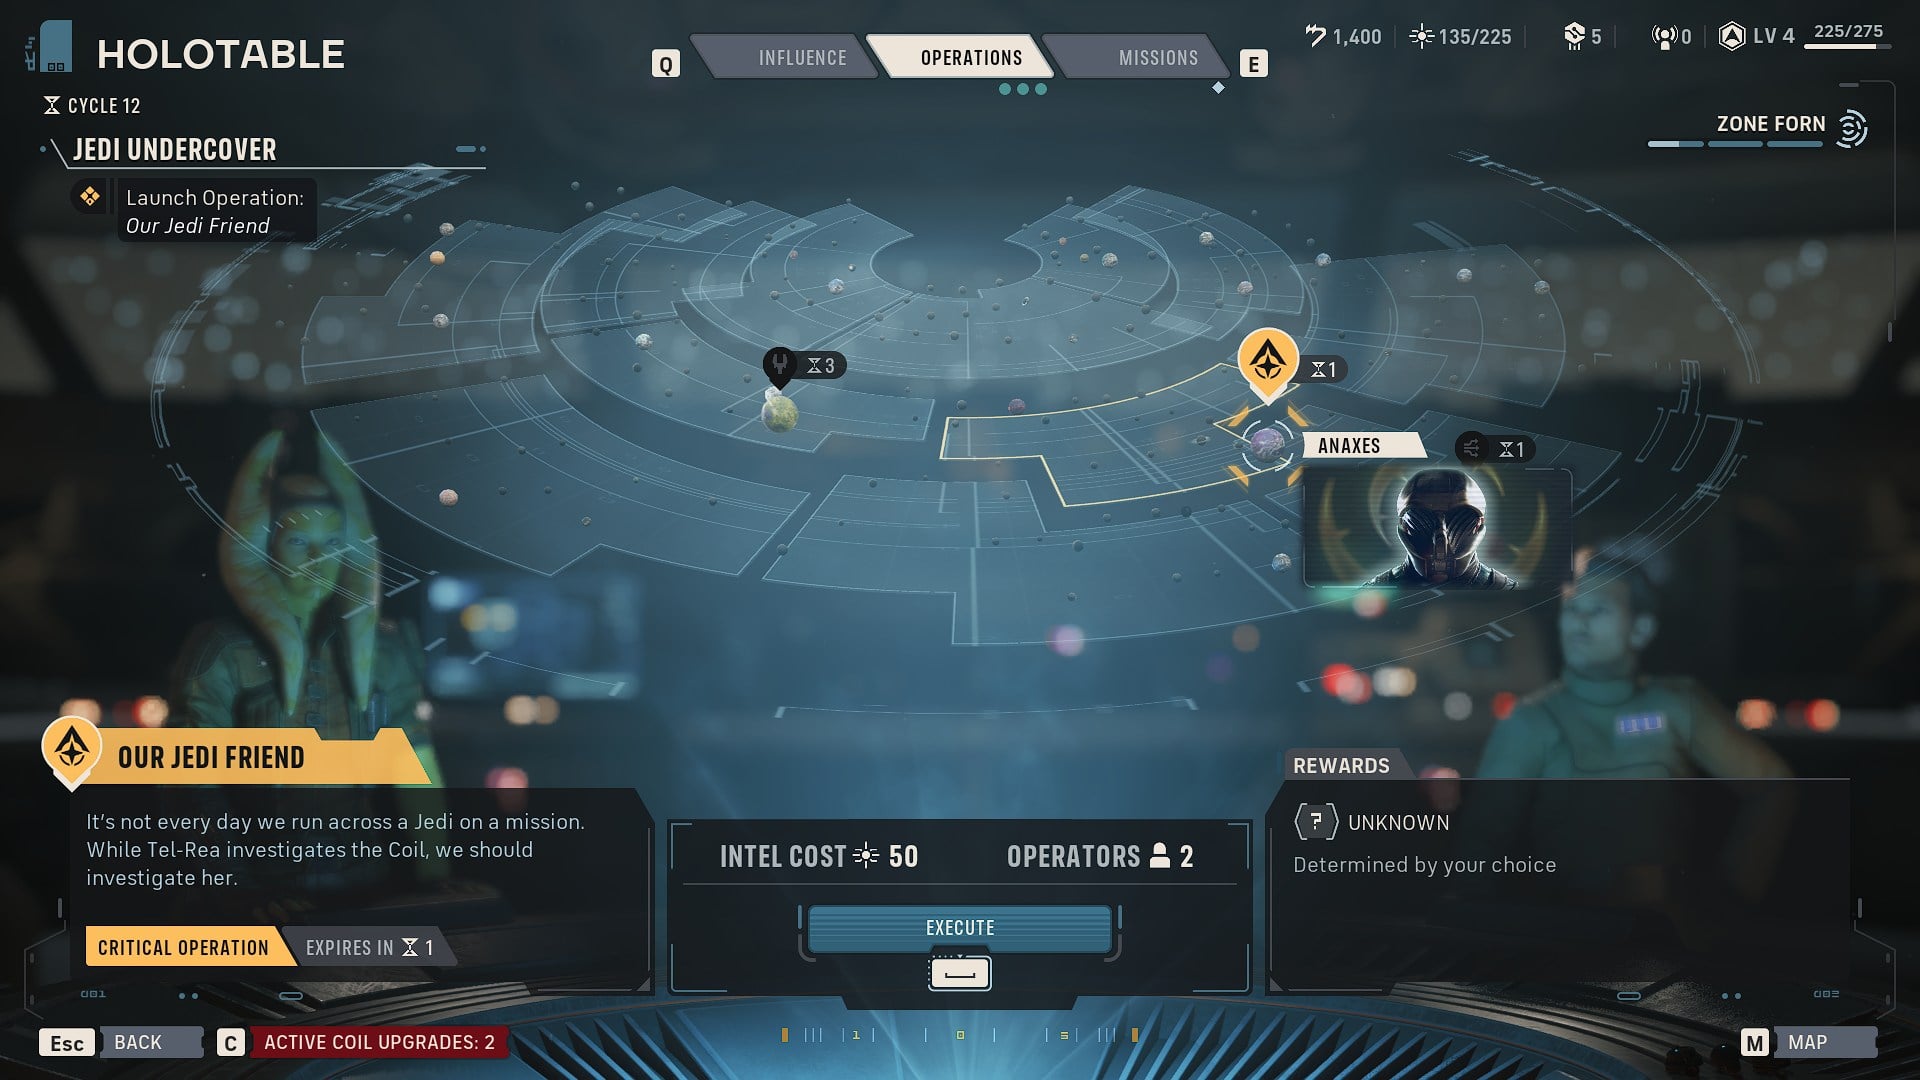
Critical Operations are tied to the Main Story. They’re mandatory to complete and very often have an expiration timer of 1, meaning that in the cycle they appear you’re forced to spend your Intel on them rather than choosing freely.
Crisis Operations are linked to the Infinite Coil. Every once in a while, you’ll receive an alert reading “Coil Activity Detected” and either Crisis Operations or Missions will appear in the Holotable.
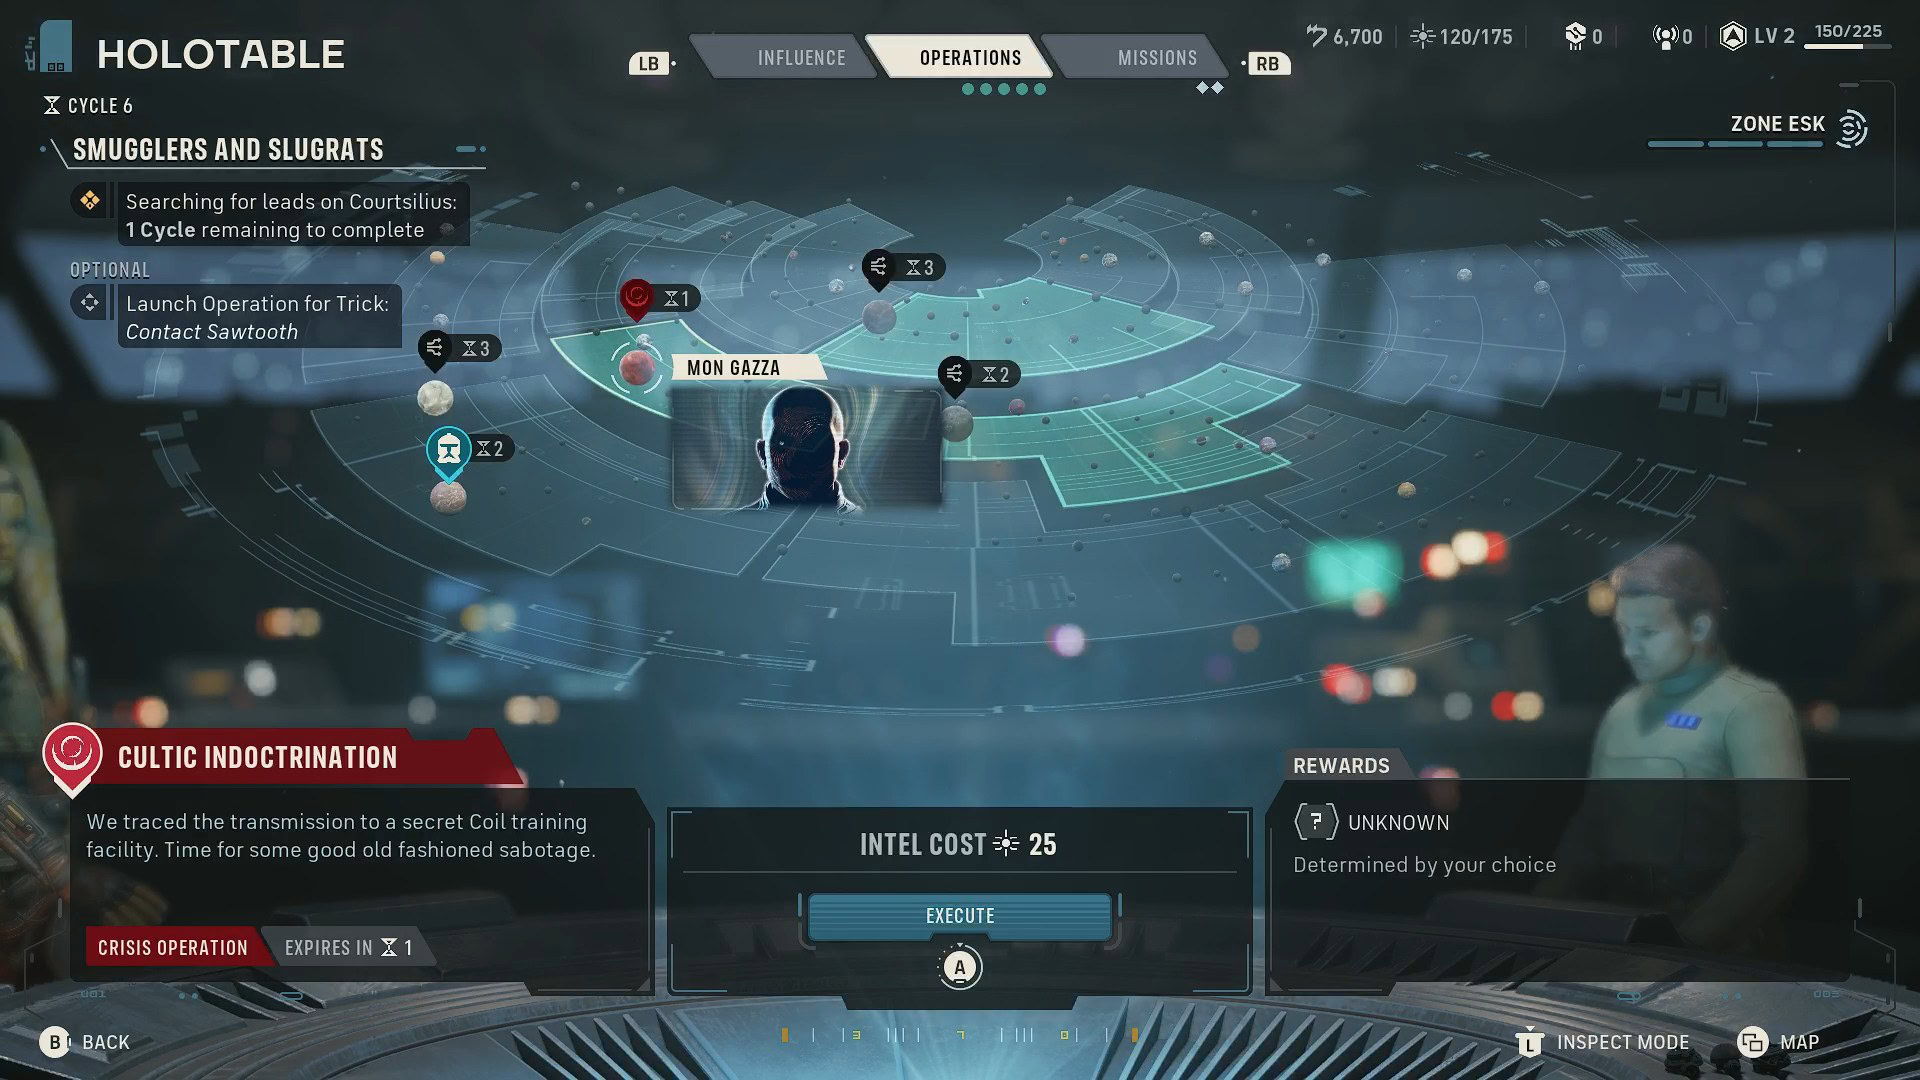
Each of these will show two permanent buffs for the Infinite Coil units. You’ll choose one to block and the other will be applied to the relevant enemy Coil unit for the rest of your playthrough.
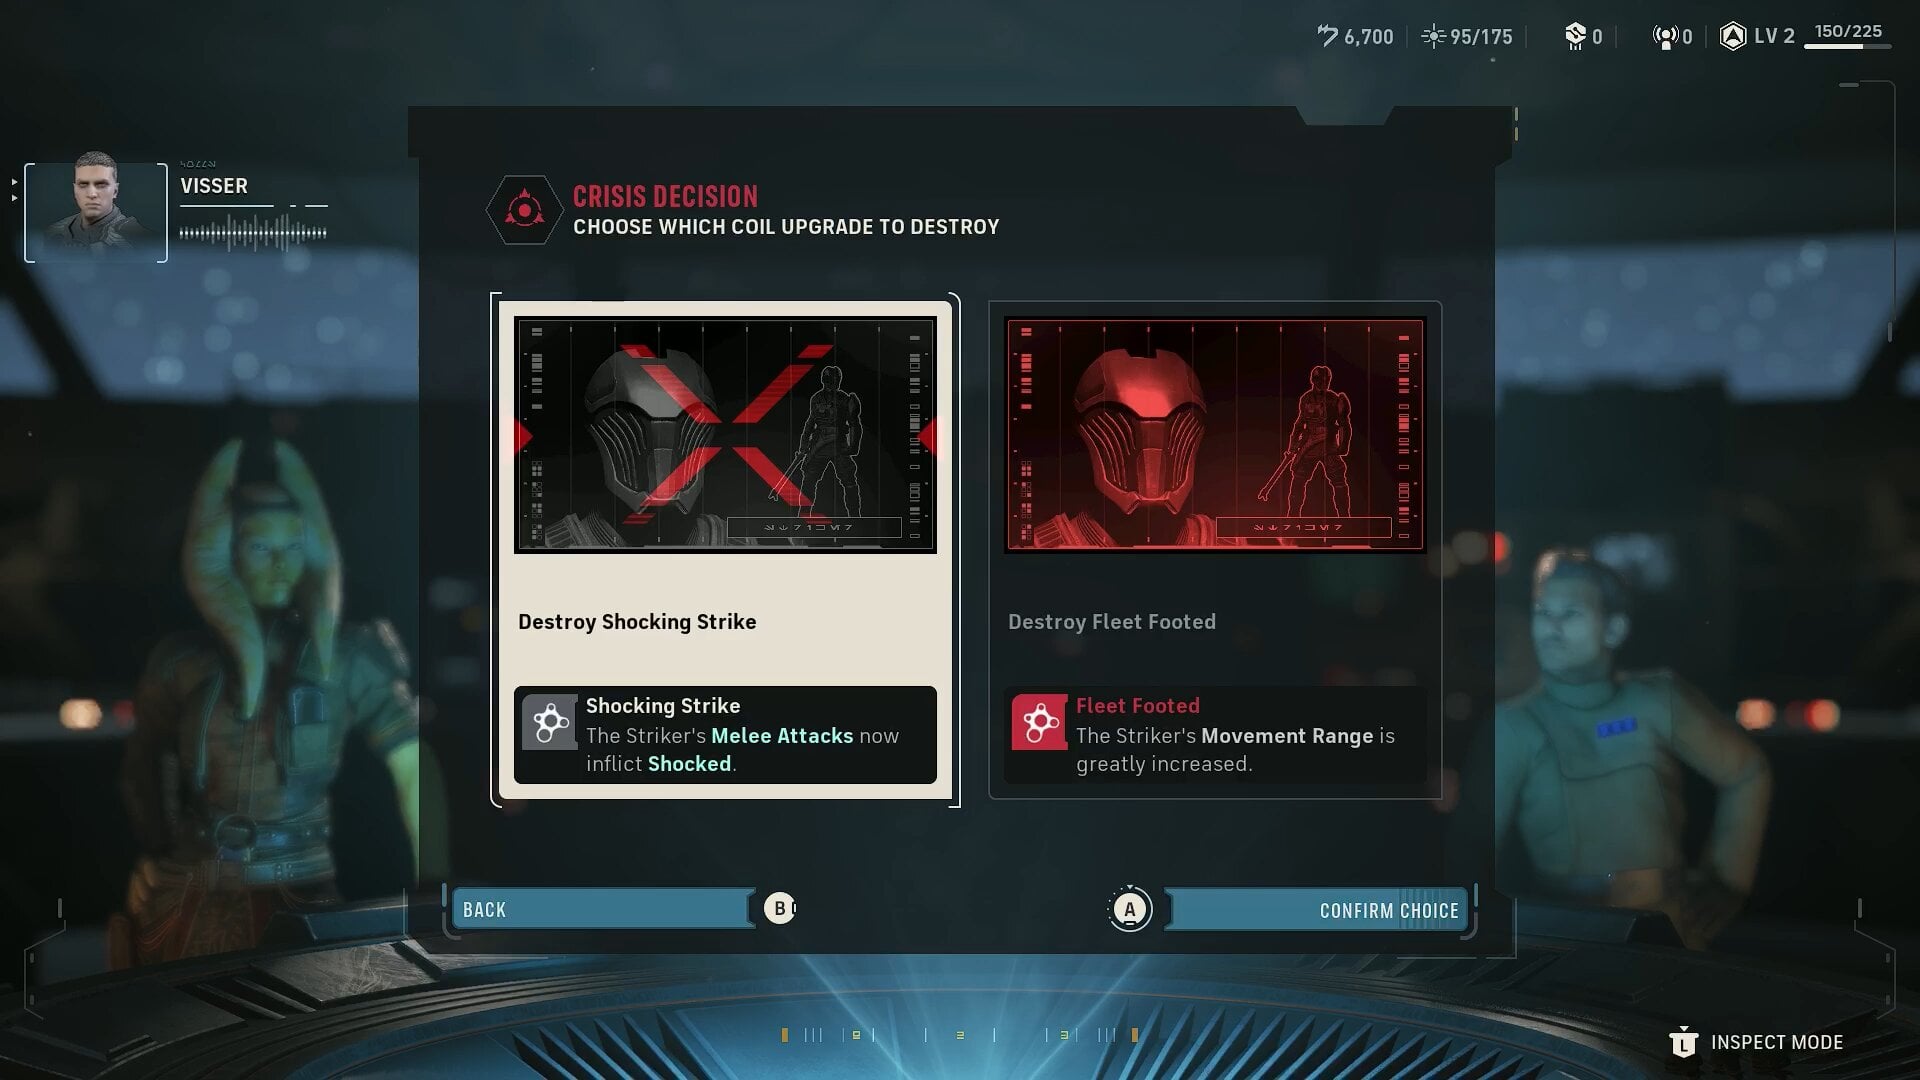
You can choose to ignore Crisis Operations, but I wouldn’t recommend it. If you do, both permanent buffs will be applied to the relevant Infinite Coil units. This can cause the Coil to become very strong, possibly making some tactics outright obsolete.
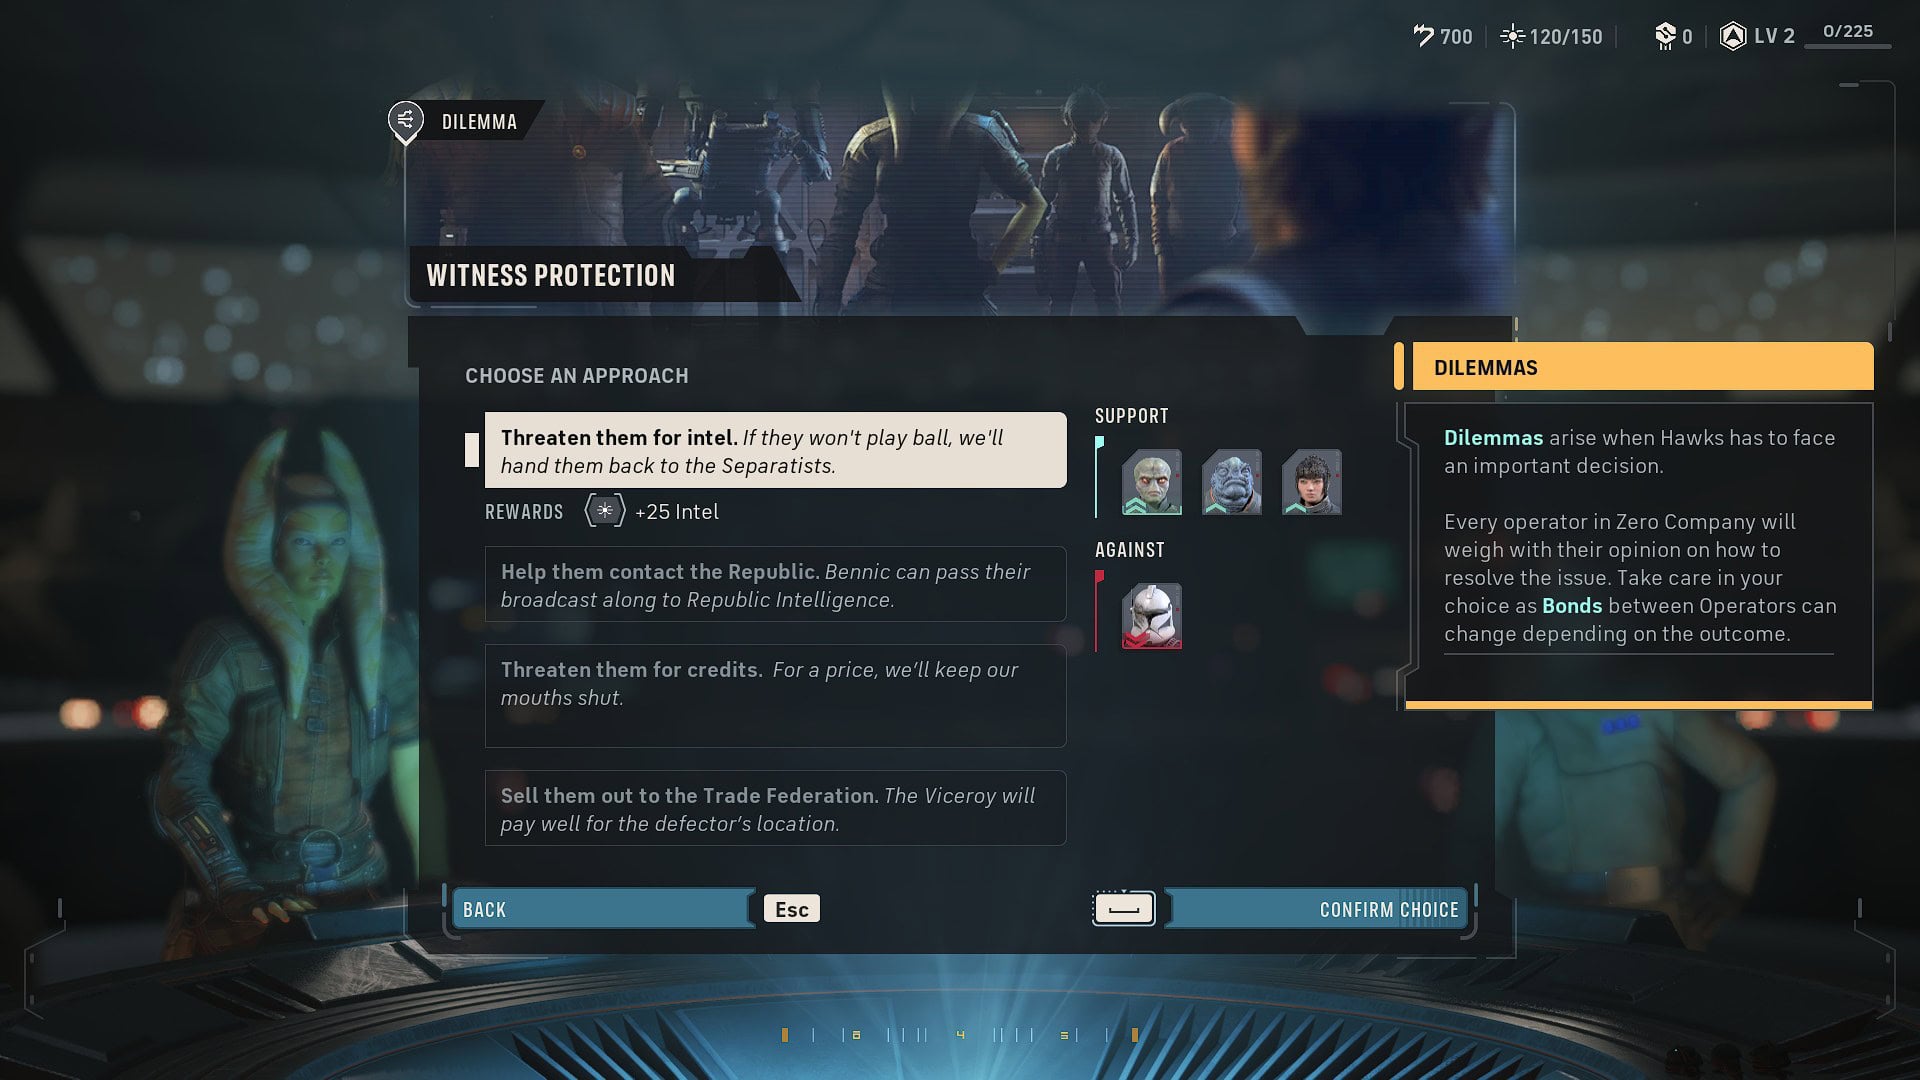
There is one additional type of “Operation”: Dilemmas. Dilemmas appear at certain parts of the story. Here you’ll have to make a choice between different options, which will change the rewards you receive and the Bonds that get strengthened or diminished.
Missions Tab
Every cycle in the game ends with you choosing which Mission you’ll execute. Once you choose one, you’ll deploy a four-man unit to carry it out in tactical gameplay.
Operations and Missions share some things in common, such as having expiration timers and the categories in which you can classify them based on importance: Regular Missions, Authored Operator Missions, Critical Missions, and Crisis Missions.
Regular Missions are the most common and are there for you to farm the resources you need and gain more XP for your Operators. In these Missions you’ll be able to deploy any combination of 4 Operators you want.
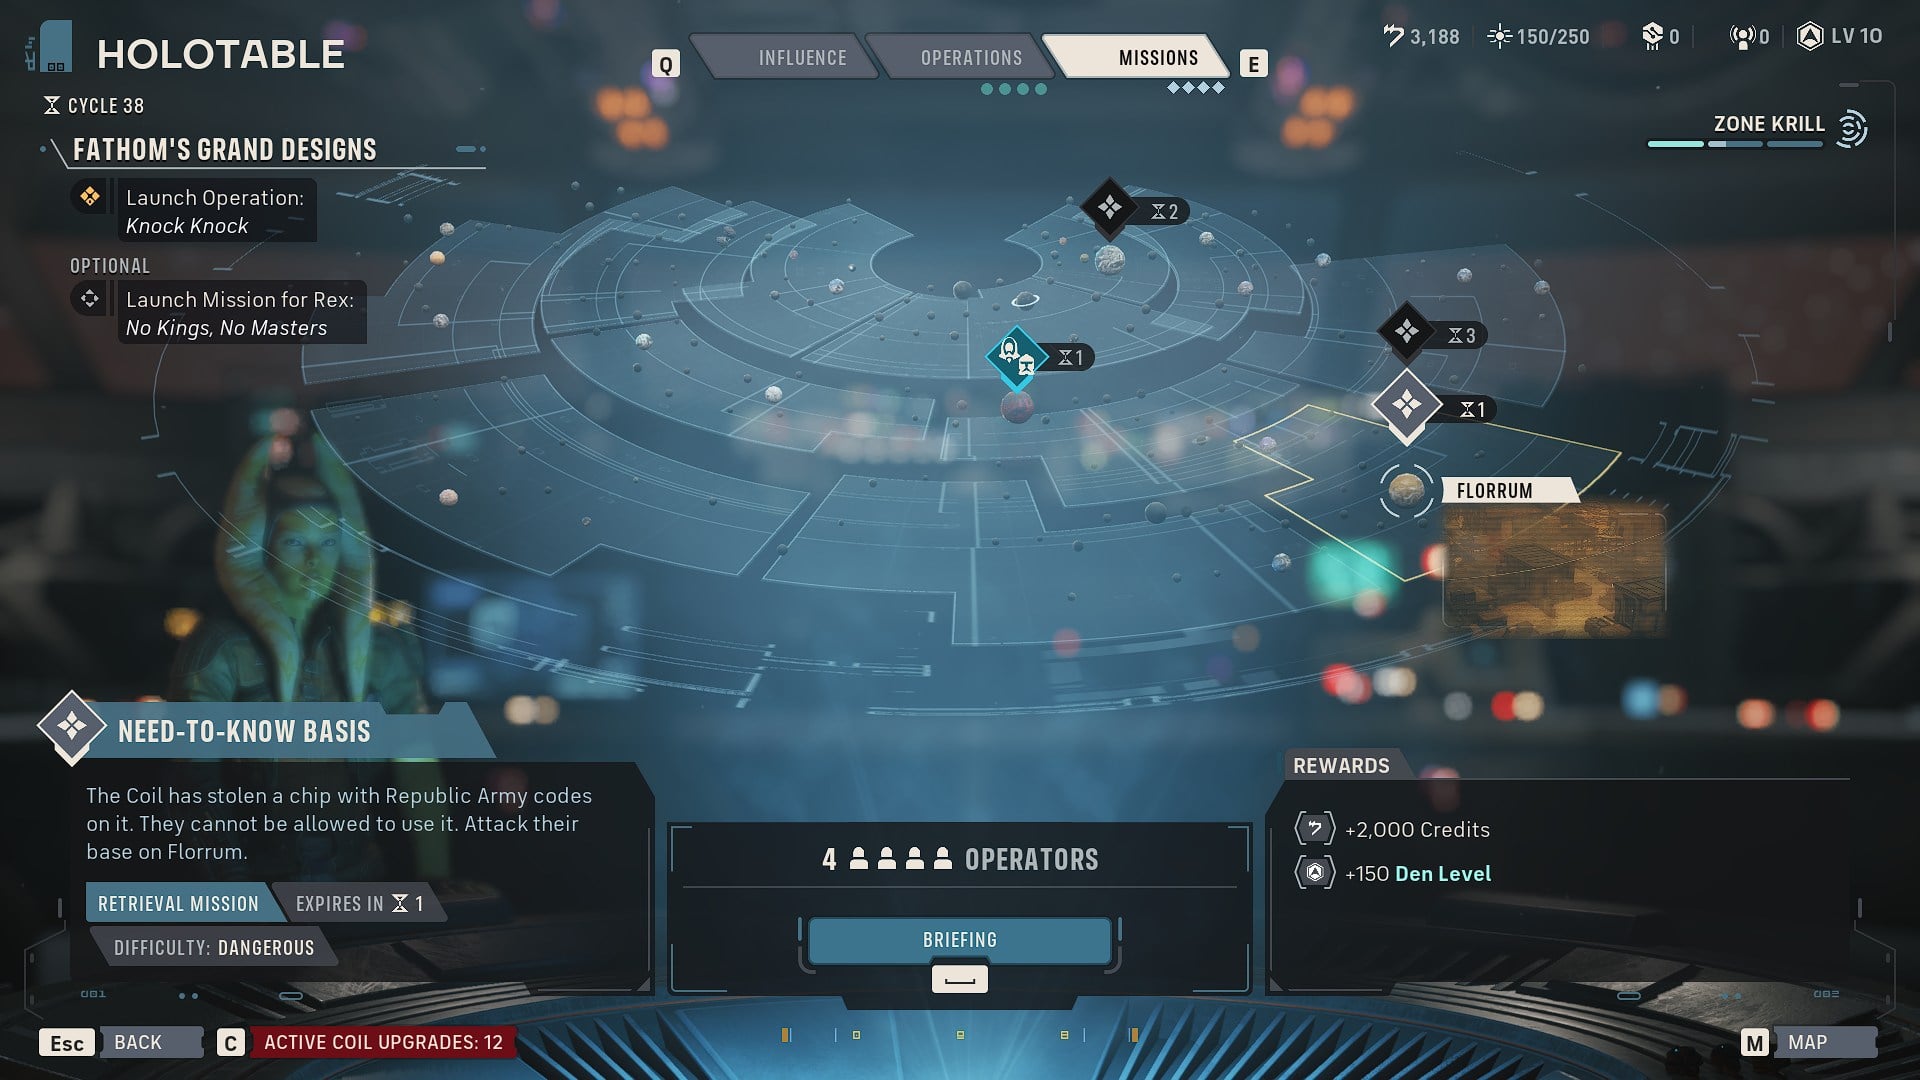
Authored Operator Missions are linked to the stories of these characters. On these Missions, you must send both Hawks and the relevant Authored Operator, giving you the option to choose the other 2 Operators.
Each Authored Operator has 2 possible Missions to unlock, and by executing them you can receive the respective achievements and reward for completing their stories.
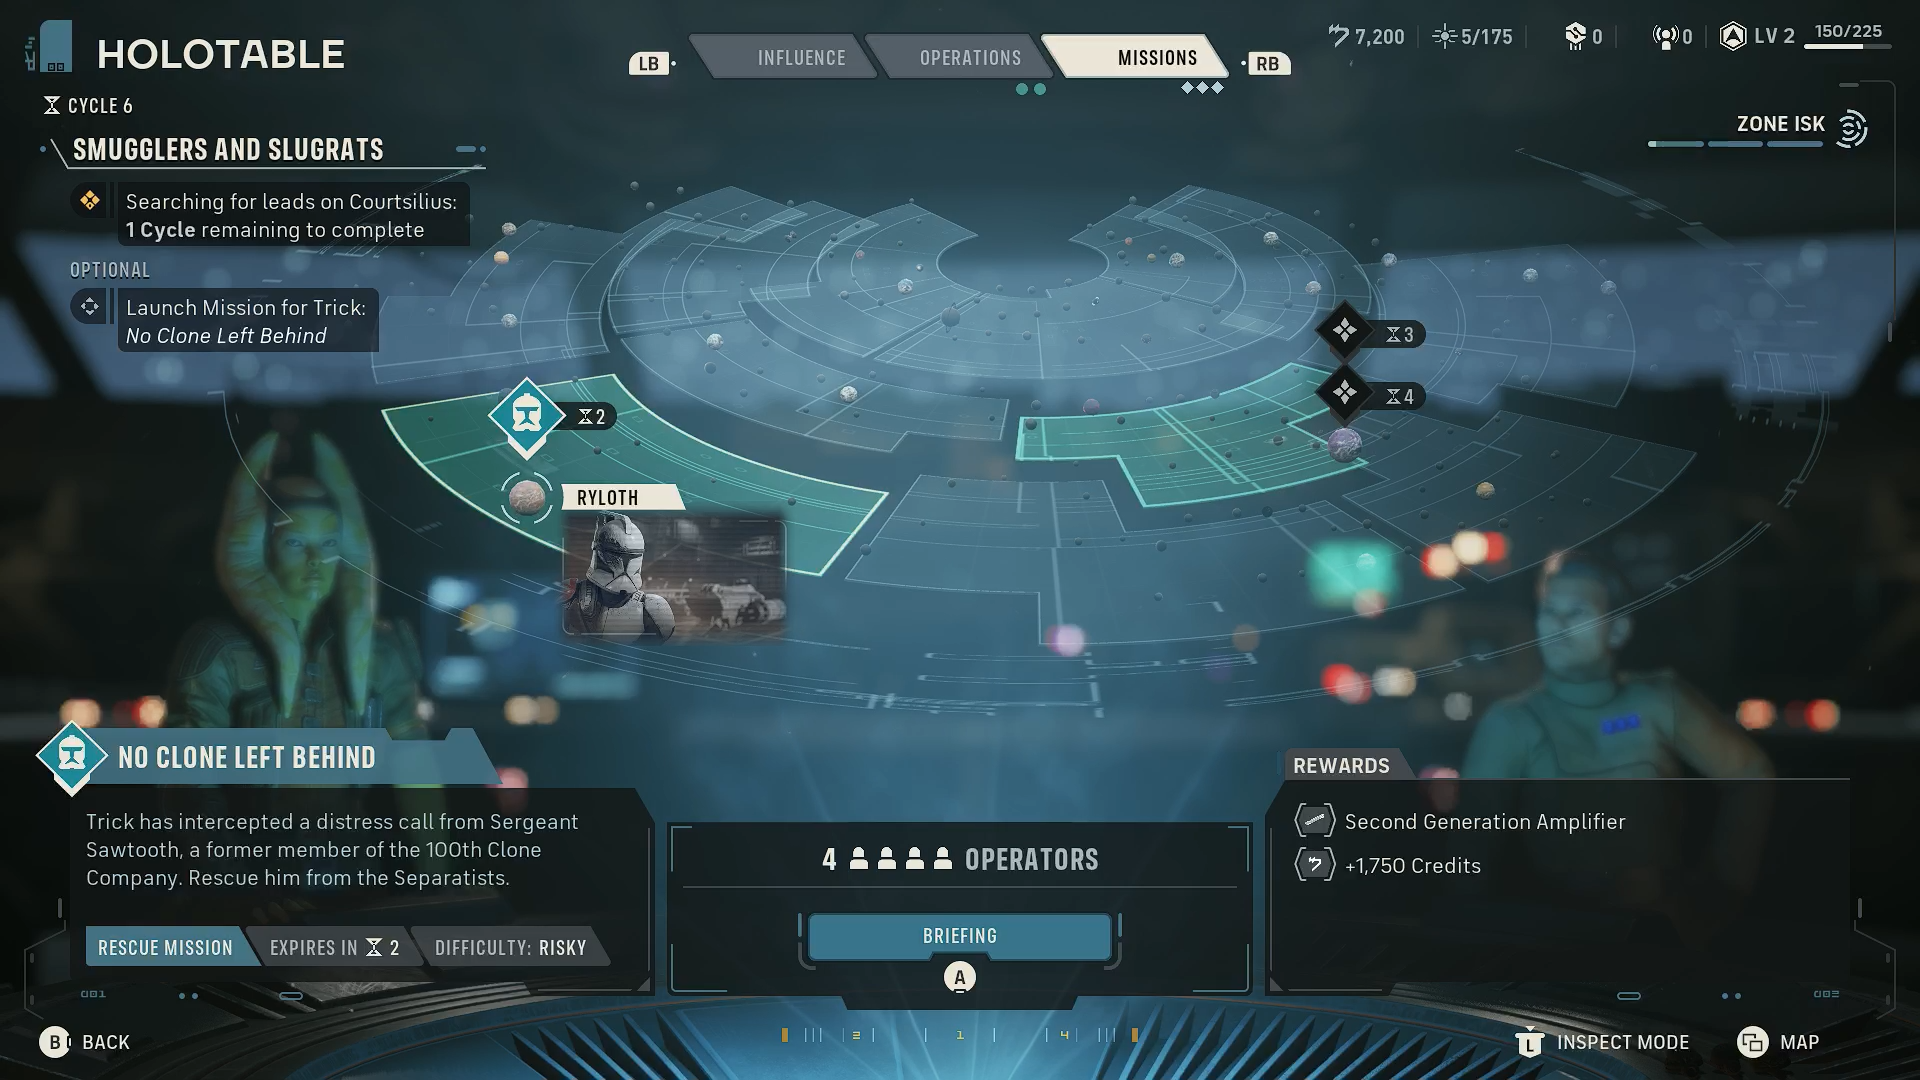
Critical Missions are linked to the main story and are mandatory to execute when their expiration timer counts down to 1. In these Missions, Hawks must always be deployed, leaving you to choose the other 3 Operators to join them.
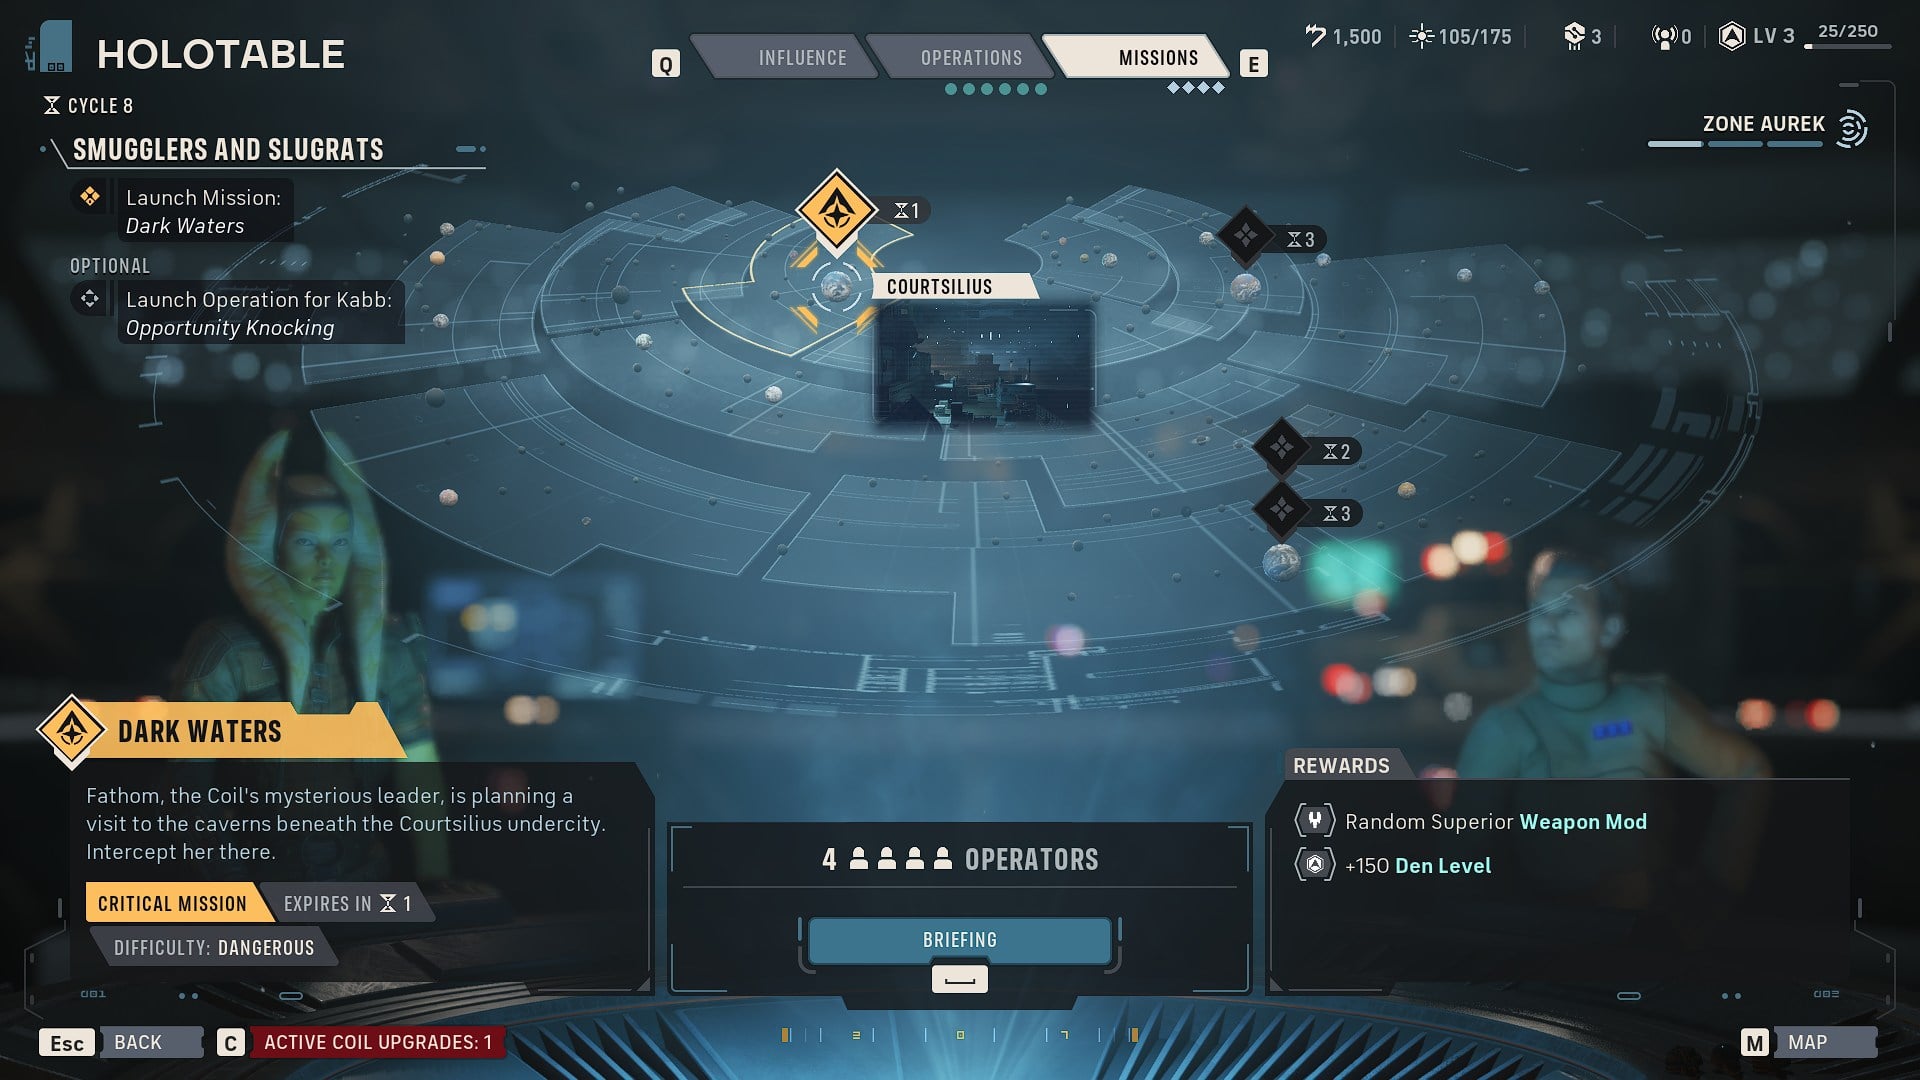
Crisis Missions, just like Crisis Operations, are linked to the Infinite Coil. When these Missions show up, you’ll be given the option to choose between two Crisis Missions.
Each shows you a permanent upgrade for the Infinite Coil units, and completing one blocks the corresponding upgrade from being applied.
The Infinite Coil units will receive the permanent upgrade from the Mission you decided to ignore. If you choose to skip both Crisis Missions, the Infinite Coil will receive both permanent upgrades.
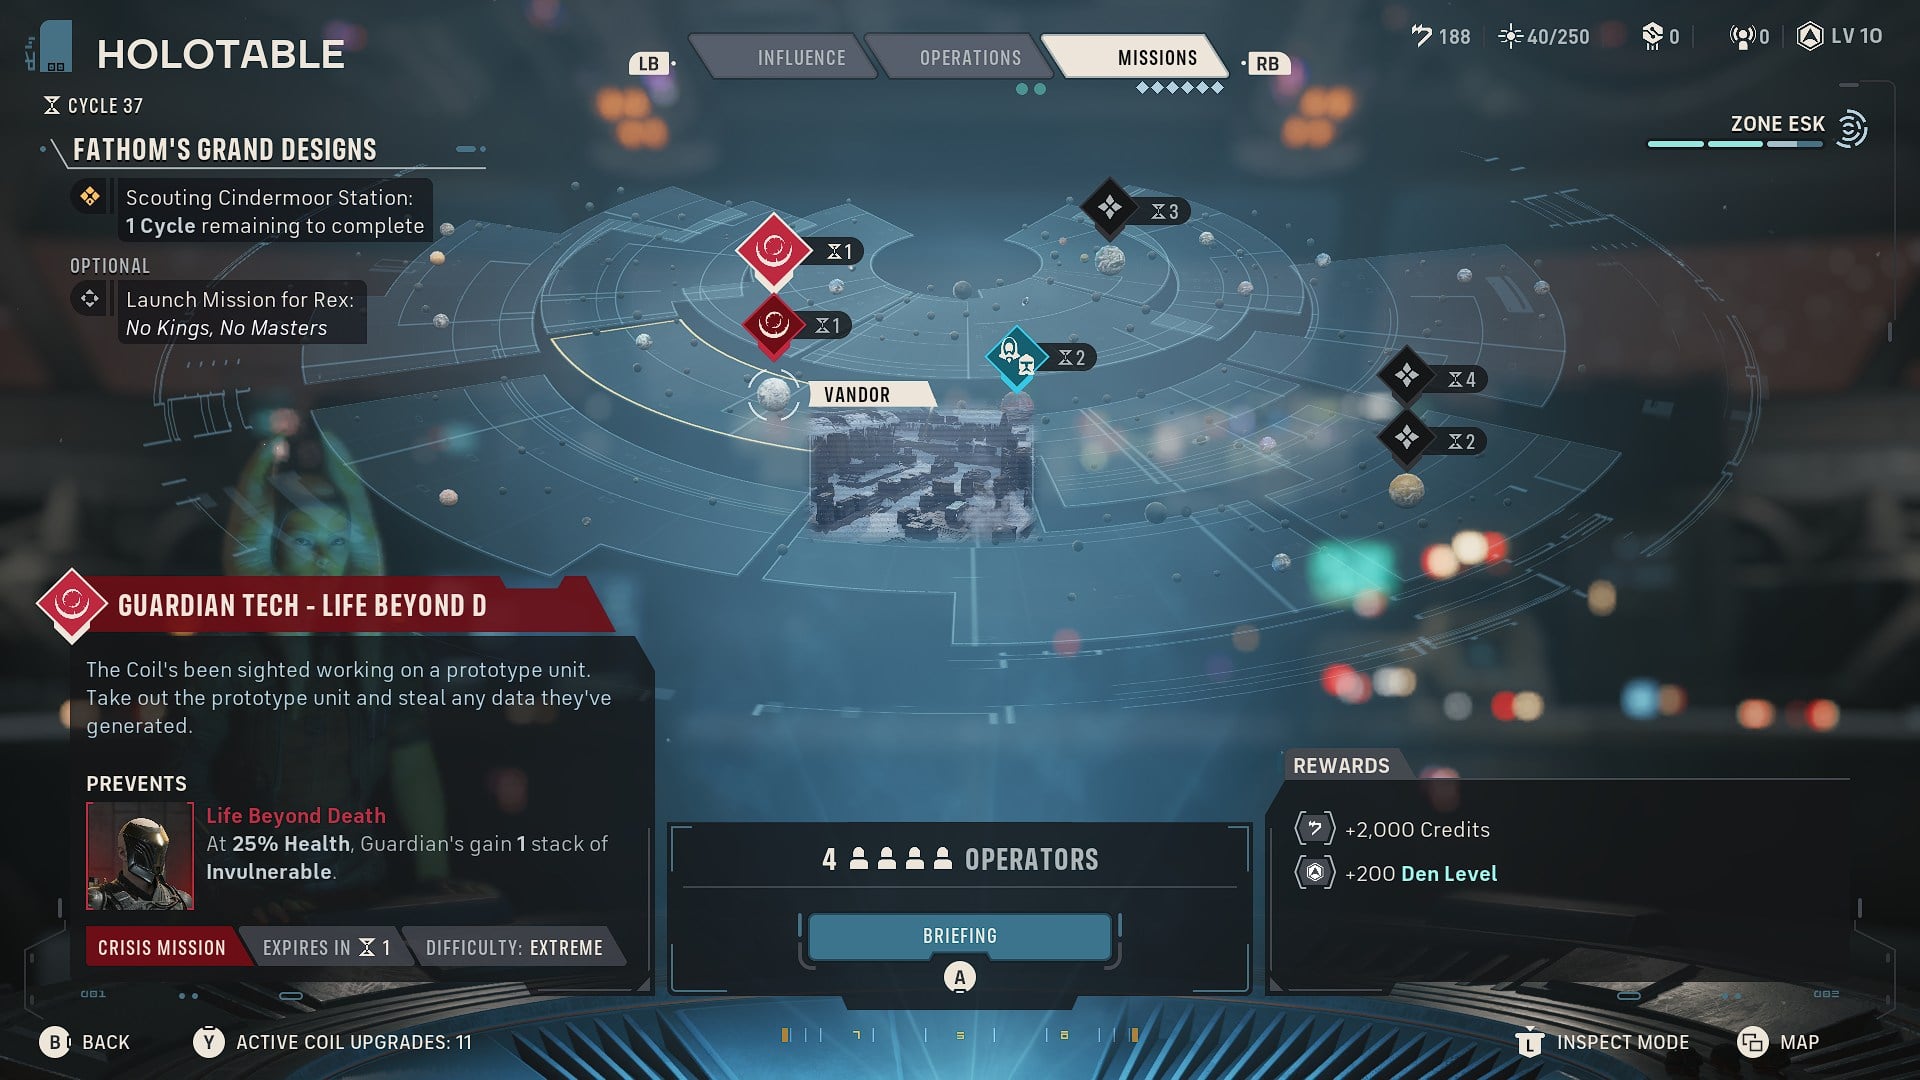
All of these Missions can also be classified into 4 categories based on their objective: Combat, Retrieval, Rescue, and Sabotage.
| Mission Type | Objectives |
|---|---|
| Combat |
|
| Retrieval |
|
| Rescue |
|
| Sabotage |
|
The rewards for each Mission will always show on the Holotable for you to make the best decision depending on your priorities.