The Den in Star Wars Zero Company acts as both your home and base of operations. We’ll show you the facilities it has and what they do.
What is The Den?
After completing the Tutorial Mission on Serolonis, Hawks and his crew return to base on the Ring of Kafrene. Within this mining colony is the Den, the home base of Zero Company.
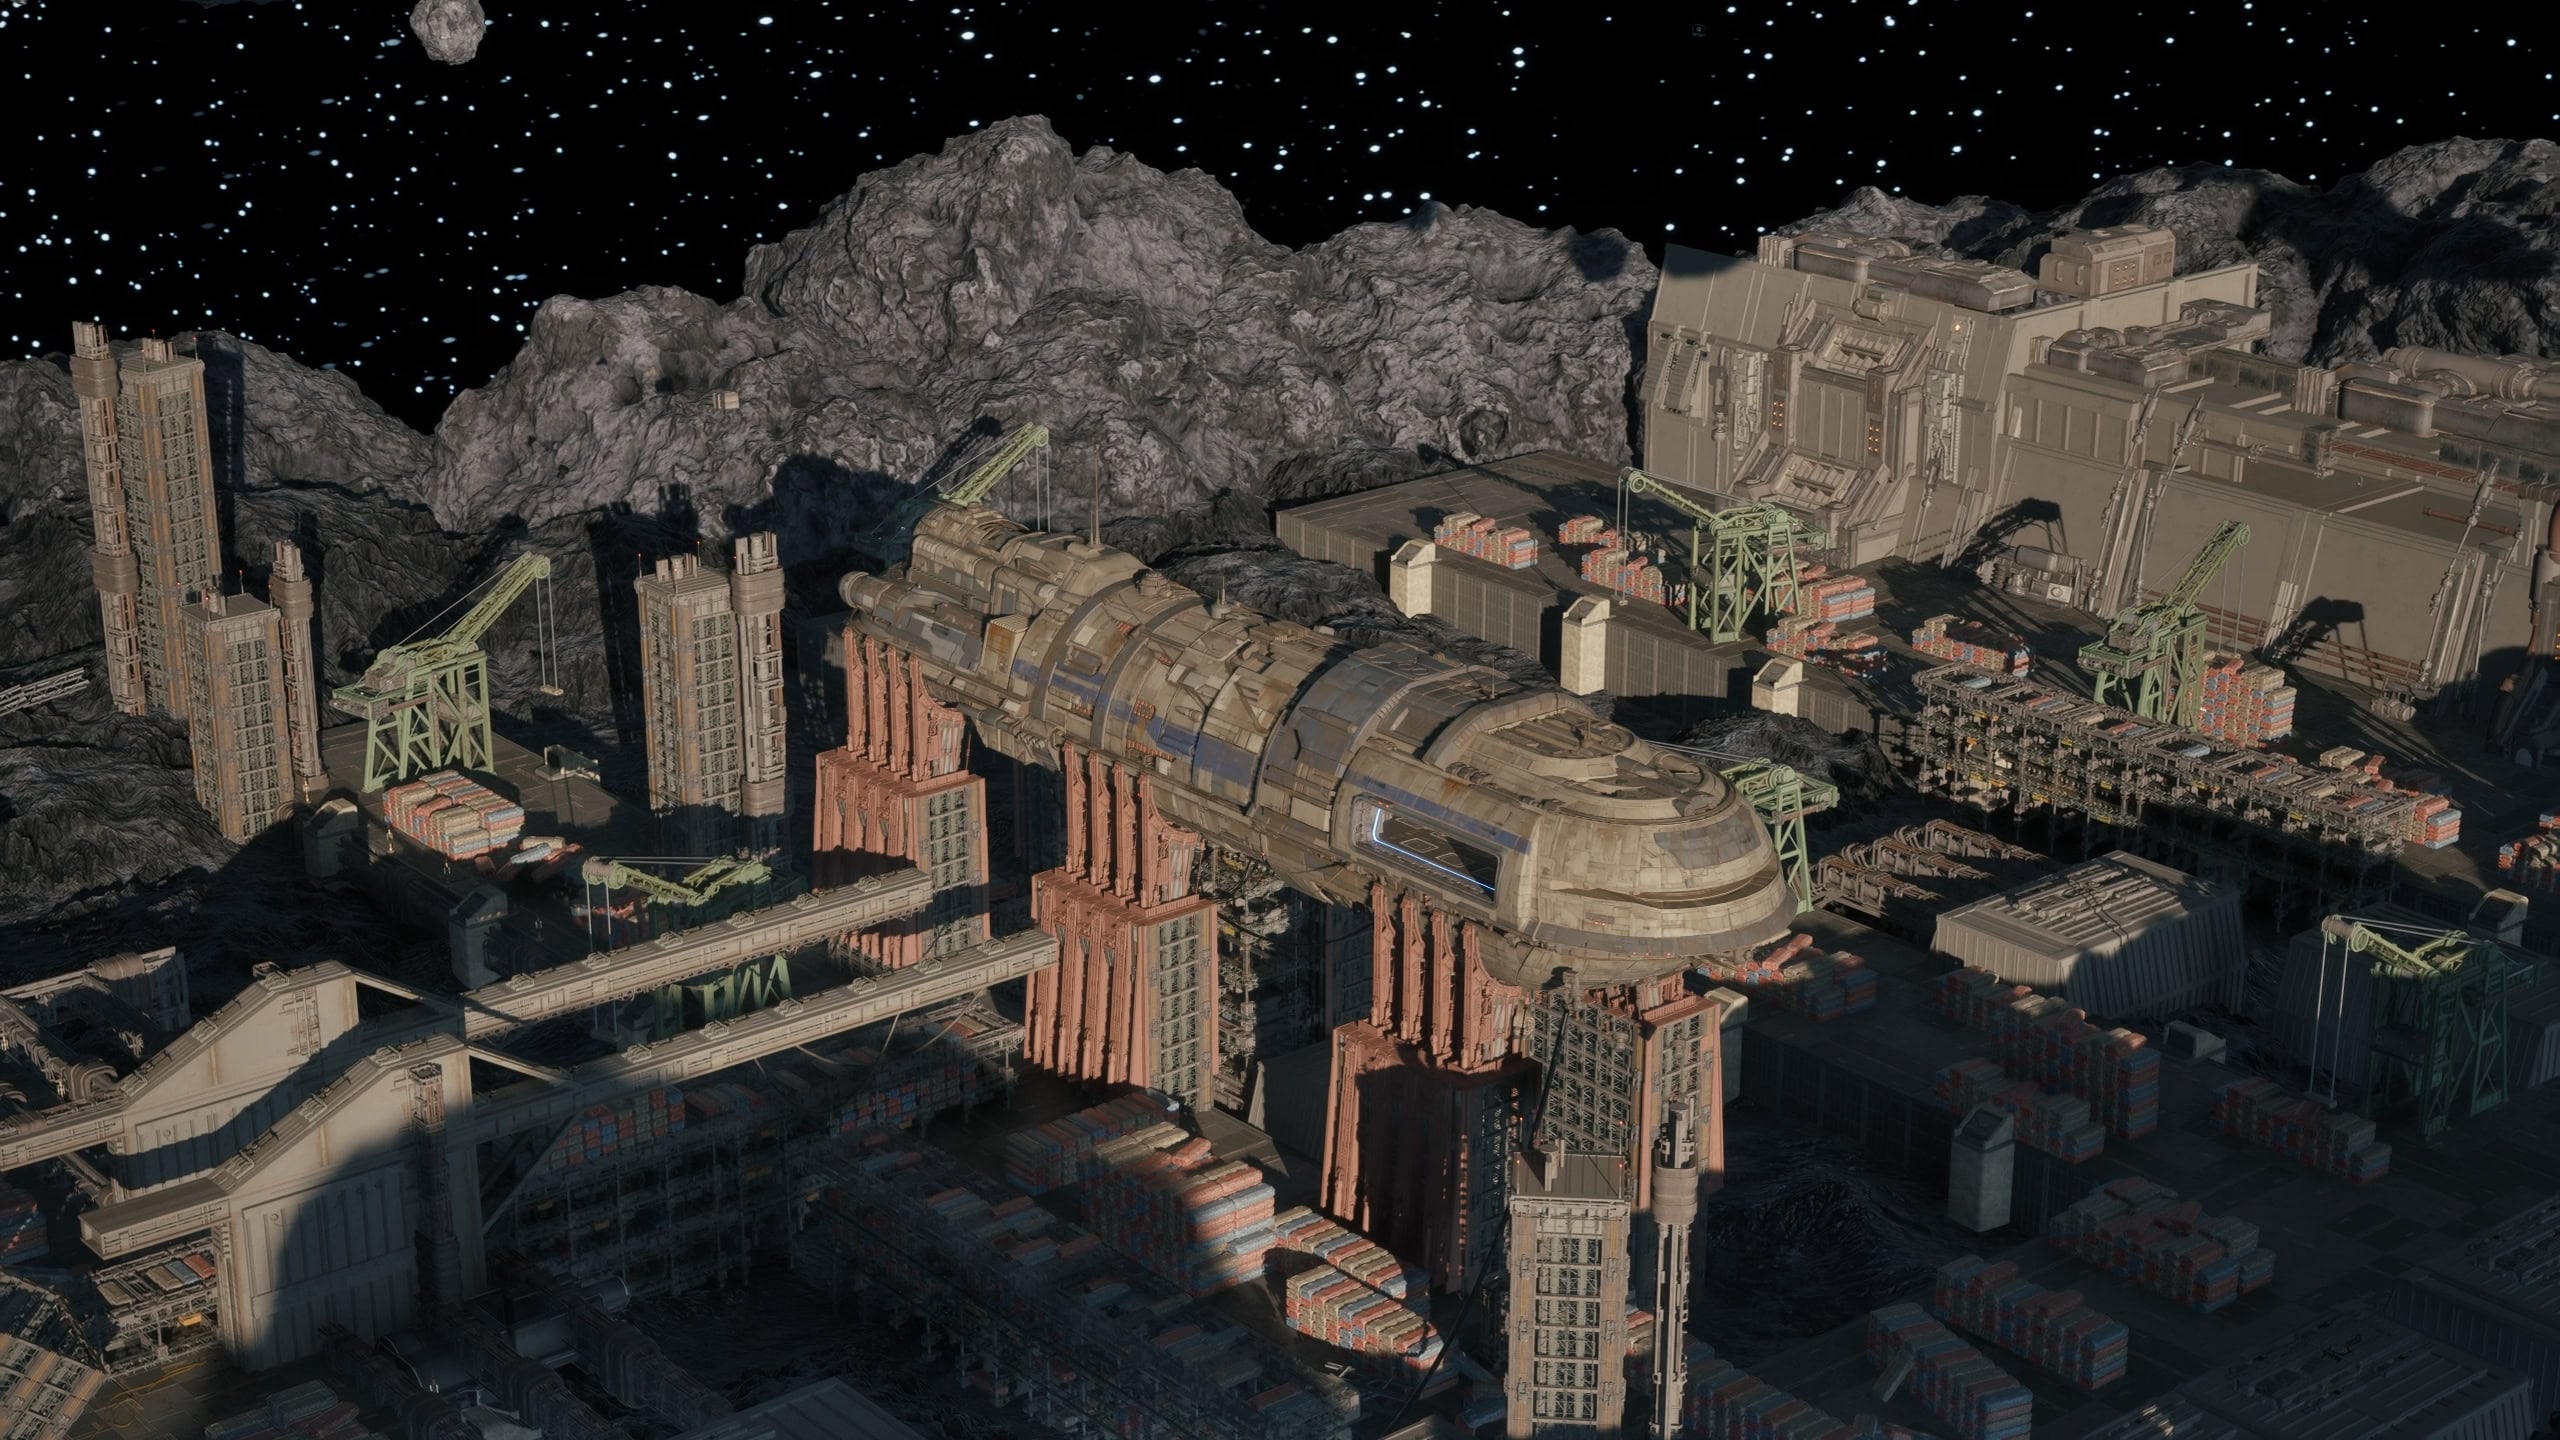
It is here that you can chat with your Operators, customize the kits or appearances of Operators (if applicable), upgrade facilities and gear, purchase gear, and start Operations and Missions.
On the map, you’ll have areas of the Den and Facilities within it. Facilities are areas that can be interacted with and are given icons on the map.
The image below is interactive. You can zoom in/out and if you mouseover or tap on the buttons, you can read a tooltip with description about each one. The main guide below provides a ton of additional details about each room and feature.
Areas within The Den
On the map of the Den, you’ll see labels that lead to a blue ring containing a blue dot within. These are areas within the Den that don’t have a specific functional purpose outside of areas you can walk through to talk to Operators or access Facilities.
One of these areas, the Lounge, is not seen on the map even after you unlock it. This is found south of the Medbay and west of the Memorial.
Office
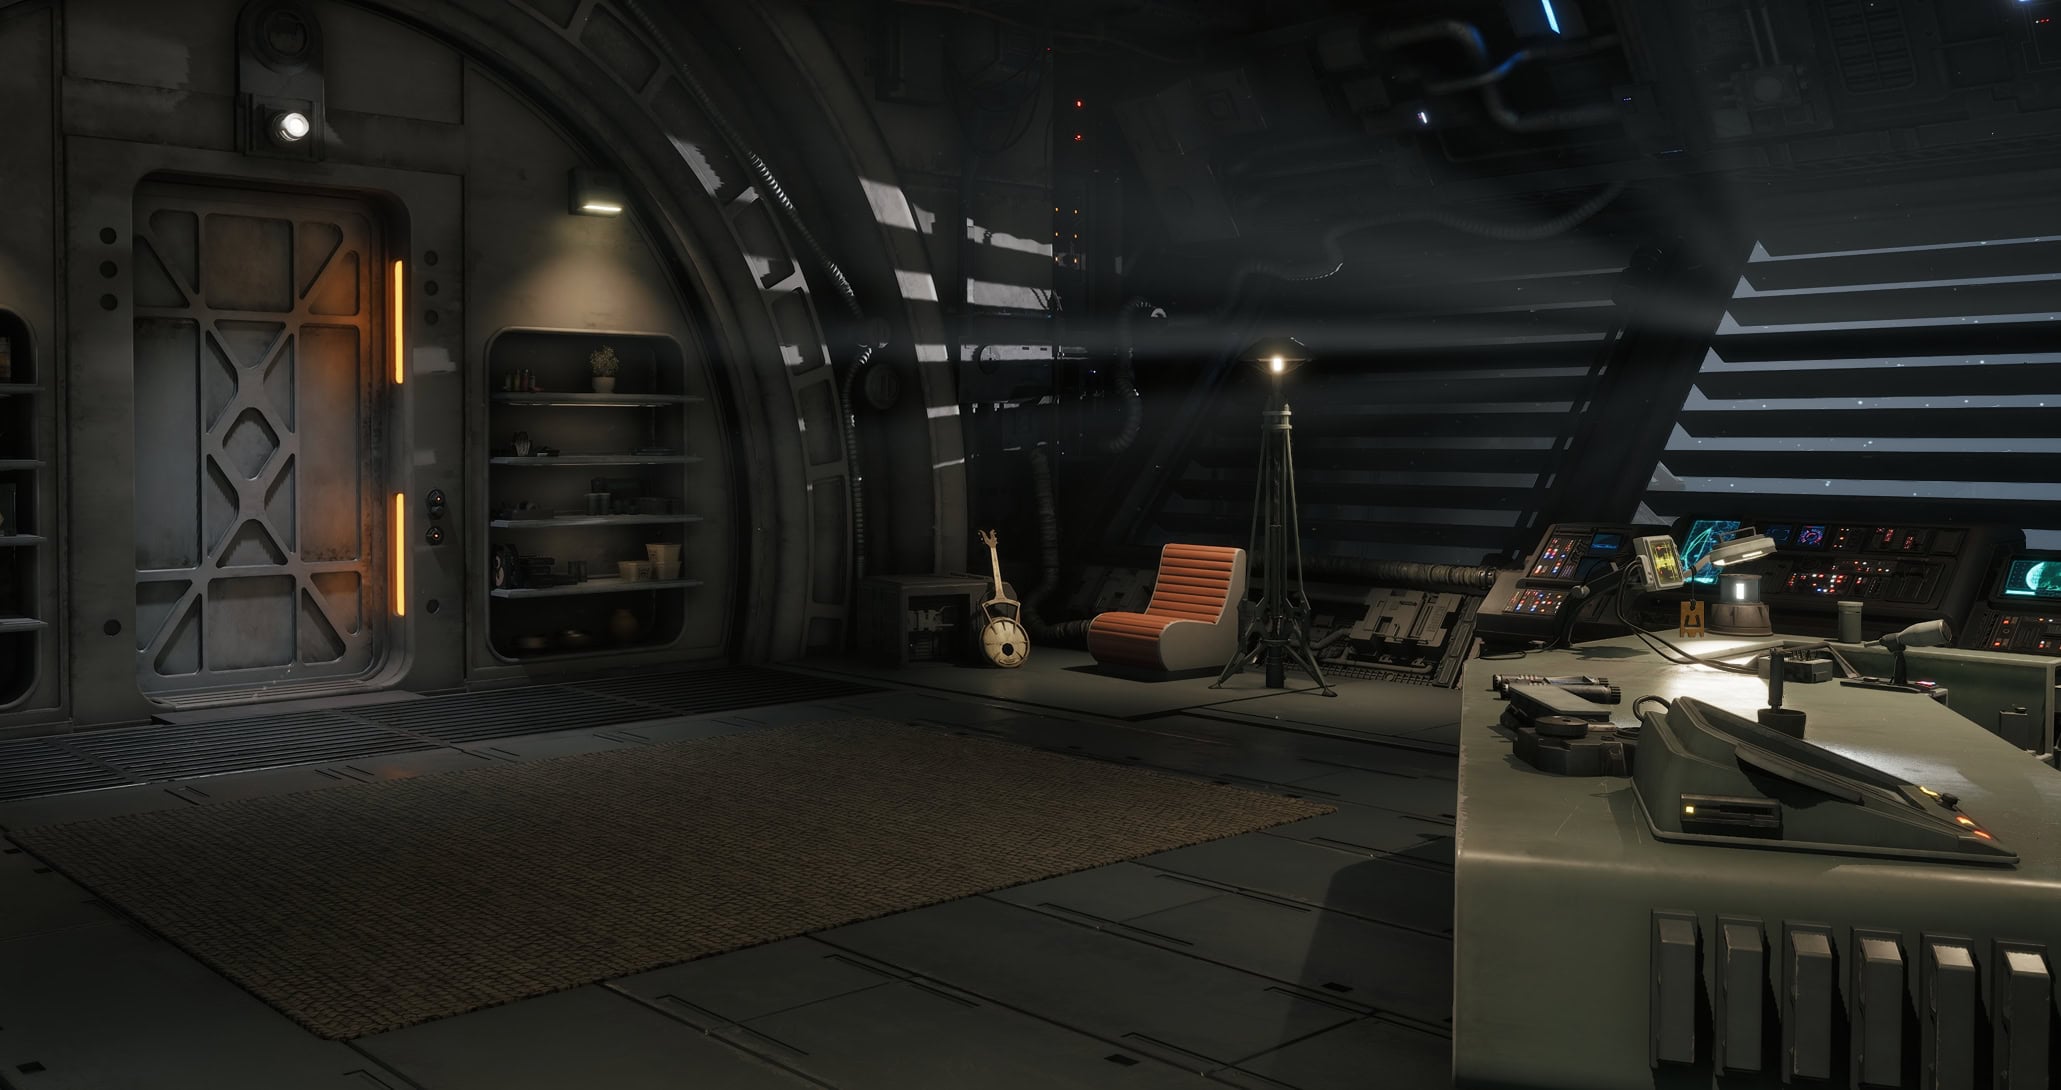
The Office is where you’ll spawn after completing a Mission. Hawks will review the mission report. It serves no functional purpose outside of that, but you can occasionally play Hawks’ Marfaset (space banjo). This will give you a short song and some scenic shots of the Den.
The Pit
The Pit is where you’ll find many of your Operators. Operators gained from the story will always appear here, while custom Operators may be found here or elsewhere on the Den.
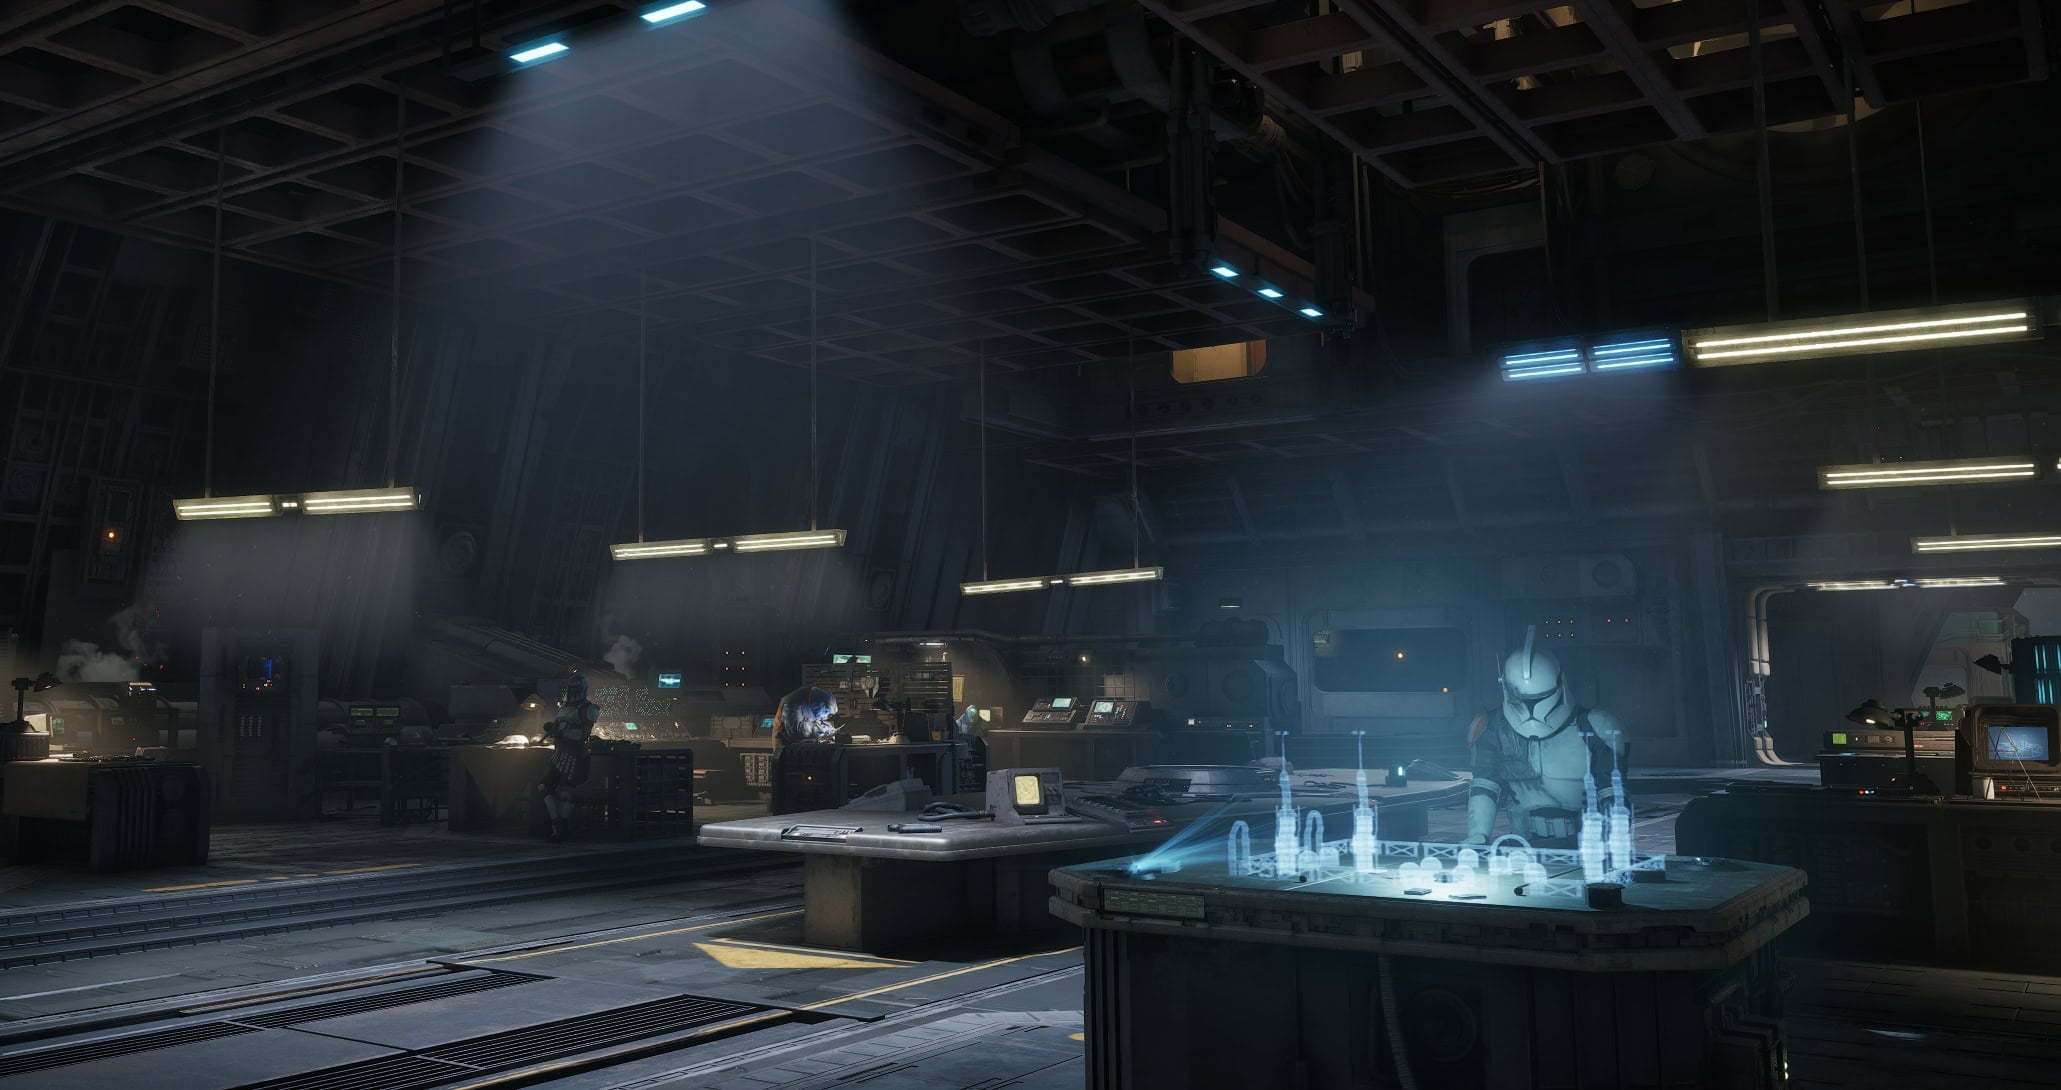
Talking to Story Operators can unlock Side Missions to advance their personal stories. Completing a character’s story will grant you some great rewards such as Exotic Weapon Mods.
On occasion, you can tune in to the HoloNet News at the central table if the icon for it appears there. This will update you to recent events that more passionate Star Wars fans can use to pin point where they are in the timeline. Besides that, it’s mostly for flavor and it’s fun to listen to.
Command Center
The Command Center is where you’ll find all of the Den’s Facilities. The most prominent feature here is the Holotable, the facility where you start your Operations and Missions.
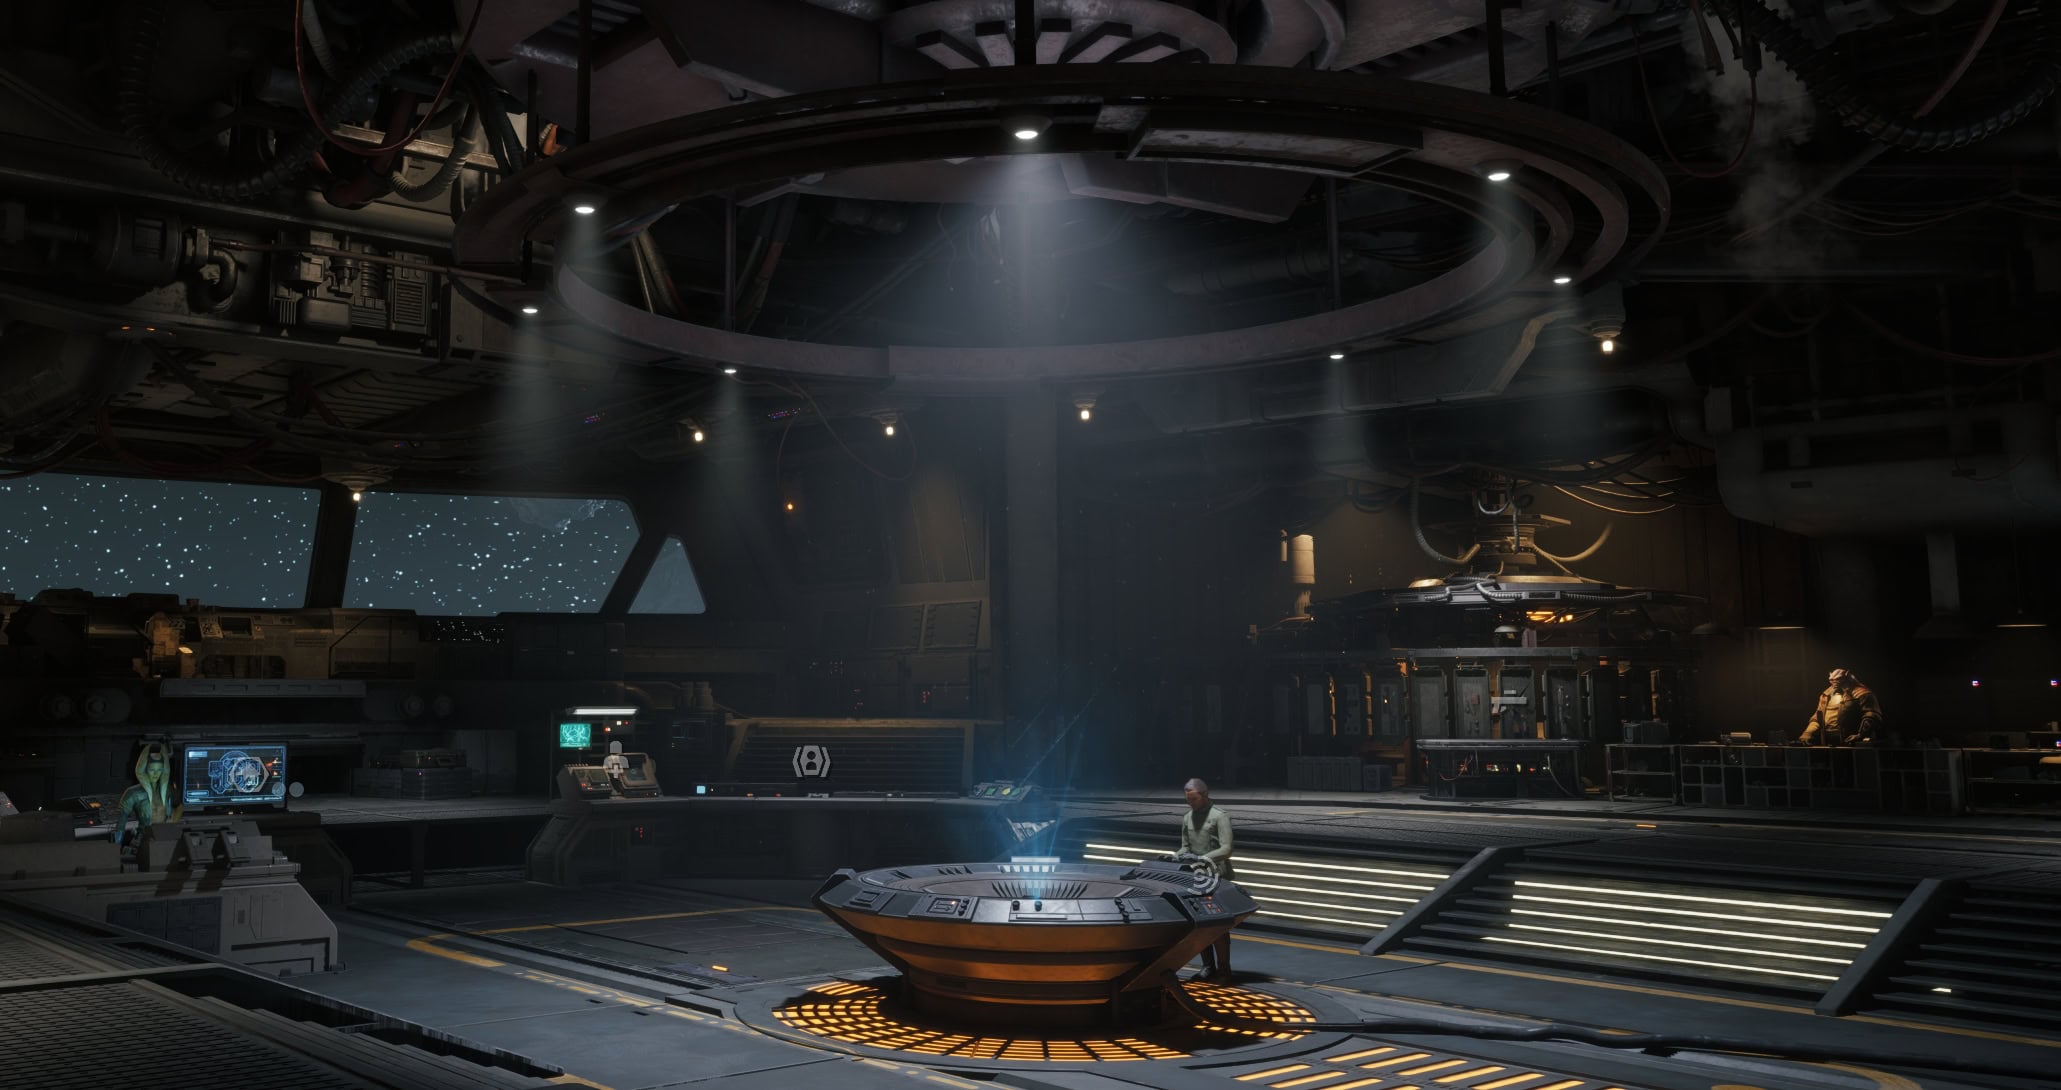
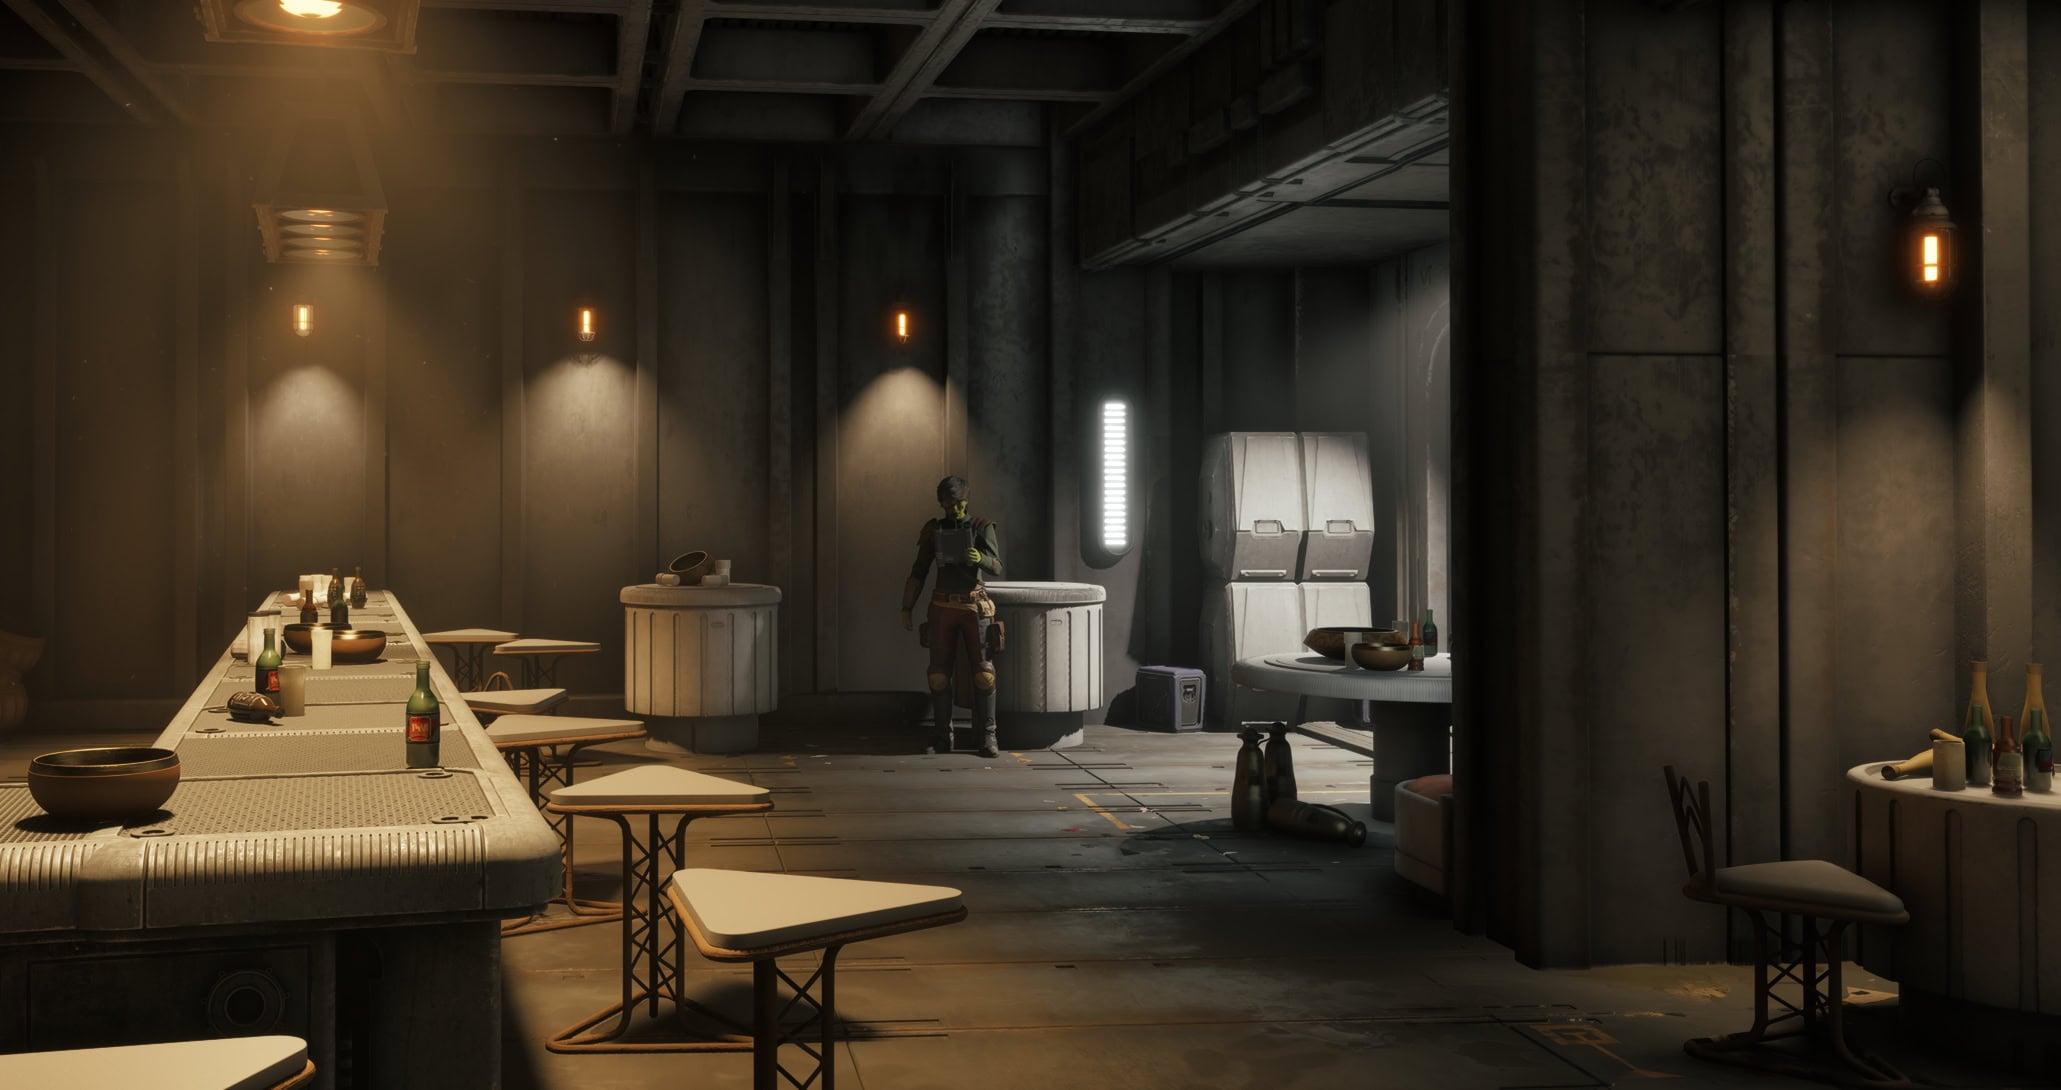
The Lounge
The Lounge is an area you can unlock at the Upgrades Facility. With 3,250 credits and 2 Cycles of wait time, this room will become unlocked. It serves no functional purpose inside, but having it unlocked allows passive Bond XP to be gained by Operatives not deployed on missions.
Holotable
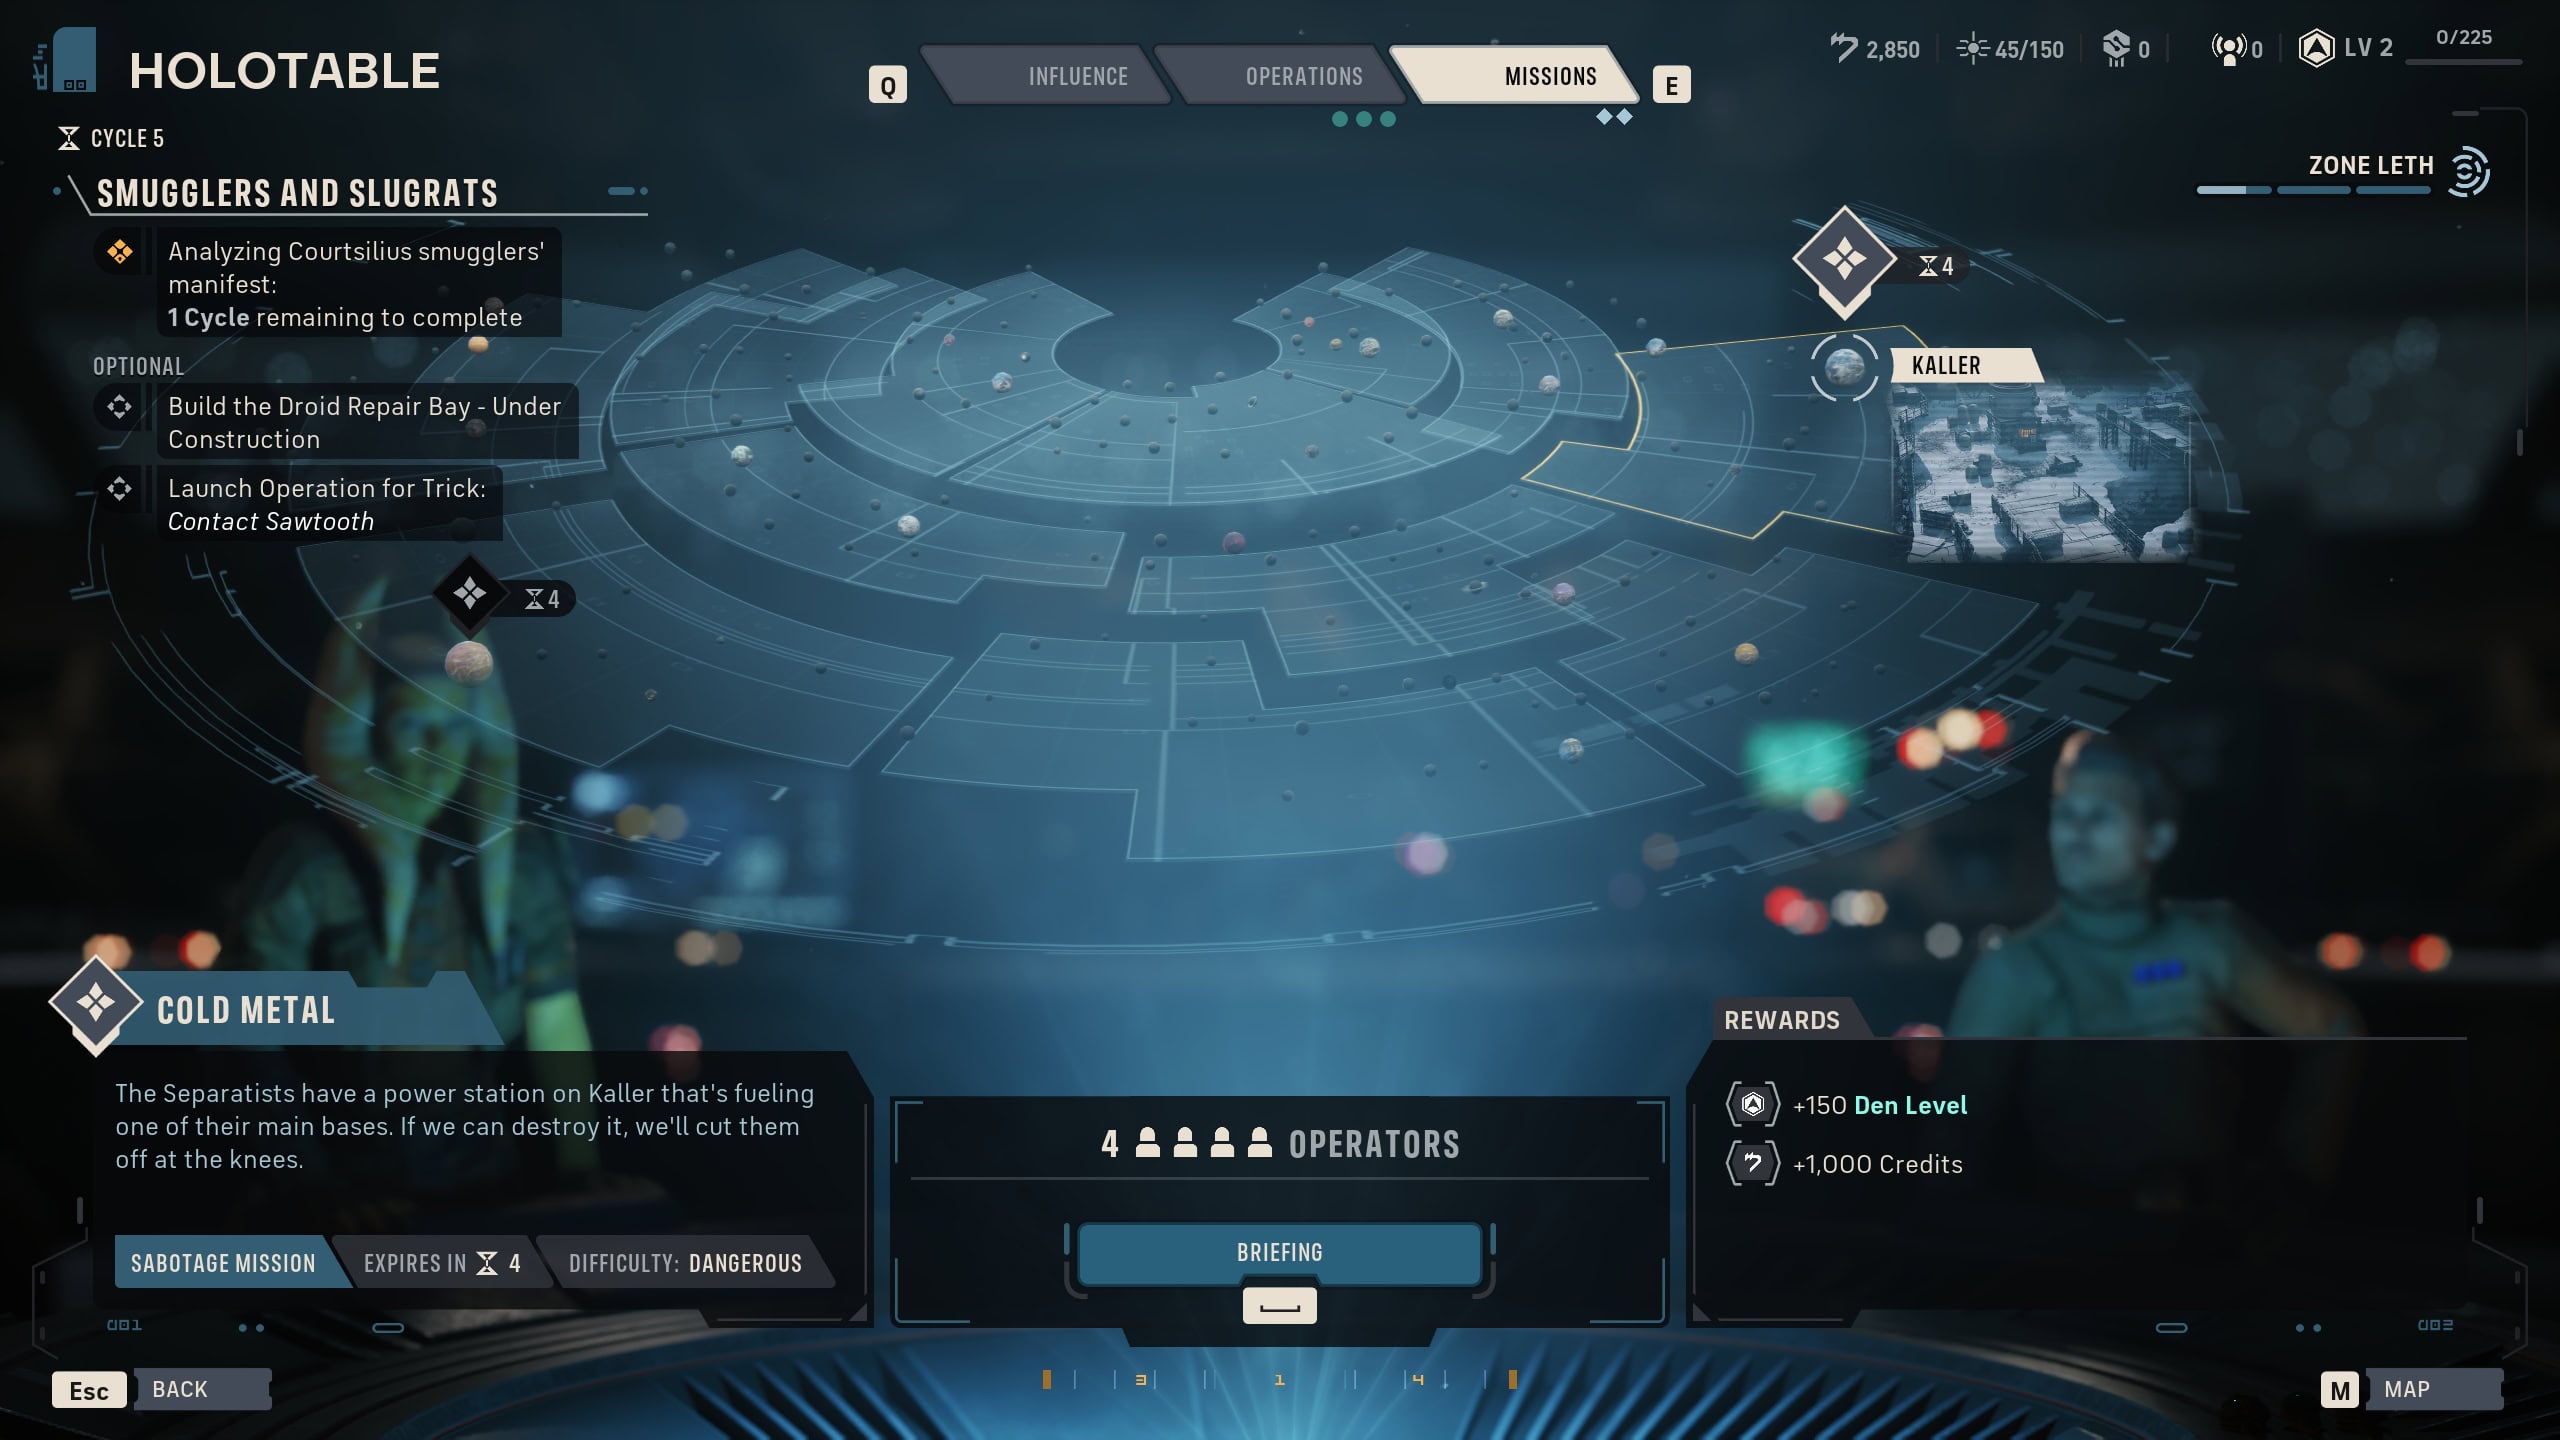
The Holotable is where you’ll access menus for your Influence, Operations, and Missions. Each menu in the Holotable serves an important function, with Missions being the most important as completed missions progresses the story.
Influence
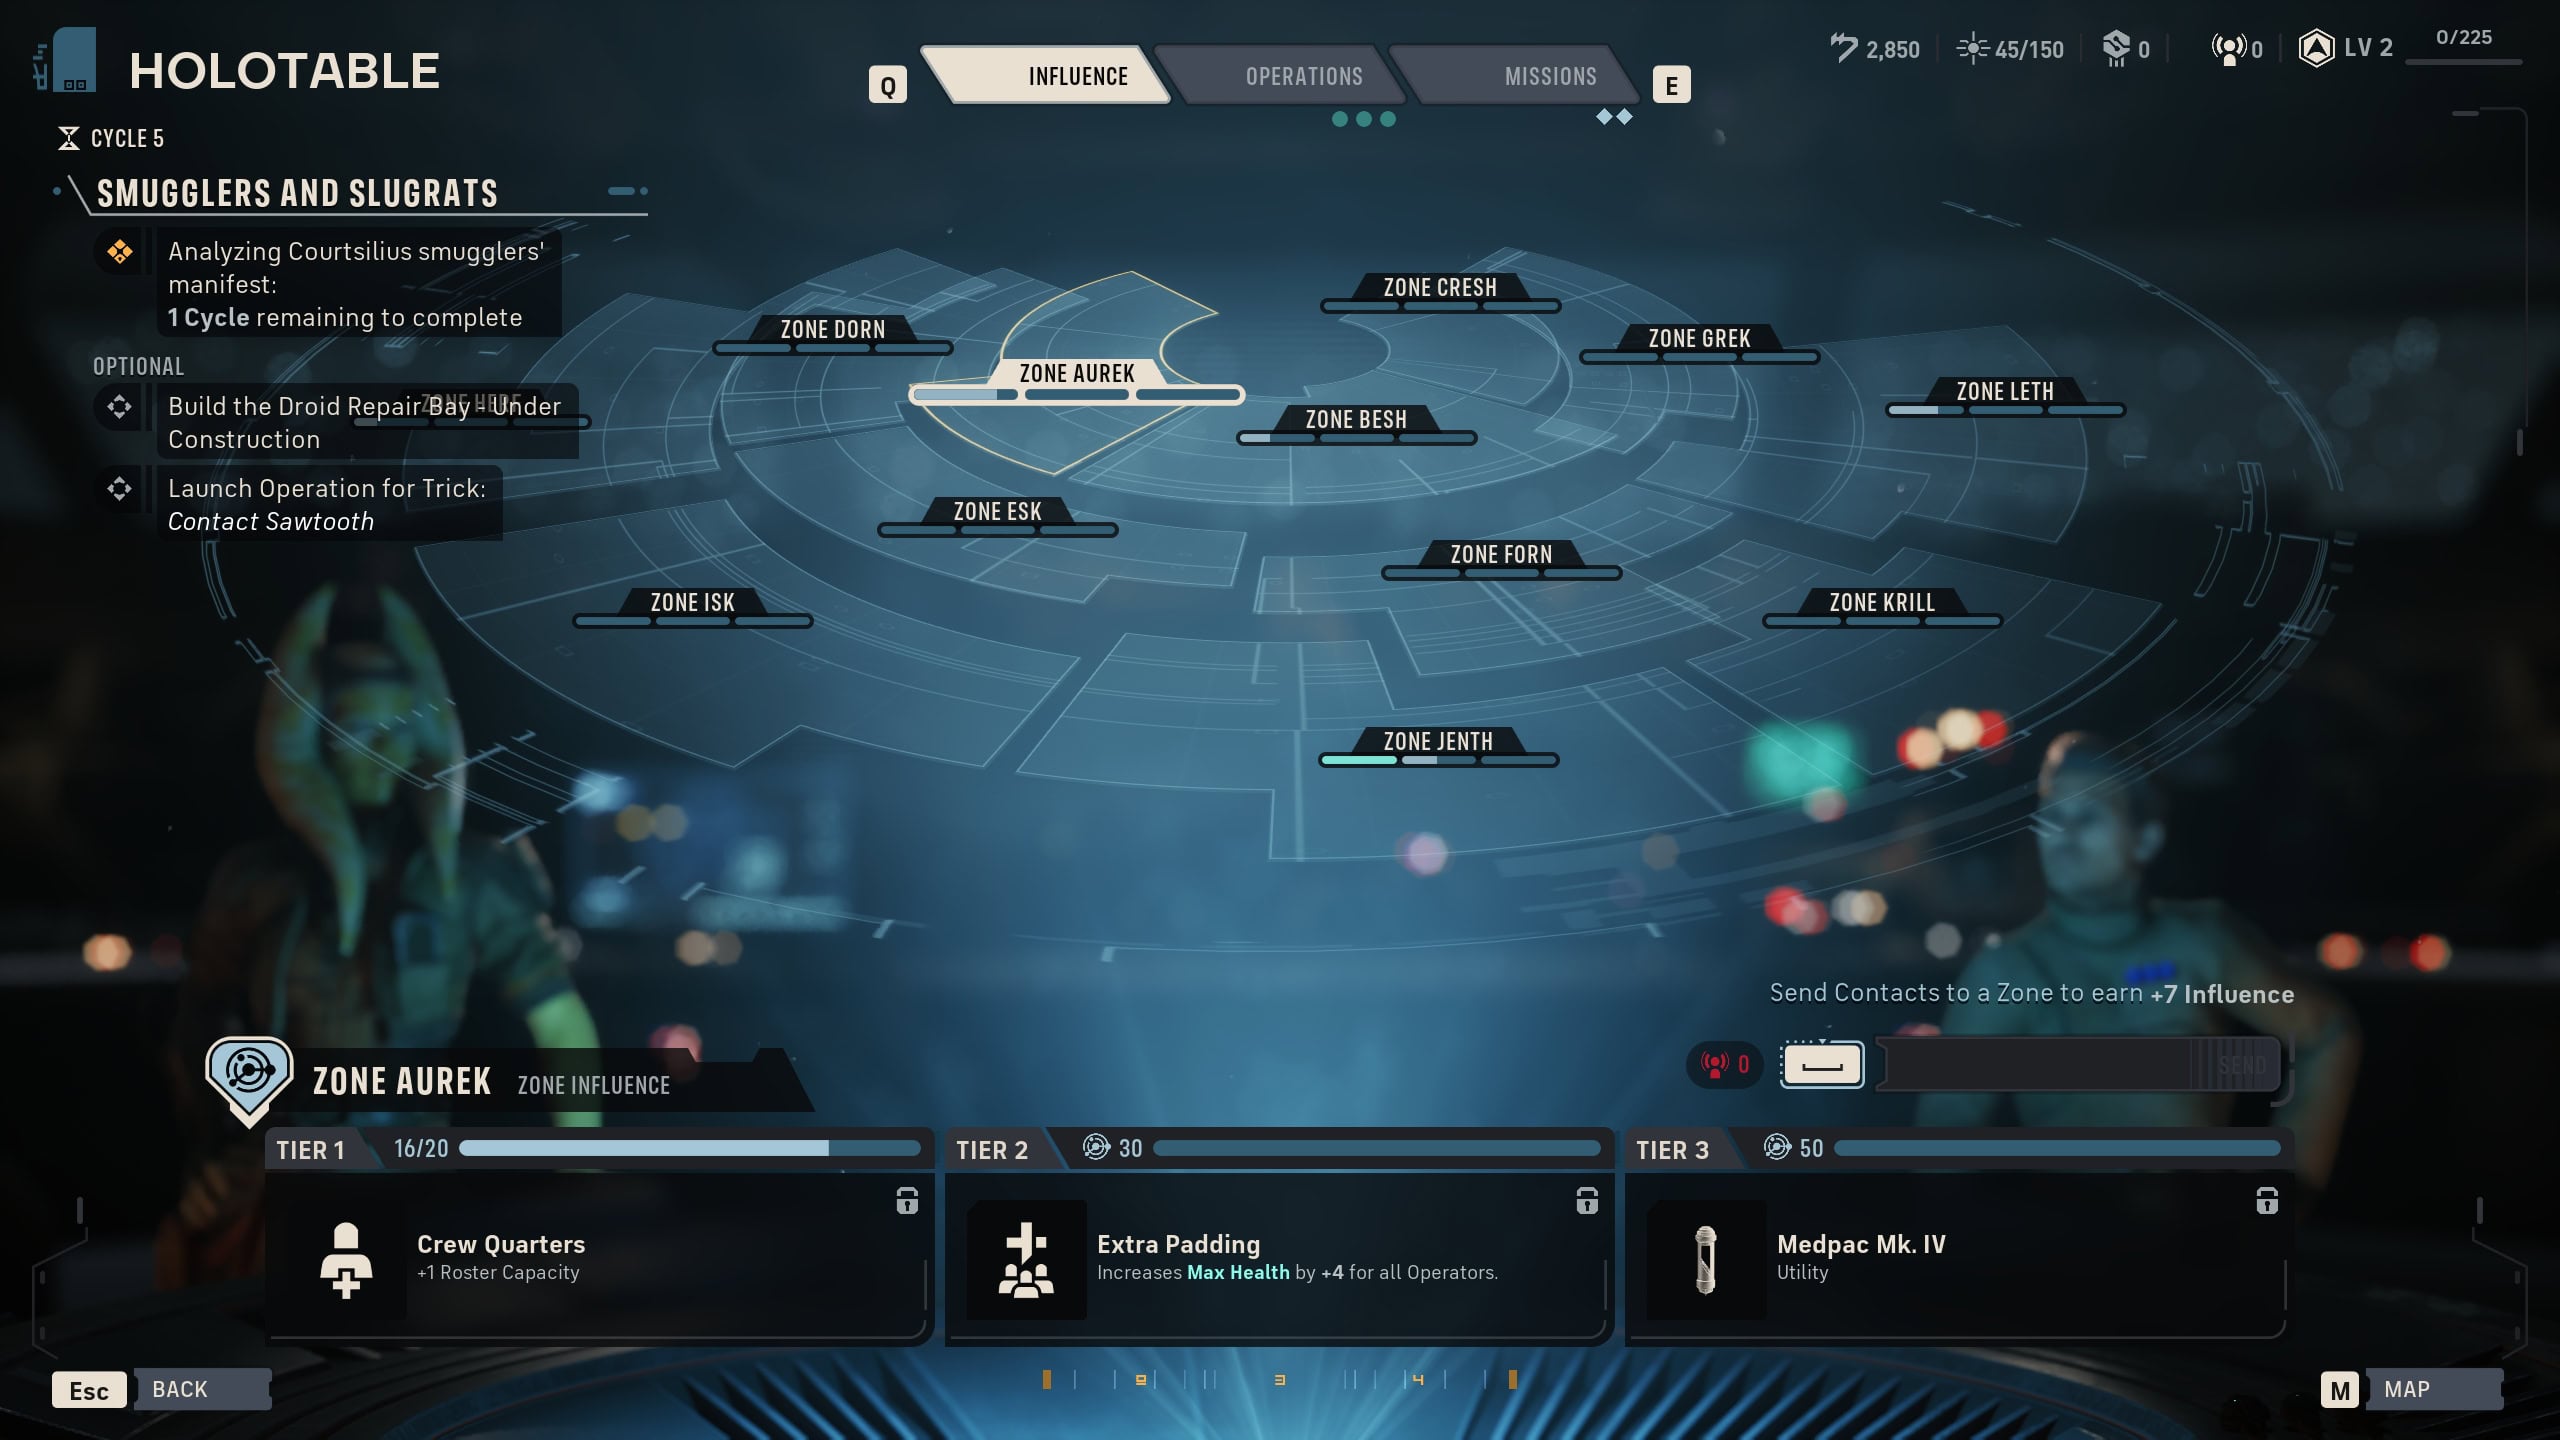
The Influence Menu sows your total influence level in galactic sectors. Completing Operations or spending Contacts in a zone will increase your Influence Tier.
Each zone has 3 Tiers, and filling them unlocks a useful reward. Take time to look at the Tiers of various sectors to see which rewards you’d want. Focus on completing Operations and spending Contacts there if you can as you’ll likely fill every tier of every sector by the end of the game. Focus on what you feel would be most beneficial.
Operations
Operations are passives objectives that lack any combat scenarios. Instead, you’ll spend Intel to complete a quest. Intel is gained from completing Missions, rewards from specific Operations, and from the Espionage Operator Talent.
Many of the rewards are unknown, so you’ll need to deduce the best answer to a given problem. Some Operations require you to send Operators to complete, select the best Operator for the job if possible based off context clues.
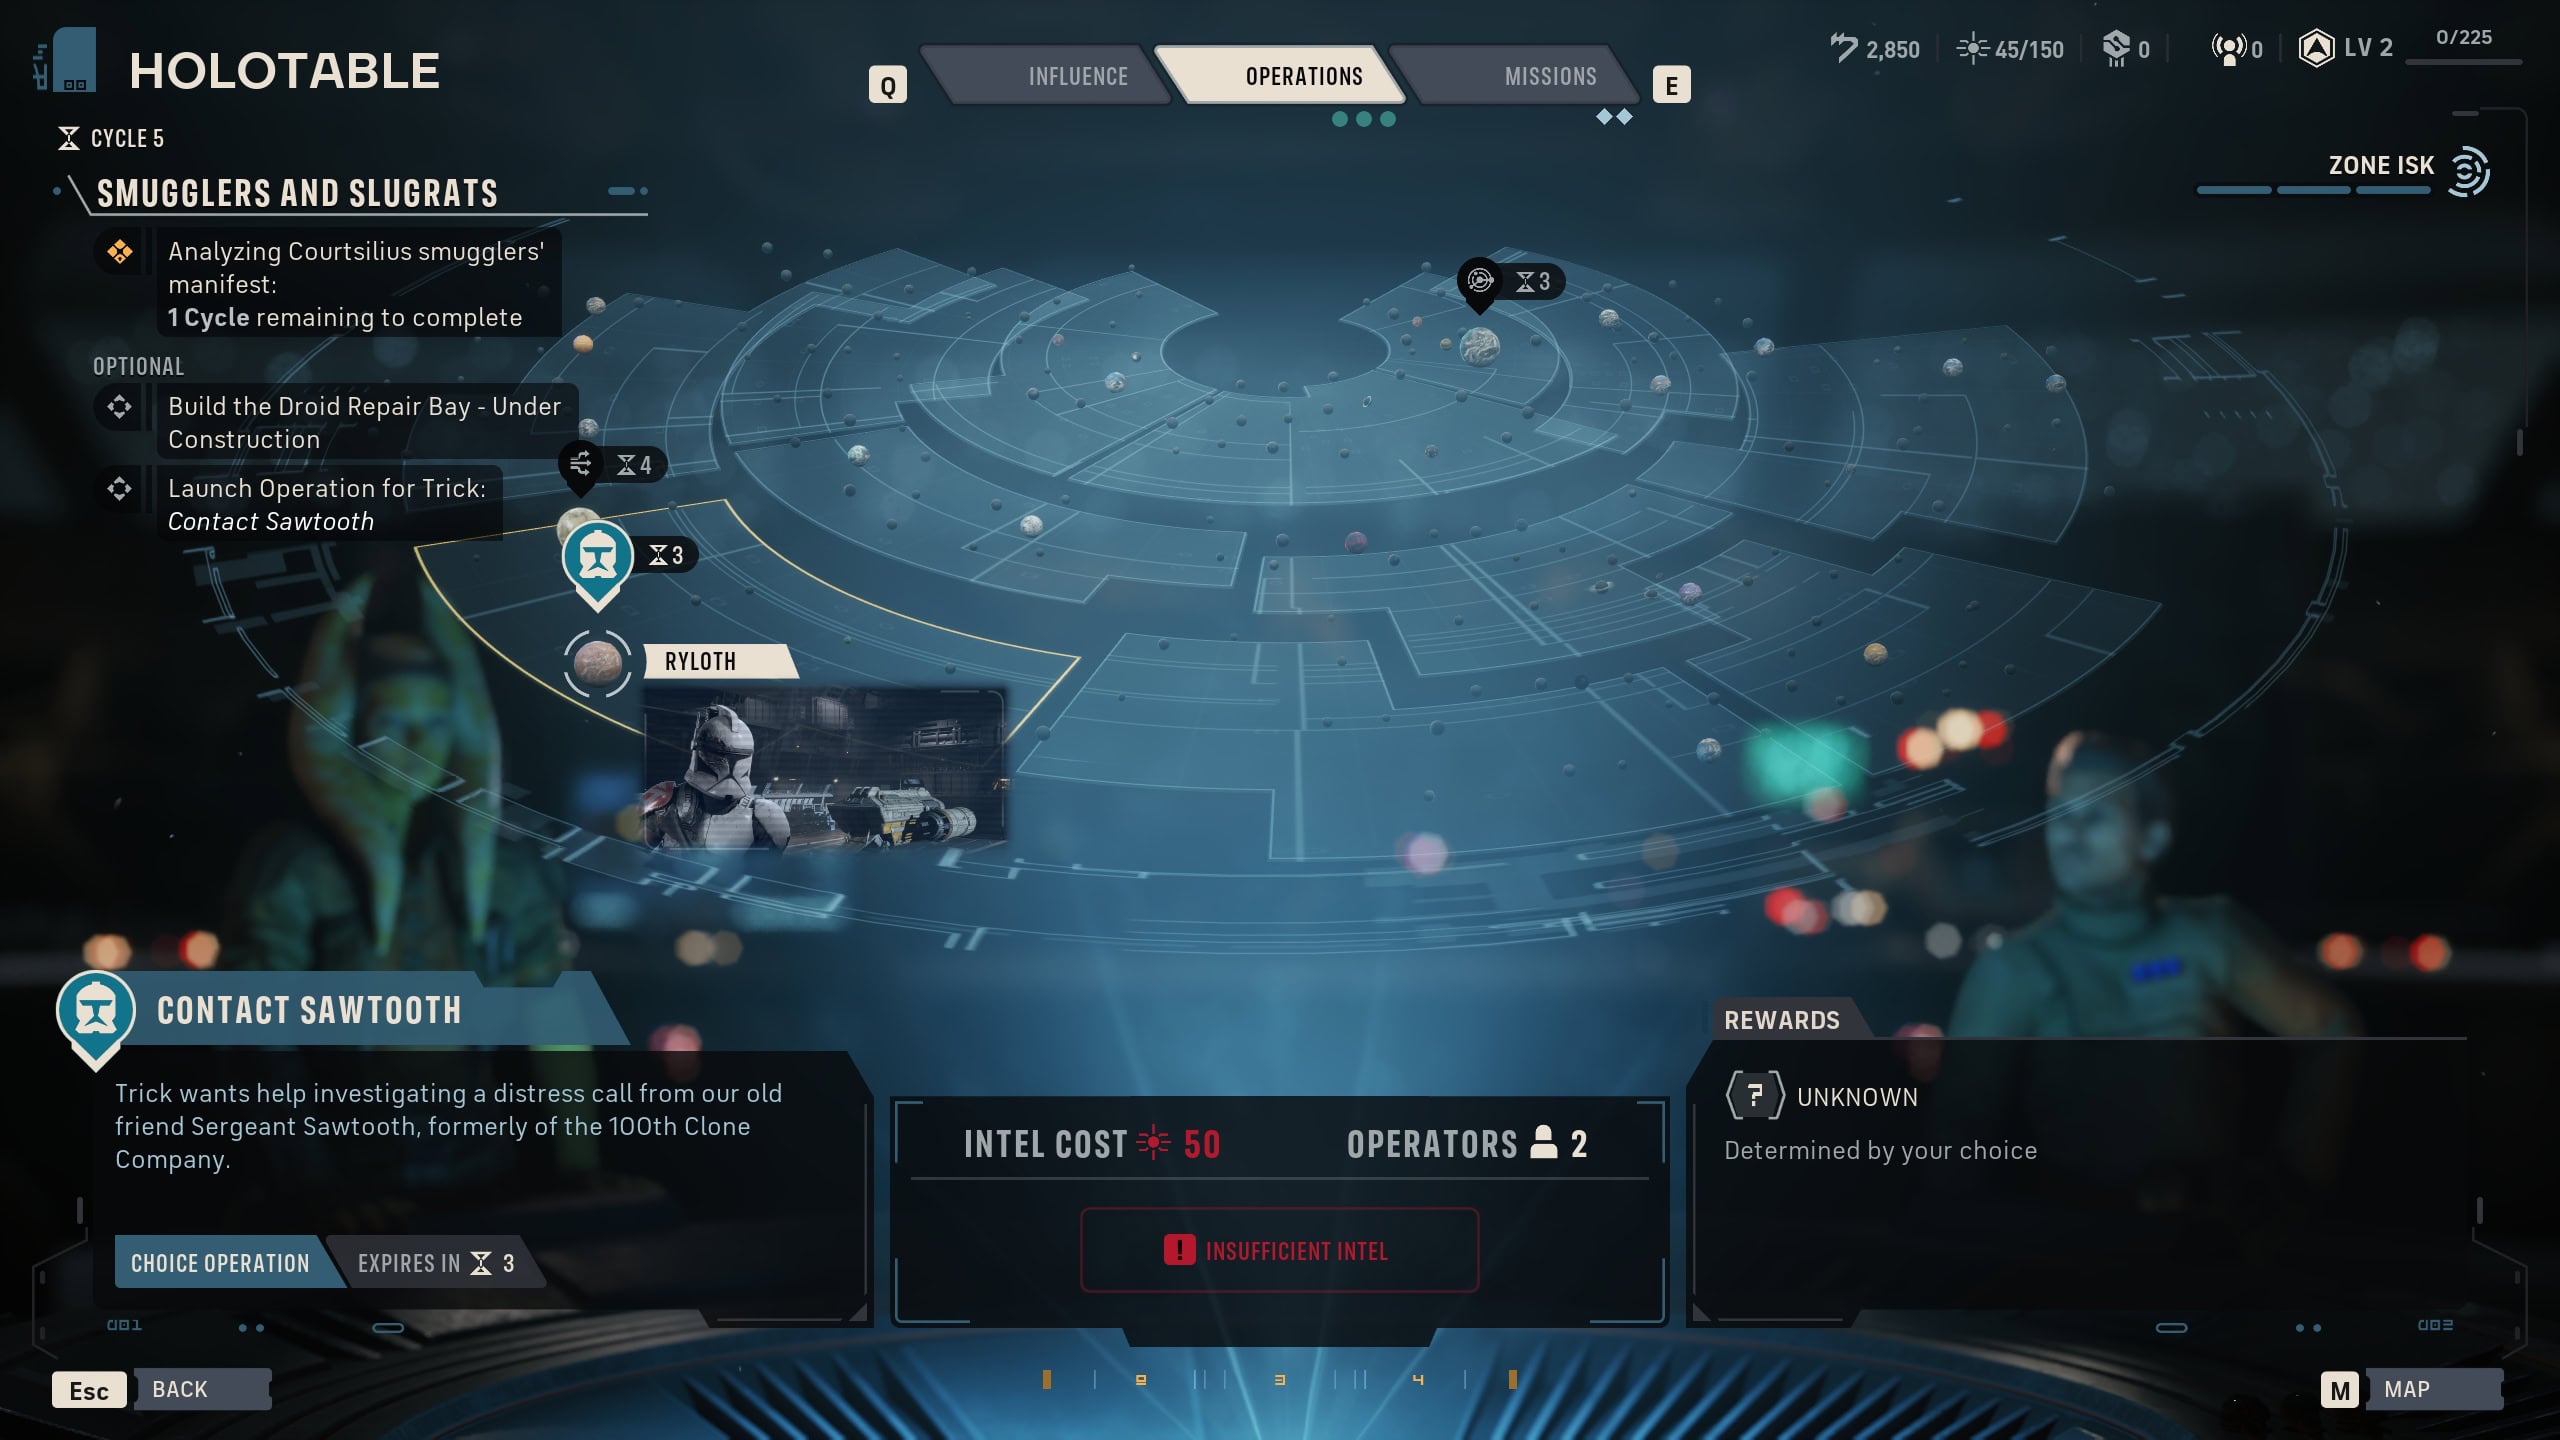
For example, Jae is good for Operations where the Operator must interact with High Society folk. If you get an Operation for an arm wrestling contest, Kabb is best suited for this task than someone like Luco.
Missions
Missions are what lead to combat scenarios for the Main Story or Side Stories. Often times, you’ll need to complete Story Operations to unlock missions.
As you’re doing side missions between character and main story missions, pick whichever provides the best resources you need at the time. Missions only have a set amount of cycles to complete before they’re gone, choose wisely as you can’t pick them all.
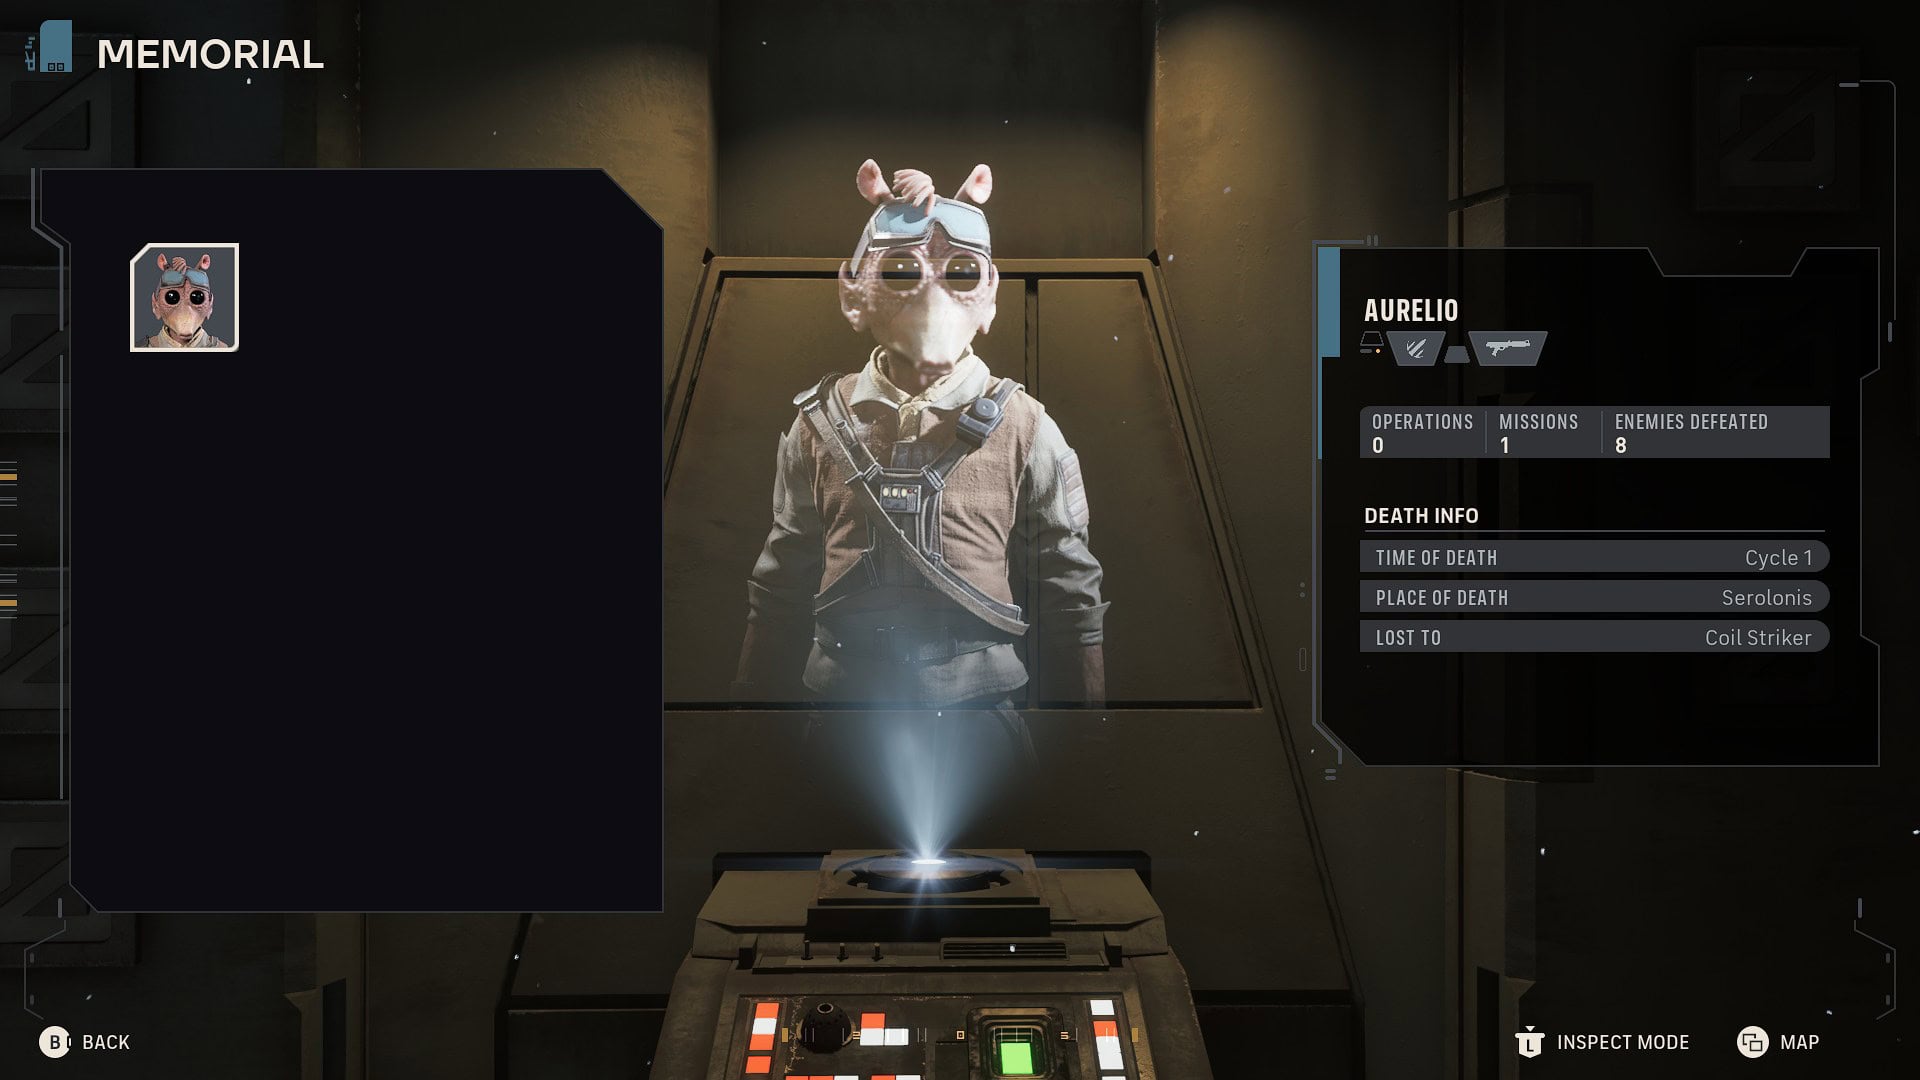
Memorial
The Memorial is where you’ll find holoportraits of fallen Operators. Aurelio is the first Operator to be seen in the Memorial, and hopefully the last if you plan your strategies well enough.
Information about the fallen Operator(s) are displayed to the right. This includes their name, how many Operations or Missions they’ve completed, amount of enemies defeated, specializations, time and place of death, and what type of enemy they were lost to.
Medbay
The Medbay is where you can treat Injured Operators. You can heal them instantly with the Bacta Tank, or late them take 1 Cycle to heal all injuries with the Medical Bed. You initially start with 1 Medical Bed, but can unlock 3 more.
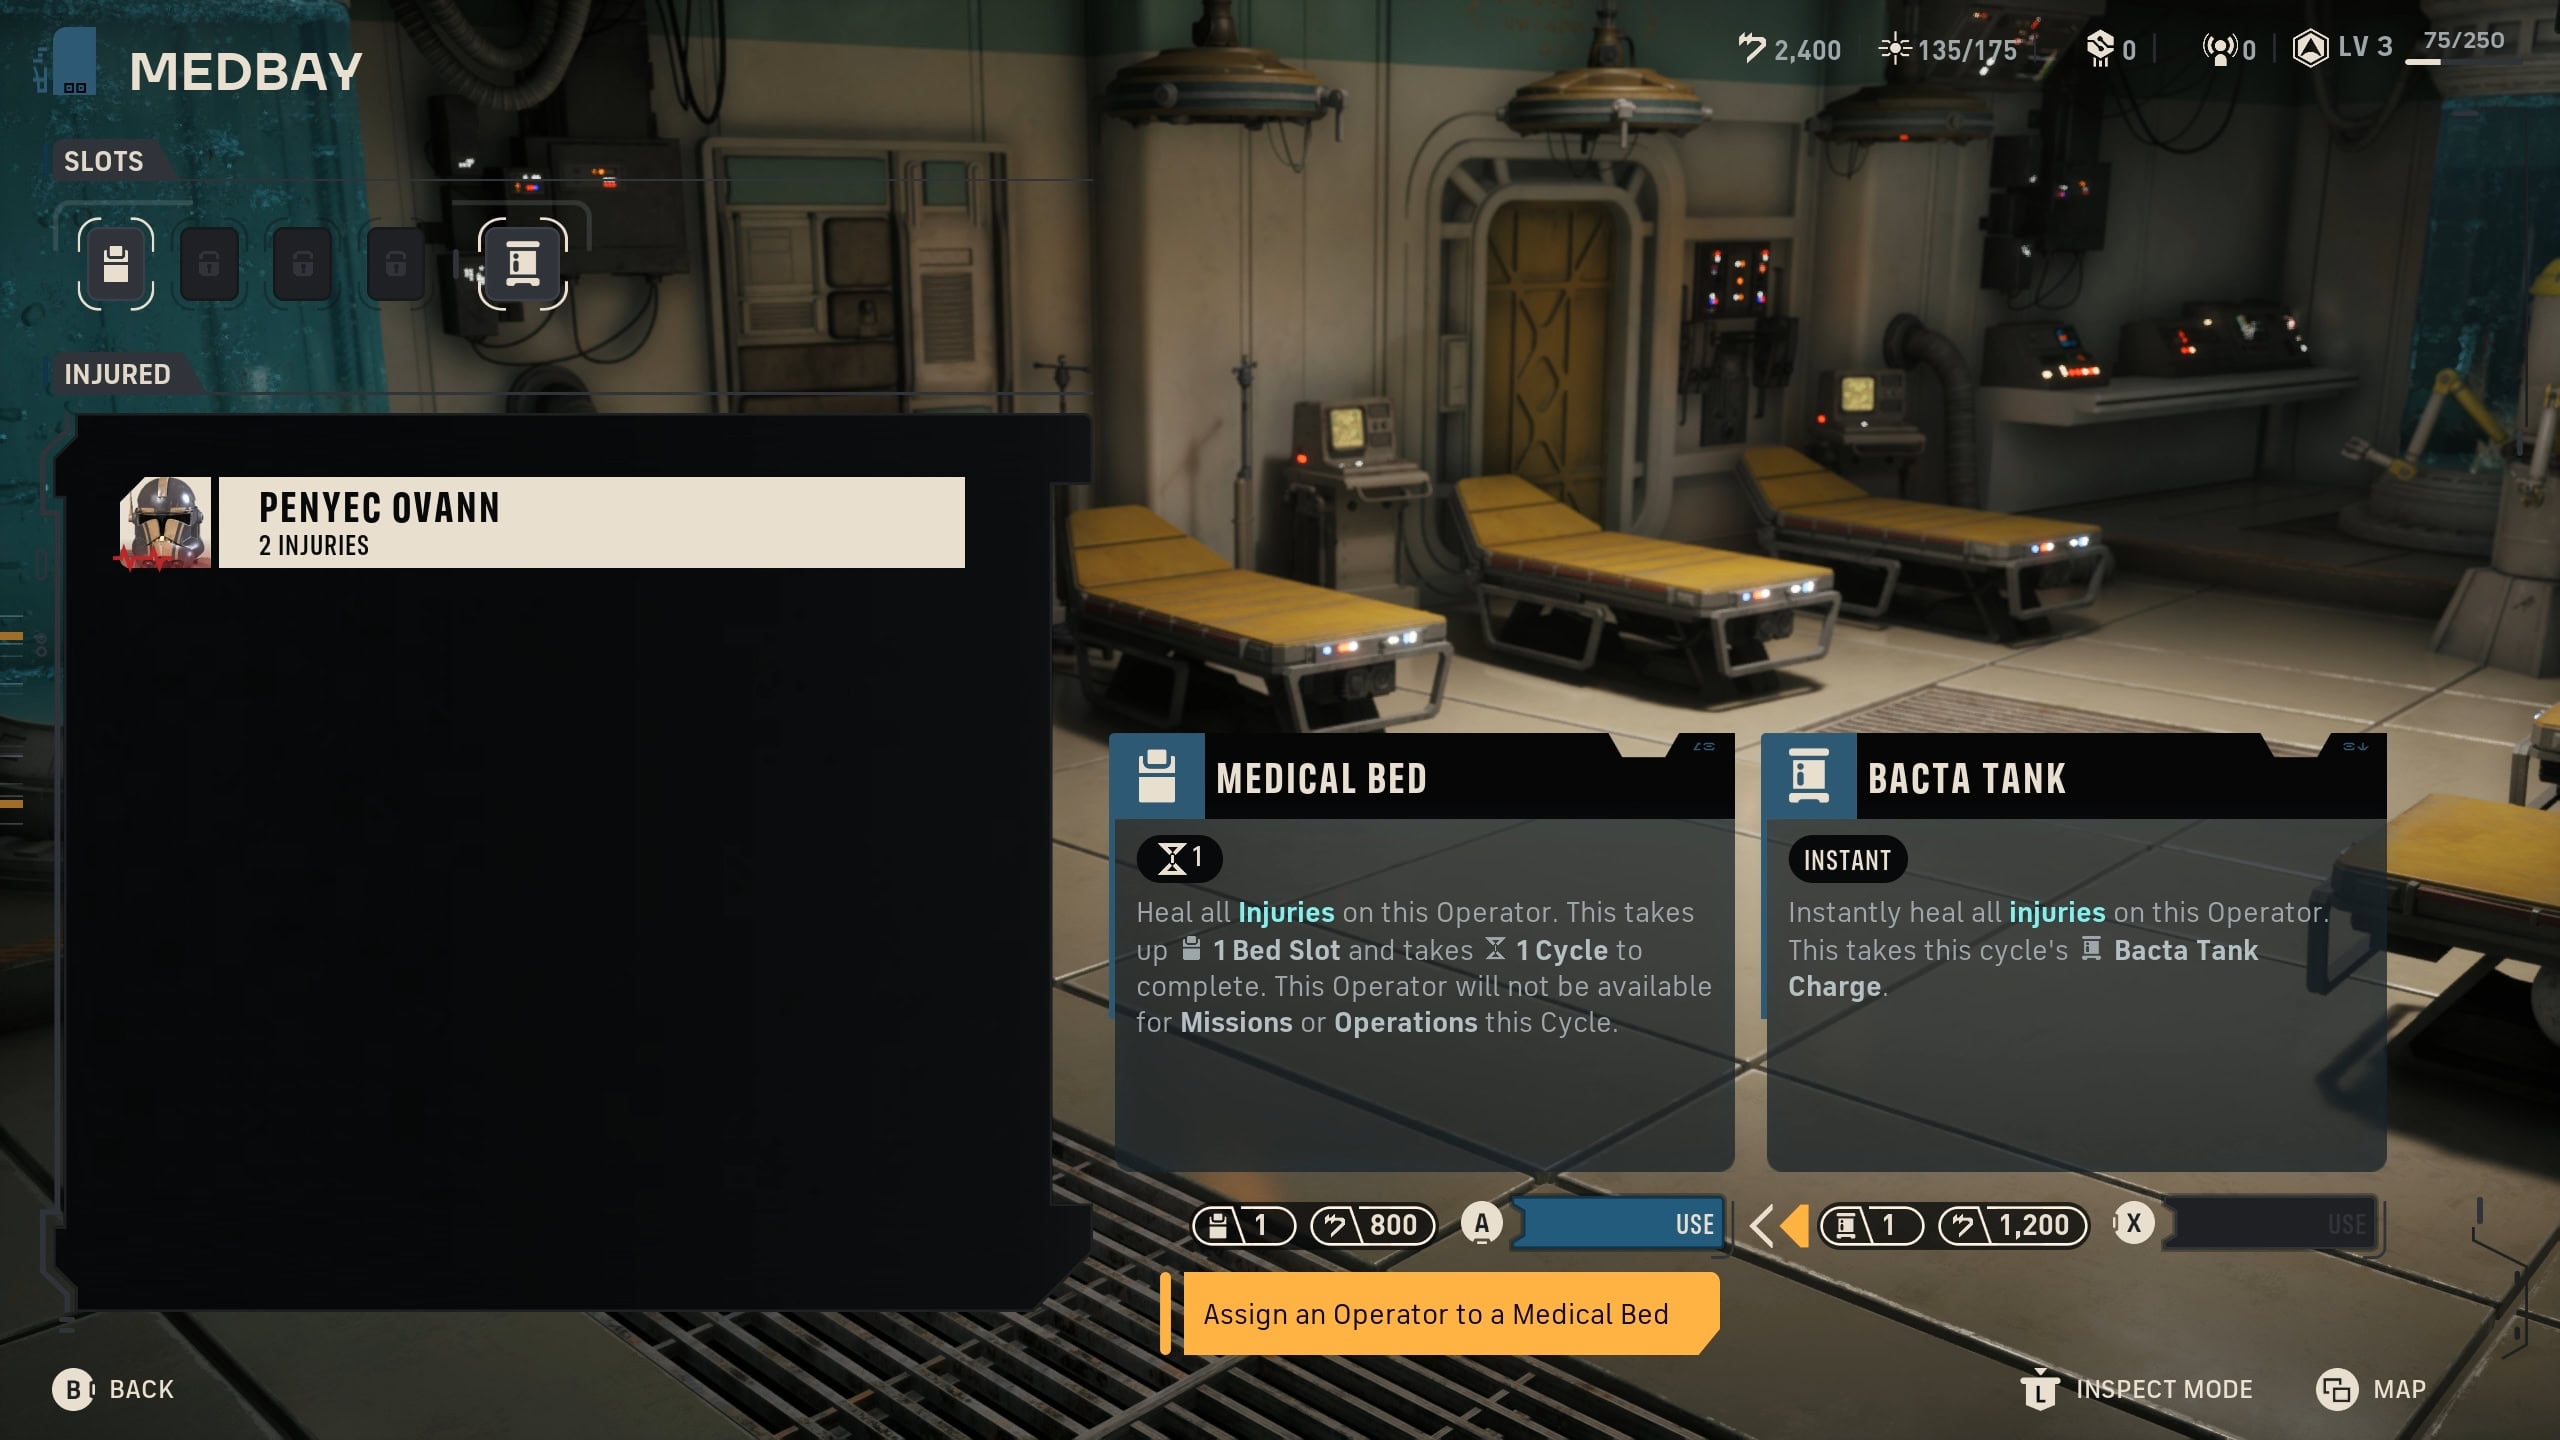
Healing Injuries will require credits to complete. It’s 800 credits to heal with the Medical Bed, and 1,200 credits with the Bacta Tank. You can reduce this fee by 150 credits twice at the Upgrade Station, up to a total of 300 credits off for 500 and 900 credits for treatment respectively.
Upgrade
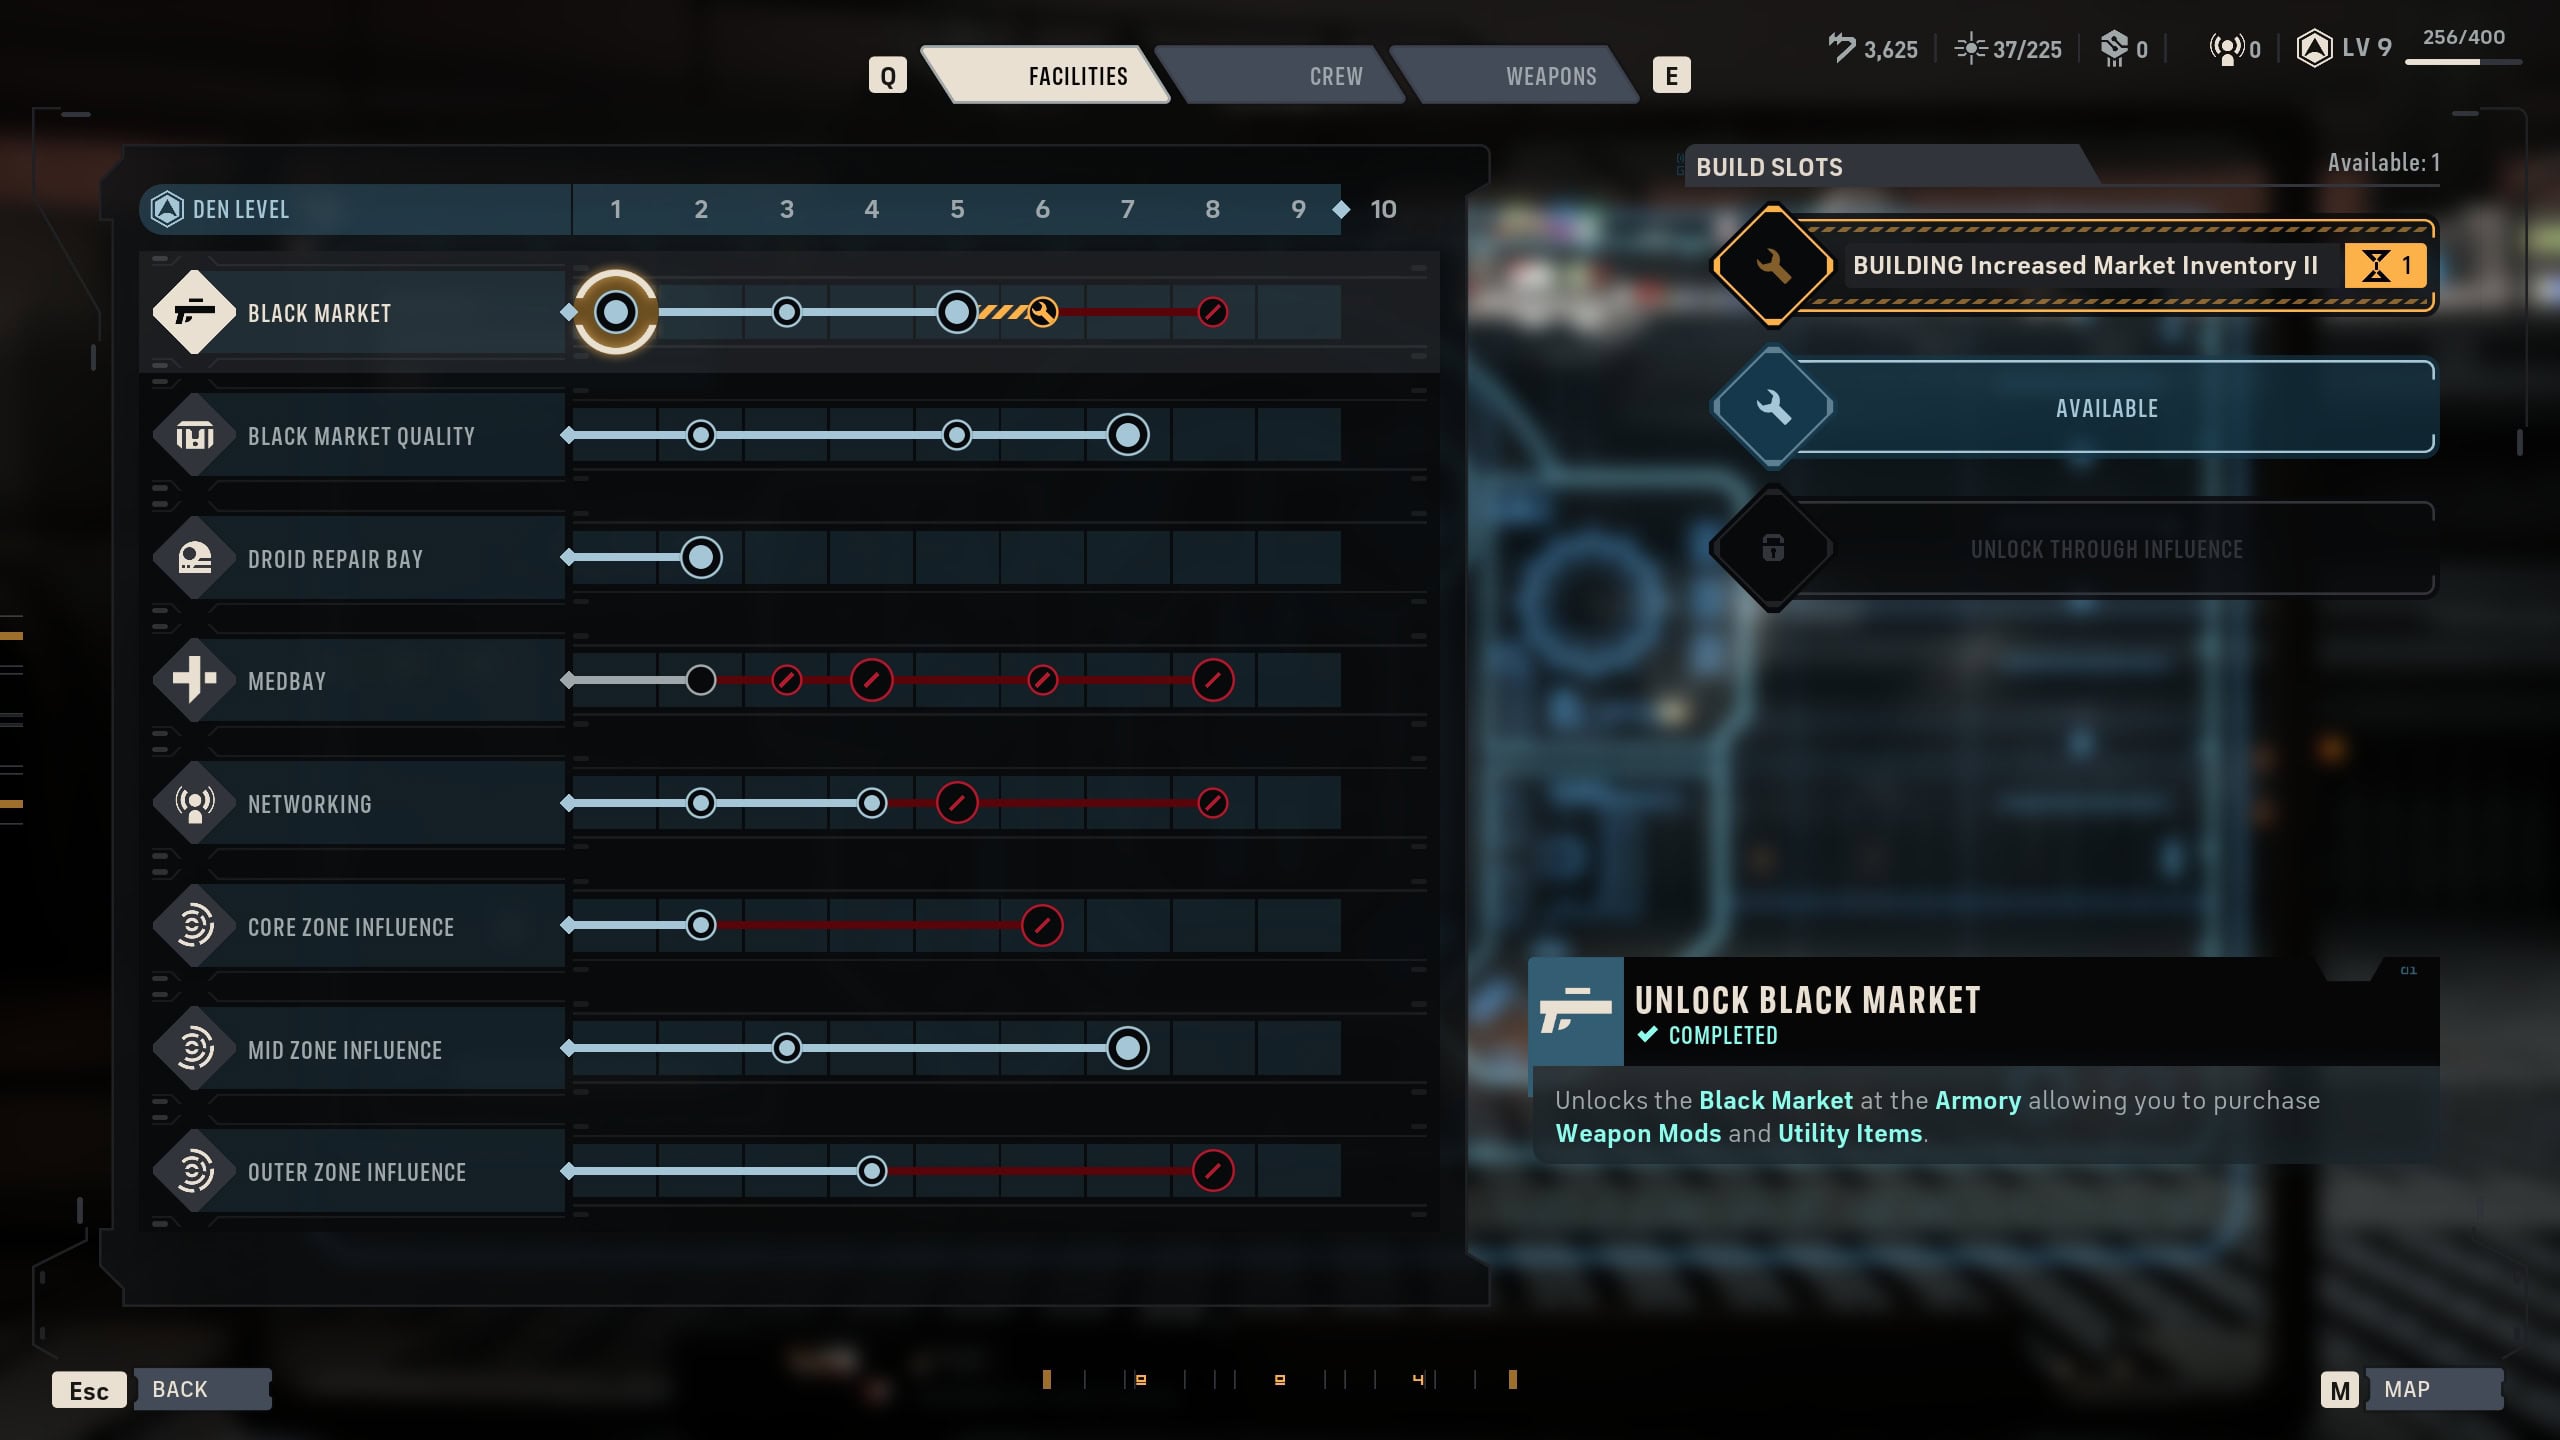
The Upgrade Station is where you’ll unlock upgrades for the Den’s Facilities, Crew Upgrades, or Weapon Upgrades. You’ll most likely be unable to fill out every upgrade during a playthrough of Zero Company, so you’ll need to choose your upgrades carefully.
Each upgrade requires resources such as credits and time to complete, with higher tier upgrades requiring Capacitors. Selecting an upgrade will consume a Build Slot for the duration of the construction time. You can gain two more Build Slots through Influence and the Campaign.
Recruitment
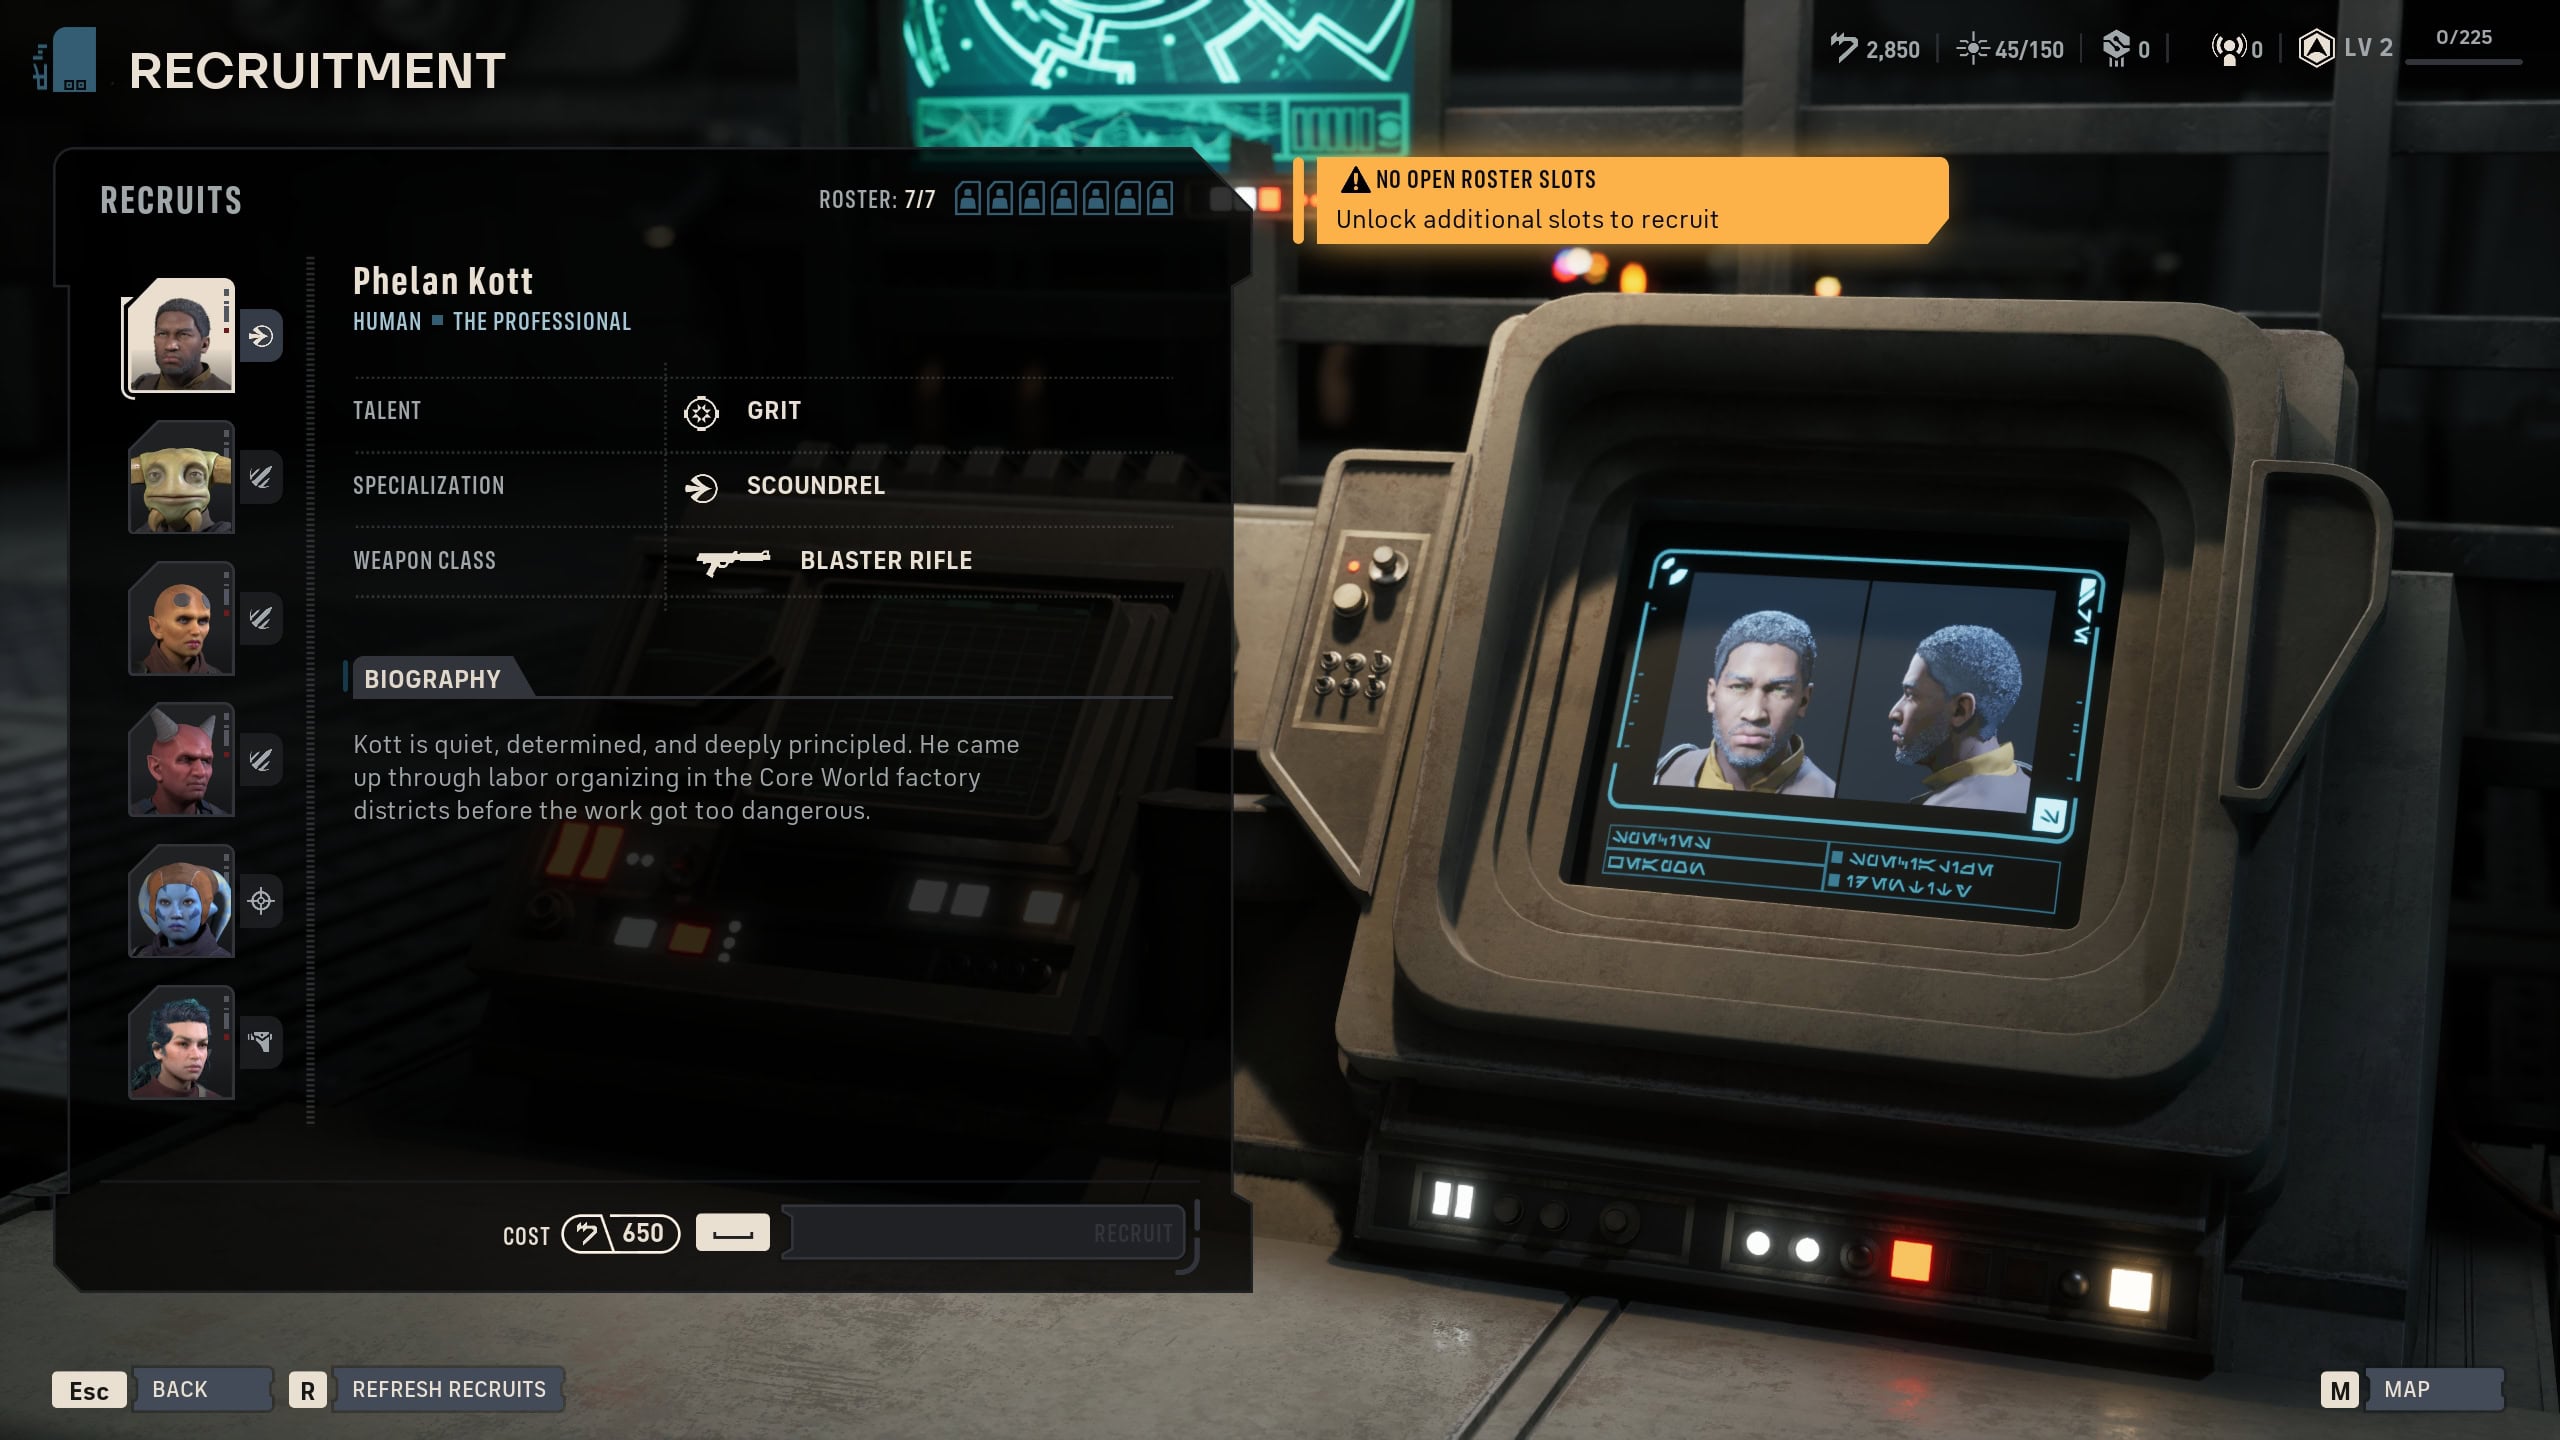
The Recruitment Terminal is where you can recruit randomly generated Operatives for 650 credits a piece. This requires additional Roster Slots to utilize which can be done by upgrading the Crew Quarters at the Upgrade station.
There’s no purpose to cycling through Operators to find the perfect one as you can fully customize them with the other facilities.
Personnel
The Personnel station is where you can customize an Operator’s kit and increase their bonds. You’ll be coming here a lot to upgrade an Operator’s abilities when you gain additional Focus Points.
Bonds
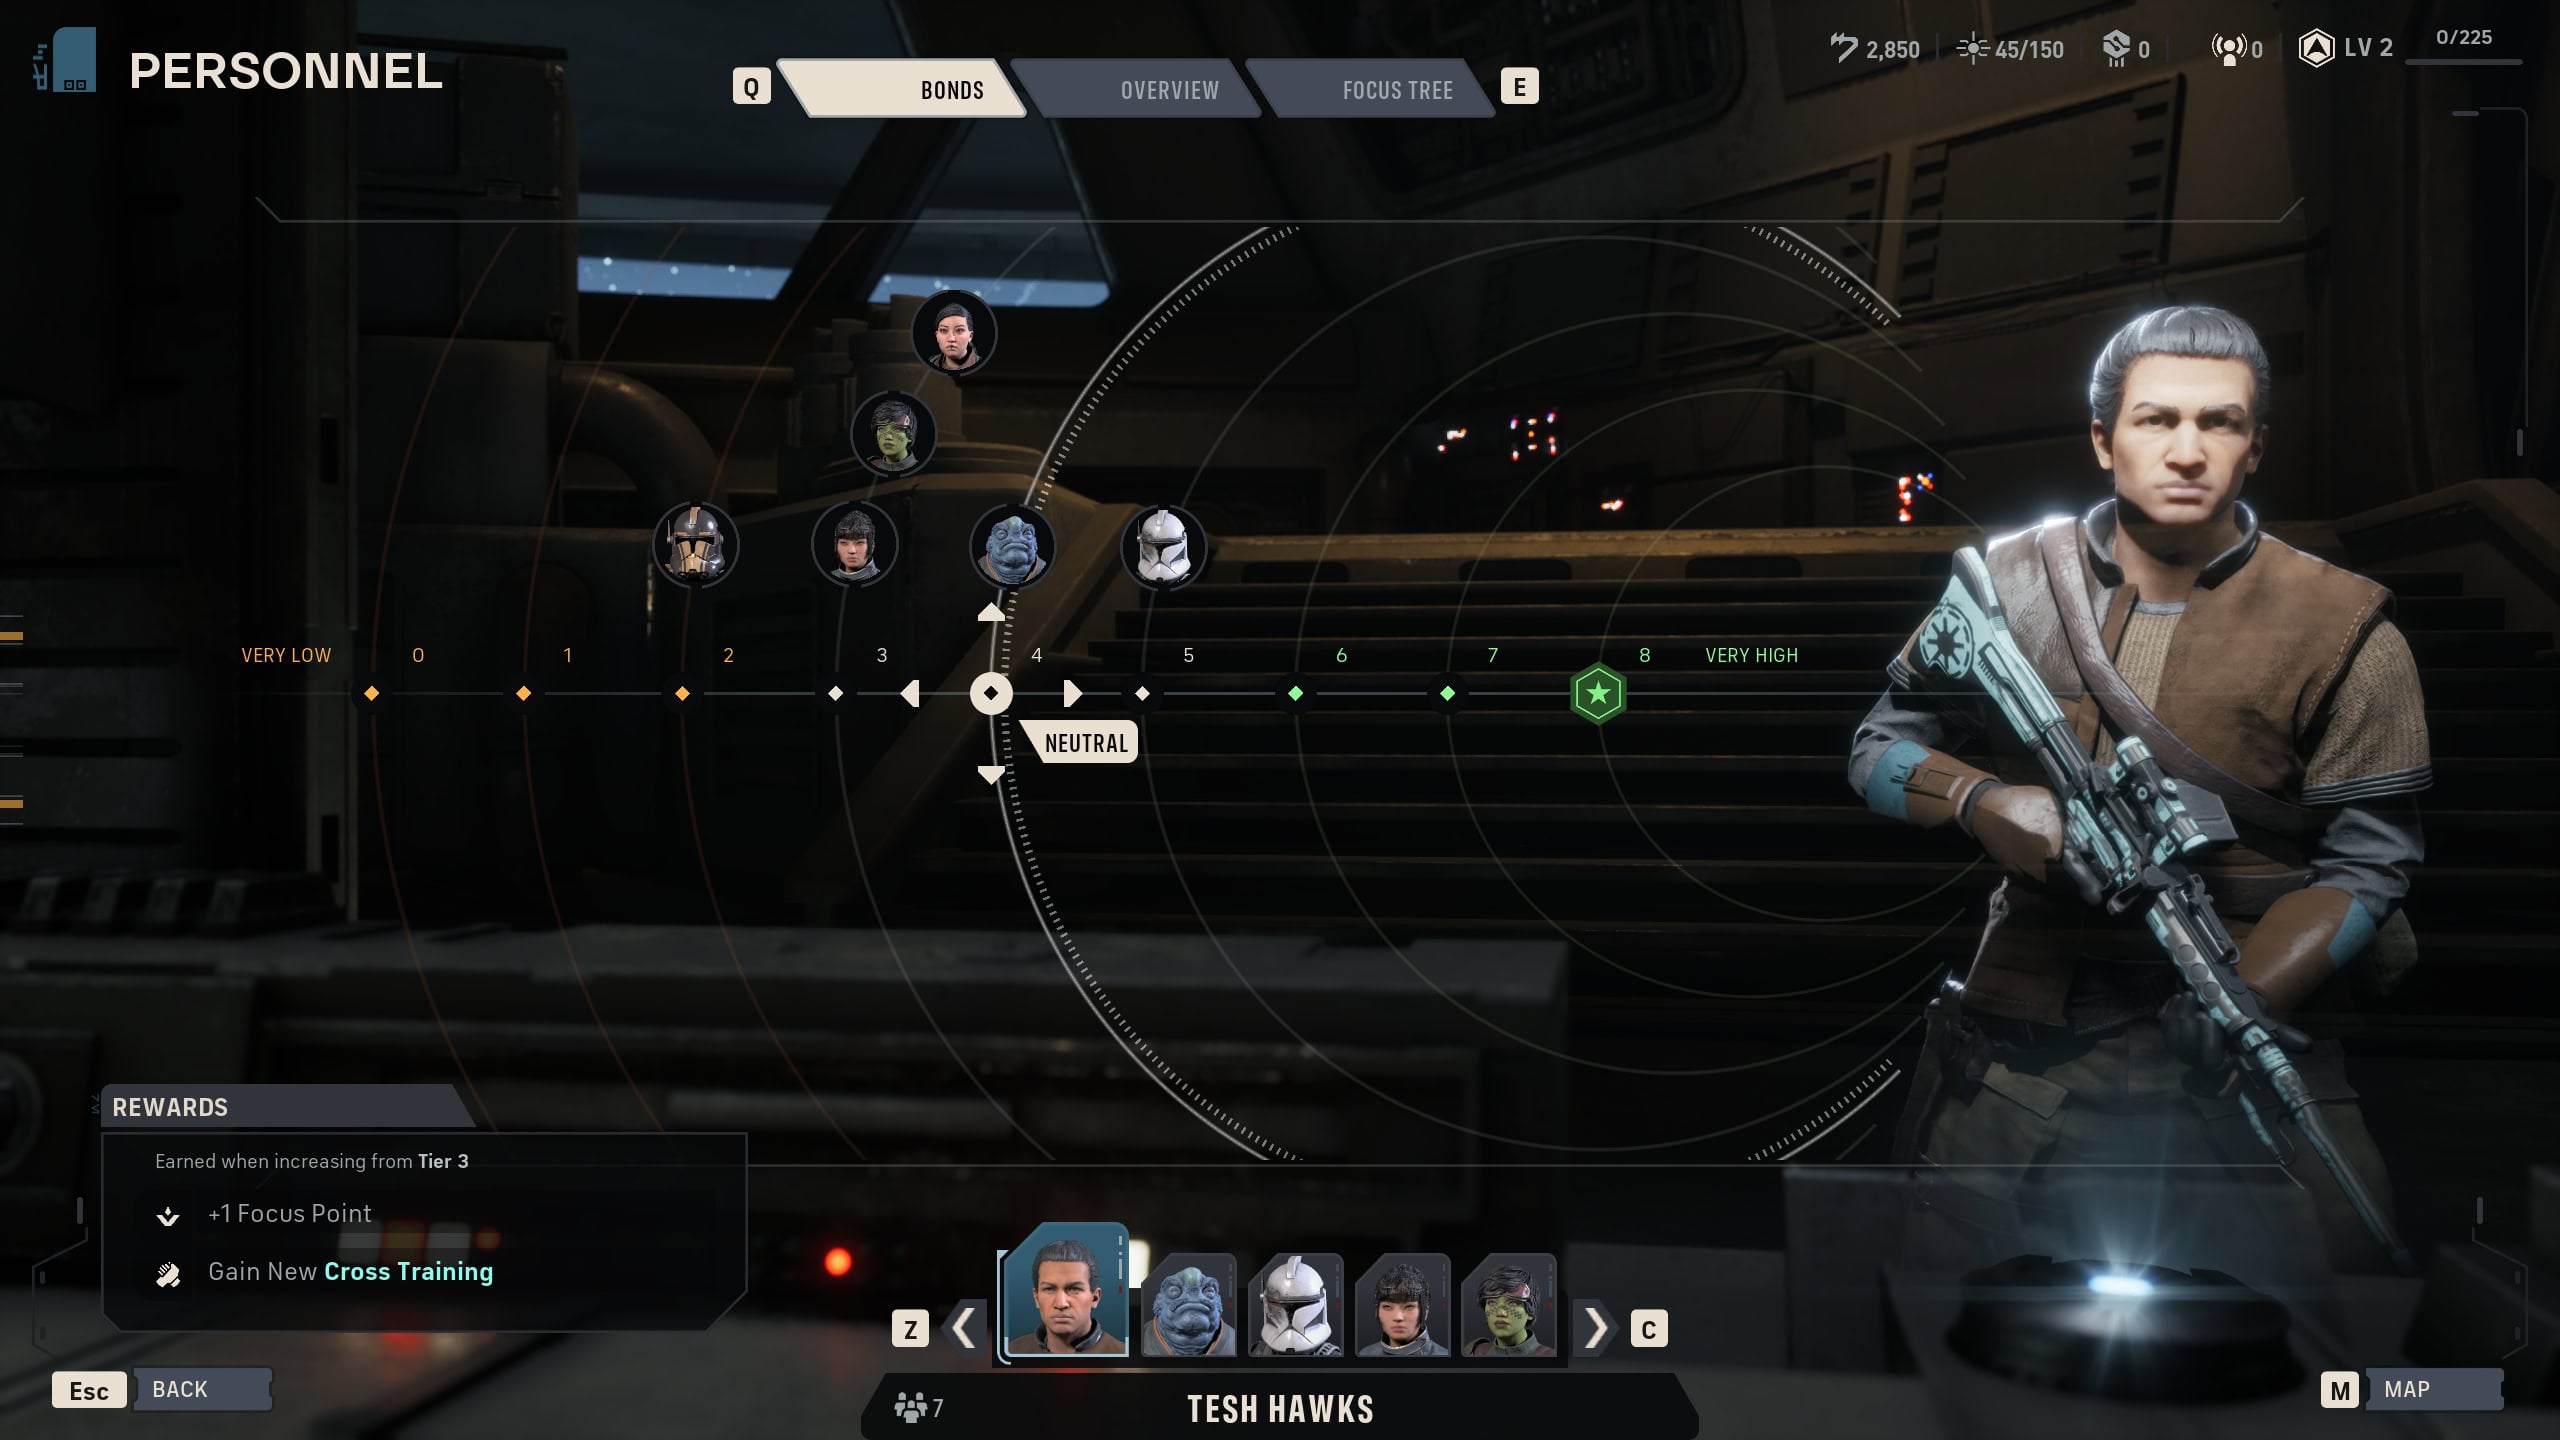
Bonds show the relationship an Operator has with the other Operators in Zero Company. As you increase their bonds at each tier, you’ll unlock a reward that two Operators can receive. This can be increased damage, hit chance, health, additional focus points, etc. Choose whichever option best benefits both Operators.
Bonds between Operators can be increased by having them heal one another, using the Assist action (regardless if they follow up with an attack or not), or passively by unlocking the Lounge. Another good way to increase bonds is to send Operators on Operations.
Overview
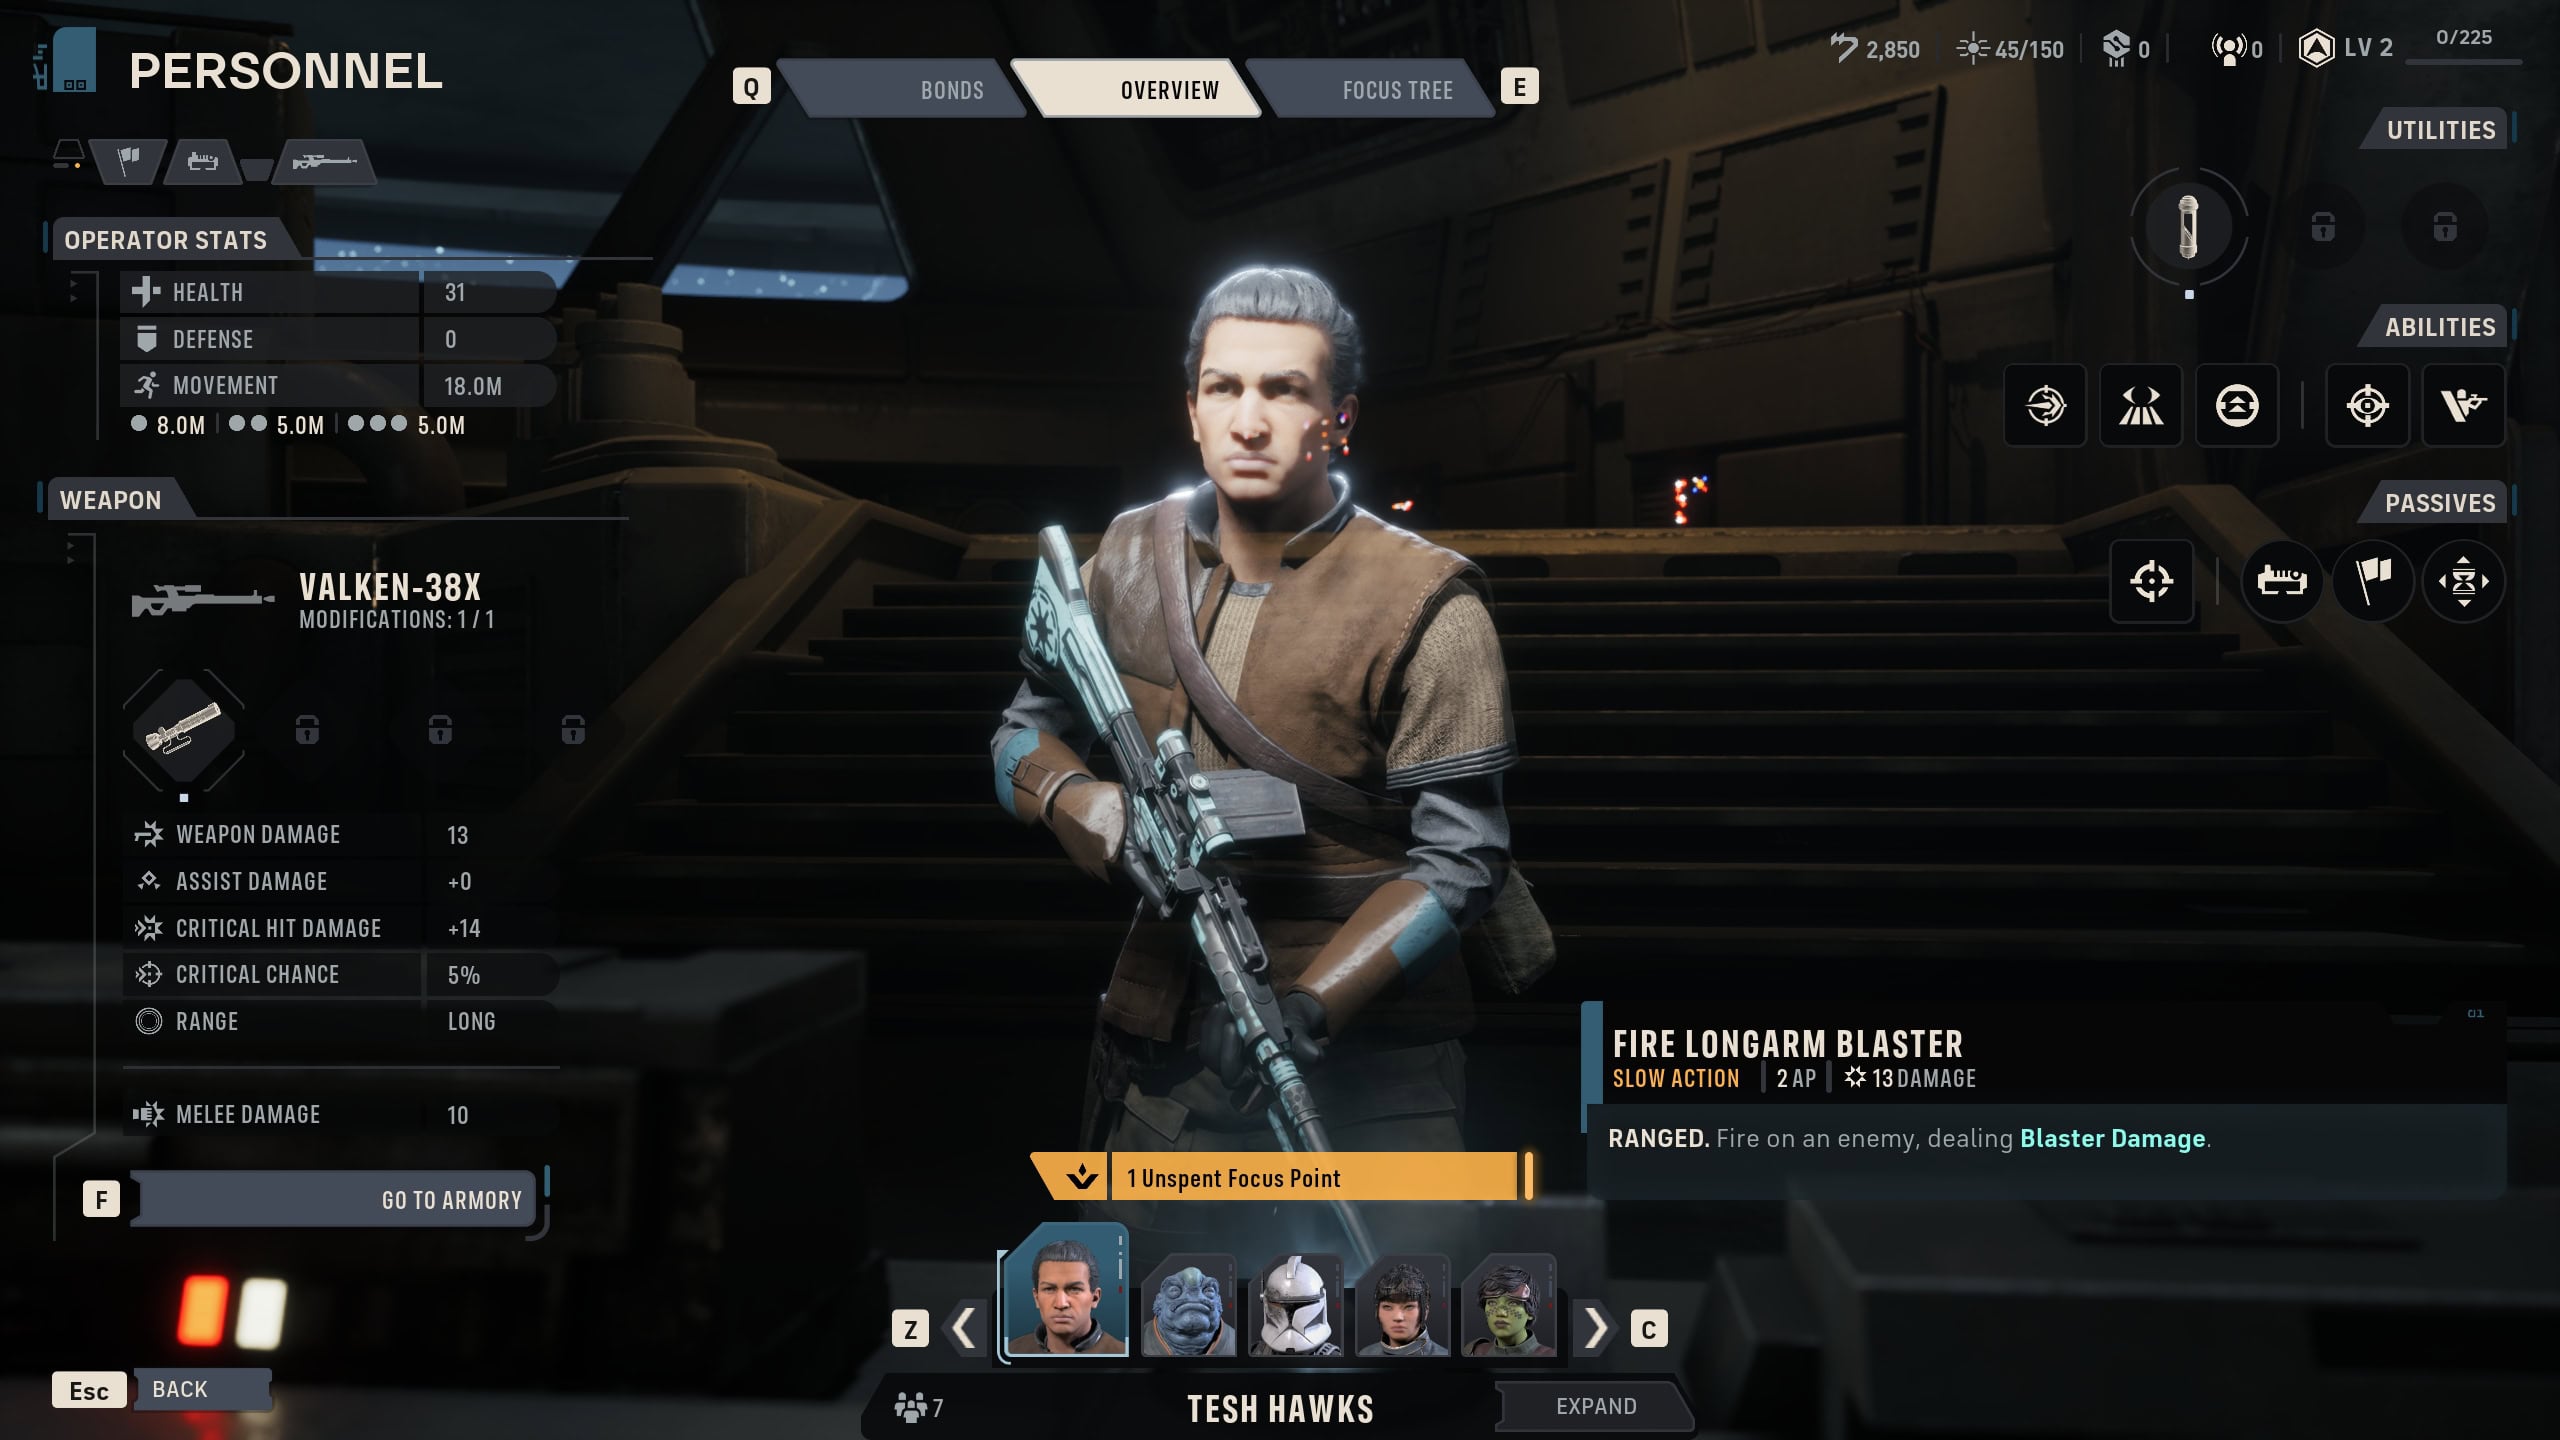
The Overview menu will show you all of an Operator’s Utilities, Abilities, Passives, and Stats. Stats such as Critical Chance and Critical Hit Damage factor in bonuses gained from Bond Rewards, Passive Abilities, and Weapon Upgrades.
Focus Tree
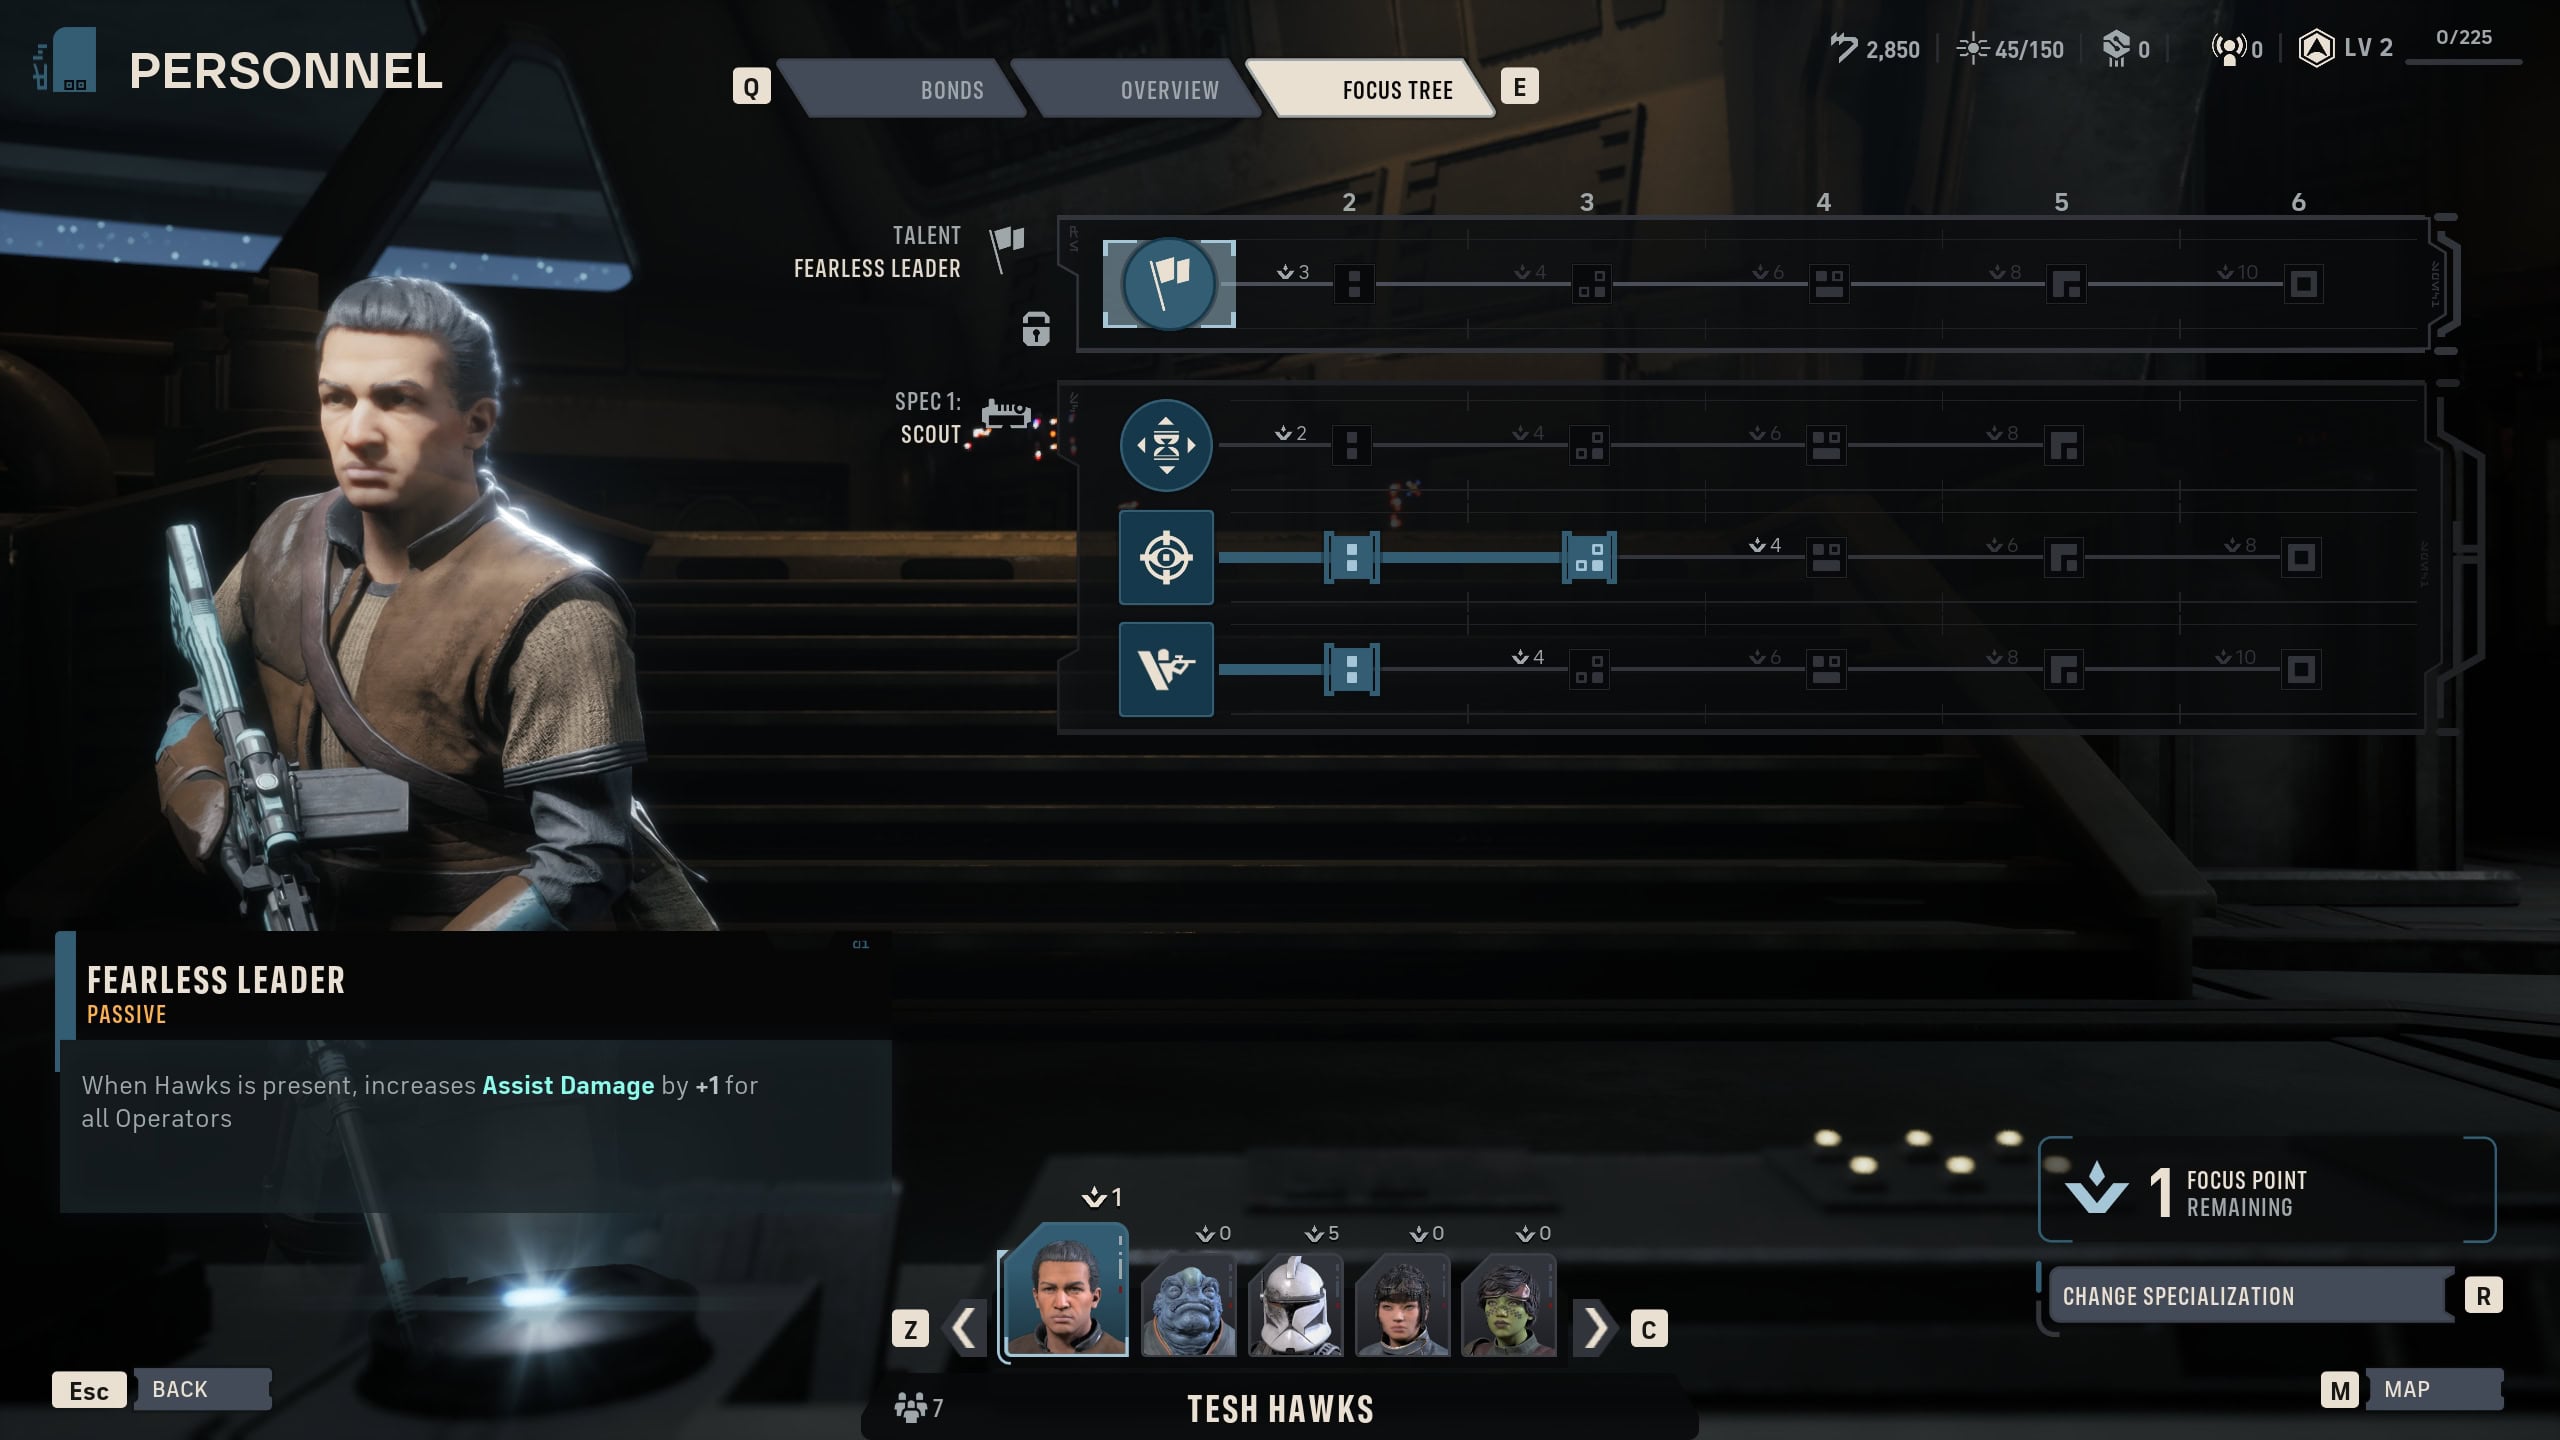
The Focus Tree is where you can change an Operator’s Talent, Specialization, and upgrade Abilities for them. Operators with preset names such as Hawks or Trick cannot have their Talent changed.
There is no cost to change an Operator’s Talent or Specialization, you can freely swap them and return any spent Focus Points at will. After completing a main story mission on Bespin, you’ll unlock a second Specialization for your Operators to add on top of their previous one.
Armory
The Armory is where you can swap Weapons, Utilities, or access the Black Market to purchase Weapon Mods and Utilities.
Weapons
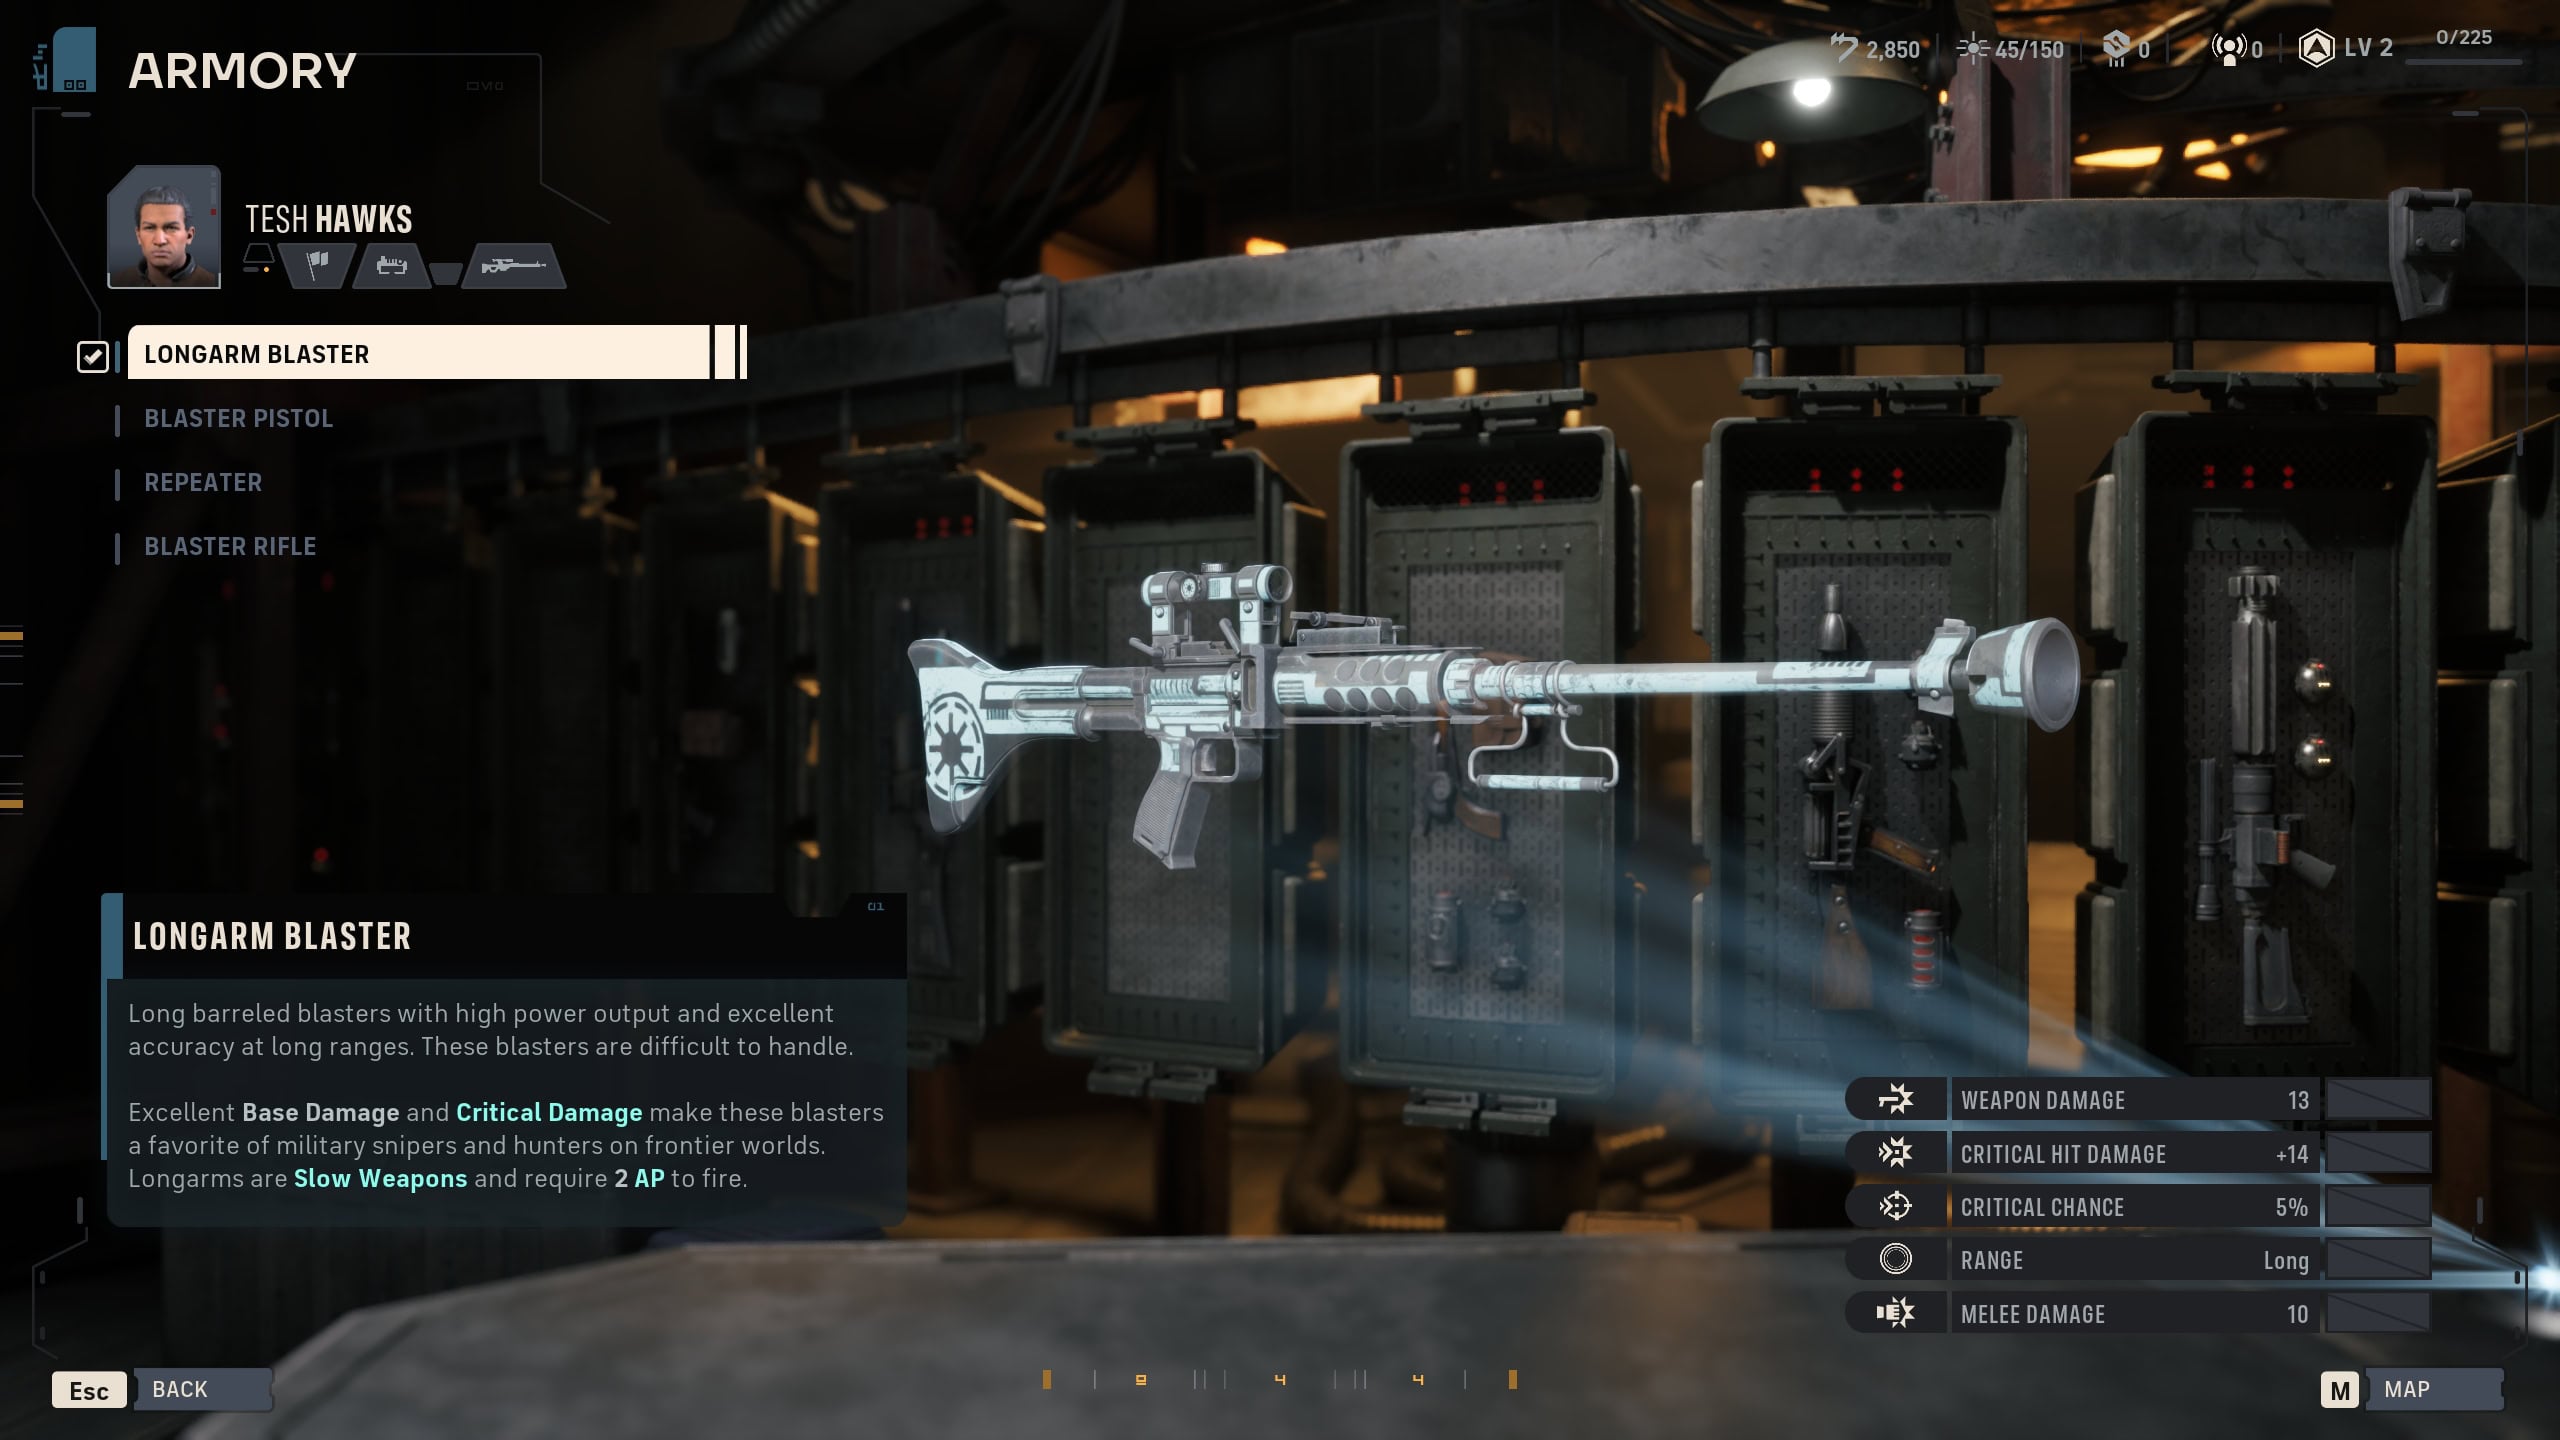
On the Weapons Menu, you can equip mods to an Operator’s weapon, change their weapon, or customize their appearance. It is free to change weapons at any time. You’ll have your choice of Blaster Pistol, Blaster Rifle, Repeater, or Longarm Blaster.
Utilities
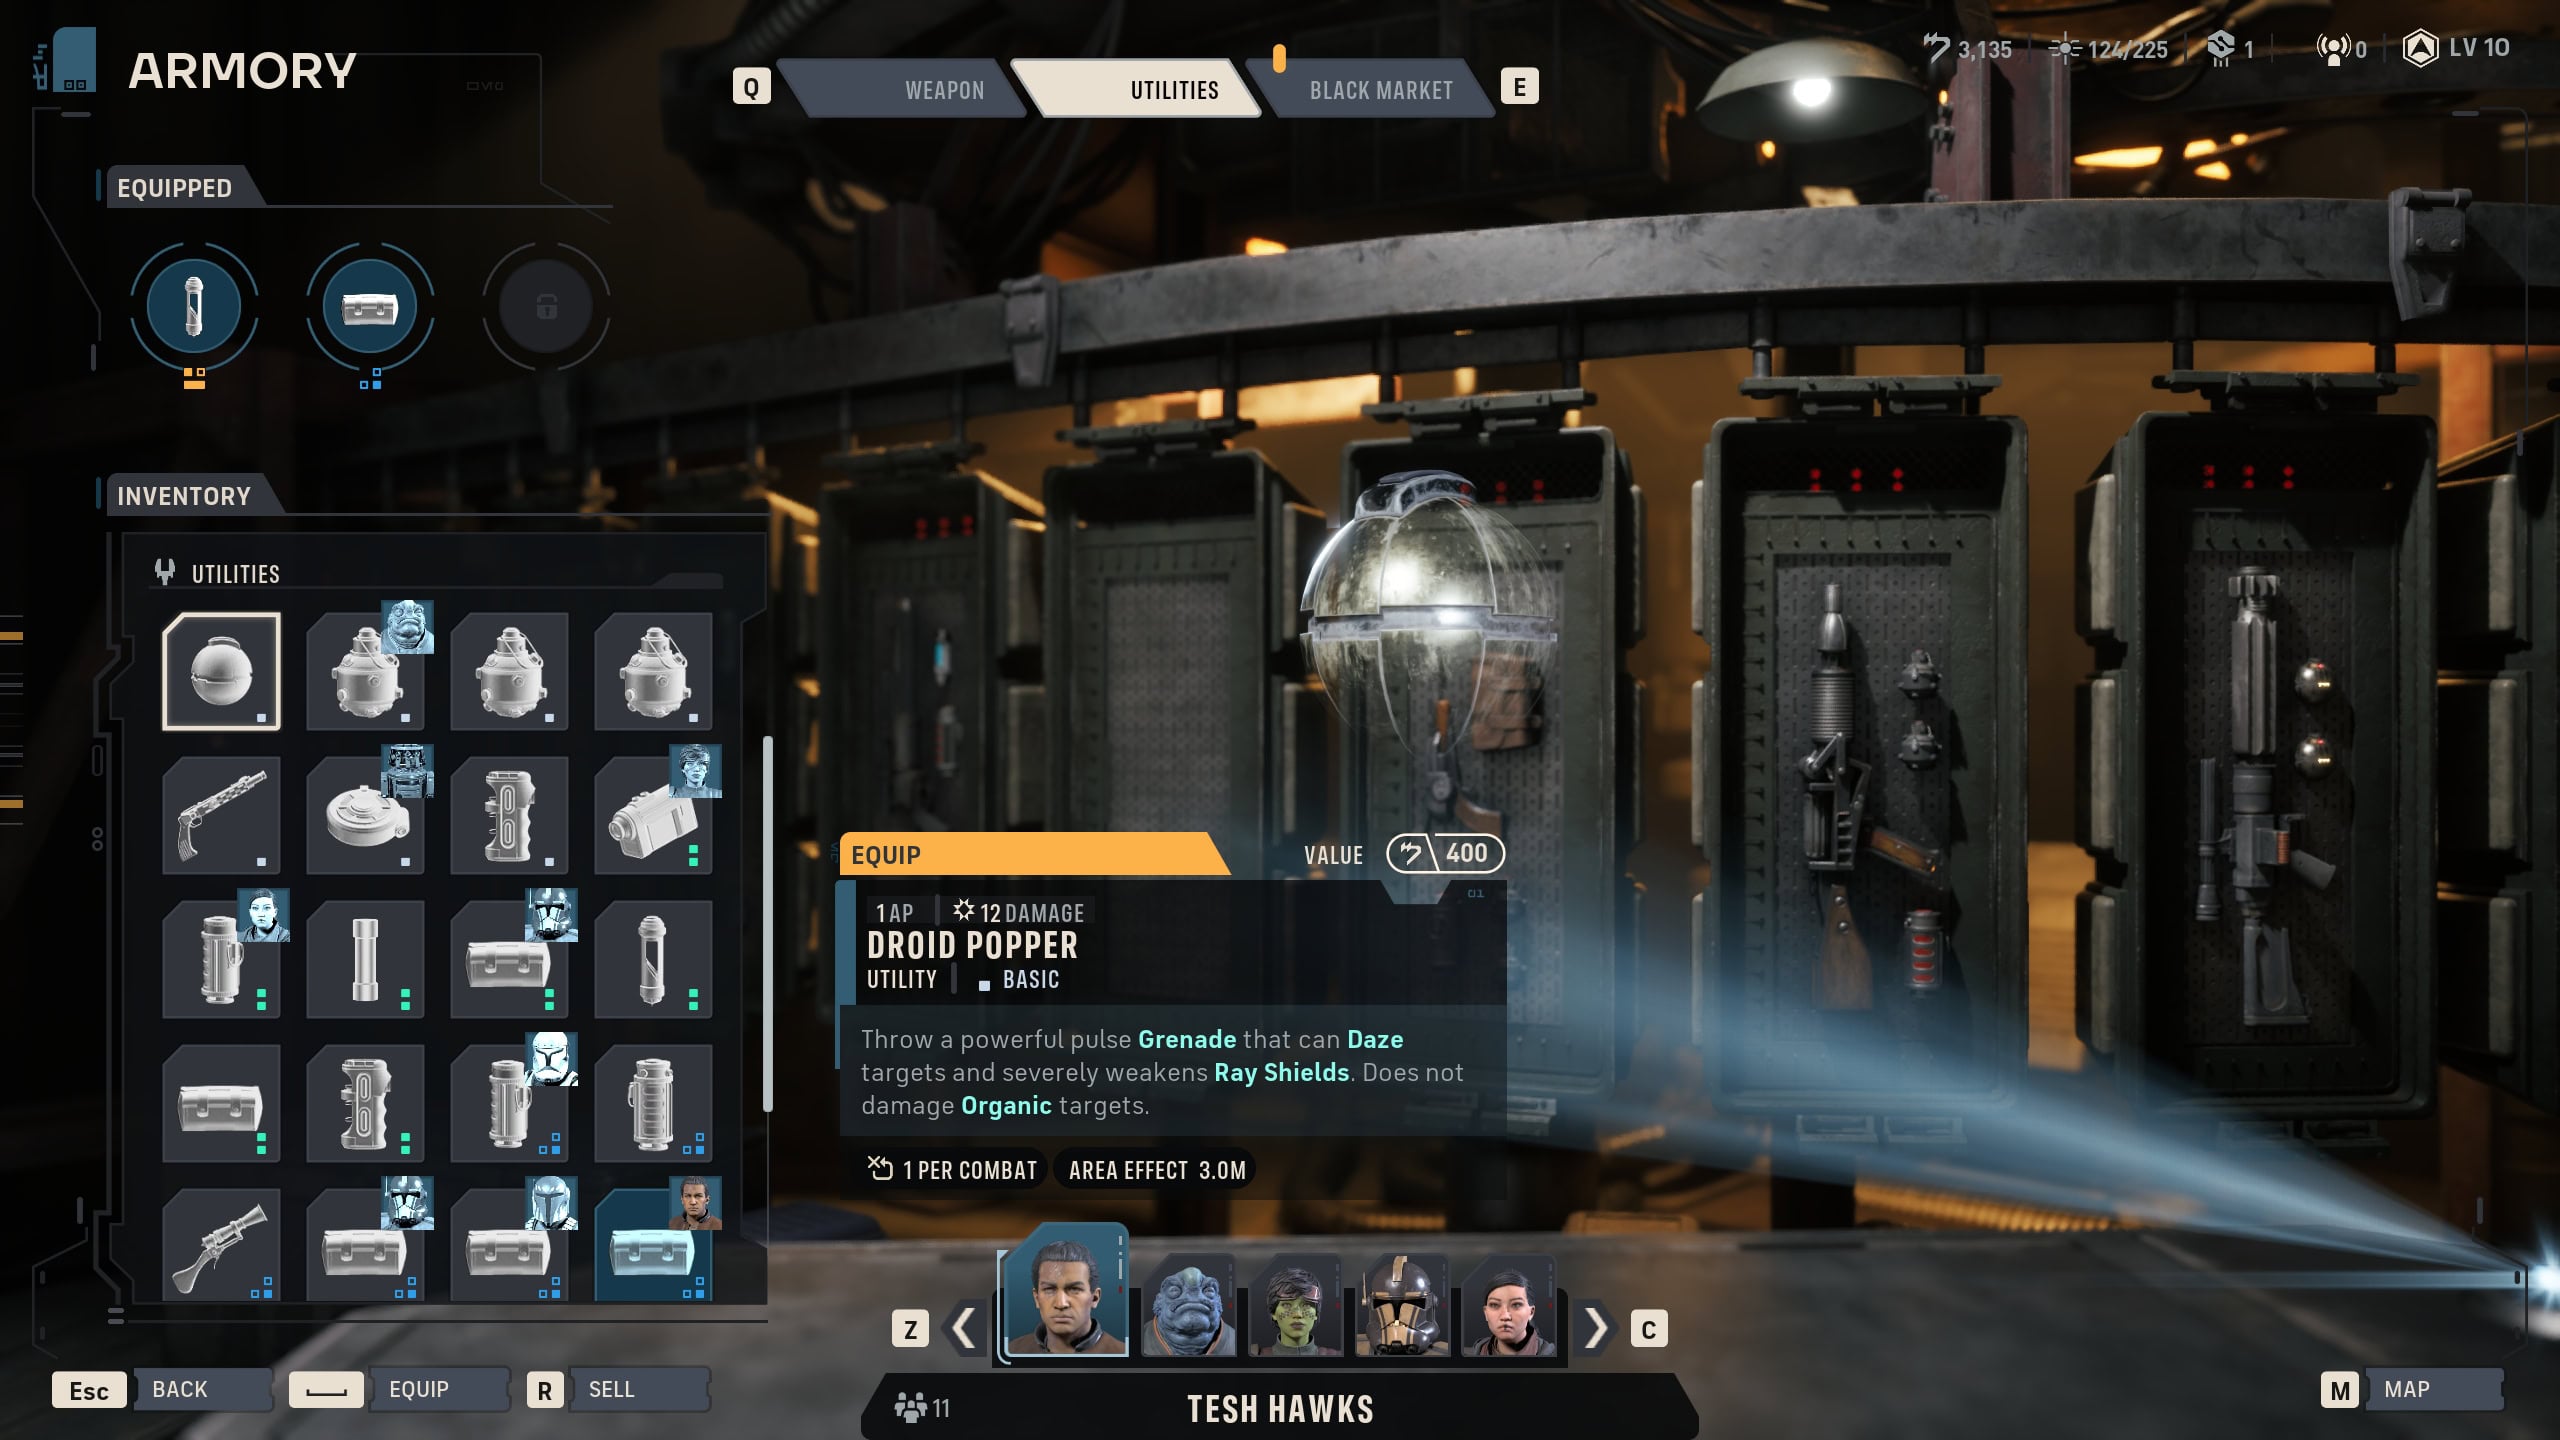
Utilities provide passive or active effects depending on the type of utility. These can be secondary weapons such as Scatterguns or Ion Blasters. You’ll also find consumable items such as Grenades and Medpacs here as well.
Armor Underlays and Visors provide passive effects such 50% reduced melee damage or increased critical hit chance. You cannot equip two of the same Utility onto an Operator.
Black Market
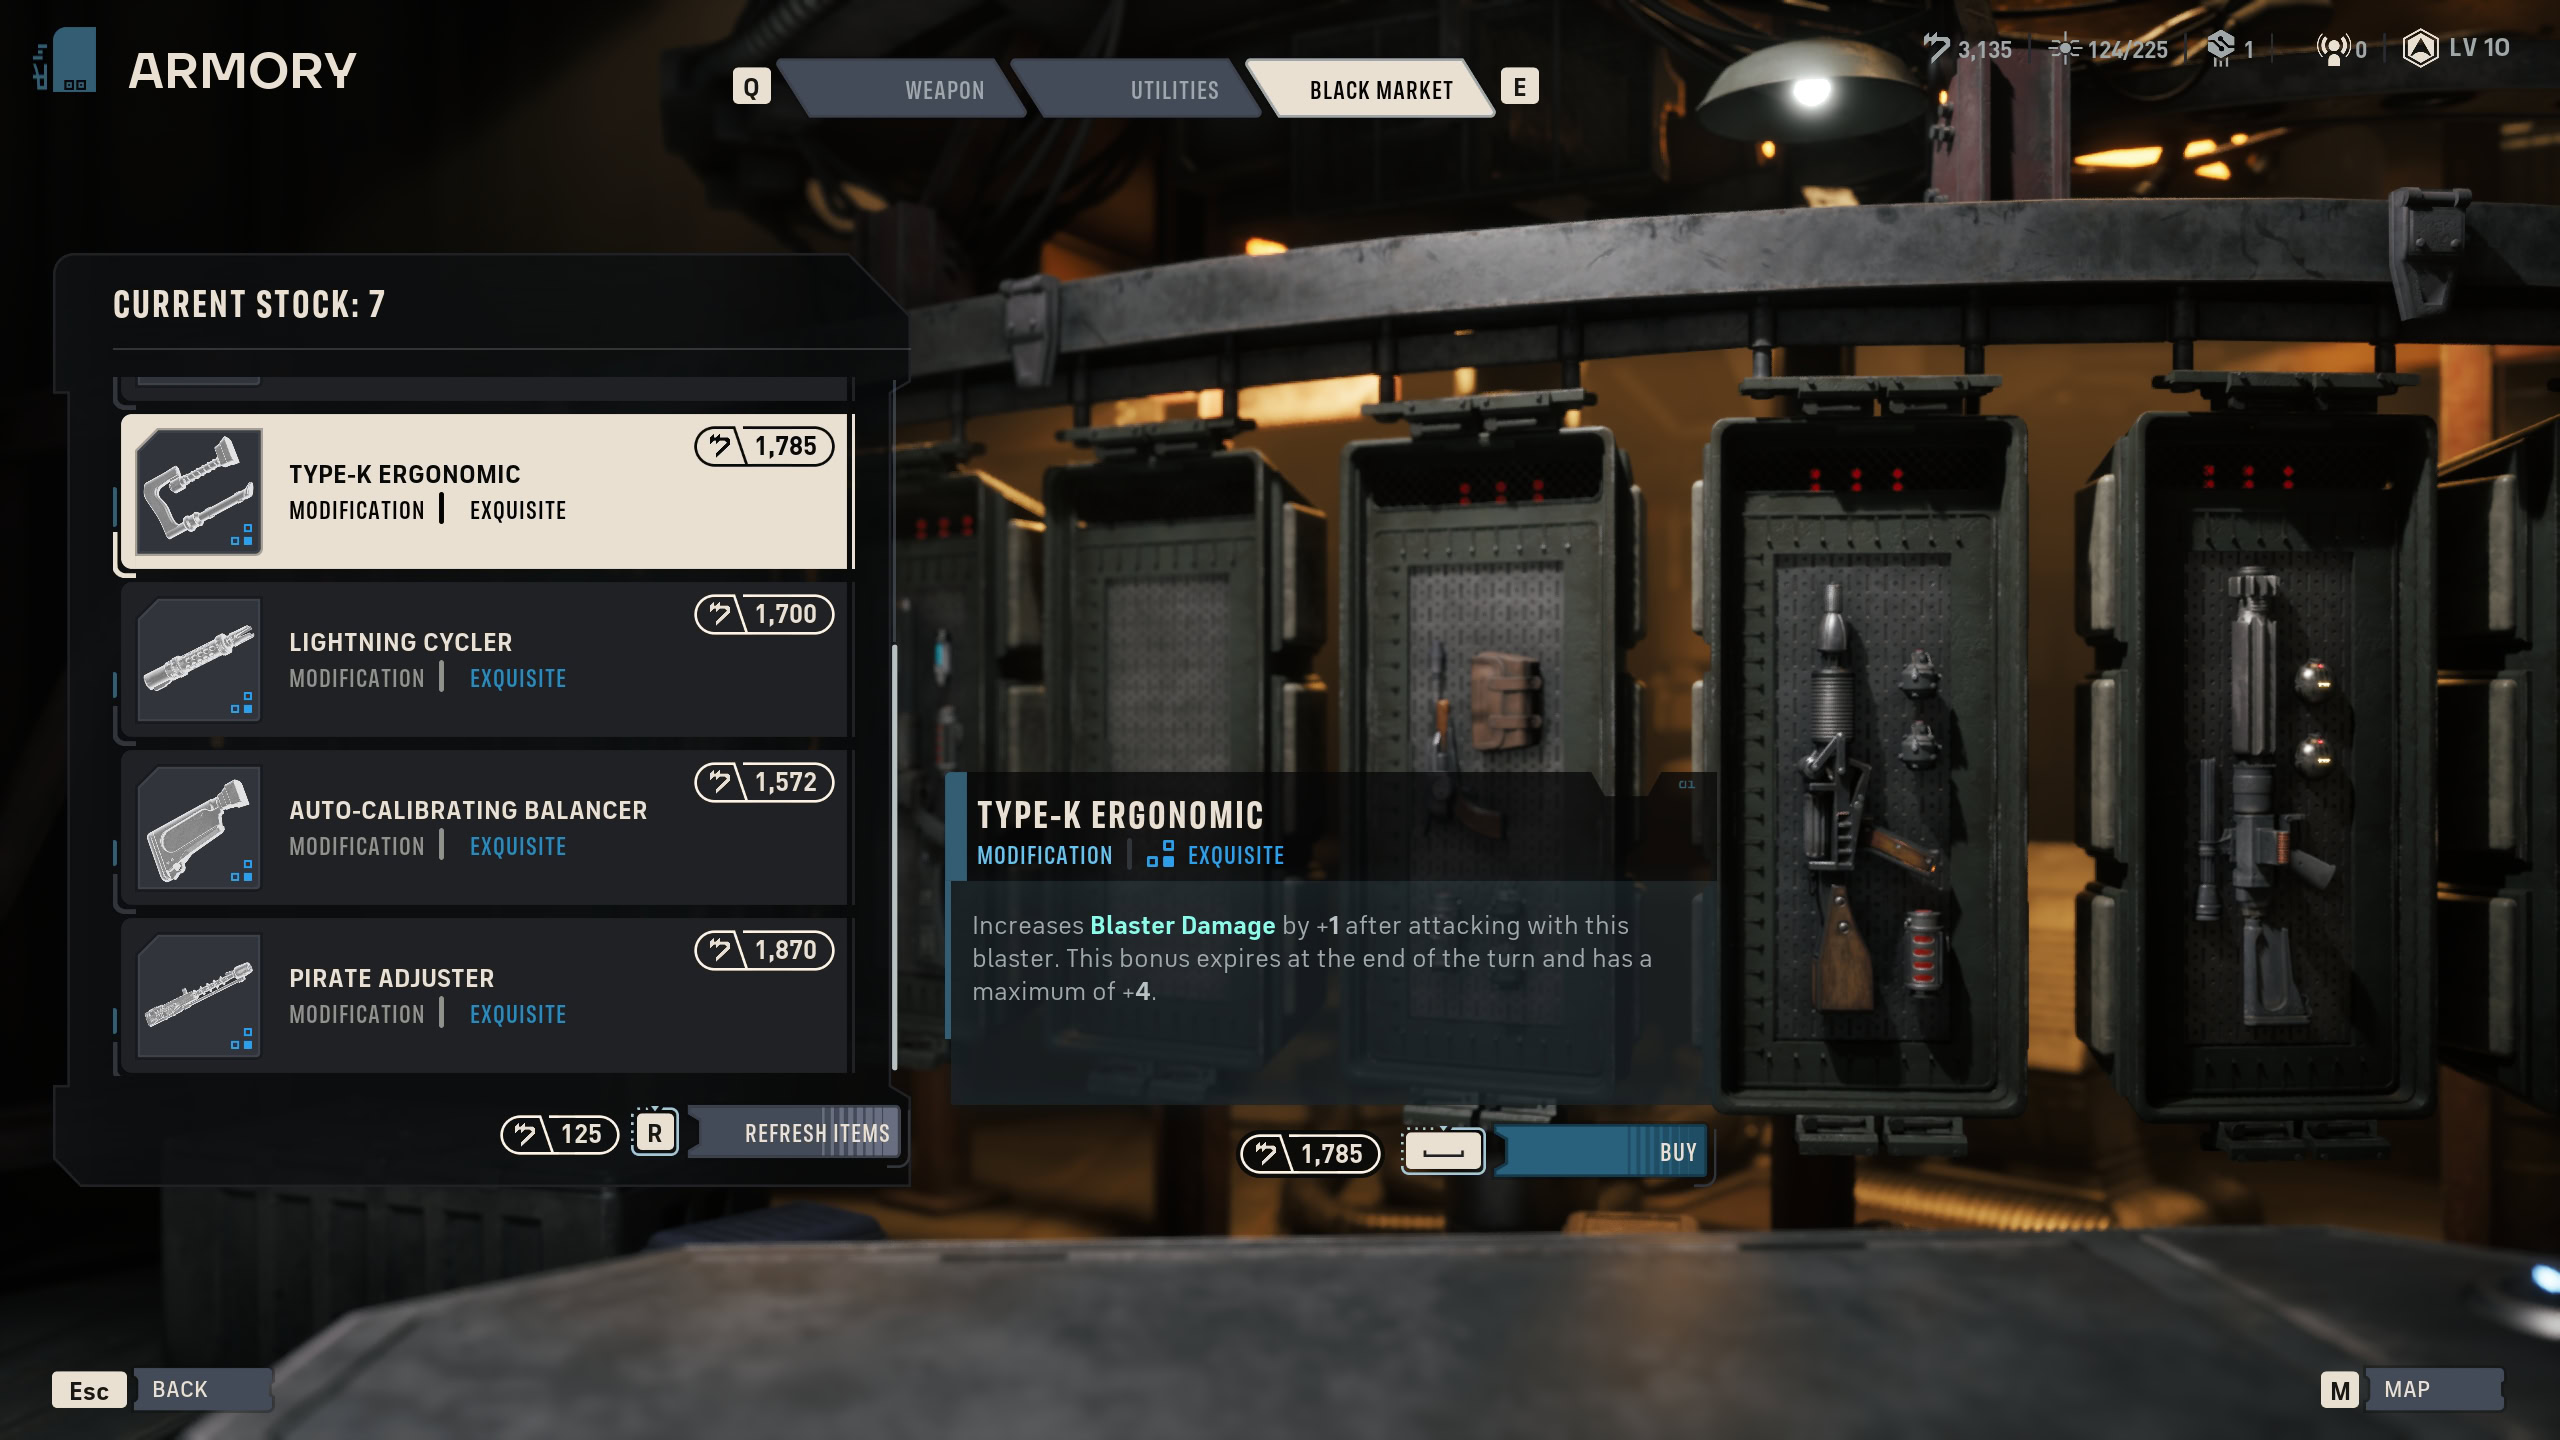
The Black Market is where you can purchase new Weapon Mods and Utilities. Initially the amount of items and their quality will be low. By upgrading the Black Market at the Upgrade station, you can increase the amount of items sold and their quality. You can even unlock the ability to refresh the stock in exchange for some credits.
Customization
The Customization Station allows you to customize an Operator’s profile, appearance, and outfits. Premade Operators cannot have aspects such as Profile or Appearance changed, but they can have outfits changed.
You can use this station to fully customize recruited Operators to your liking. If you’re a fan of roleplay, you can edit their background stories to give it your own twist.
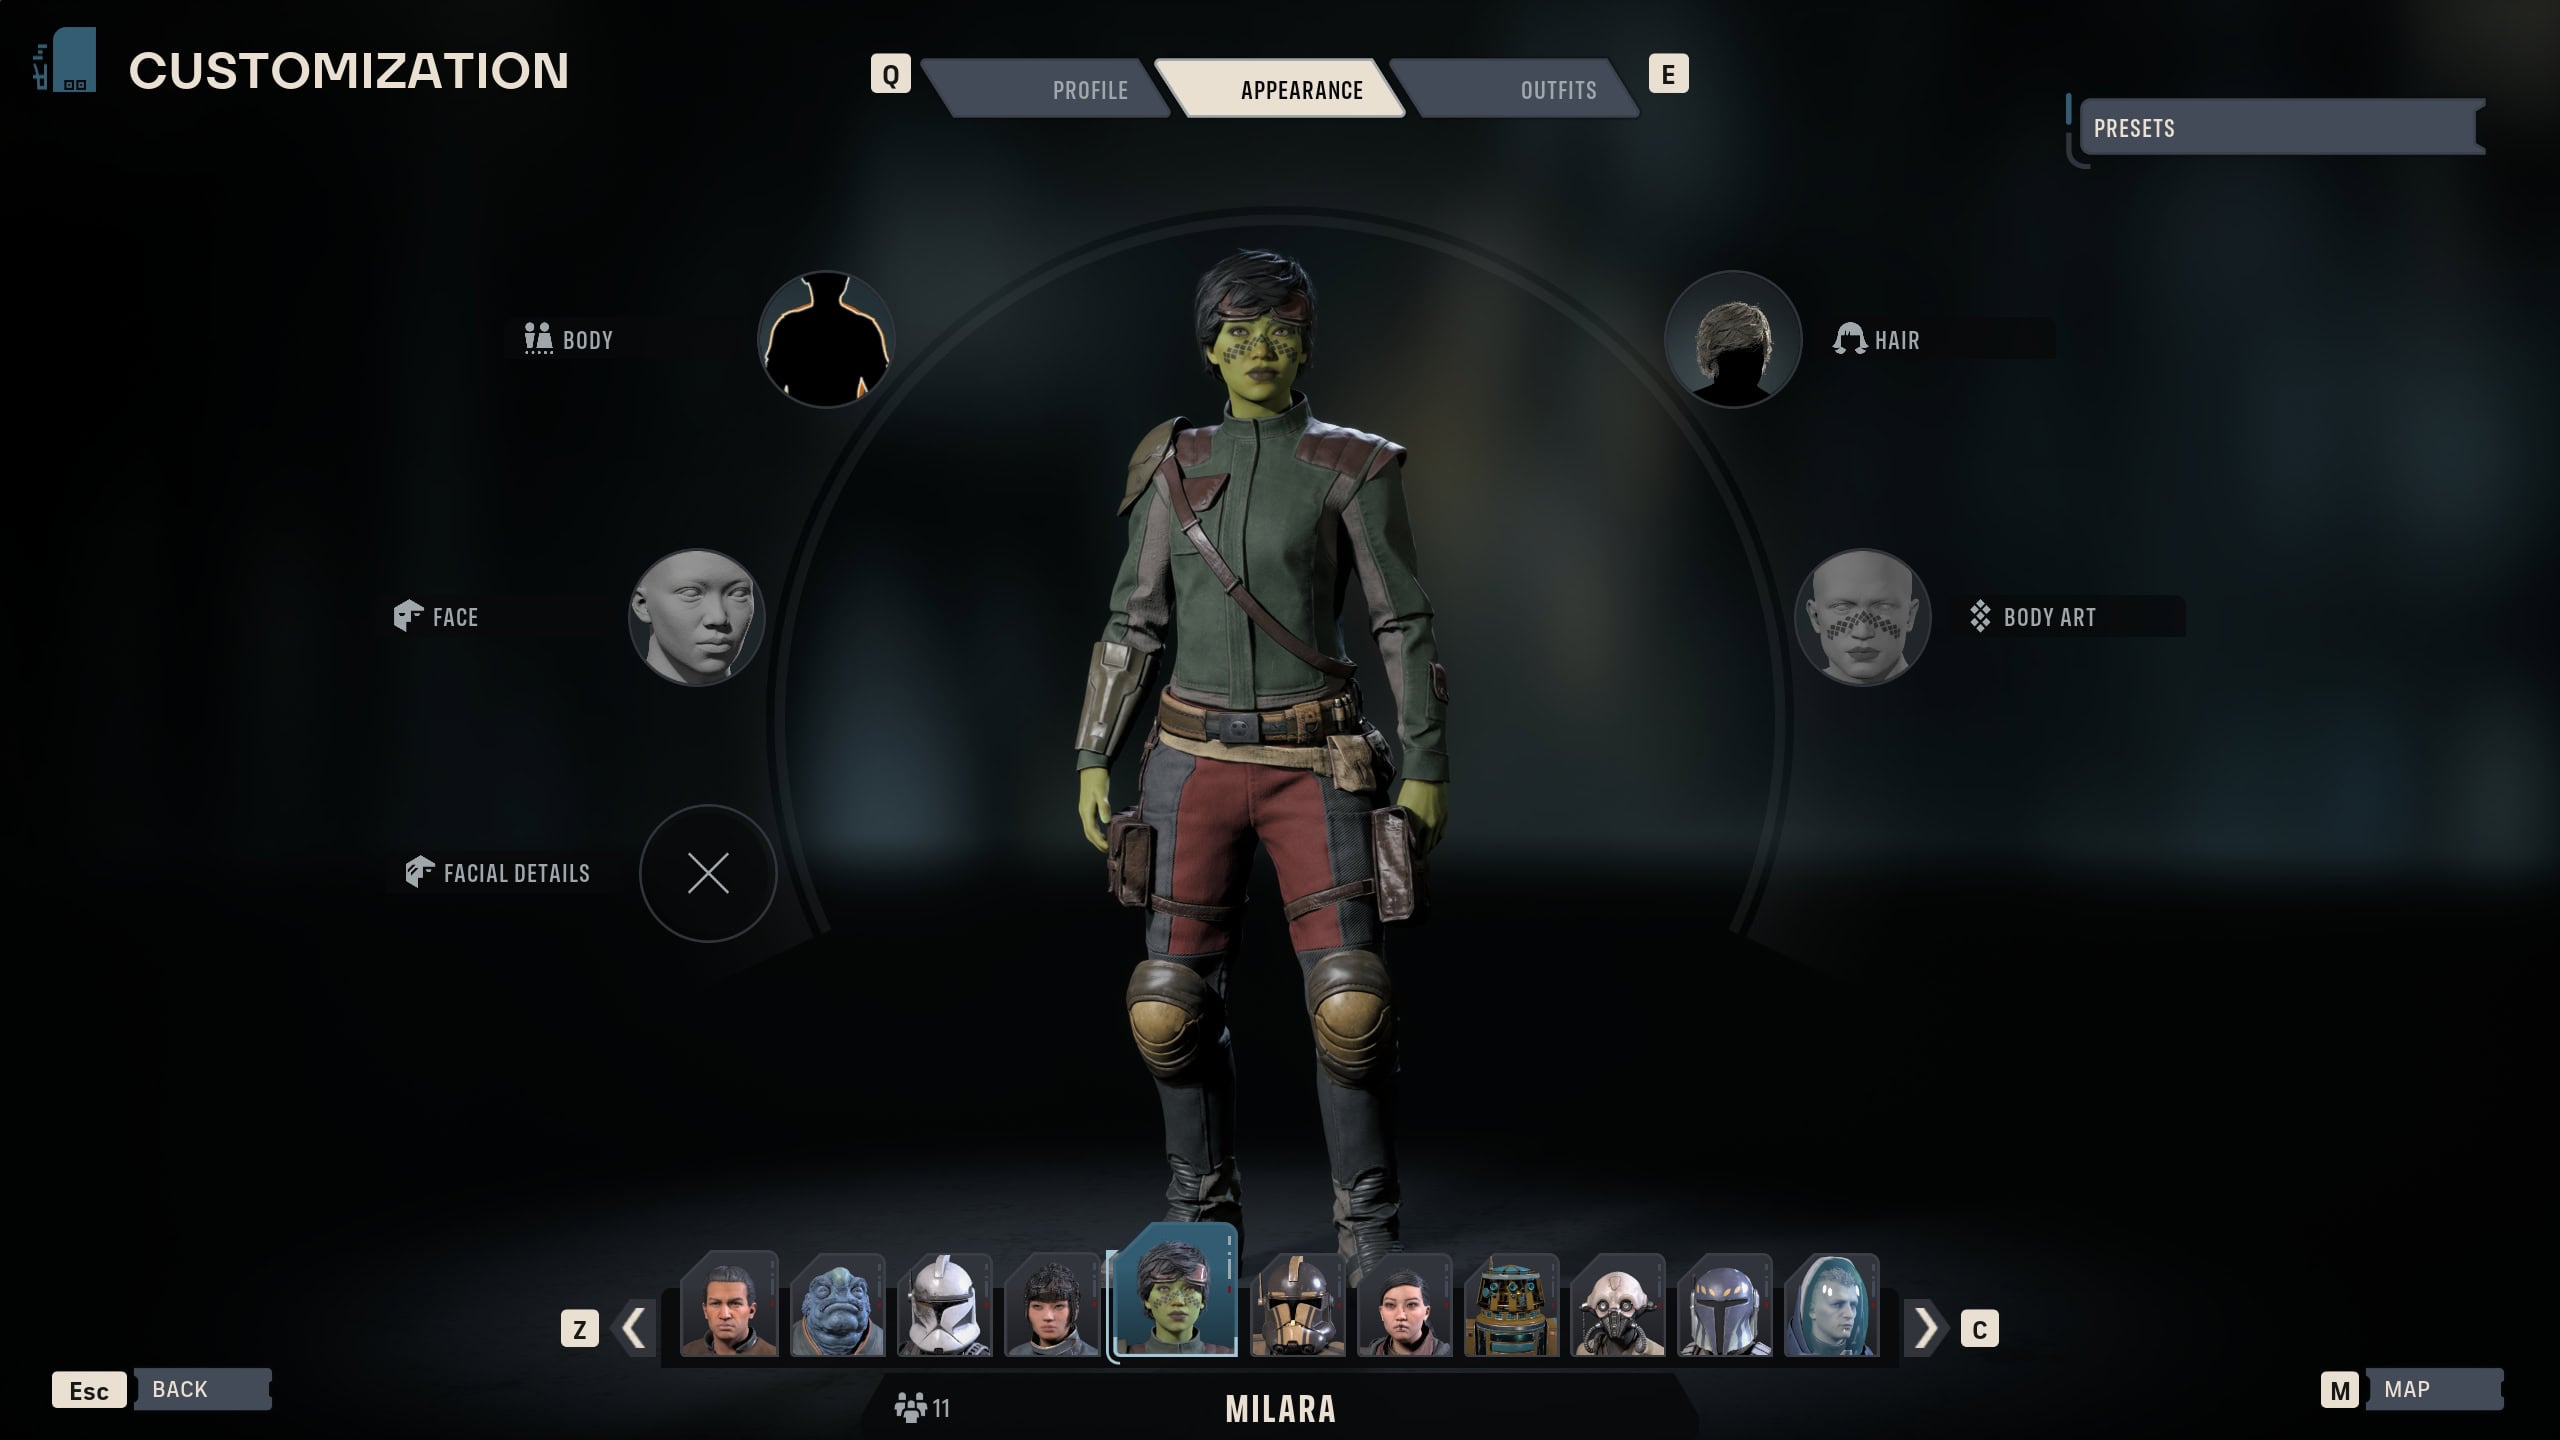
As you complete missions from the main story, you can unlock new outfits. Appearance options however are entirely available at the start of the game once you gain access to the Customization station.