11 Combat Tips to help you through your first playthrough of Star Wars Zero Company. Hopefully, this guide will improve your experience in this Star Wars turn-based game.
How to Take Advantage of Each Map
The first thing that you should do when entering a new combat is to scout the map and establish a route for your Operators to follow depending on what the mission requires you to do. Rescuing an NPC, reaching and holding a position, or simply eliminating all enemies requires different strategies.
Some of the things you must consider are the spawn spots for enemy reinforcements, how the current enemies can move against you, any environmental elements that could help, how the map distribution can affect combat, and the type of enemies you’re facing and their respective combat and movement capabilities.
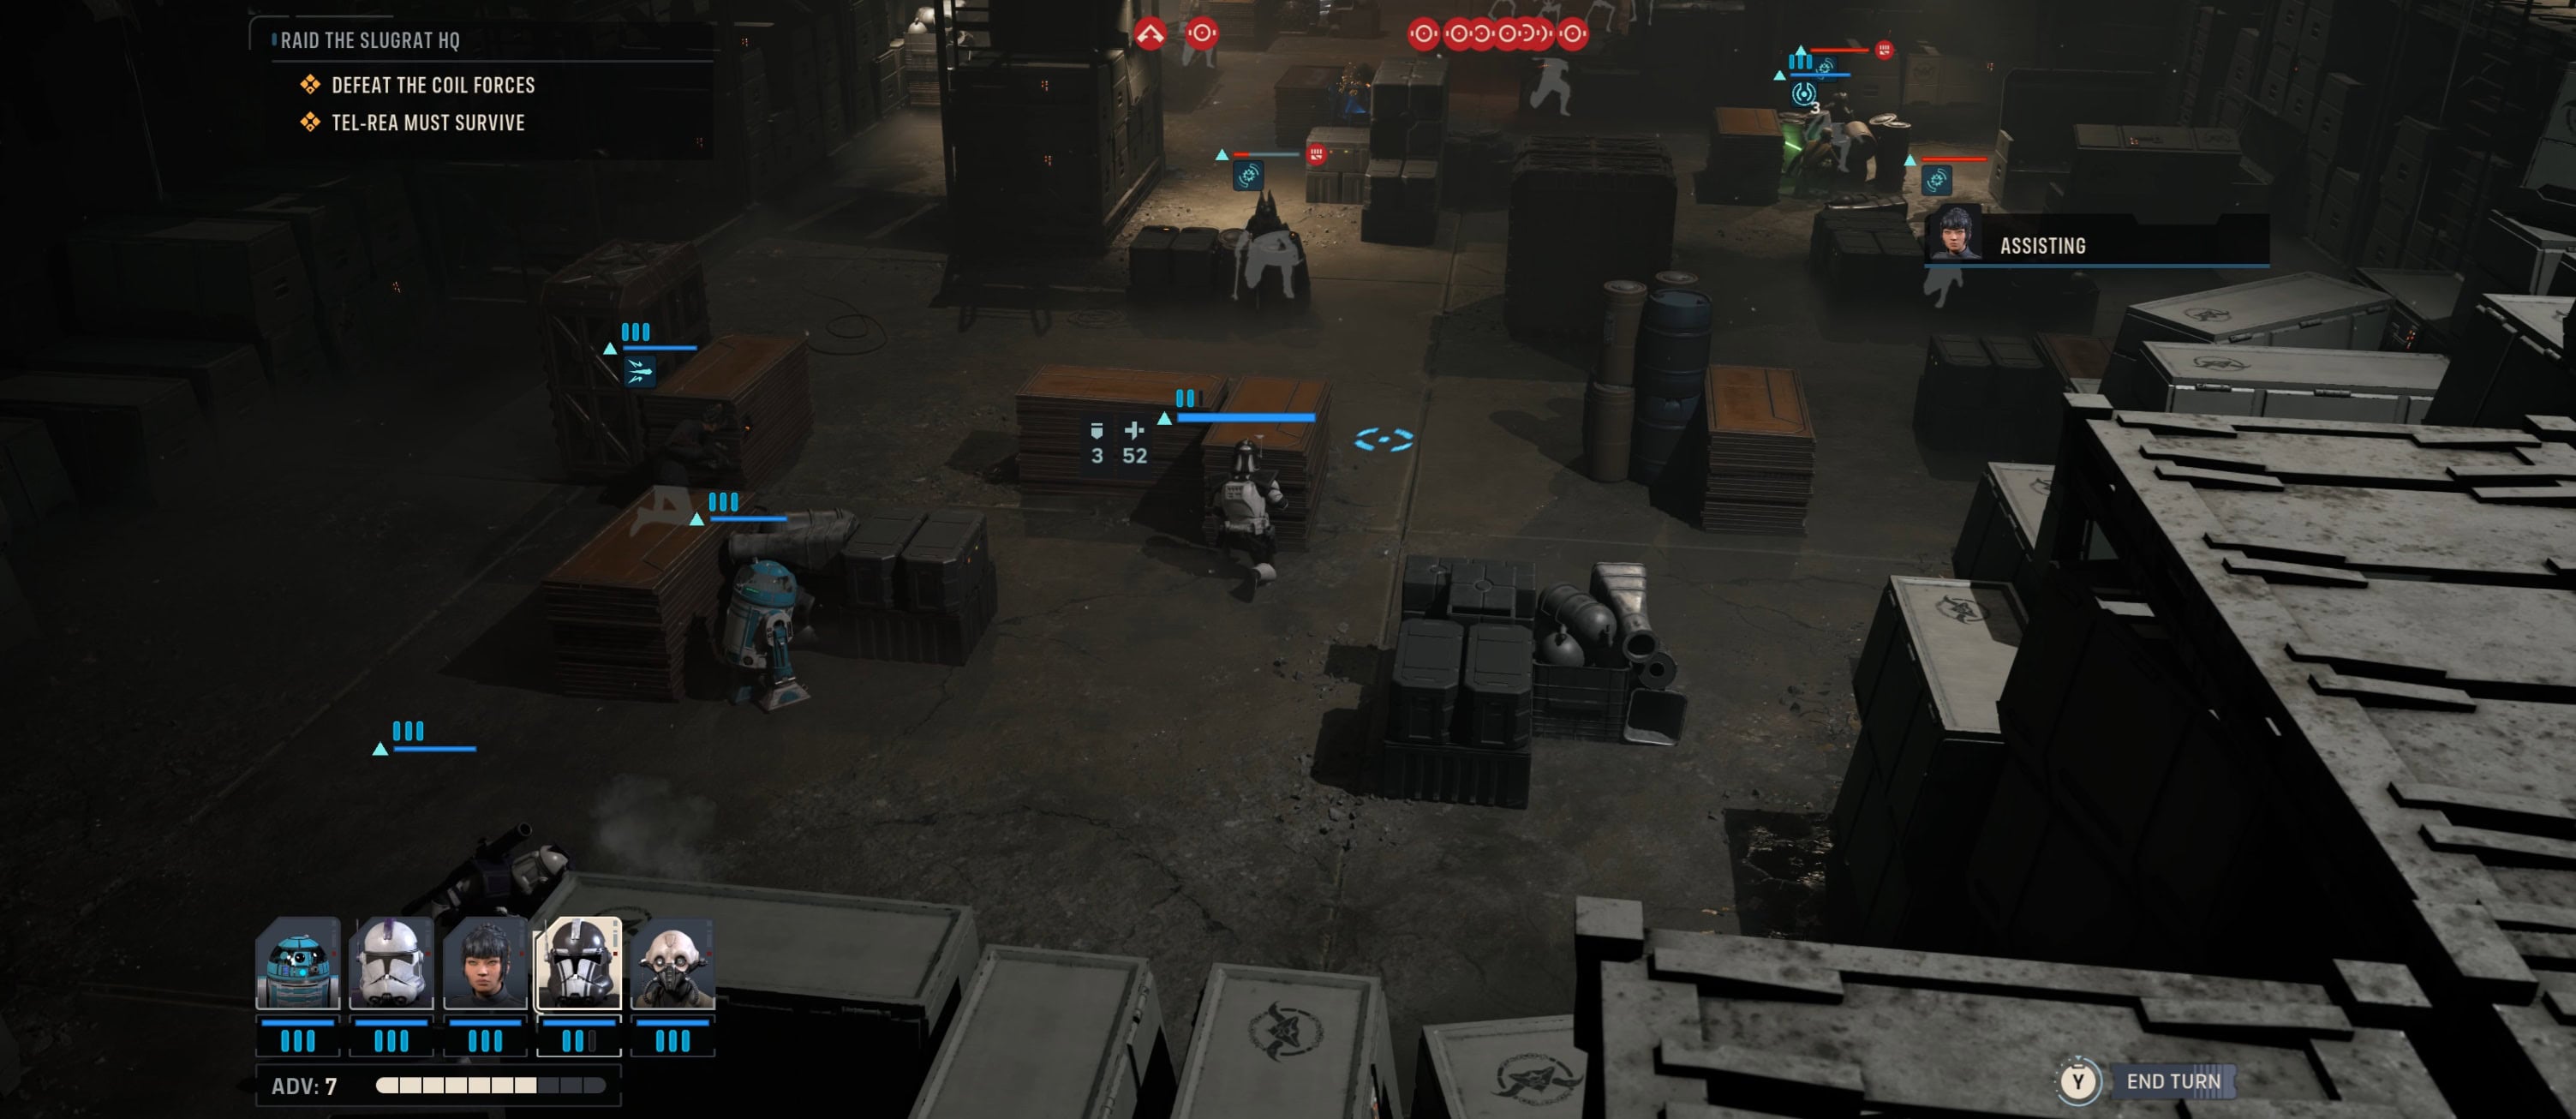
For example, destroy power generators with nearby enemies to damage and Shock them. The Shock effect will halve their movement, greatly inhibiting their ability to reach you. This is very useful for melee units such as Coil Brutes.
Alternatively, blow up a terrain explosive to light enemies on fire. This is a good way to get around their Defense stat to deal consistent (albeit low) damage over time. Know your enemy, know the battlefield, and know yourself to emerge victorious.
How to Distribute Your Team Properly
Now that you have established a strategy to achieve the mission goal, you must move your entire team towards it. Some Operators can get a lot of movement thanks to their abilities, Cross Training bonuses, or equippable items.
Just because some of them can move more than others doesn’t necessarily mean that they should. Keeping your team together is one of the most basic and important things to prevent getting surprised by the enemy.
With the exception of Cly, who can move around the map so easily, I’d avoid sending an Operator alone to the front lines without any backup, regardless of how tanky you think he/she is.
If something goes wrong, your entire team will be at risk, and in a game with Permadeath, getting into unnecessarily risky situations is one of the worst things you can do.
Or the opposite: leaving an Operator behind can also be a dangerous thing. The following image shows how I made this mistake in the early stages of my playthrough. Thankfully, it wasn’t fatal, but after this experience I never repeated the same mistake.
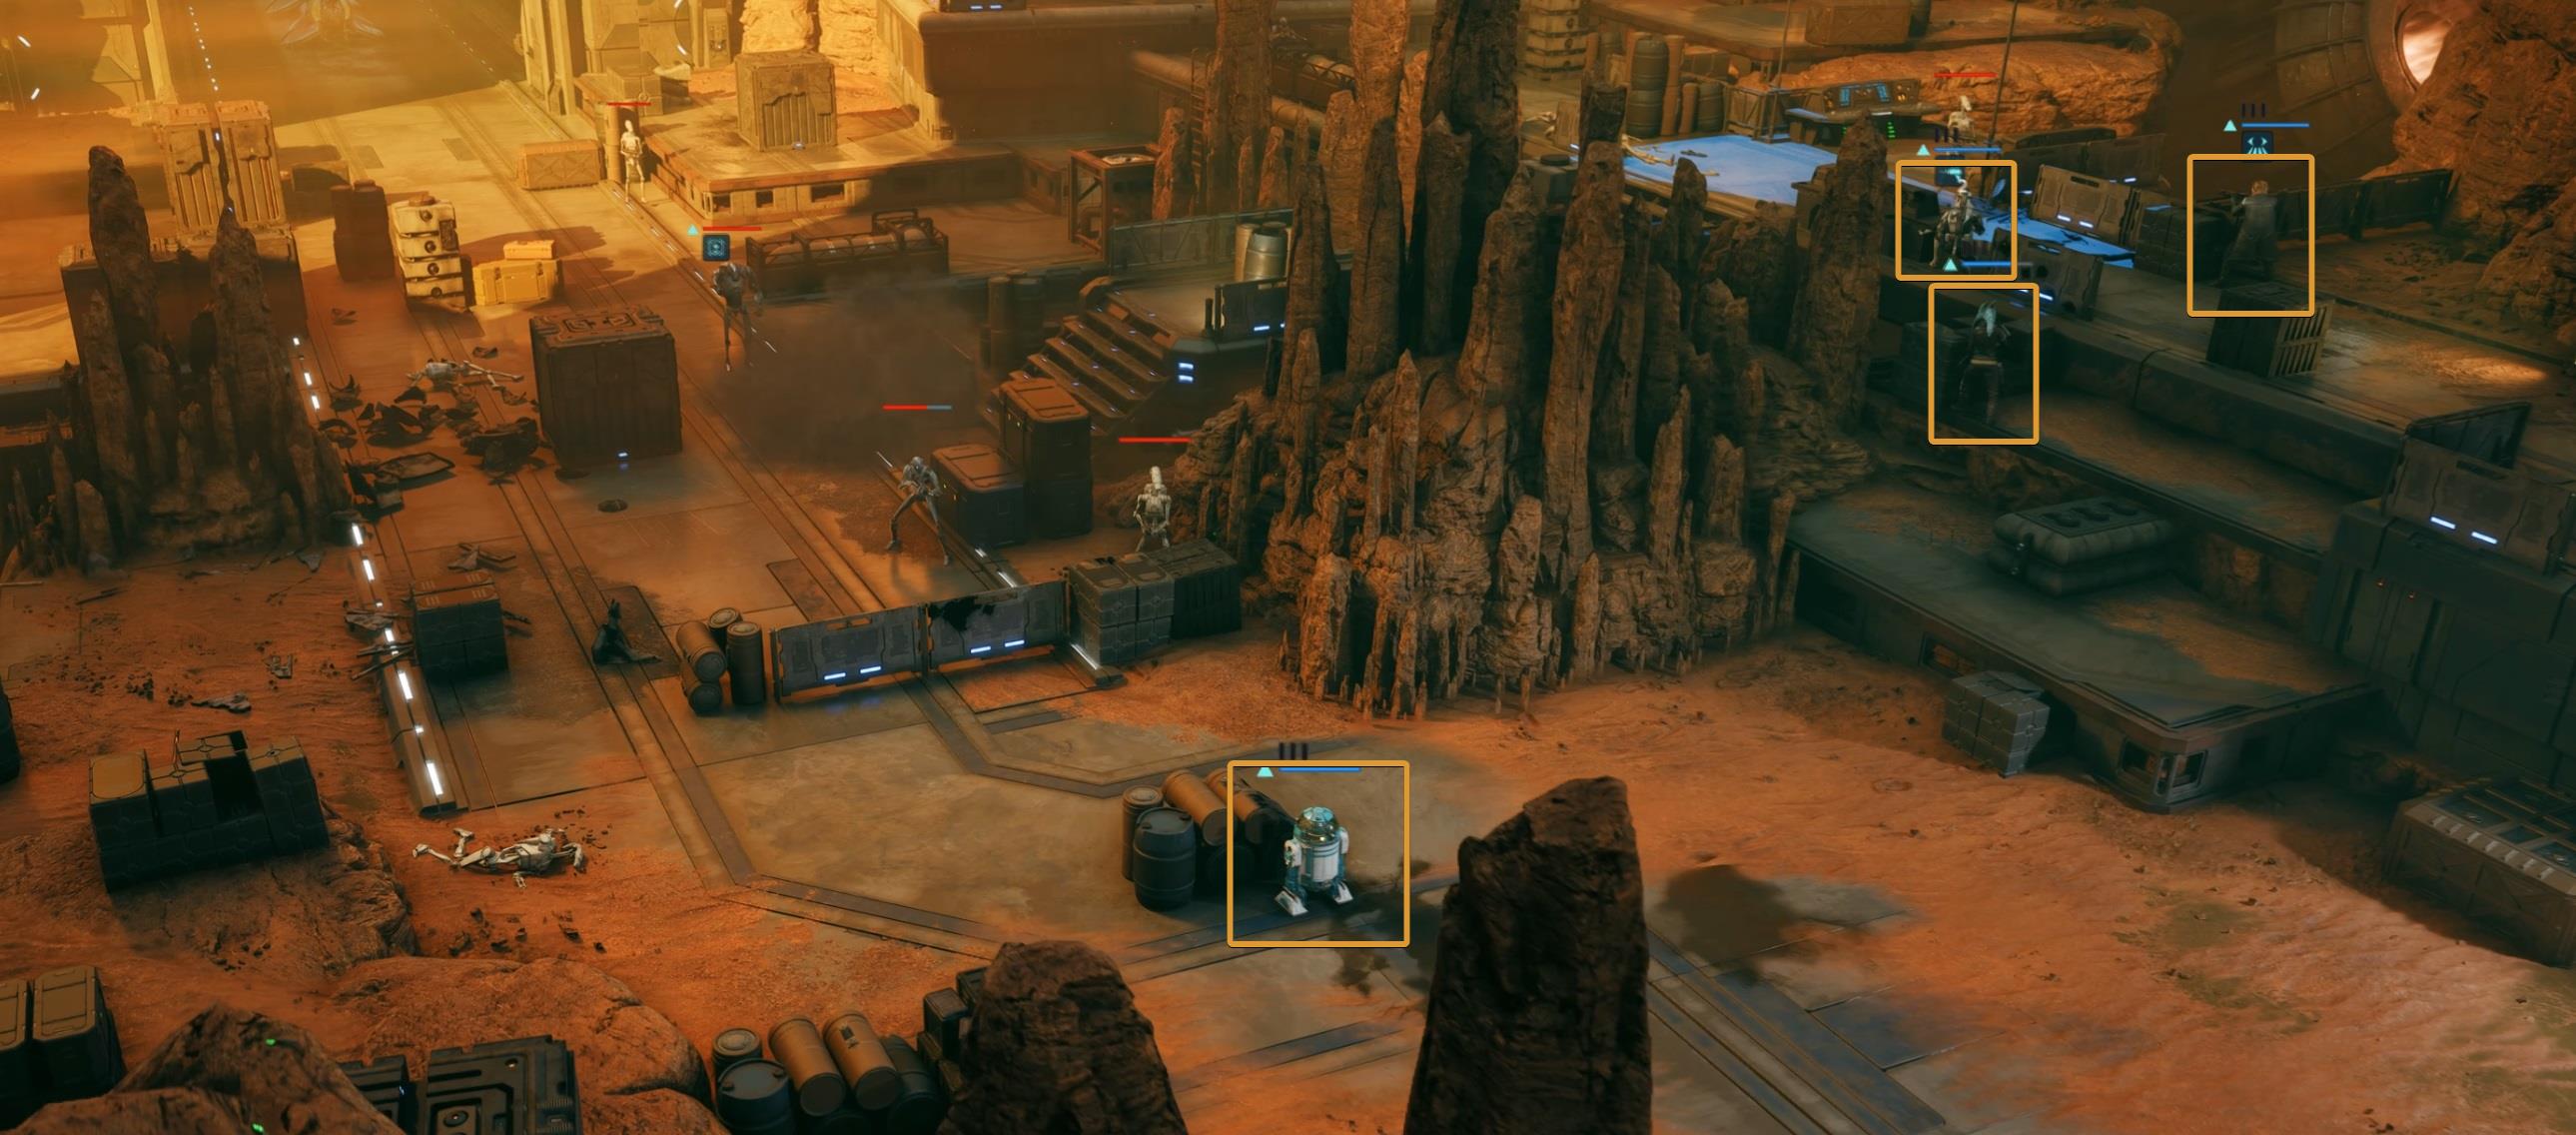
It’s important to point out that, while my suggestion is that the entire team is always close to one another, there also needs to be some distance between them.
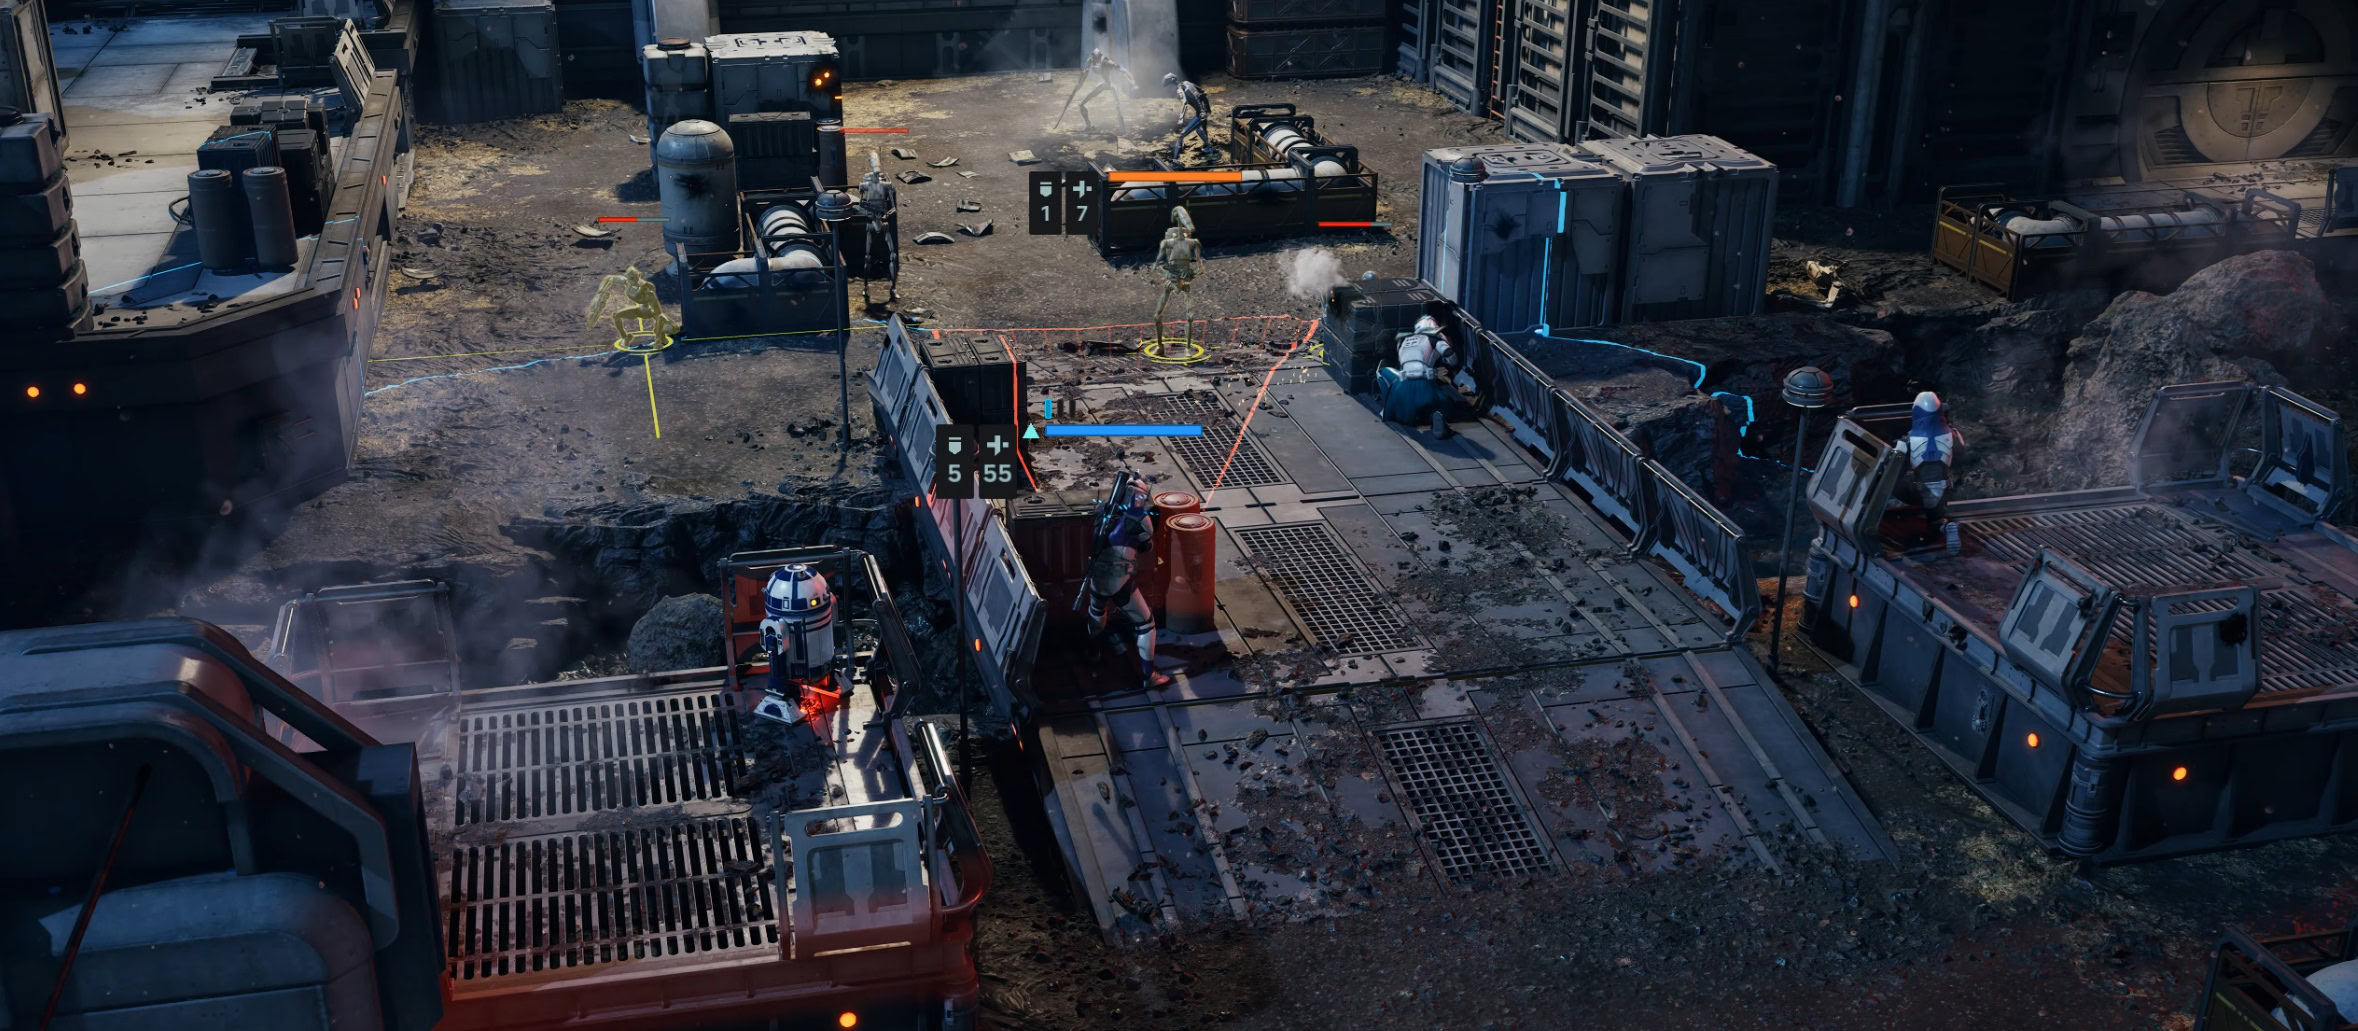
How to distribute your team depends entirely on your Operators and their Specializations, but something that worked very well for me is keeping my utility members a few meters behind the damage dealers at all times.
On more than one occasion, I had to cover two areas. For these cases, I sent one damage dealer to each side with a utility Operator behind them. It’s a very simple tip, but it really helped me prevent getting flanked.
Why You Should Let the Enemy Come to You
This is tied to the previous tips. When your only goal is to defeat enemies, always consider setting up a defensive position. With the exception of snipers, every enemy will always come to you.
It’s not efficient for you to waste APs moving towards NPCs who will naturally come to you. Instead, set up a great defensive perimeter that won’t let anyone get close without getting damaged, killed, or debuffed in the process. Being in defense mode isn’t the most fun thing ever, but it will increase the chances of survival.
Abuse Concussion Grenades
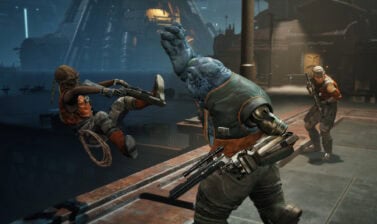
Concussion Grenades are my favorite Utility Item by far. You can use them to interrupt a sniper’s Overwatch, reposition an enemy so it’s closer to you, and, most importantly, eliminate multiple enemies by throwing them off a cliff.
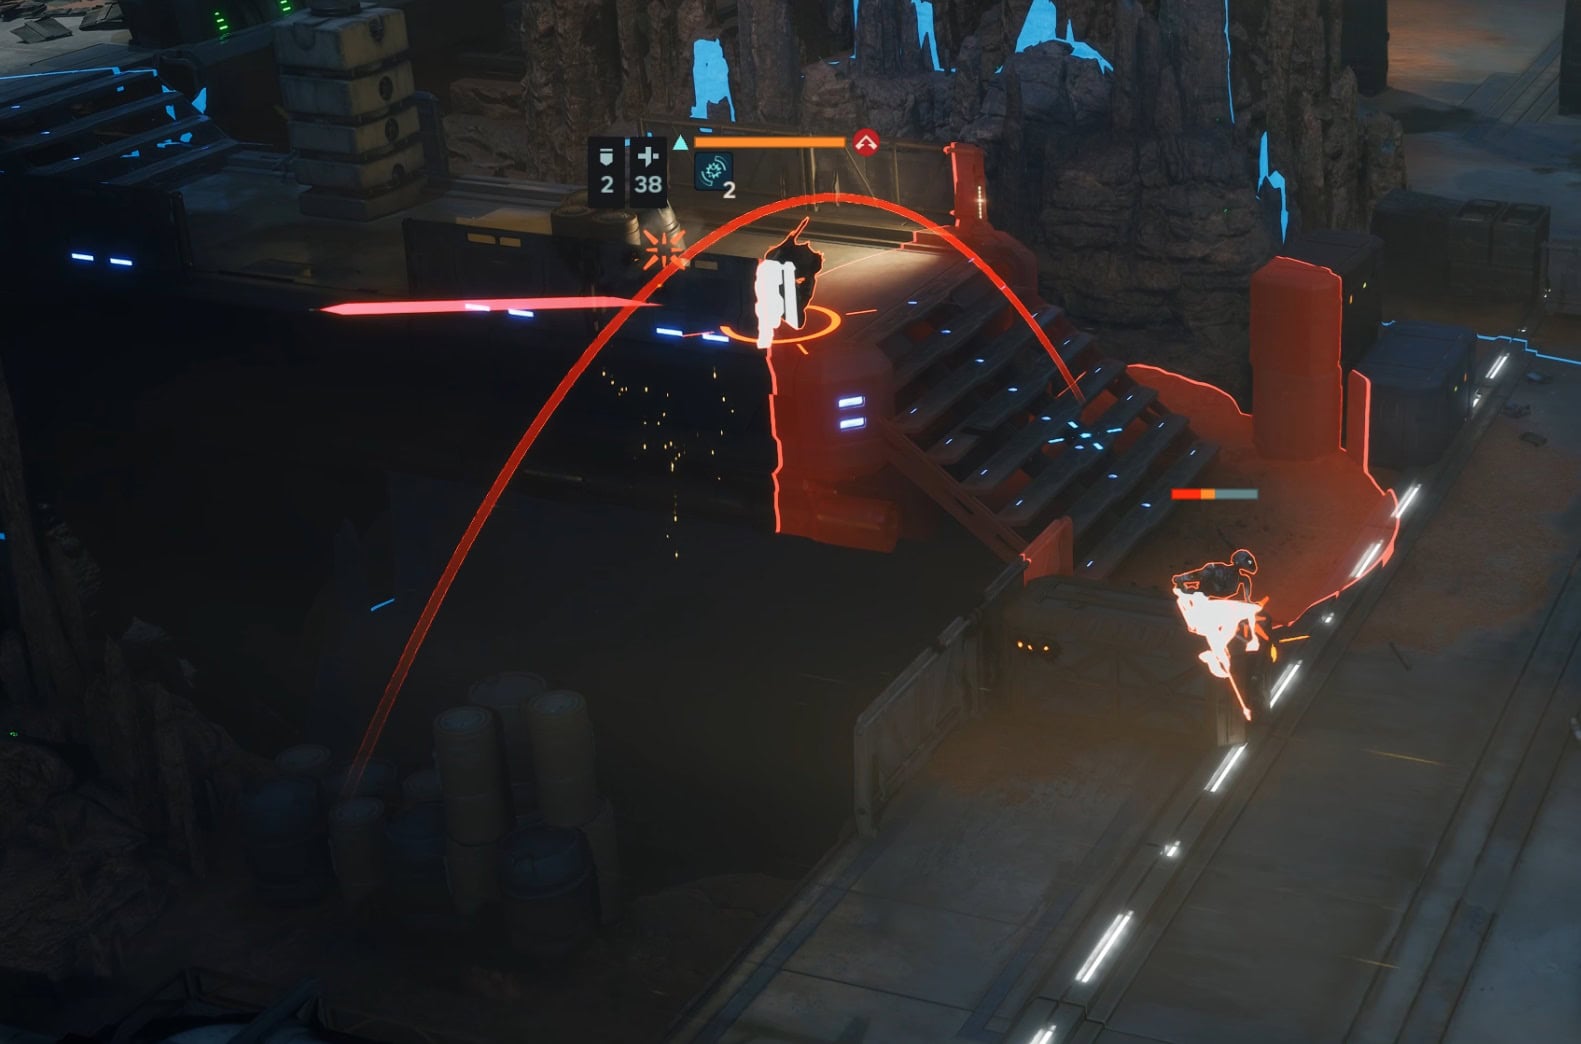
The last one is by far the most satisfying one. Being able to kill powerful enemies that normally would take multiple APs feels amazing. How viable it is to do so depends heavily on the map overlay, though it’s probably for the better because it’s something that would definitely be abused.
Commit your Operators to a Role Early On
Operators have different abilities that are useful in different situations. This also depends on which Operators you’re using, their respective Specializations, and how good the synergy is between all of them.
Some abilities can consistently make your life a lot easier, while others are more situational, depending on the variables mentioned above. The most efficient way to use your Focus Points is by maxing out what fits your Operator style.
For example, my own Hawks is spec’d as a Medic with emphasis on being a utility Operator, so I decided to max his Talent “Fearless Leader “, “Combat Stim”, and “Lifesaving Measures” ability. For the second spec, I chose Scout and maxed “Combat Recon”.
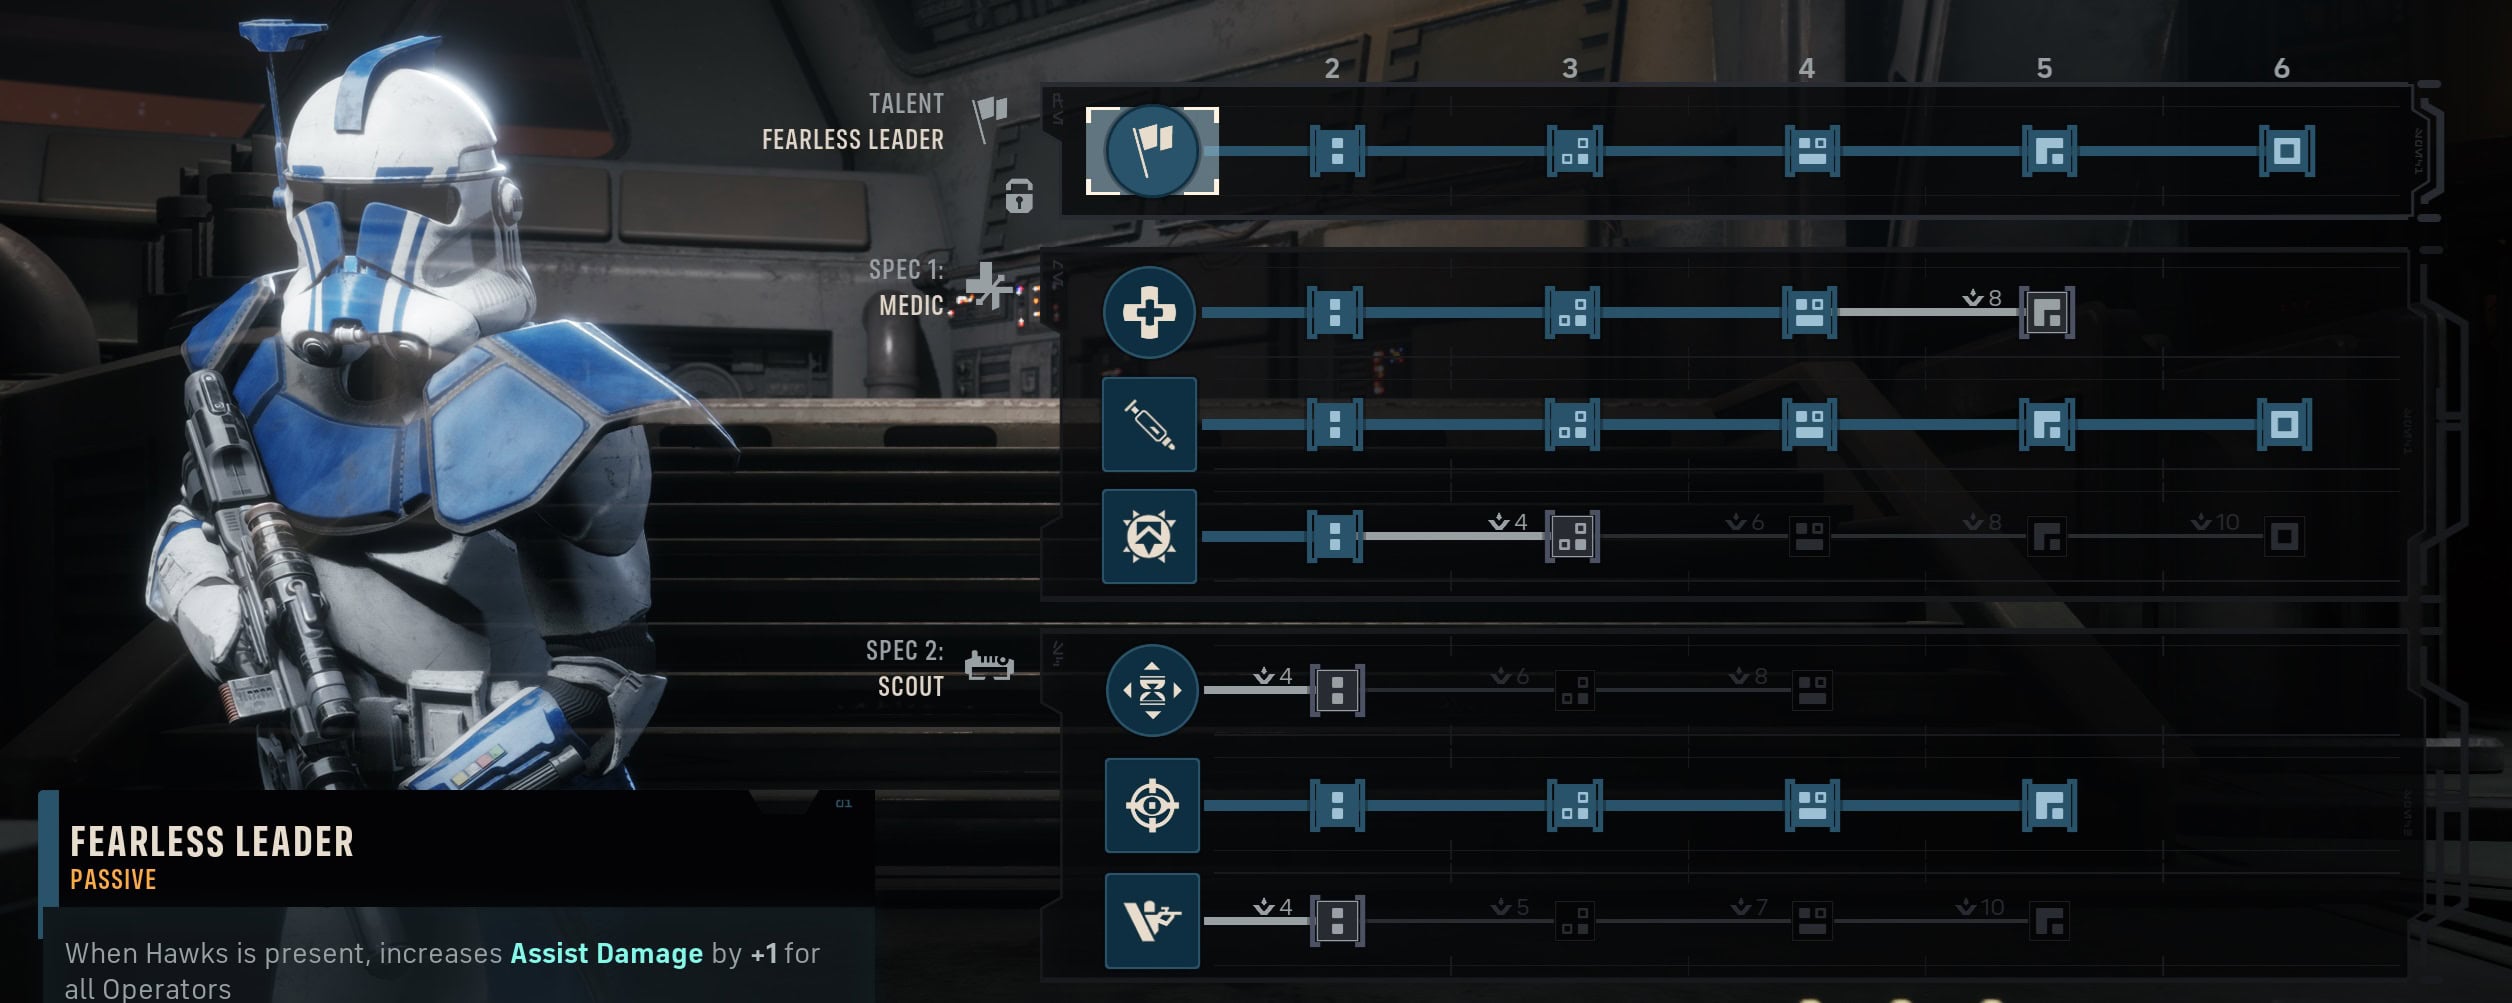
This way, I have an Operator that can heal, buff the rest of my team, and gain a considerable amount of Advantage. With those areas covered, I can fully commit the rest of my Operators to deal or absorb damage.
For the Tank and DPS, the Tank can focus on their Conditioning, Bulwark, and Taunt abilities. The type of DPS you’re looking for may require some finer attention to detail.
A Sniper armed with a Longarm Blaster would benefit from Critical Chance and Critical Damage from Bond rewards. This stacks well with the Sharpshooter’s increased Critical Chance bonuses.
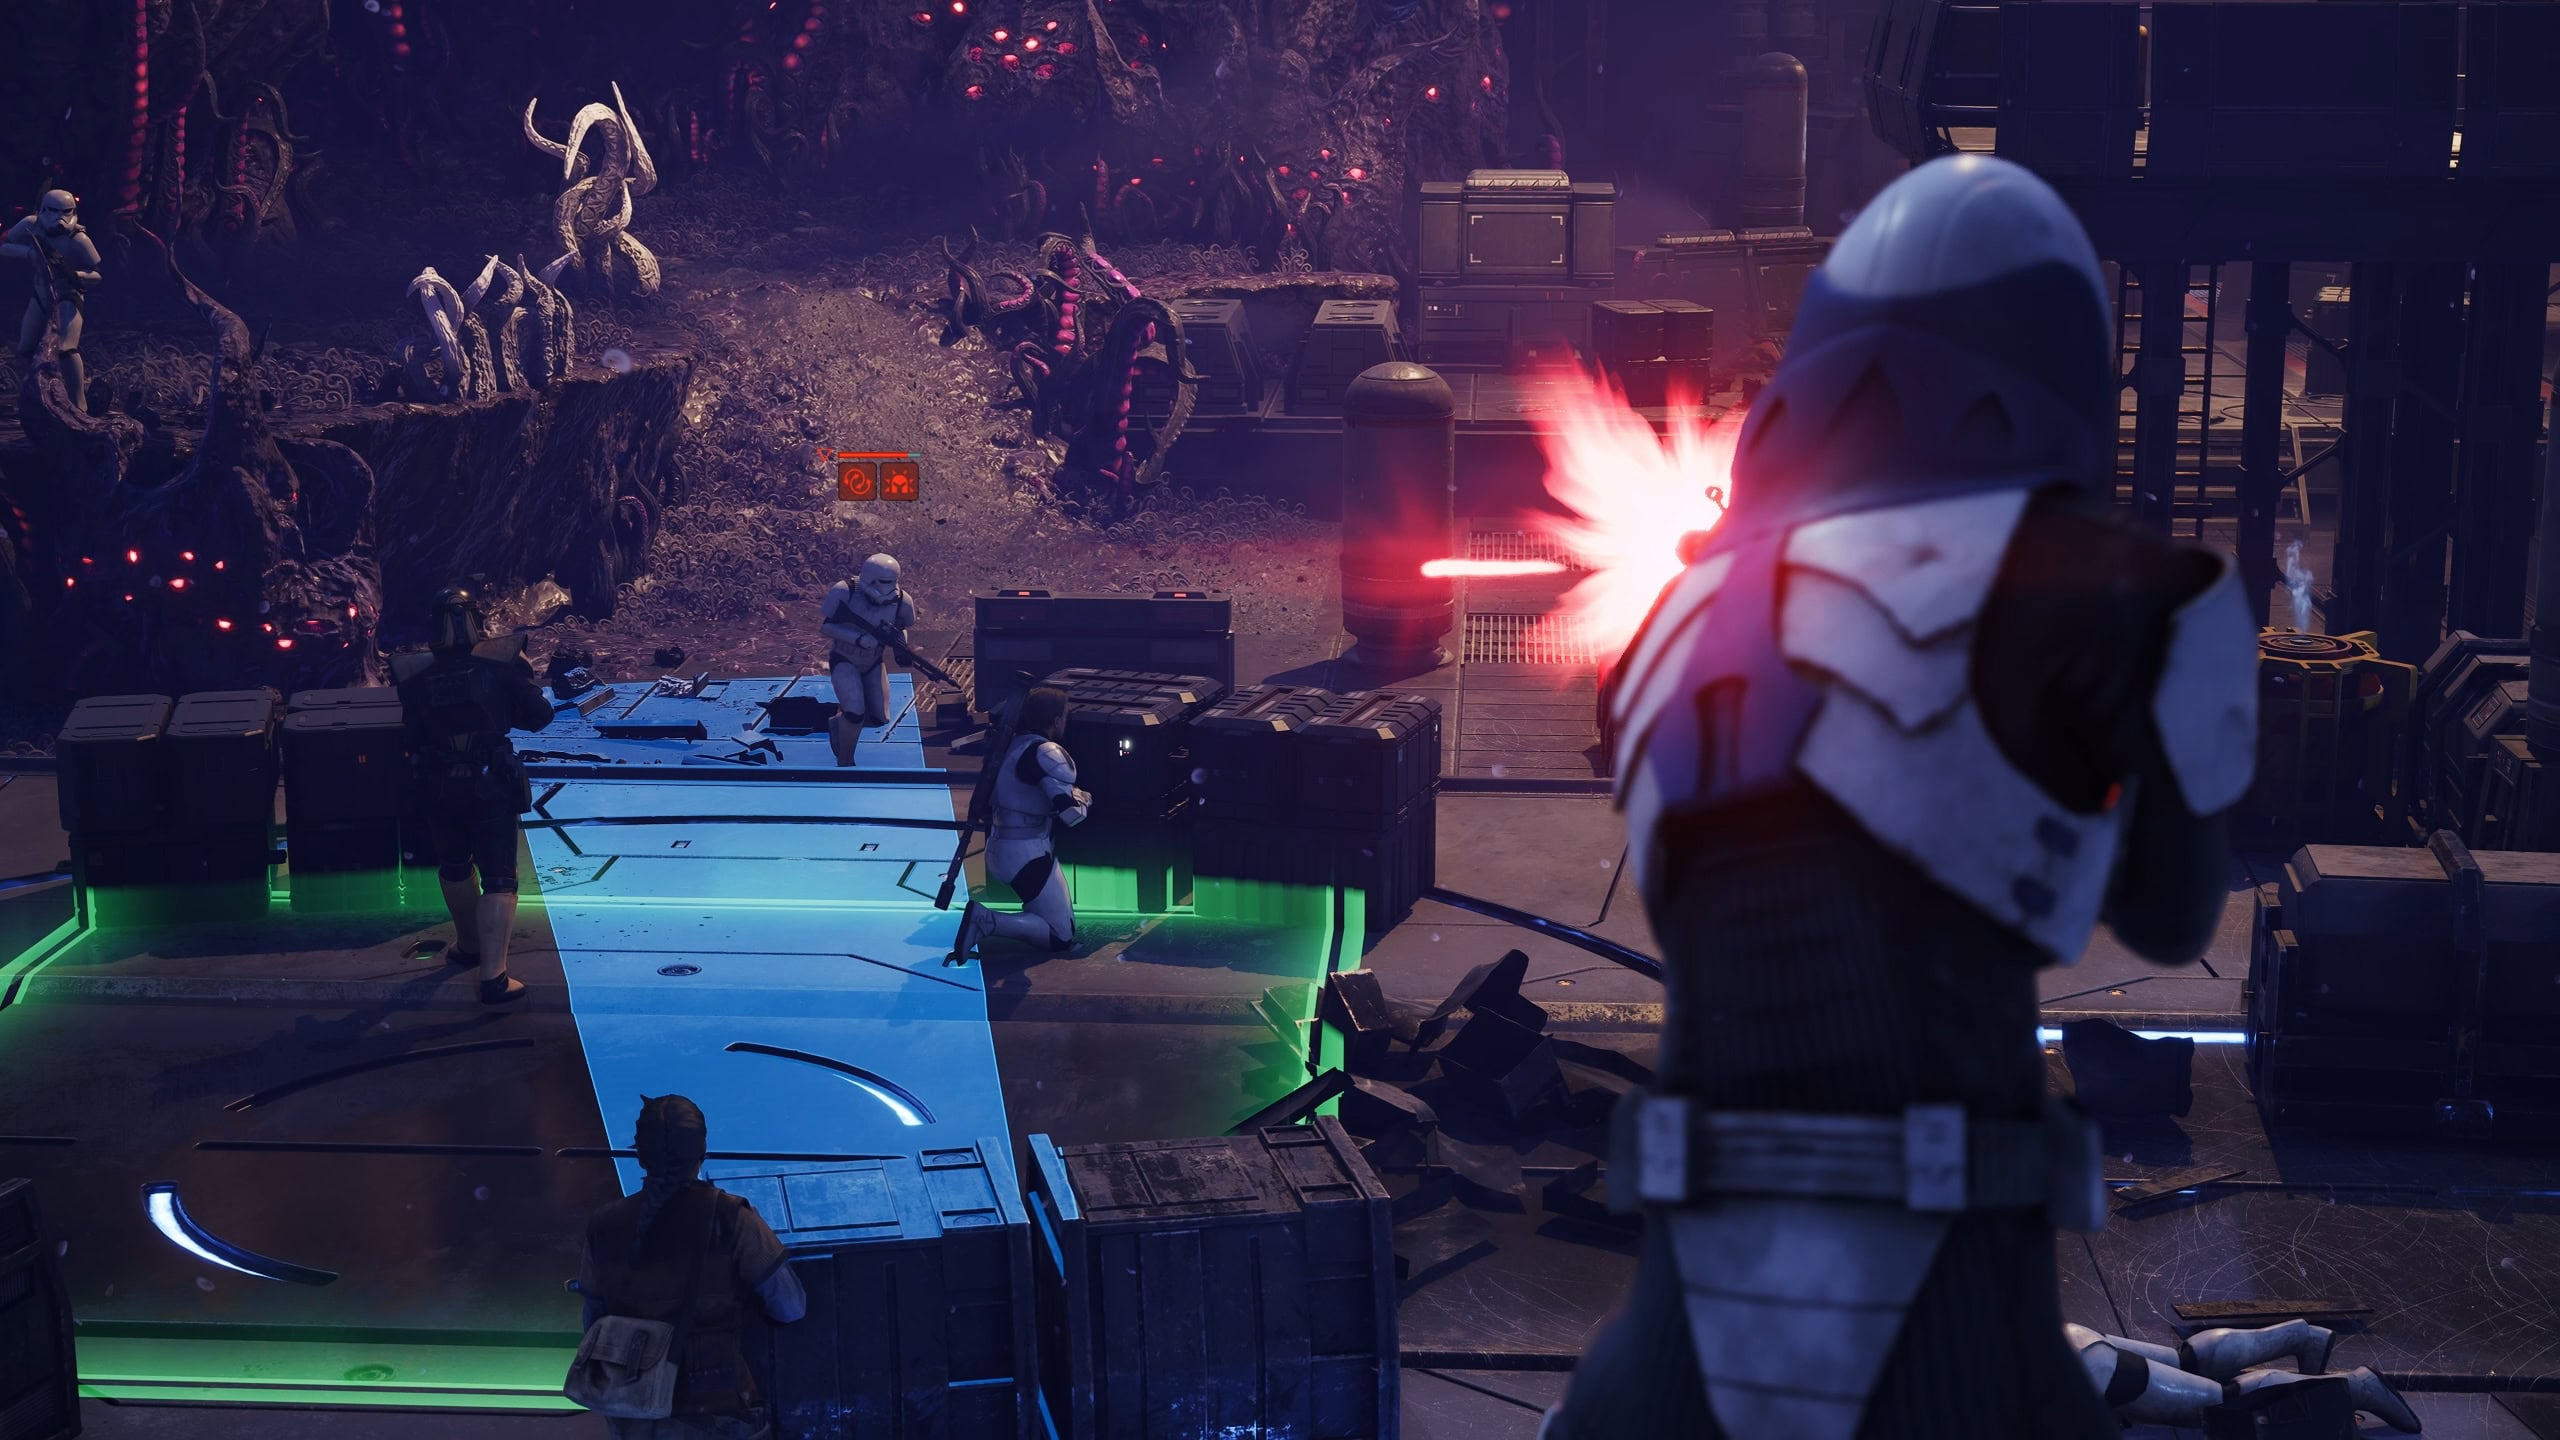
Meanwhile a Soldier with a Repeater can get away with flat damage rewards from Bond Rewards. This is if you want a more consistent damage dealer that relies less on random chance via Critical Hits.
In short, make the Tank, DPS, and Support good at their roles as soon as you can. By the time you unlock a second Specialization for your Operators, you can more freely expand their kit without compromising your go-to team’s cohesiveness.
Spend That Advantage
Advantage gives you access to the best abilities in the game. Many deal damage while others provide utility. It is a resource that isn’t so easily obtainable at the beginning of the game, so it’s understandable that you are hesitant to use it.
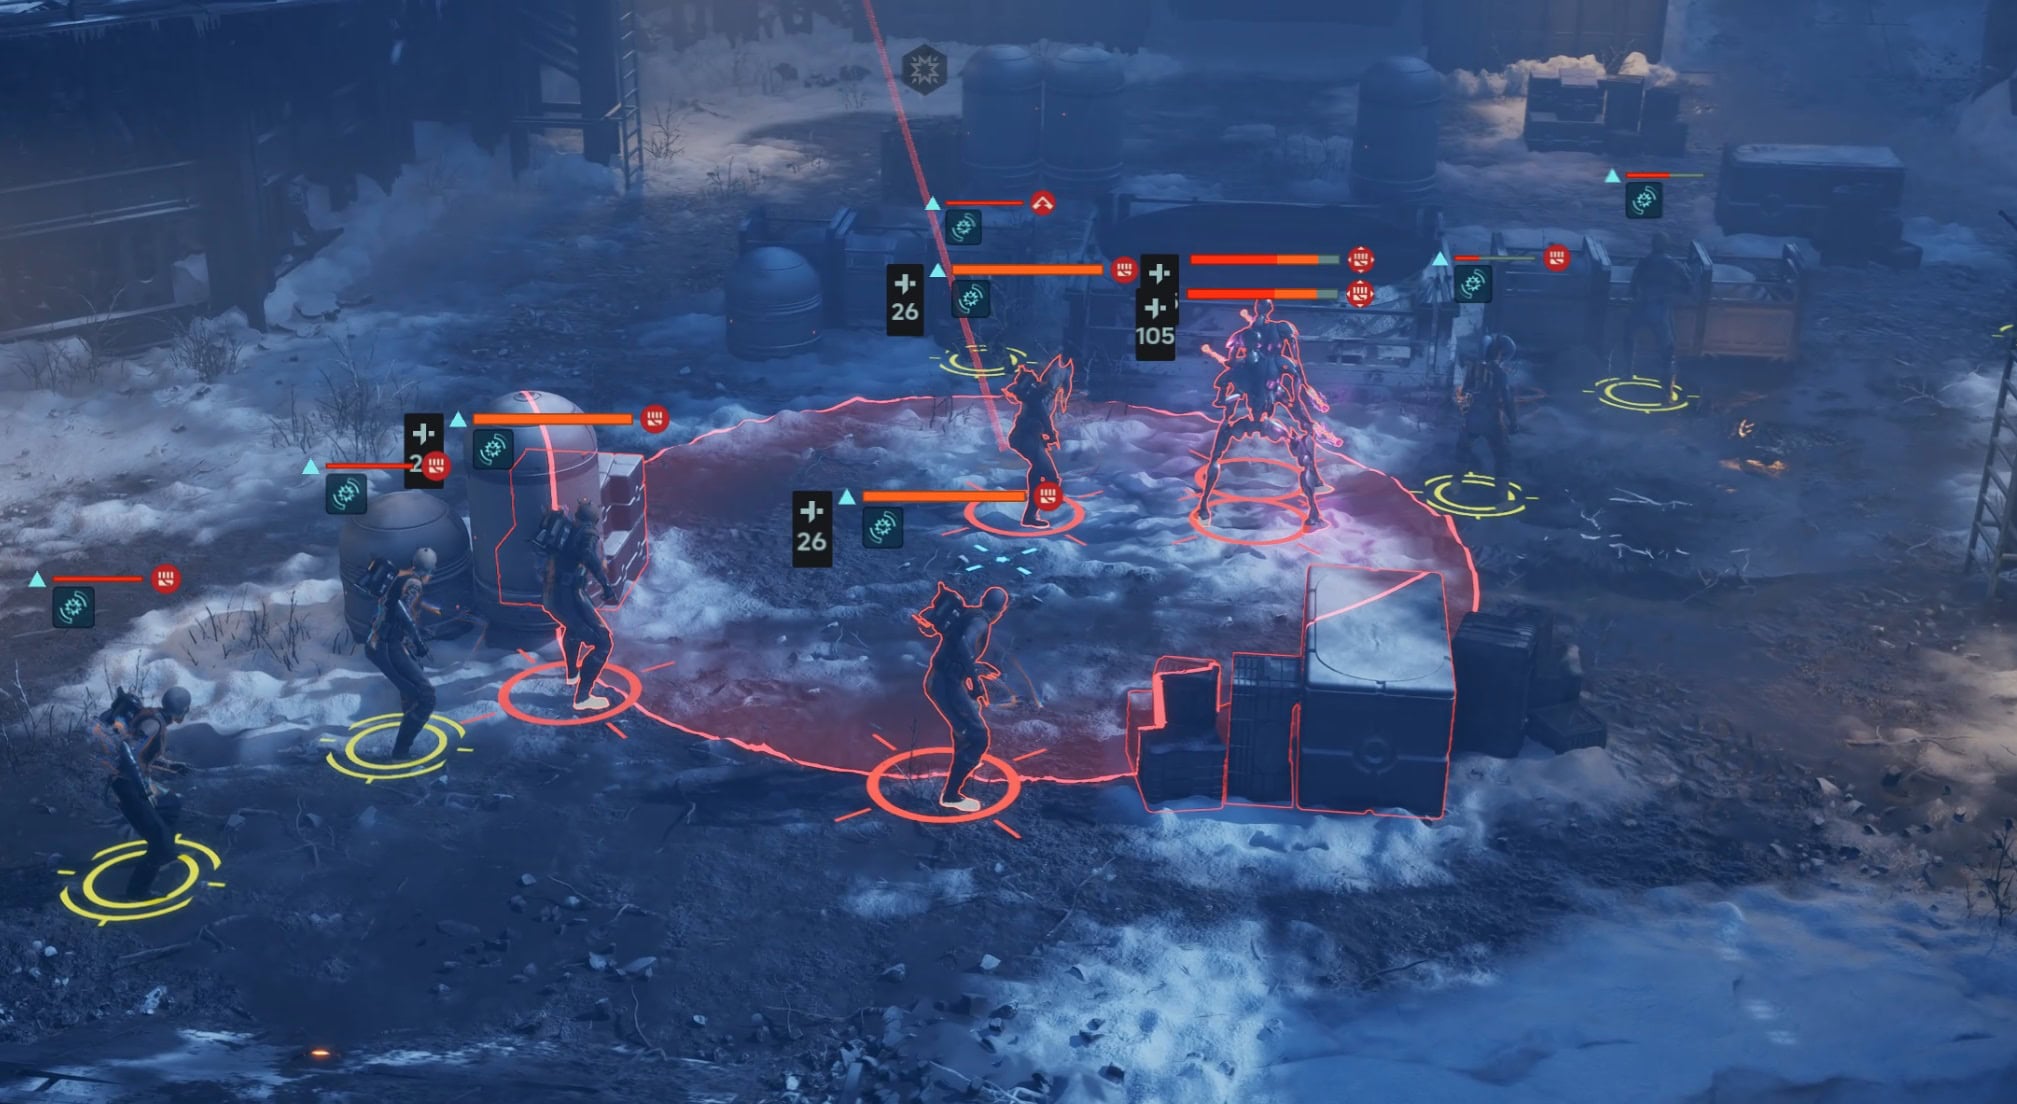
However, after some time playing, you’ll notice that Advantage is what can give you the edge over the enemy, especially in the first turns. For example, there are many instances where the enemies are grouped. If you make the right choices, you could wipe most of that group in the first turn with Area of Effect abilities and grenades.
How to Balance Out Your Team’s Needs
With so many recruitable Operators, it can be overwhelming to figure out what the best team is to put together and how to spec each Operator. The game provides pre-built Operators, each one of a different specialization, so you get to try almost every specialization available.
After some combats, you’ll start to figure out which operator fits your playstyle and which doesn’t. Once you’ve found a team that suits you, try to stick to it and master it as much as possible.
Doing this will let you understand the whole team’s strengths/weaknesses and how to play around them in situations where you’re at a disadvantage. A balanced team composition could include a Medic (Healer), Heavy (Tank), Assault or Soldier (DPS), and Scout (Utility), but there are many other compositions that you could try.
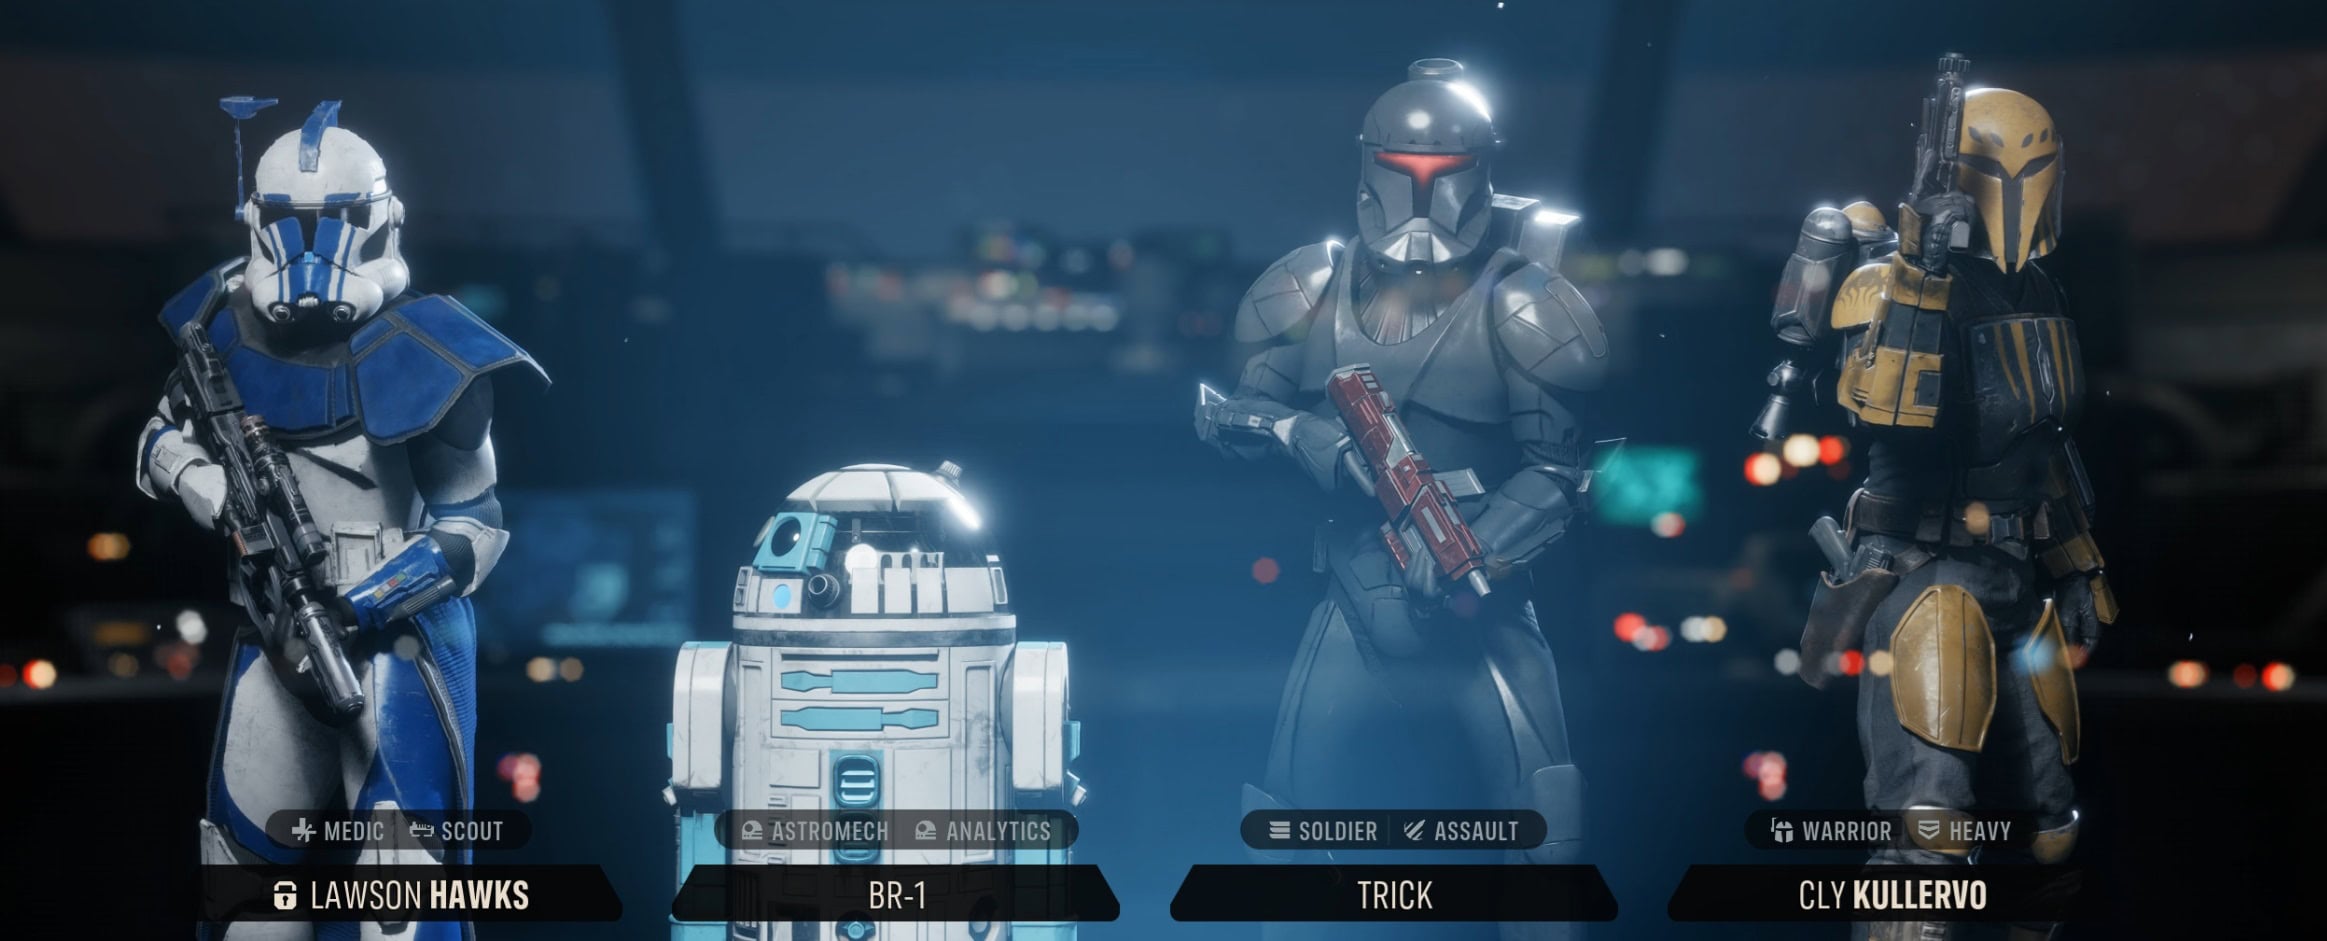
For example, if you like Longarm Blasters (Snipers) and Repeaters, then your Action Point economy may be a bit strained. In this case, it’s good to always have Hawkes around to give an AP to someone.
It’s even better is to have an Astromech help out as they can freely give your Operators more AP that could be used to dish out more damage, or move around the map to reach objectives.
The great thing about this game is that you can go with any team and still have success. Full Astromech team? Absolutely. Maybe a Clone based on an iconic squad? More than possible. You can even play with four Sharpshooters and still make it work.
In my case, bringing a Tank felt a bit boring, so I decided to have two utility and two damage dealers. It was super fun, though I have to admit that a couple of bosses were harder to deal with because of having no one to absorb the damage.
Utilize Unique Operator Talents
As you’re doing side missions to get resources or fill in time between main story missions, take the time to try different specializations or unique Operators you might otherwise ignore for your favorites.
Unique Operators such as Trick, Jae, Kabb, Cly, Tel-Rea, and Luco have unique Talents that affect how they function. Trick is great for getting out of a sticky situation with his Talent For My Brothers.
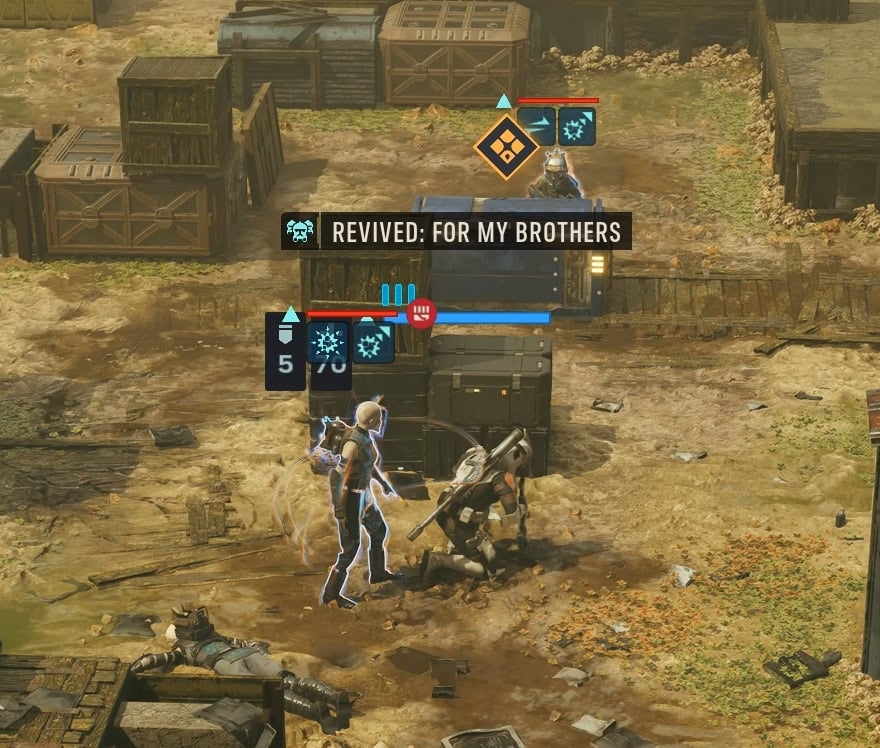
Jae is great for mopping up low health enemies with her Final Shot. Cly is extremely mobile with her Combat Jump, making her fantastic for reaching objectives while having AP to spare. It never hurts to try out different Operators to try different strategies when trying to find your ideal team.
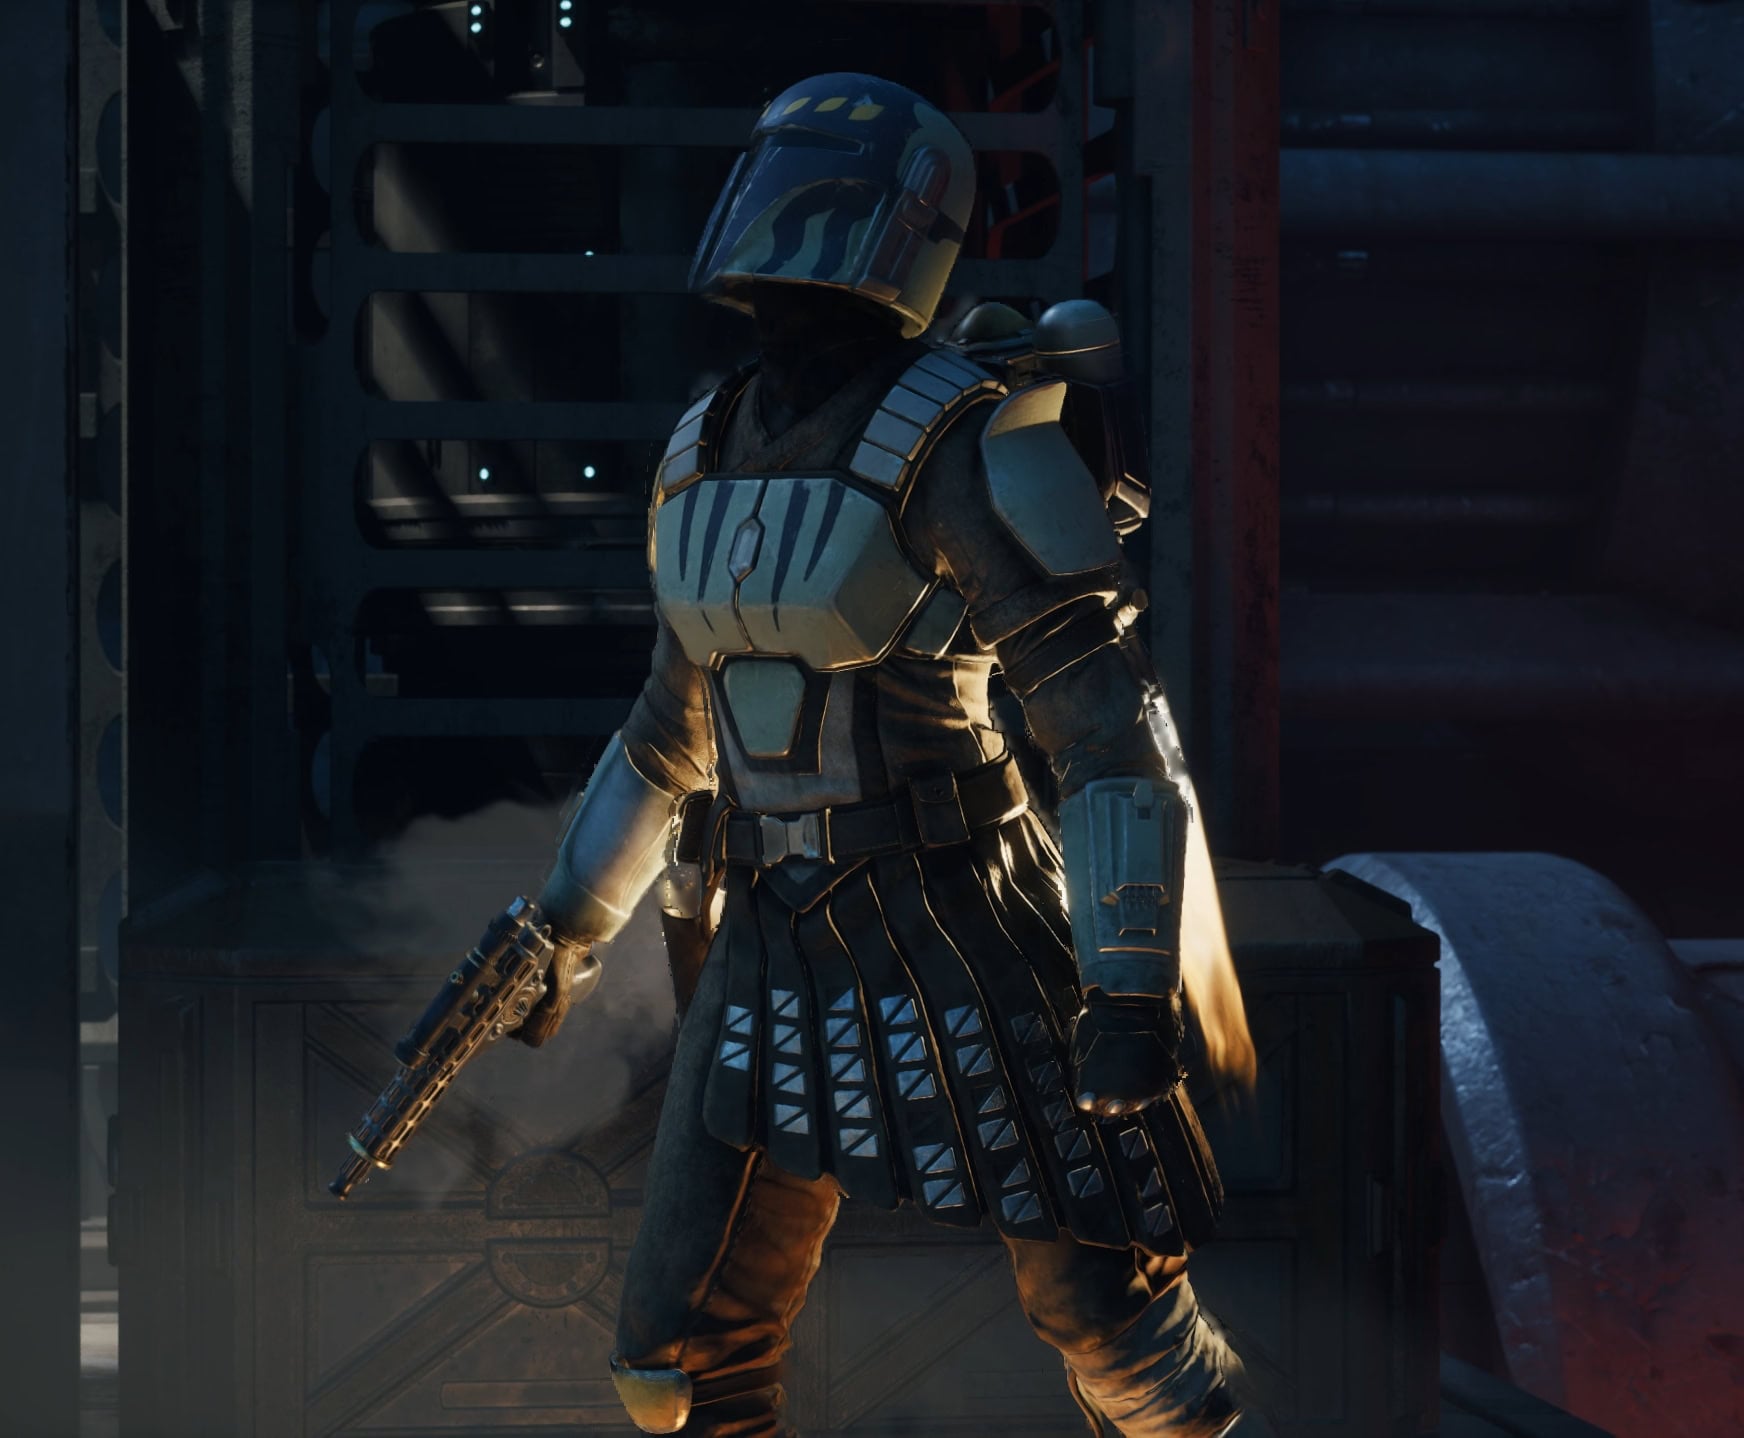
You might find that these Operators work well with other Specializations. For example, Soldier would be a good fit for Kabb as it gives him another punch and increases his overall Melee Damage.
Don’t be afraid to try out new combos that may not seem to be ideally synergistic. While a Scout benefits from mobility to go in, scan an area, and provide support, they can pull off some silly shenanigans.
For example, there’s nothing stopping you from equipping a Scout with a Repeater then using a 3 AP attack followed by the Ambush ability for insane damage on a single target!
Get to Know the Rest of Your Team’s Kits
While it’s important that you gain experience with your main team, you definitely need to get to know the other Operators. The first reason is the possibility of losing one of your Operators. Obviously, this only applies if you have Permadeath ON.
The second reason is that eventually, the game will force you to take certain Operators to story-related missions. When this happens, you have to make adjustments in your team to try to keep everything as balanced and familiar as possible.
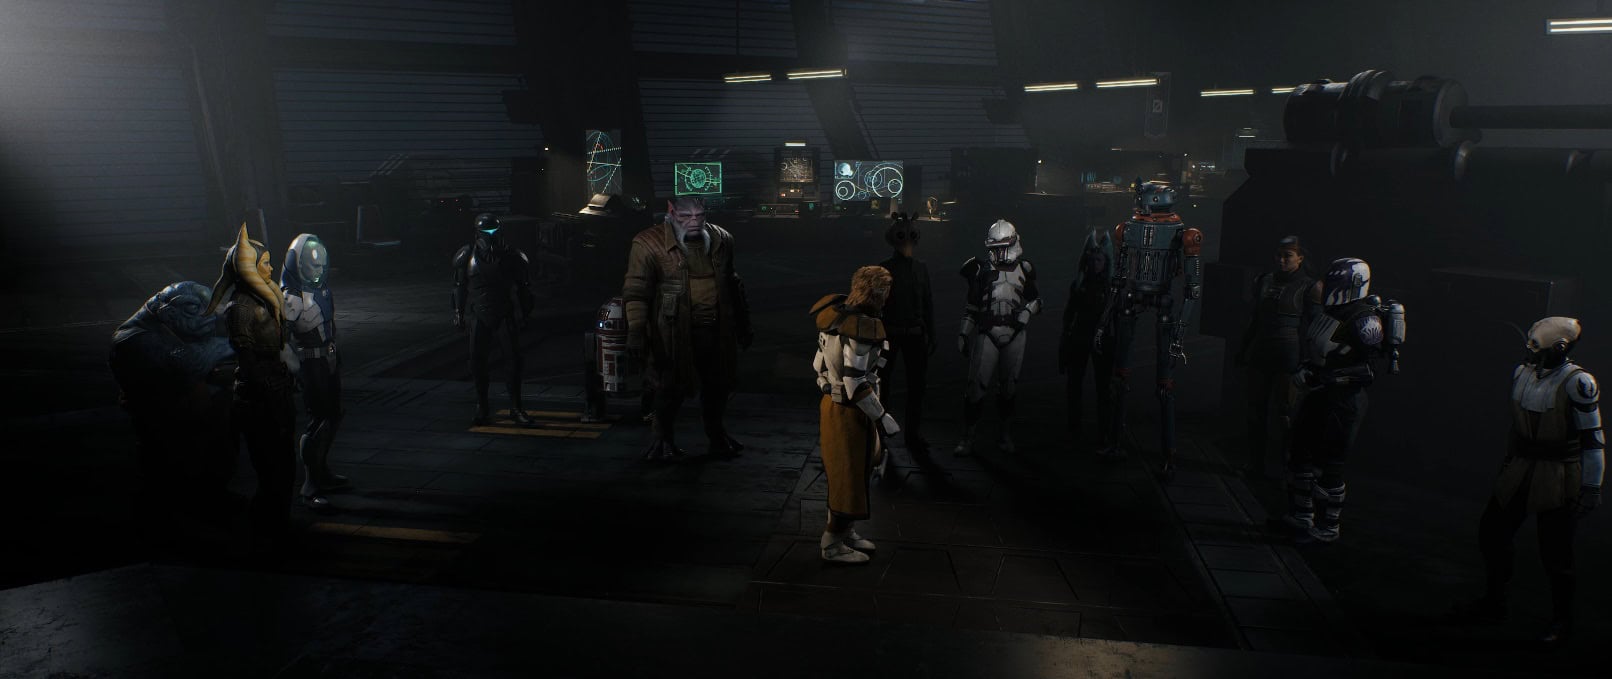
If you don’t want to test Tel, Cly, Trick, Lucho, or Jae on a mission, at least take the time to read their abilities and choose a specialization that you think would fit them well. This way, you won’t find yourself in the middle of a complicated mission trying to figure out how to use a certain Operator.
How to Use Overwatch Properly
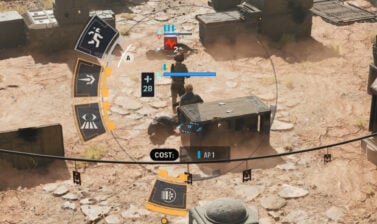
Overwatch is great because it can disrupt the enemy’s actions on their own turn. There are three things that can happen with Overwatch: deal damage, interrupt movement, or even take down an enemy. Obviously, this can only happen if we set it up in the right way.
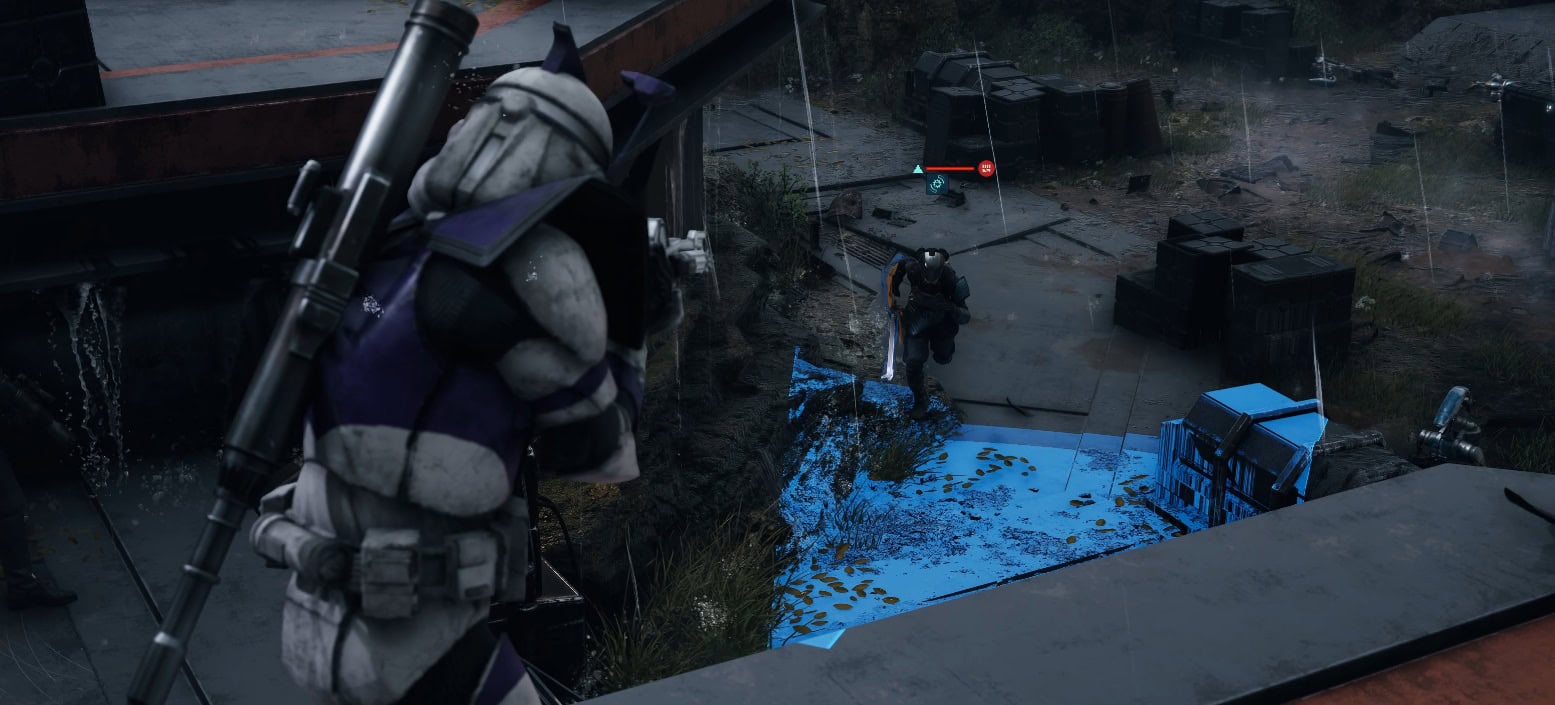
What proved to work best for me was covering as much space as possible, rather than focusing all my Operators in a single area. I understand that dealing damage to something like a MagnaGuard has priority over a regular B-1 Battle Droid. However, it doesn’t really matter who you want to focus if your Overwatch gets interrupted.
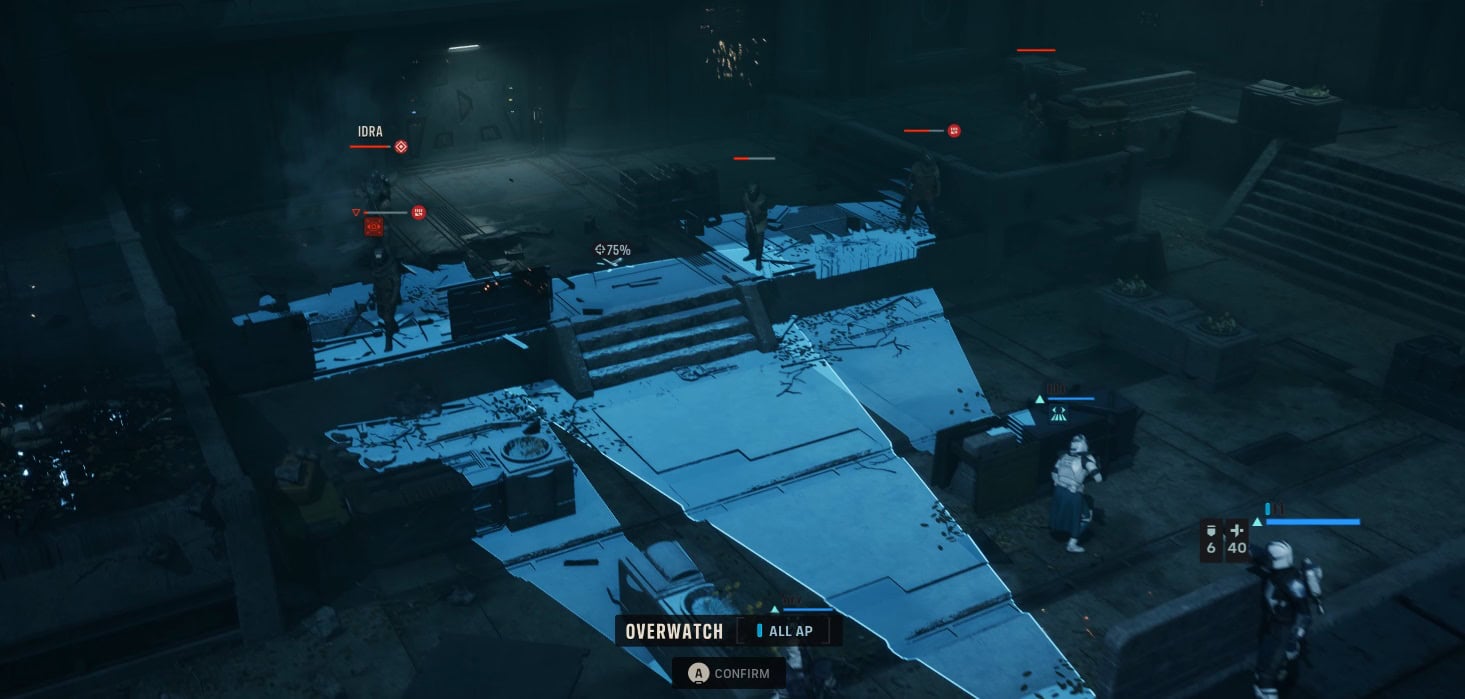
Keep in mind that the number of times your character shoots depends on how many APs you commit to Overwatch. Since Overwatch ends a unit’s turn, I suggest that you use it only when you’re sure that you can’t do any other action that you consider better.
You can also use Overwatch as a trap for enemies if someone on your team can push a target in its zone. Forced Movement of an enemy within an Overwatch zone will trigger it, having your Operator shoot at the pushed/pulled target.
If you’re using a tank that has just taunted a large group of enemies, it’s best to not have them on Overwatch. As they’re going to get hit by a lot of attacks on the enemy turn, it’s more likely than not that they’ll get hit with their Overwatch cancelled.
Increase Your Operators’ Bonds
There will be a few instances where you “can’t do anything”. Either because you already killed most enemies, or it’s not in your best interest to change your position.
When this happens, use abilities that can target your own Operators to increase their Bond XP. Over time, this could make the difference between reaching a Very High bond between Operators or not. When you reach this milestone, both Operators will get a massive buff.
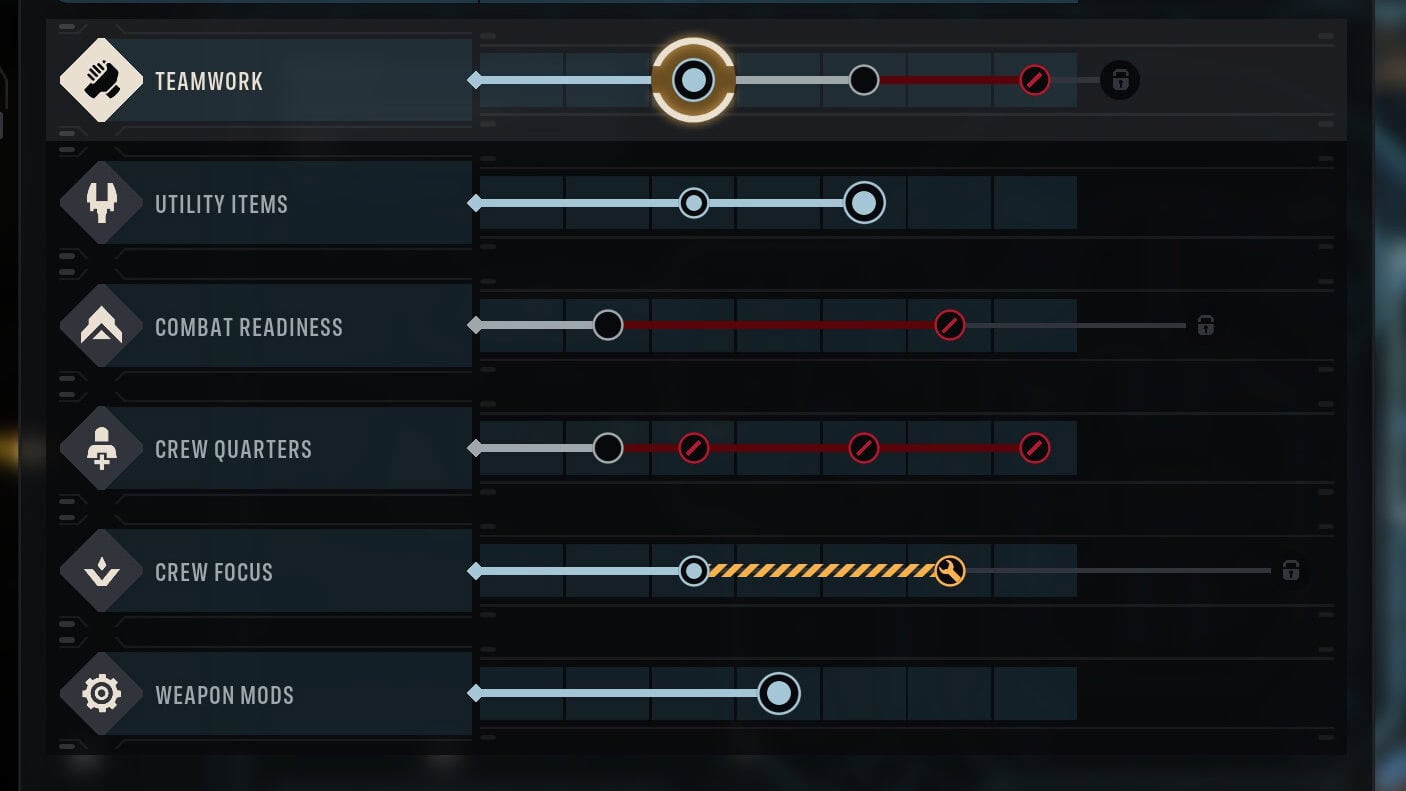
It can be a good investment to upgrade the Teamwork tab under The Den’s Crew upgrades. This provides passive Bond XP which can help your main team slowly bond with Operators they don’t often interact with.
This only works in your favor as it’s just free status and bonuses for both of your active and inactive Operators, allowing the former to perform even better.