We’ll show you which specializations make for a great beginner team build for Star Wars Zero Company. Including which skills to prioritize on the Focus Tree, which talents to select, and tips for ensuring survival and success.
We’ll show you a good team composition that’ll be reliable in just about every situation in Star Wars Zero Company’s early missions. But any team is only as good as your ability to do well in combat, so make every move matter and serve a purpose.
Being a tactical strategy game, you can’t run in recklessly guns blazing. Every move you make matters, especially when Permadeath is enabled. A wrong move can mean you’ll lose an Operator forever or worse, end up with a Game Over on Beskar Mode.
Use the Table of Contents, located in the left panel (top left button on the mobile menu) to navigate through this long guide more easily and quickly.
Building a Team: Cycles and Facility Unlocks
Once you’ve reached Cycle 4, you’ll gain everything you’ll need to customize your early game team.
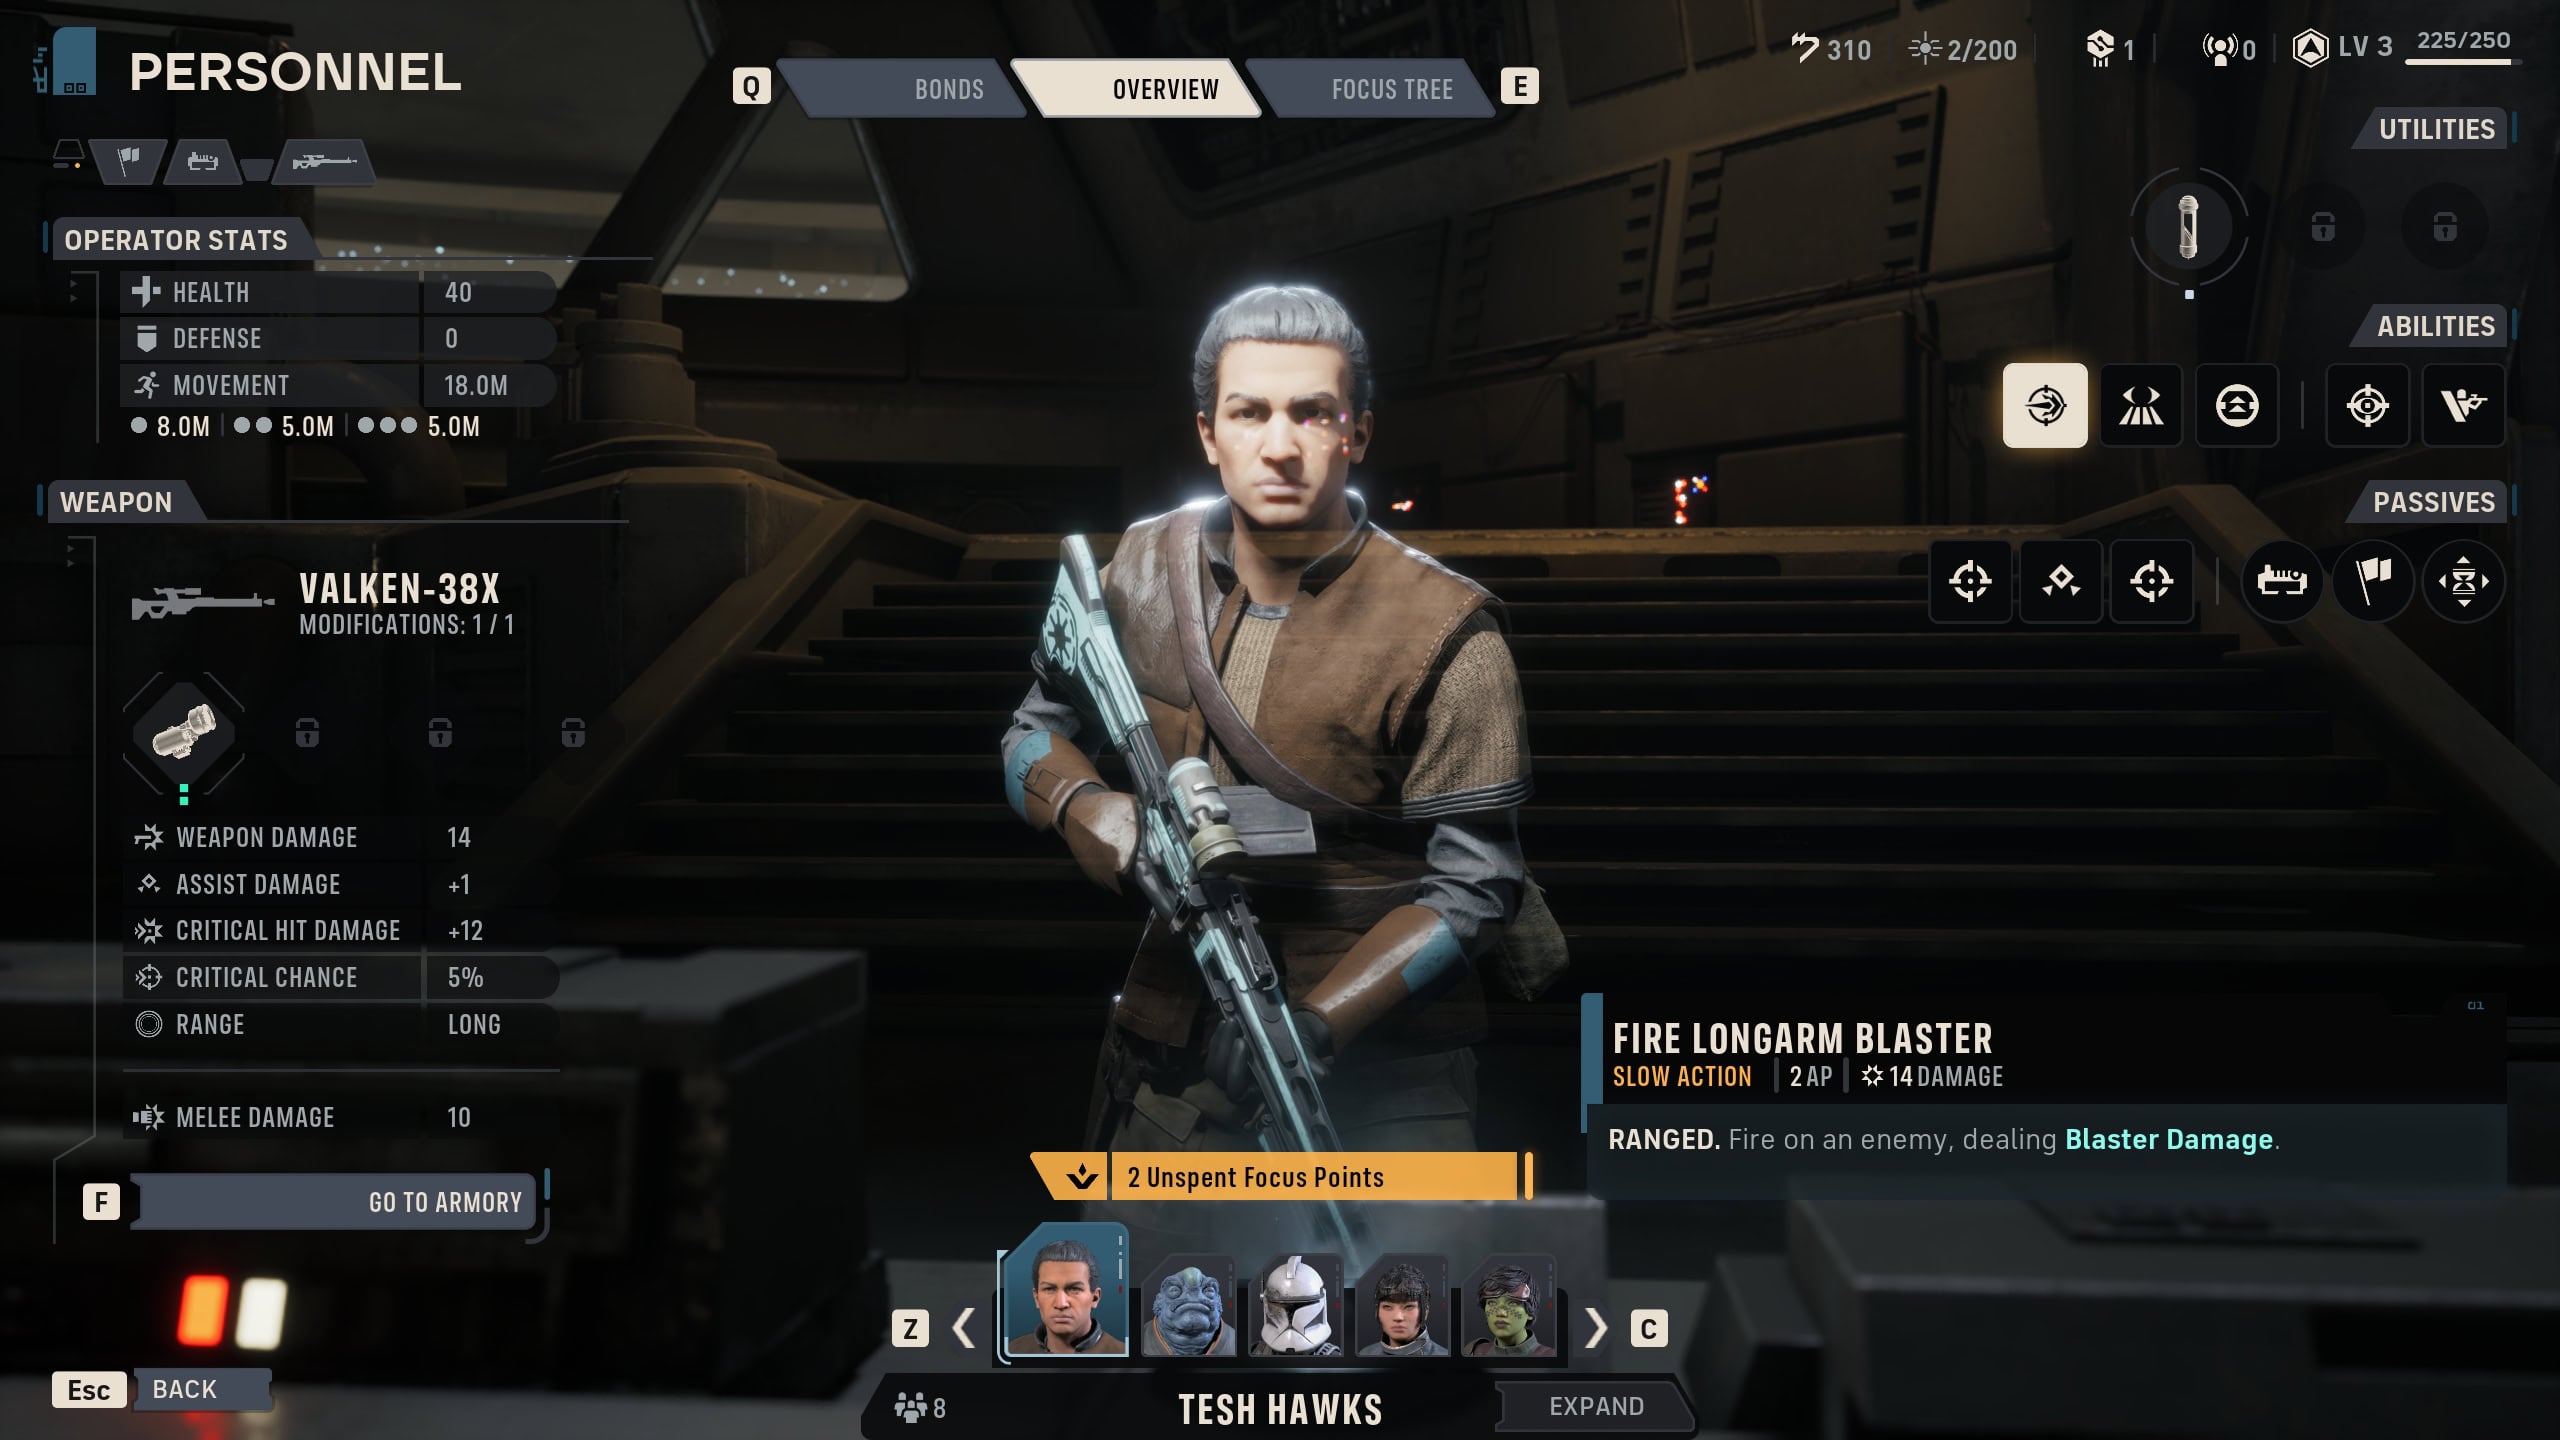
On Cycle 3, you’ll unlock the Personnel Facility in The Den. This allows you to change an Operator’s Specialization or Talent (if able to).
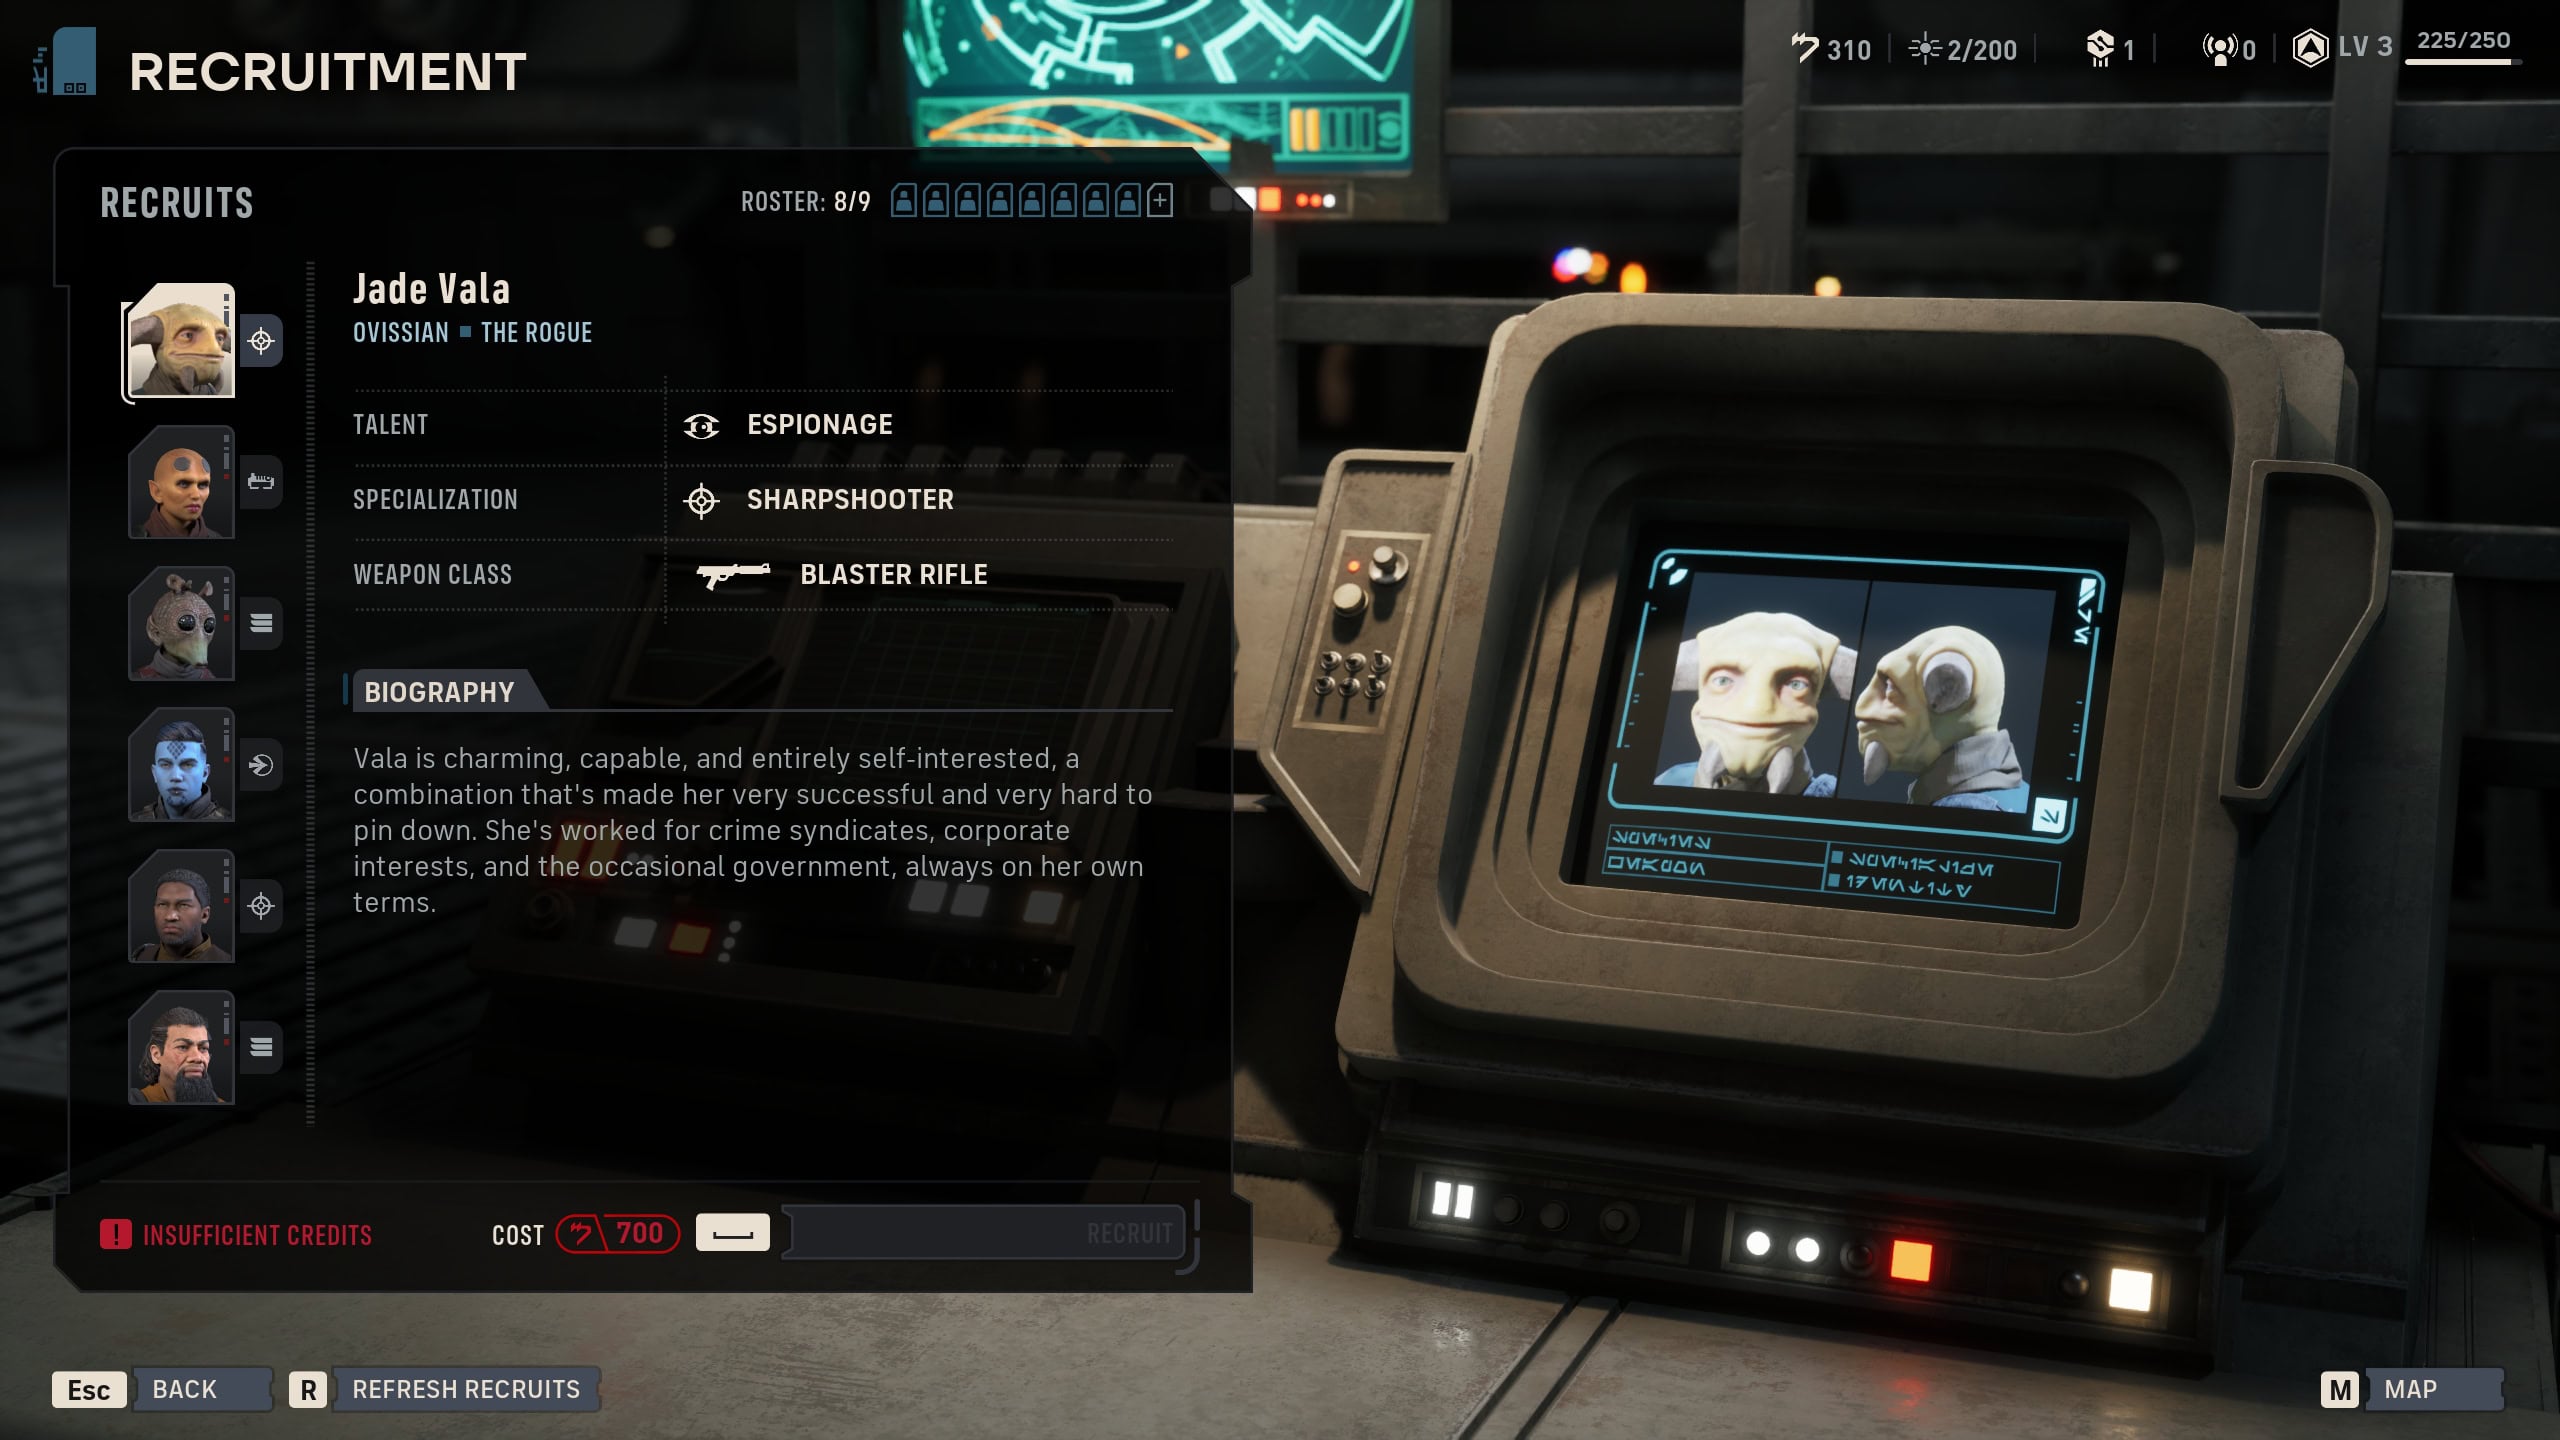
On Cycle 4, you’ll unlock the Recruitment Facility. This is where you’ll recruit new Operators for a fee. Unlock Operators recruited from the story, these Operatives have fully customizable names, appearances, and kits.
Operators Team Composition Recommendation
With the Personnel and Recruitment Facilities acquired, you can begin building your team as you see fit. In most scenarios, you’ll be allowed to choose four Operators for a mission. If you’re not sure which build to use, you can’t go wrong with the classic composition of Tank, Healers, and two DPS.
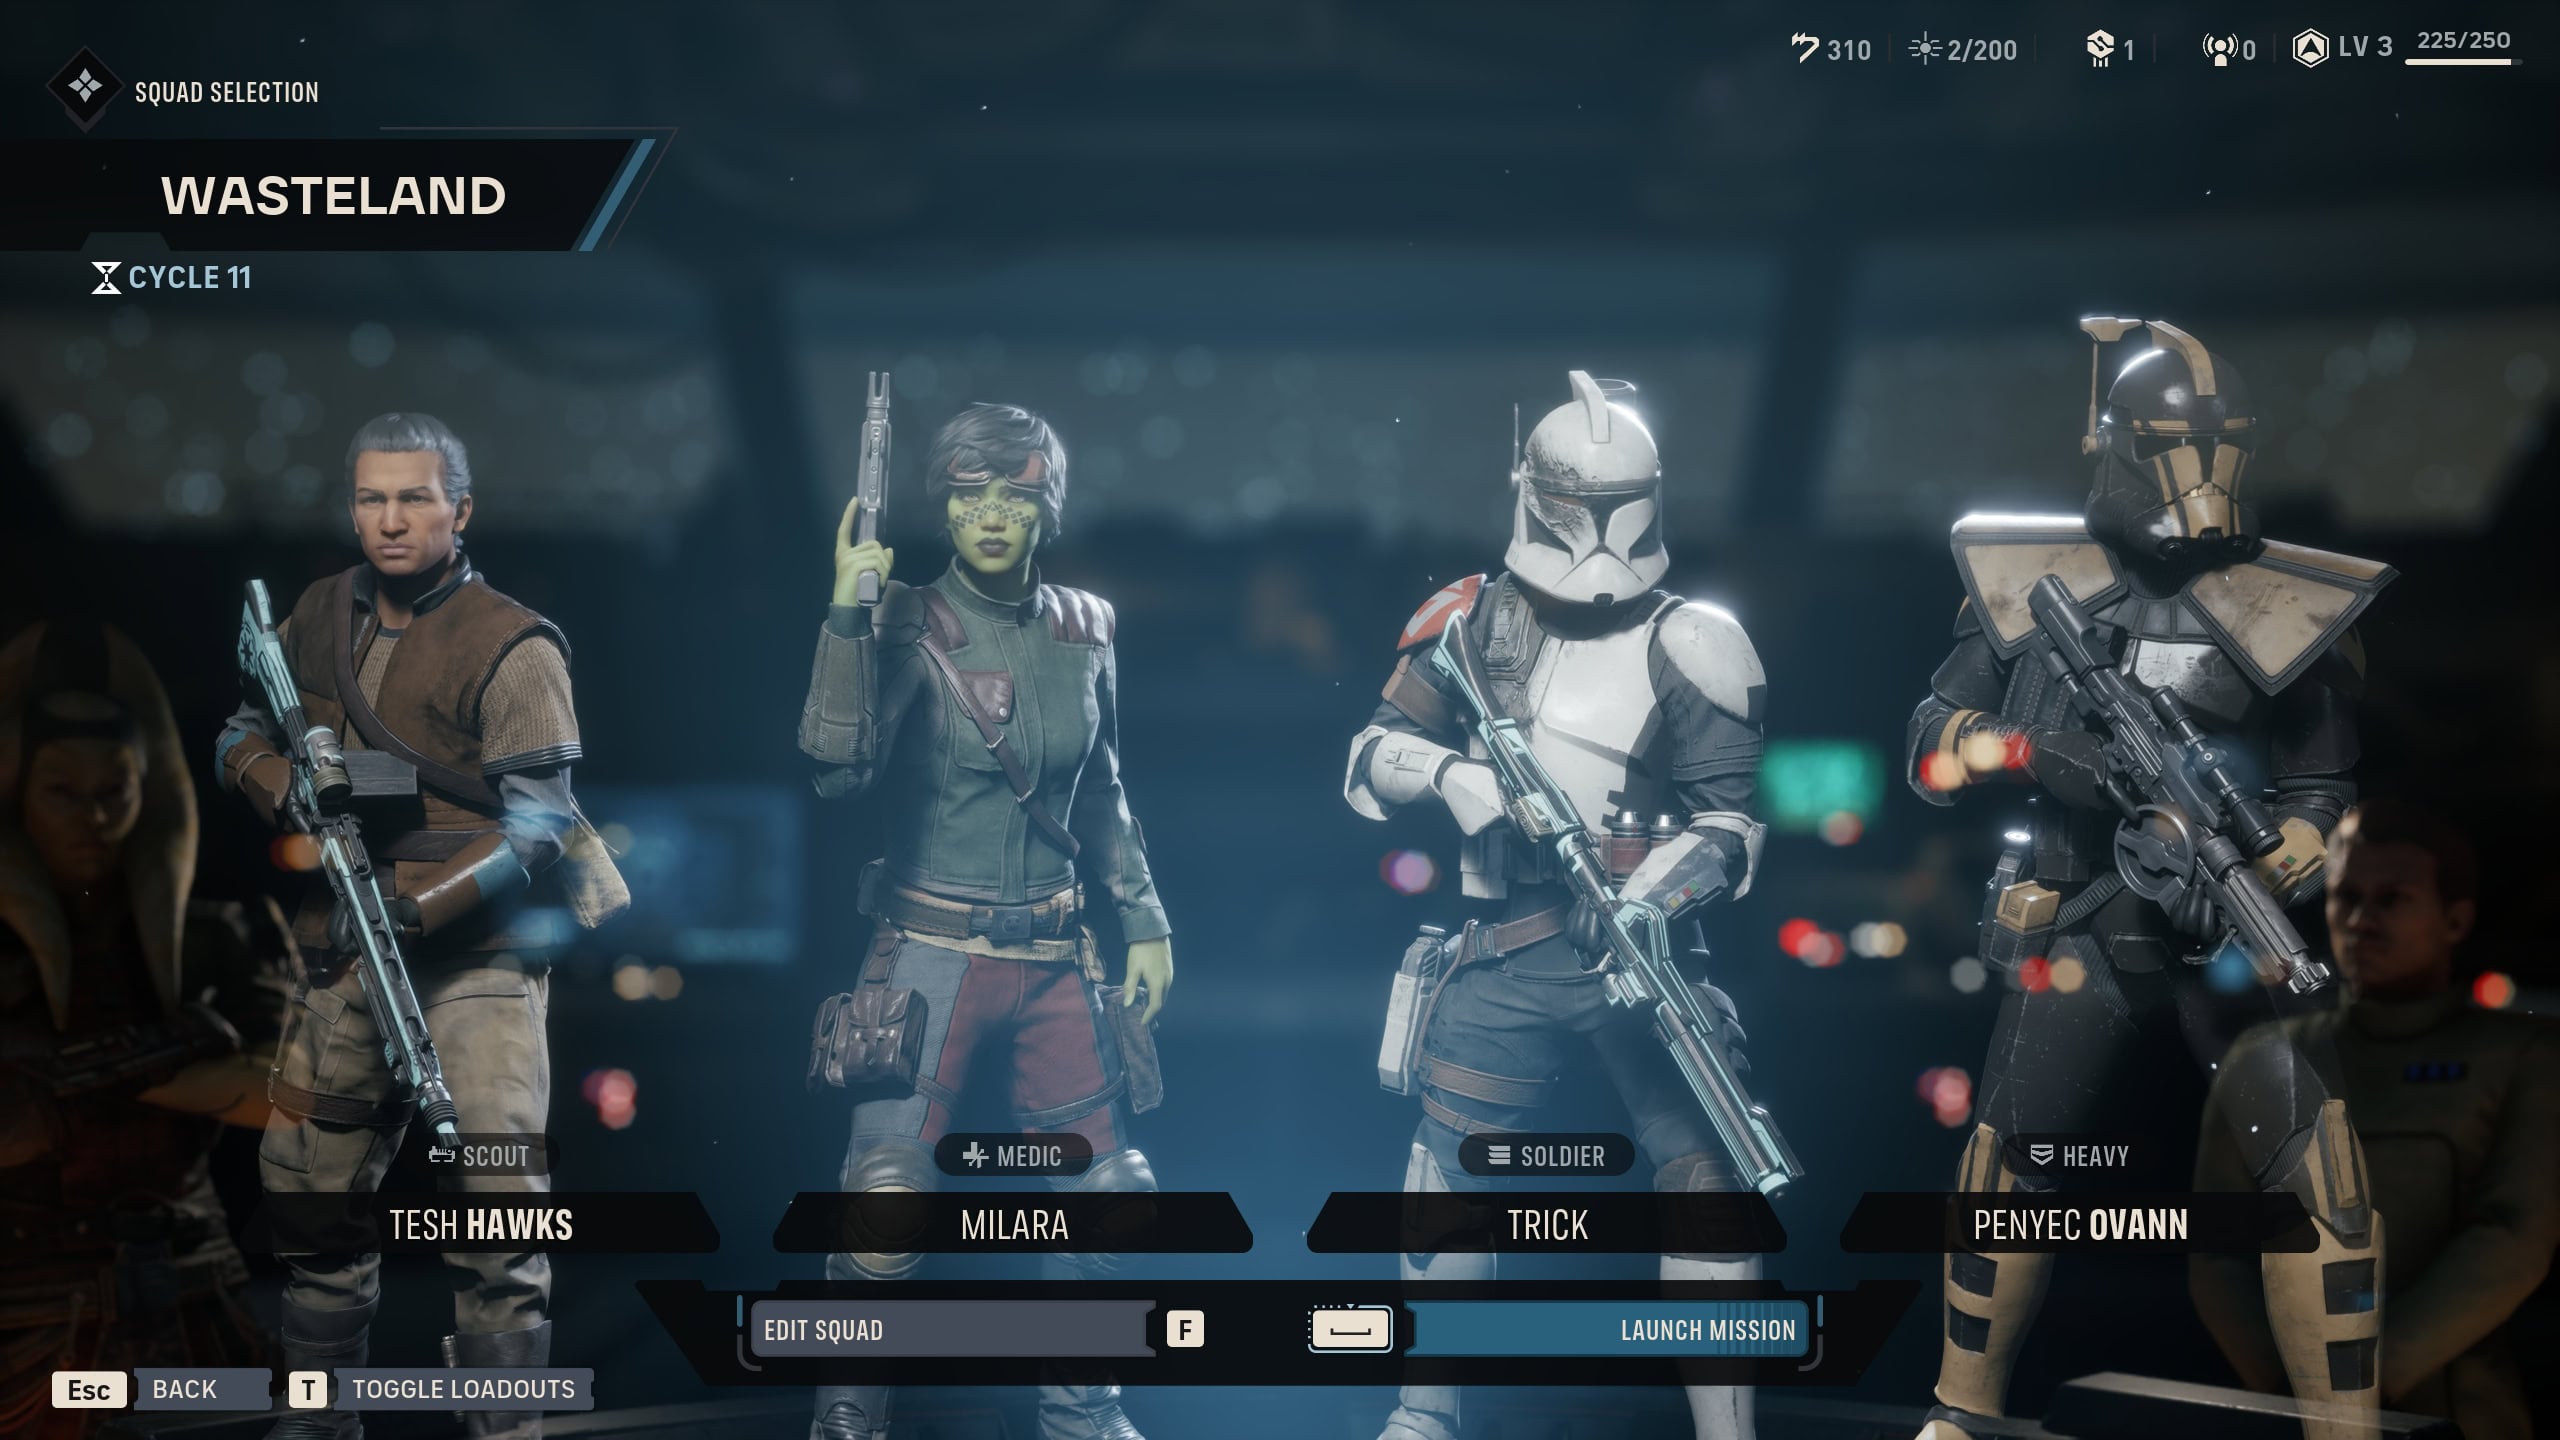
We recommend using a Heavy, Medic, DPS, and Scout. DPS is not a specific specialization, there are several DPS Specializations you can choose from and swap to depending on a mission scenario.
While each Specialization has several abilities you can spend your Focus Points on, focus on a select few to start to perform the basics of an Operator’s role well.
Then there’s the matter of choosing a complimentary Talent. Do note that you can only change the Talent of recruited Operators. Named Operatives such as Hawks, Trick, Jae, or Kabb cannot have their Talents changed.
Your weapon of choice for an Operator can greatly affect how well they perform their roles. While it might seem like a fun idea to equip everyone with Repeaters, it won’t be ideal as you’ll need Action Points for vital specialization abilities.
In the segment below, we list the effects of the default abilities and passives, before you start upgrading them.
Heavy
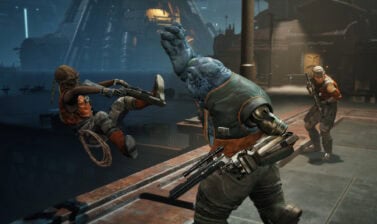
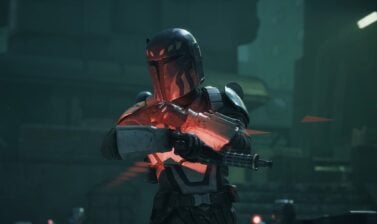
The Heavy is your tank that will taunt enemies and take the damage for everyone else. With the ability to reduce incoming damage and increase their maximum health, they can be the ones to run into the thick of things to reach an objective.
Since they’re the ones getting all the attention, they’ll need to be able to heal up after receiving a lot of damage. Early on they’re more vulnerable as they haven’t leveled up their skills yet, but investing in a Heavy means they might be able to outright negate damage at times.
When choosing a tank, choose a recruited Operator for the role. As you have many premade Operator early on in the game with locked talents, you’ll want a recruit to be a tank as they can change their talent freely.
Core Talents

Bulwark (Ultimate)
Taunts all enemies in the target area, forcing them to attack this Operator. Also increases Defense by +2 for the rest of this turn.

Unstoppable (Standard)
Gain 2 Stacks of Retaliation. Each stack permits a counter against the next incoming attack.

Conditioning (Passive)
Increases this Operator’s Max Health by +4.

Heavy Armor Training (Passive)
Increases this Operator’s Defense by +2.

Intimidating Posture (Passive)
This Operator’s primary Blaster Attacks now Taunt the target on a hit.
Talents and Ability Priorities
Focus on getting Conditioning III first as Hit Points in the early game can be scarce until you gain more from increasing Influence or performing Cross Training.
For your Talent, Taunt is a fantastic option for taunting an enemy out of range of the Bulwark ability while reducing their damage done. It’s particularly for bosses and works really well with the additional defense granted by Bulwark. Level Taunt and Bulwark equally after reaching Conditioning III.
Recommended Weapons and Utilities
For your Heavy, select the Blaster Rifle. The Blaster Rifle has solid damage and range making the Heavy able to shoot and taunt enemies at a distance. This allows them to get at least one shot off after using Retaliation and either using the Taunt Talent or Moving.
While the Blaster Pistol could be used to shoot and taunt multiple enemies, you’ll want the taunted enemies dead sooner rather than later. As the Heavy lacks any bonus damage in their abilities, the higher base damage of a Blaster Rifle helps clear out taunted enemies.
For the Heavy, give them the Impact Underlay Utility. Melee Attackers tend to hit hard, so reducing their melee damage by half is key to survival early on.
Heavy Specialization GuideMedic
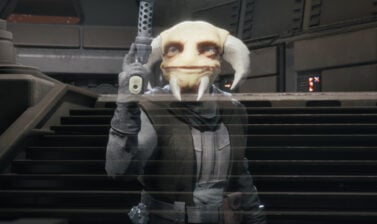
The Medic will be your team’s healer as they are always equipped with a Medpac. Additionally, they will fully heal any downed ally after rallying them.
When you invest in a Medic, you can increase how effective their Medpacs are. They also grant Temporary Max HP and Damage for allies (such as the Tank), and have a small Heal Over Time ability to help patch up your team without immediate aid.
Core Talents

Morale Boost (Ultimate)
This Operator and all nearby allies increase to 4 stacks of Morale.

Combat Stim (Standard)
Grants Stimulant to an ally for 2 Turns, increasing Max Health, Melee Damage, and Ranged Damage.

Lifesaving Measures (Passive)
Medpacs used by this Operator restore an additional +5% Health.

First Responder (Passive)
This Operator is permanently equipped with a Medpac that does not use a Utility slot. When this Operator rescues an ally with Rally, that ally is Fully Healed.
Talents and Ability Priorities
Focus on increasing Lifesaving Measures. The more healing you can do per medpac, the more you can attack, reposition, or reach an objective.
There’s no particularly synergistic talent for the Medic, so use a utility Talent such as Thievery or Espionage. If you’re concerned with their survival, Life of Labor is a good option for increased hit points and defense.
Recommended Weapons and Utilities
Equip the Medic with Blaster Pistol. If things go south, you’ll be using your Medpacs and thus your AP. Assuming all is well, you can use the Medic to pick off weaker enemies or gain Advantage.
For the Medic’s Utility, pack another Medpac. With the Medic’s built-in Medpac, you’ll be able to do at least 4 heals throughout the combat. Use them wisely.
Medic Specialization Guide and BuildDamage Dealer (DPS)
The DPS (Damage Per Second) is your damage dealer of the group. While there are several DPS Specializations to choose from, we recommend either the Assault or Soldier Specializations. These two classes have good Area of Effect (AoE) attacks and can help clear out large areas with ease.
Assault Core Abilities
The Assault Specialization is a solid choice for DPS as they have good movement, damage bonuses when flanking enemies, and decent melee damage with crowd control.
Their ultimate ability, Sweeping Salvo, is that makes them fantastic in many scenarios. This AoE can be used up to three times per combat encounter and can easily clear out groups of weaker enemies such as B1 Battle Droids.

Sweeping Salvo (Ultimate)
Unleash aggressive blaster fire that deals damage and Disorients all enemies within a large cone.

Bull Rush (Standard)
Charge into an enemy, dealing Melee Damage and Pushing it backwards.

Fleet of Foot (Passive)
Increases this Operator’s First Movement by 1.0m.

Strike the Flanks (Passive)
This Operator gains a +20% Critical Chance bonus against Exposed enemies.
Soldier Core Abilities
The Soldier Specialization focuses more on the use of explosives, increase grenade range and damage, great melee damage, and increased blaster damage. Their melee attacks will daze an enemy, meaning they can’t attack for a round. This is good for tougher opponents such as bosses or melee attackers.
Their ultimate ability, Rocket Strike, is a powerful explosive with a good range. It’ll blast enemies in a circular area but it can only be used once per combat. It’s better against organic enemies such as pirates, thugs, and members of The Coil.

Rocket Strike (Ultimate)
Fire a powerful rocket that explodes on impact, damaging all targets in the blast.

Brutal Strike (Standard)
Rush and strike a target, dealing Melee Damage and Dazing.

Strength (Passive)
Increases Melee Damage by +2 and increases the throw Increases range of all Grenades by +2.0m.

Armsmaster (Passive)
Increases Blaster Damage and Grenade Damage by +2.
Talents and Ability Priorities
Whether it’s Assault or Soldier, focus on upgrading your AoE first. In this case, that’s either the Sweeping Salvo or Rocket Strike.
For the Talent, select The Bigger They Are… or Sabotage. The former will help put down elites and bosses more quickly, while the latter is another AoE for your arsenal.
Recommended Weapons and Utilities
Use the Blaster Rifle for an Assault or the Repeater for a Soldier. The Blaster Rifle has slightly higher base damage and critical damage, making it good for the Assault’s flanking bonus.
The Soldier can increase their blaster damage, allowing the Repeater to catch up to the Blaster Rifle and even exceed it. As a Soldier, you’re relying more on raw damage and less on critical hits, so getting the most out of your shots with the Rapid Fire Damage helps a ton.
As you’re aiming for AoE attacks as a DPS, use Impact Grenades to deal damage to groups of enemies.
Scout
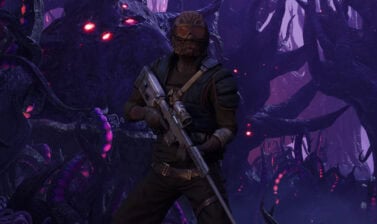
The Scout is a DPS and Utility specialization that is incredibly useful. Their defining ability, Combat Recon, allows you to scan a circular area and gain Advantage. The amount is 1 Advantage per enemy scanned.
Since Advantage is shared with your team and required to use special abilities, gaining Advantage on demand helps ensure everyone does their role and survive.
With their ultimate ability, Ambush, they can consume between 4 to 10 Advantage to increase the damage done by their next attack. While your Assault or Soldier focuses on area damage, the scout focuses on single target burst damage.
Core Talents

Ambush (Ultimate)
Execute a well-timed surprise attack on an enemy. The more Advantage used in this attack, the greater the damage.

Combat Recon (Standard)
Assess threats in the target area, granting Advantage for each enemy in the assessment area.

Tactical Timing (Passive)
Provides a 20% chance to gain +1 Advantage when this Operator defeats an enemy.

The Spotter (Passive)
When this Operator damages an enemy with their blaster, that enemy is Spotted.
Talents and Ability Priorities
Get Combat Recon V as soon as possible. The more range Combat Recon has, the more Advantage you can gather. This allows the Heavy to taunt groups, the Medic to use Morale, or the DPS to use their AoEs.
Like the Medic, the Scout has a lot of freedom with their arsenal. A utility Talent such as Thievery or Espionage is good, just don’t double up on Talents as their effects do not stack. If you want to commit to the higher single target damage theme, The Bigger They Are… and Cold Blooded are good options.
Recommended Weapons and Utilities
Equip the Scout with a Longarm Blaster. This will balance out the range of the other Operators and can pick off enemies at a distance or have a long Overwatch range.
Despite requiring 2 AP to fire as an attack action, using Overwatch with a Longarm Blaster only requires 1 AP. This means you can still get a shot in if you’ve used your AP to use Combat Recon and Move.
For utilities, start out with your choice of Grenade, a Medpac, or a Scattergun if an enemy gets too close. They have a lot of freedom, though the Medpac is a good default in case you need to heal the Medic so they save their more powerful healing for more severe damage.
Scout Specialization GuideWhich Role Should You Play?
By you, I mean Hawks, as you’re the one controlling them and making all the decisions. As stated earlier, let a recruited Operator be the tank. This allows the tank to pick a defensive talent as Hawks’ talent is locked.
This means you should be a DPS, Medic, or Scout. DPS is a solid choice if you’re someone who likes action, whereas the Medic or Scout tends to stay towards the back line in a combat scenario.
Choose whichever of these three options seem the most appealing to you. If you’re not sure, try them all! If any one in particular feels fun and clicks with you, go with that. You’re not forced into one specialization as you can freely swap at The Den.
When upgrading Hawks, you’ll want to level up their Fearless Leader Talent second to their specialization’s primary talent. Increased assist damage and defense helps everyone. Sources of passive damage can be scarce, so it really helps the Heavy to tank things without needing as much healing.
Bonding and Cross Training
Committing to the same four Operators will help ensure a strong bond as they assist one another. As these bond passives cannot be changed, you’ll need to choose a Cross Training reward wisely.
Always get Focus Points when they appear, with the exception of the Tank. If more Max Health is an option for a Tank, then choose that for them. More health in the early game is key for their survival until they level up their taunts for damage reduction.
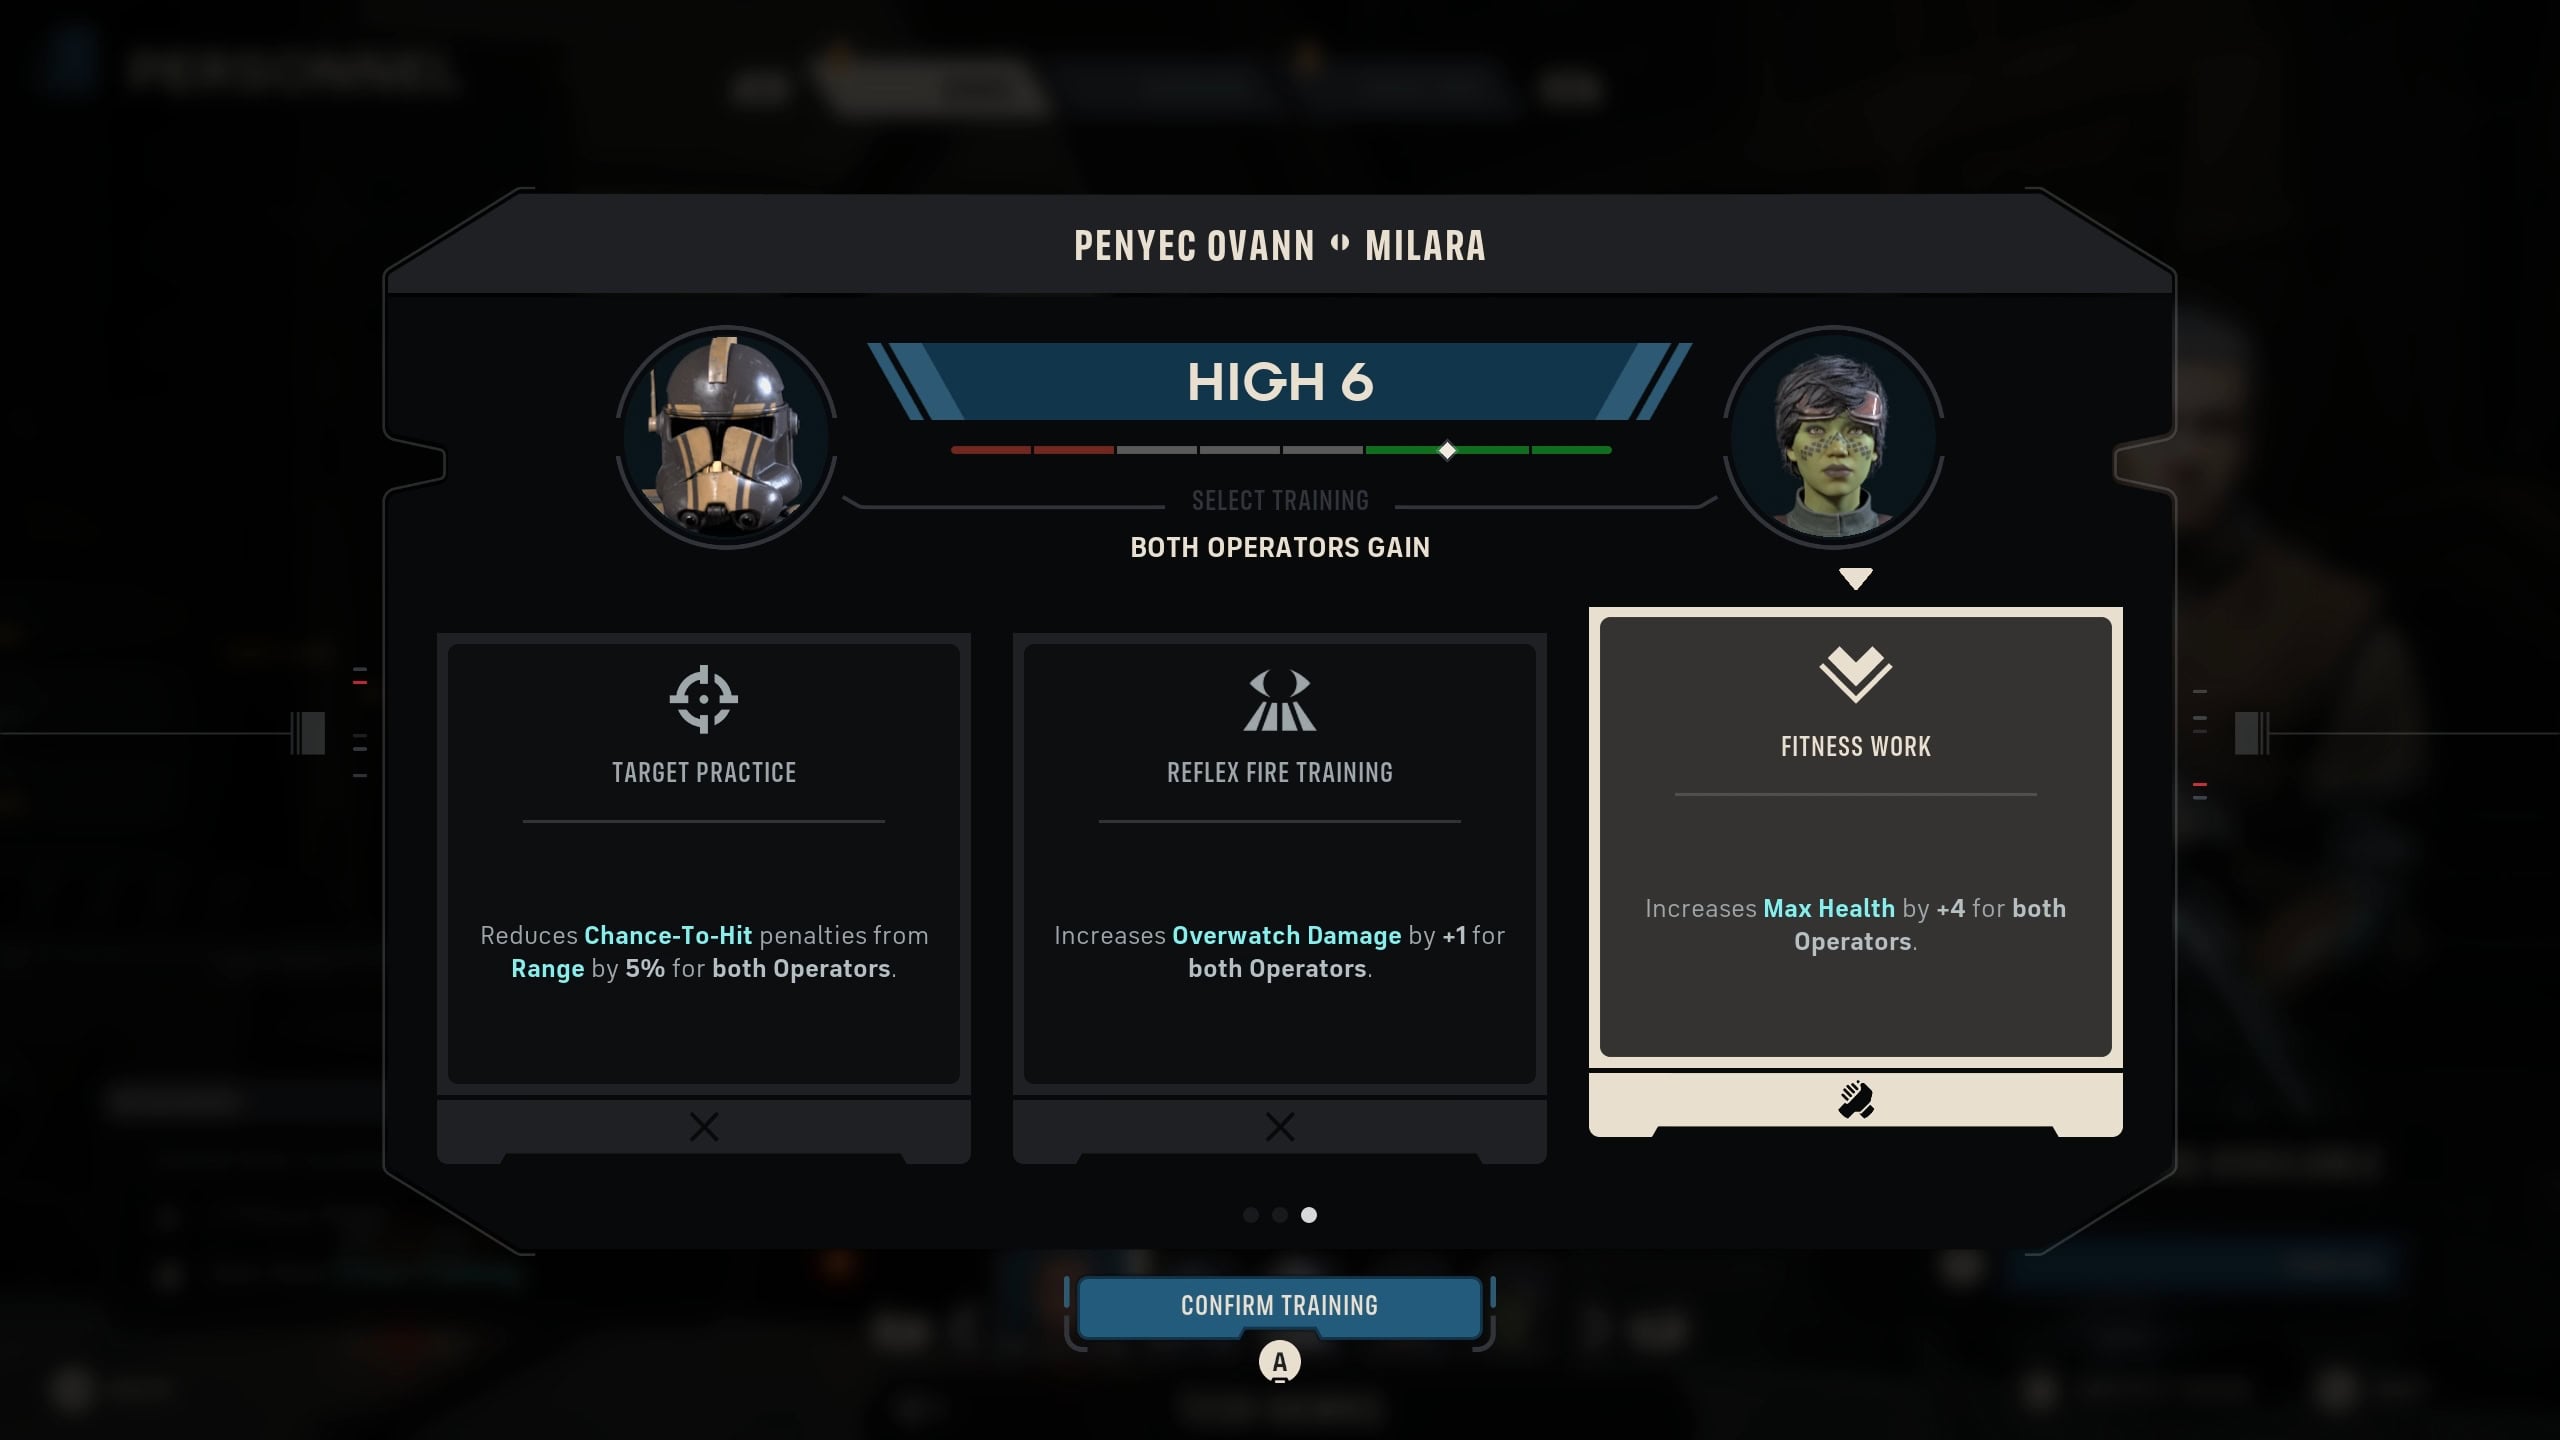
If you’re building your DPS to be more critical based, a flat damage blaster damage boost would be better when that crit DPS is Cross Training with a non-crit unit. An Assault and Scout could both benefit from increased critical chance or damage, not so much with an Assault and Medic.
A flat bonus damage with blasters is useful for the Assault and Medic/Tank as the latter don’t have innate critical bonuses. All damage is good damage, so increasing everyone’s base damage benefits the team’s survival.
How to use the Specializations Effectively?
Having the gear and upgrades can only get you so far, so here are the basics of using this build well in combat.
Prepare the Tank
Have the Scout gain Advantage with their Combat Recon while the Medic applies a Combat Stim to the Heavy. Meanwhile the Heavy can then move forward to AoE Taunt enemies and use Retaliation.
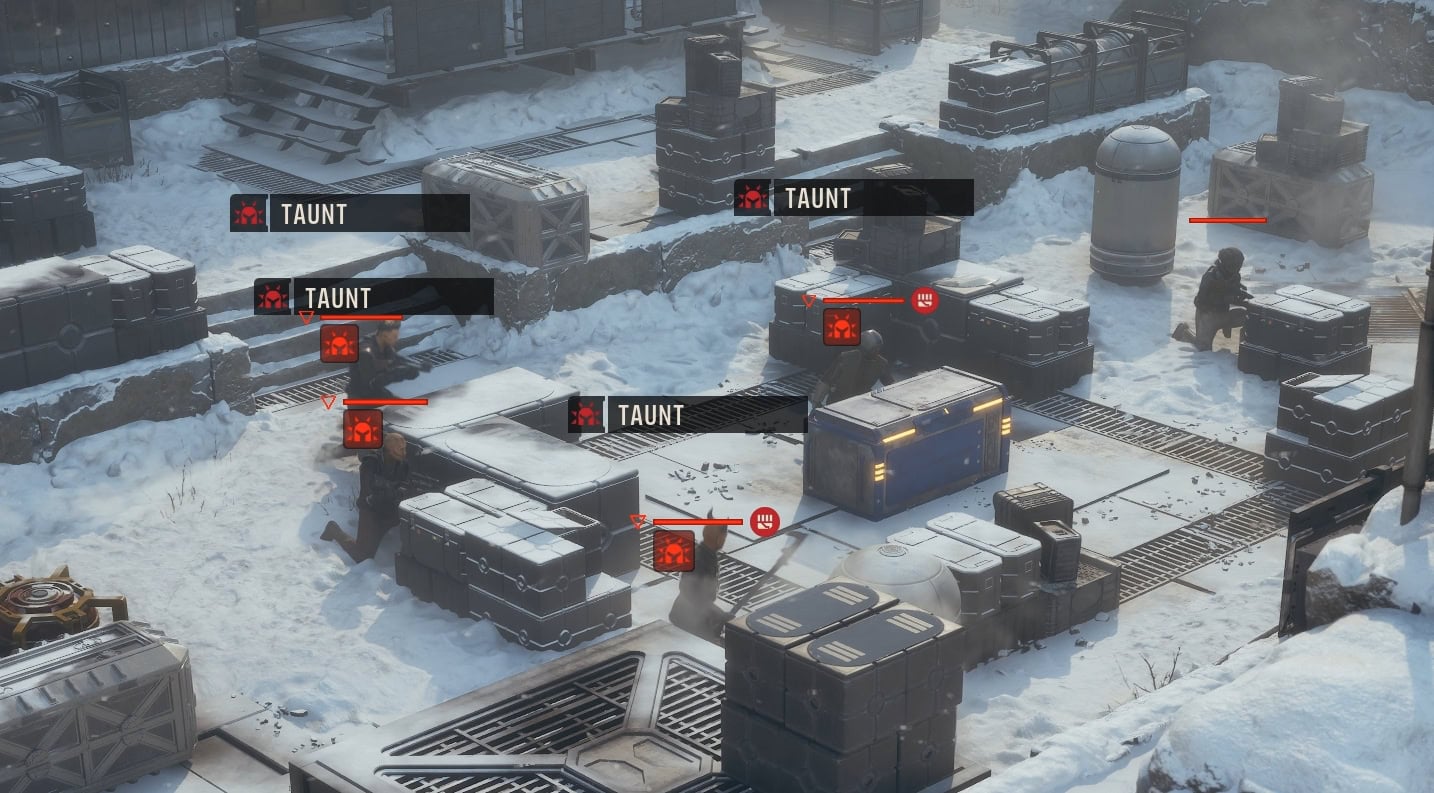
To ensure the well being of the others, the Tank needs at least 4 Advantage so they can AoE taunt enemies and get increased defense. This can also be used to lure away enemies from the others as they escape to the Evacuation Zone.
Forward and Back Lines
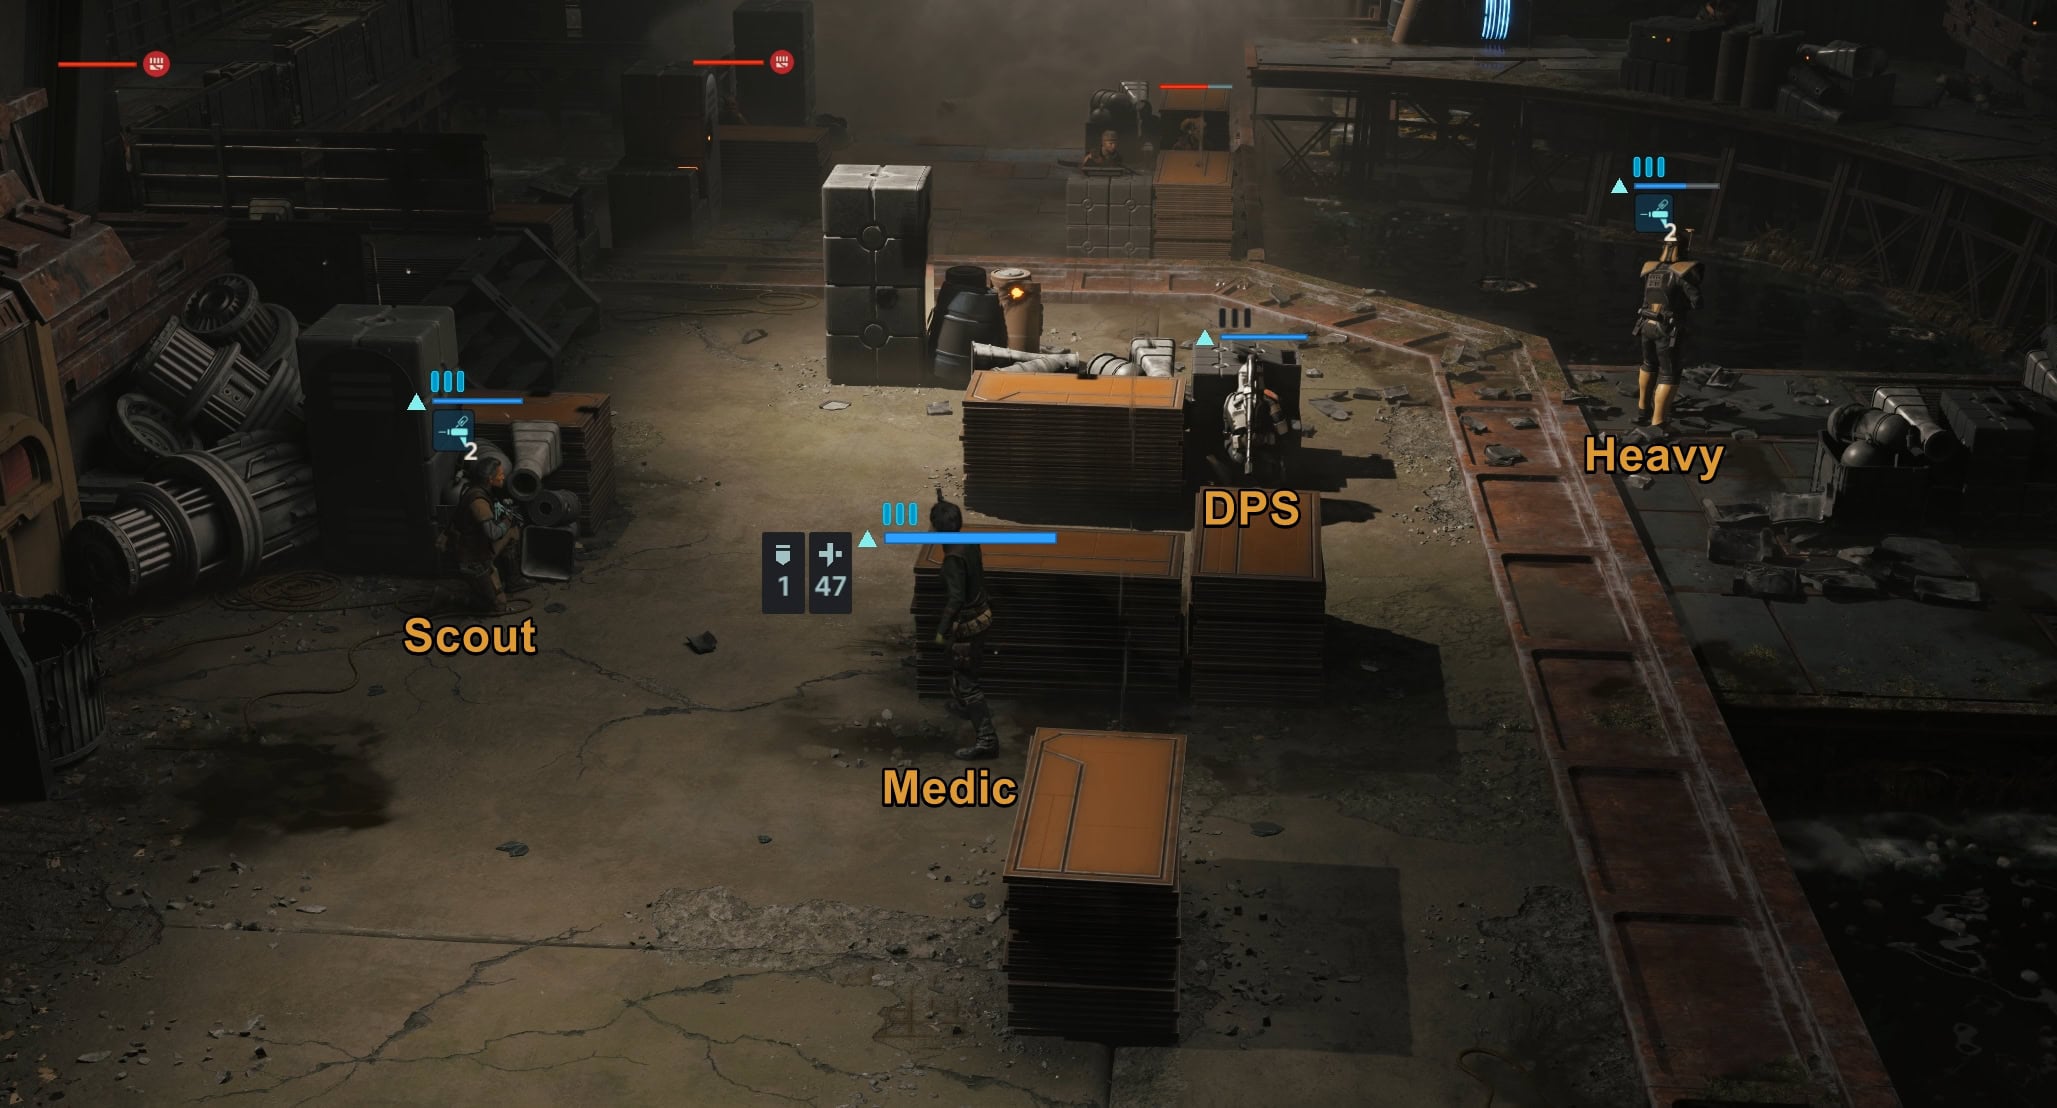
The Heavy and DPS should be closer to the enemies. The Heavy keeps the enemies from the back line, while the DPS goes closer for melee attacks or AoEs.
Meanwhile the Medic and Scout can keep their distance. The Medic should stay close enough to the Heavy for healing or reapplying the Combat Stim. The Scout choose a good position to hunker down to snipe enemies and scan the area with Combat Recon.
The Scout Should Go First
The Scout’s ability to gain Advantage from Combat Recon is incredibly important. Focus on positioning them for a good spot to use Combat Recon, then let the Heavy do some taunting.
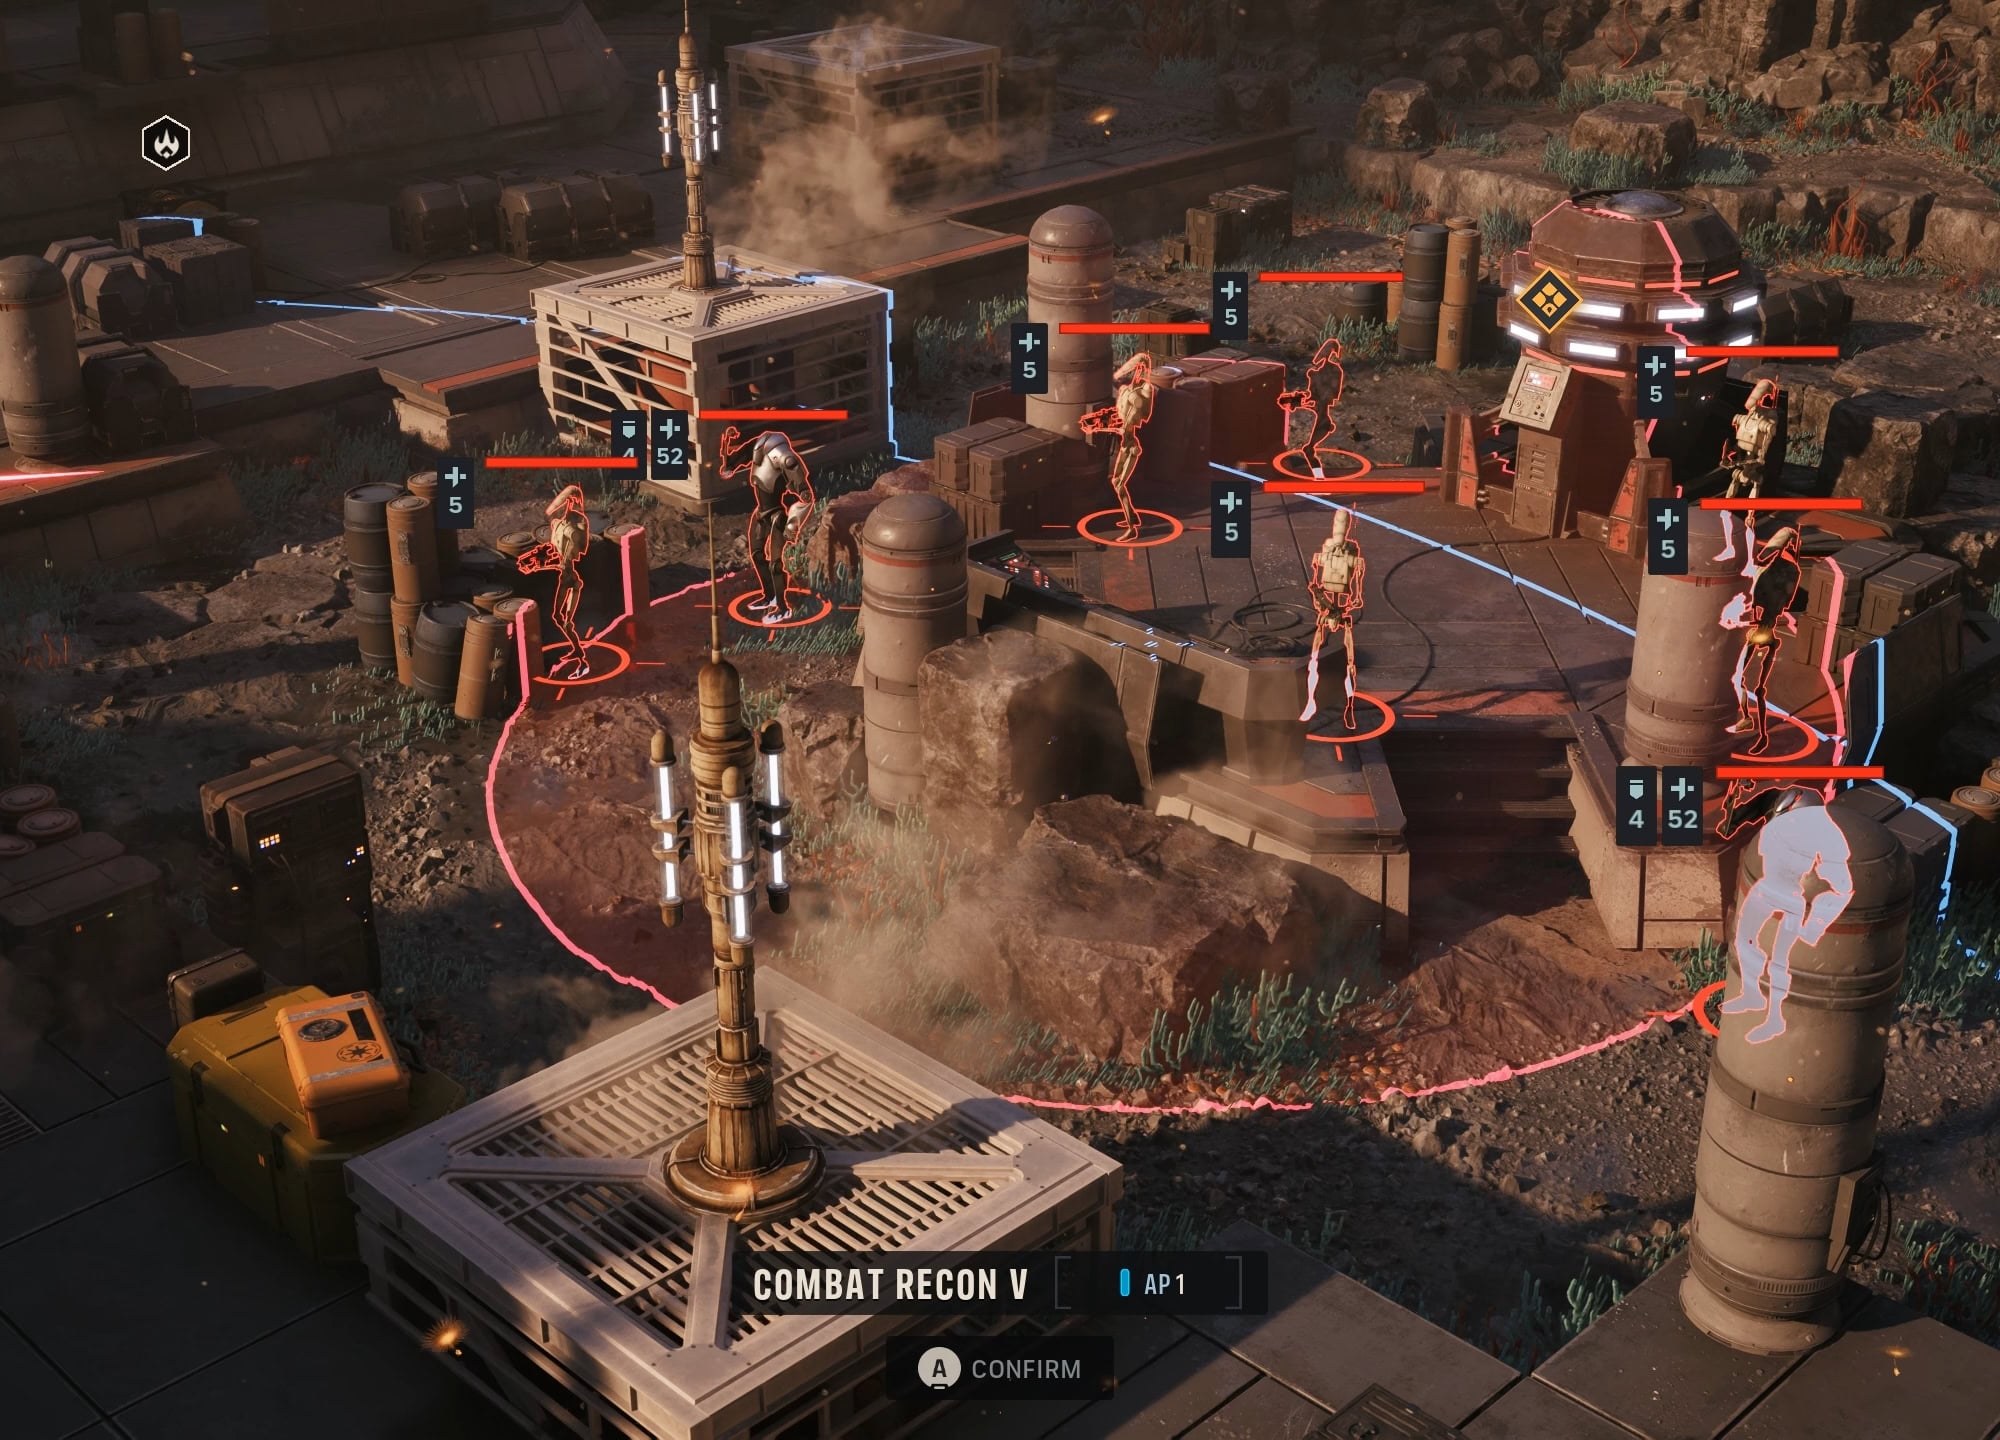
If you’re near full or have full Advantage, you’ll still want to move the Scout into a good position if needed to use Combat Recon after the other Operators have used their abilities.
Always maintain a good pool of Advantage when you can. If the enemies are too spread out or too few in number for Combat Recon, positioning them into a good sniping position is also useful.