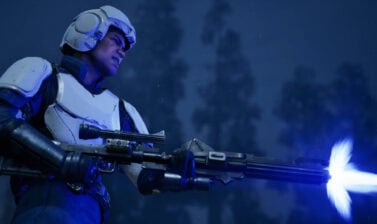
The Heavy Specialization acts as the Tank of a team in Star Wars Zero Company. This guide covers ability mechanics, weapon choices, secondary specializations, and build tips.
Best Heavy Build Overview
The Heavy is the tank of your team, taunting enemies and taking all of their hits while surviving to tell the tale. Investing in keeping a Heavy alive towards the start of the game can lead to an unbreakable wall late-game.
- Best Weapons: Blaster Rifle and Blaster Pistol
- Best Mods: Amplifier Barrels and Balancer Stabilizers
- Best Utilities: Impact Underlay and Reinforced Underlay
- Secondary Specialization: Assault or Medic
- Recommended Talent: Taunt, A Life of Labor, or Grit
- Cross Training Priority: Health, Focus Points, Resilience, and Difficult Target/Double Down
Let’s dive deeper and explain why and how each of those recommendations work together and how to use the Medic Specialization to its max potential in various situations.
Heavy Abilities and Mechanics
The Tank Specialization grants five abilities: Bulwark. Unstoppable, Conditioning, Heavy Armor Training, and Intimidating Posture.
When choosing to abilities to upgrade, focus on increasing Conditioning to tier three, followed by tier three Bulwark. Upgrade both abilities equally from there and when both are maxed out, upgrade Unstoppable.

Bulwark (Ultimate)
Taunts all enemies in the target area, forcing them to attack this Operator. Also increases Defense by +2 for the rest of this turn.
Bulwark is an AoE Taunt with a cast range of up to 24 meters and an area effect of up to 8 meters. It also gives the Heavy an additional 2-6 Defense to help them survive the enemies they taunted.
If you’re always using a Heavy in your team, make sure they always use Bulwark on their turn. It’s great crowd control to allow your allies to focus on damaging targets or capturing objectives.
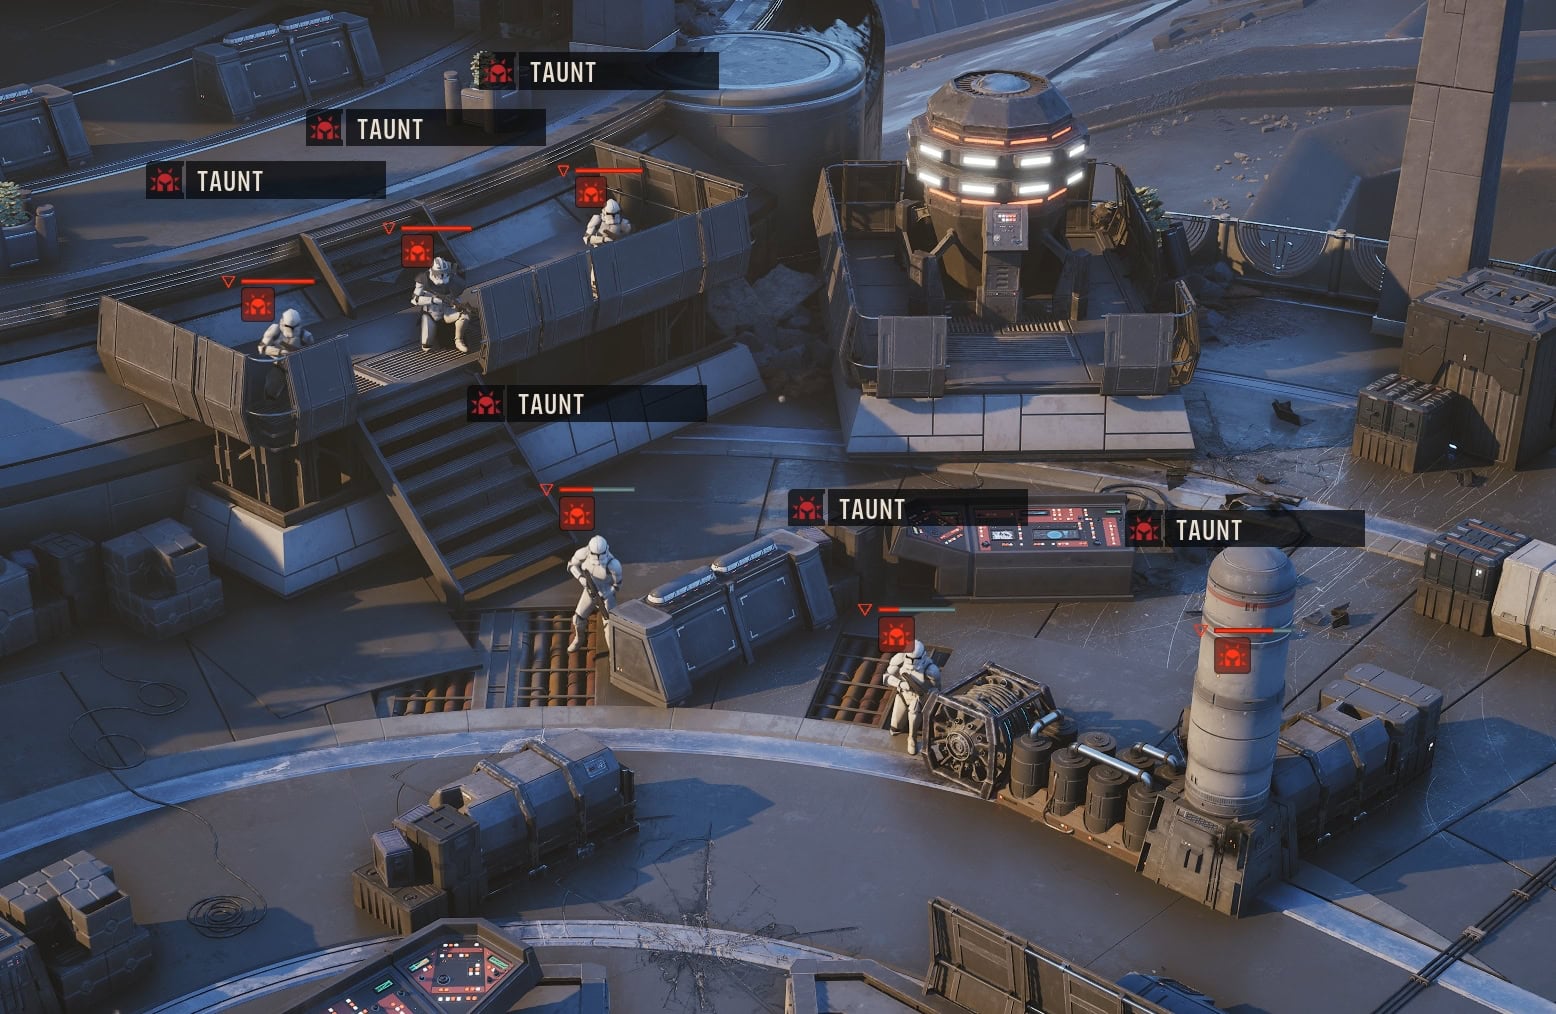
Because you’re taunting multiple enemies, it’s not wise to use Overwatch while a taunt is active. This can allow enemies to cancel the Overwatch if they hit you.

Unstoppable (Standard)
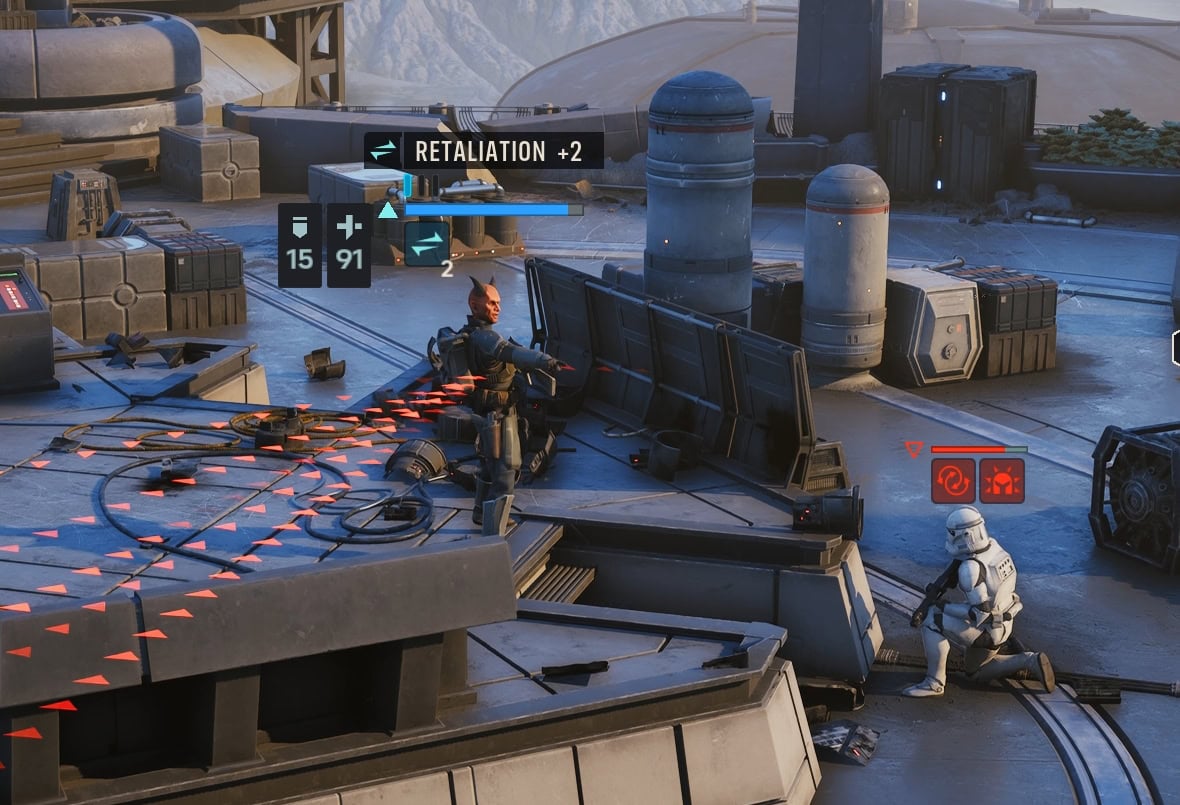
Gain 2 Stacks of Retaliation. Each stack permits a counter against the next incoming attack.
This ability is a cheap and useful ability to let you shoot back against attacking enemies (assuming you have line of sight). Using 1 AP for Unstoppable over a blaster attack can allow you to strike up to two enemies instead of one, gaining more Advantage.
With each rank of Unstoppable, the Retaliation attacks gain increased damage. At max rank, it is no longer limited to one time per turn. It can be used to apply Retaliation on allies, and targets can gain up to 4 Retaliation stacks.

Conditioning (Passive)
Increases this Operator’s Max Health by +4.
There’s not much to this ability, it adds +4 Max Health with each tier. If you’re using a tank in the early game, focus on getting Conditioning III before upgrading Bulwark to the same level.

Heavy Armor Training (Passive)
Increases this Operator’s Defense by +2.

Intimidating Posture (Passive)
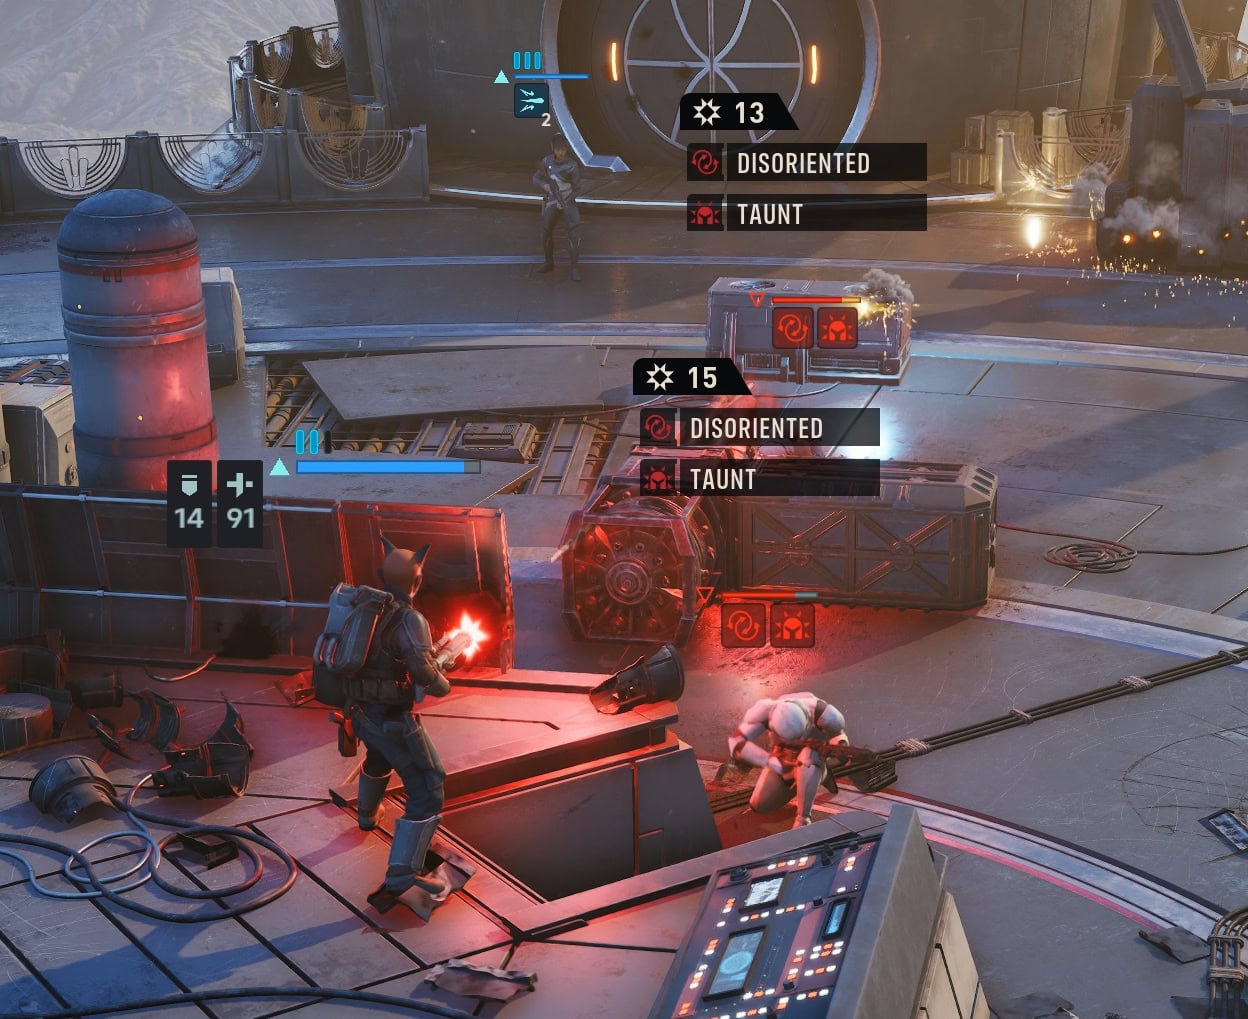
This Operator’s primary Blaster Attacks now Taunt the target on a hit.
This is a fantastic passive that allows any Blaster Attack made by the Operator to taunt a target. This includes blaster-based AoE attacks.
Assist Attacks will also apply this taunt. Use allies with the assist action to have the Heavy taunt other targets.
Recommended Weapons
The Blaster Rifle is the best choice hands down. If you don’t mind going very deep into enemy territory, you can get away with the Blaster Pistol.
Blaster Rifle
In most instances, the Blaster Rifle is the best choice. Its medium range allows you to better hit far away targets in order to taunt them. The Blaster Rifle’s first attack cost makes it a reliable weapon for the Heavy’s action economy.
The most standard scenario is that you’ll use Bulwark to taunt a group of enemies, move or use the Taunt Talent, use Retaliate, and finish off with a blaster shot on a target. You could not do this as well with a Longarm Blaster or Repeater which consume more AP.
Blaster Pistol
This option is an alternative if you don’t have the Taunt talent and need to taunt more enemies. As each shot consumes 1 AP, you can taunt an additional 3 enemies by hitting them.
The weapon’s short range will require the Heavy to go deeper into enemy territory and take more hits, so having some kind of heal can make up for this dangerous playstyle.
Recommended Weapon Mods and Utilities
For weapon mods, you’ll want an Amplifier Barrel and a Balancer Stabilizer. The Heavy gets a lot closer to enemies than most specializations, so the increased close range blaster damage is good to have.
A Balancer Stabilizer increases the Operator’s Defense by 1 for every blaster shot they make until the end of the turn. This works well with Retaliation stacks from Unstoppable. As enemies attack the Heavy, they can build up even more Defense.
For Utilities, you’ll want the Impact Underlay and a Reinforced Underlay. The former reduces incoming melee damage by 50% which is great when fighting the Coil. The latter adds more Defense which the Heavy can always use more of.
Best Secondary Specialization Pairings
For the Heavy, the best pairing is easily the Assault Specialization. There are no other defensive specializations available, so the next best thing for defensive gameplay is the Medic Specialization.
Assault
The Assault is a great addition due to its ultimate ability, Sweeping Salvo. This counts as a Blaster Attack, so any enemies it hit with it become taunted. You can use Bulwark to taunt one group of enemies, Sweeping Salvo to taunt another group, and have 3 AP to spare for other things.
Fleet of Foot helps the Heavy get into position sooner, and Bull Rush lets you combine an attack with movement. It’s a fantastic compliment and makes for the best secondary specialization for the Heavy.
Medic
If you’re looking to make a combat medic, a Heavy/Medic combo is a solid choice. The free Medpac allows them to heal themselves up and act more independently. As consuming a Medpac uses 1 AP, it doesn’t affect the Heavy’s action economy that much at all.
This becomes more viable as the team’s primary medic if you unlock the third utility slot over the fourth weapon mod slot. With the third utility slot, you can equip the Medpac Mk. IV for unlimited healing (assuming you have the AP to use it).
Recommended Talents
The Heavy is better suited for a custom Operative so they can pick Taunt, A Life of Labor, or Grit as a Talent.
Taunt
This is a single target ability that consumes 1 AP. The taunted target is not only taunted for the rest of the turn, but it also has its damage reduced. This helps reduce damage taken by the Heavy or their allies if they use an AoE.
Use this against dangerous enemies like melee Coil enemies or Droidekas. While the taunt effect may not apply to a boss, it will still reduce their damage dealt. It’s also very useful for taunting enemies far outside Bulwark’s range.
A Life of Labor
A Life of Labor provides 7 Health, 2 Defense, 4 Melee Damage, and 4 Critical Hit damage at max rank. It gives everything a Heavy/Assault Operator could need or want.
Grit
At max rank, Grit gives 12 Health and you can use 1 AP to gain 2 stacks of Invulnerable. The next two attacks will let the Heavy ignore their damage, greatly increasing their survivability.
Cross Training Priority
With most Specializations, you’d want to get Focus Points. Starting in the early game, prioritize Max Health upgrades as each upgrade is like one upgrade to the Conditioning passive.
Once you feel they’re in a more comfortable spot with hit points and damage reduction from Bulwark, you can then opt for Focus Points to increase their ability effectiveness.
Try to reach max bond your Heavy with two other Operators. You’re aiming to get Resilience and your choice of Difficult Target or Double Down.
Resilience allows the Heavy to restore 10% of their max health at the start of every turn. When pairing this passive with enough hit points and defense, you may outgrow the need for a dedicated Medic entirely.
Difficult Target applies a stack of Evasion at the start of the Heavy’s turn, making it pair well with the Grit talent. This lets you ignore up to three attacks during the enemy’s turn.
Double Down is a solid contender with Difficult Target. Defeating an enemy with Double Down grants +1 Defense for the remainder of the encounter. This could allow the Heavy to use Sweeping Salvo on a group of B1 Battle Droids, only to get a large chunk of defense from the attack. Use this one if you’re not using the Grit talent.