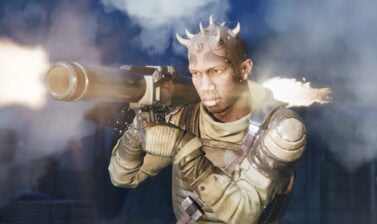
The Scoundrel is a great offensive support specialization in Star Wars Zero Company. This guide covers ability mechanics, weapon choices, secondary specializations, and build tips.
Best Scoundrel Build Overview
The Scoundrel is an offensive support specialization that focuses on enabling critical hits, increased assist damage, and critically hitting on those assist attacks.
- Best Weapons: Blaster Rifle or Longarm Blaster
- Best Mods: Condenser Barrel and Stalker Scope
- Best Utilities: Auto Rangefinder and Scattergun
- Secondary Specialization: Scout or Sharpshooter
- Recommended Talent: A Life of Labor, Cold Blooded, or Fearless Leader
- Cross Training Priority: Focus Points, Assist Damage, Critical Damage
Let’s dive deeper and explain why and how each of those recommendations work together and how to use the Medic Specialization to its max potential in various situations.
Scoundrel Abilities and Mechanics
The Scoundrel Specialization grants an Operator four abilities: Easy Mark, Identify Weakness, Never Play Fair, and Scoundrel’s Instinct.

Easy Mark (Ultimate)
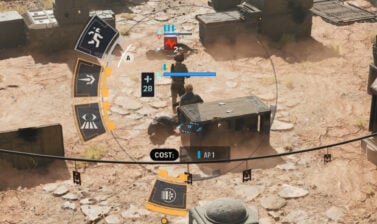
Marks the chosen enemy allowing this Operator to Assist the next ally that attacks that target.
Easy Mark will have the Scoundrel select a target and will assist an ally that attacks that target. If this ally has the Assist option available and they select a different ally than the Scoundrel, then up to three Operators will attack a single target during that attack.
If the Scoundrel used Identify Weakness on the target, all subsequent attacks will be critical hits. As you increase this ability’s level, it gains up to +6 critical damage on the assist attack.
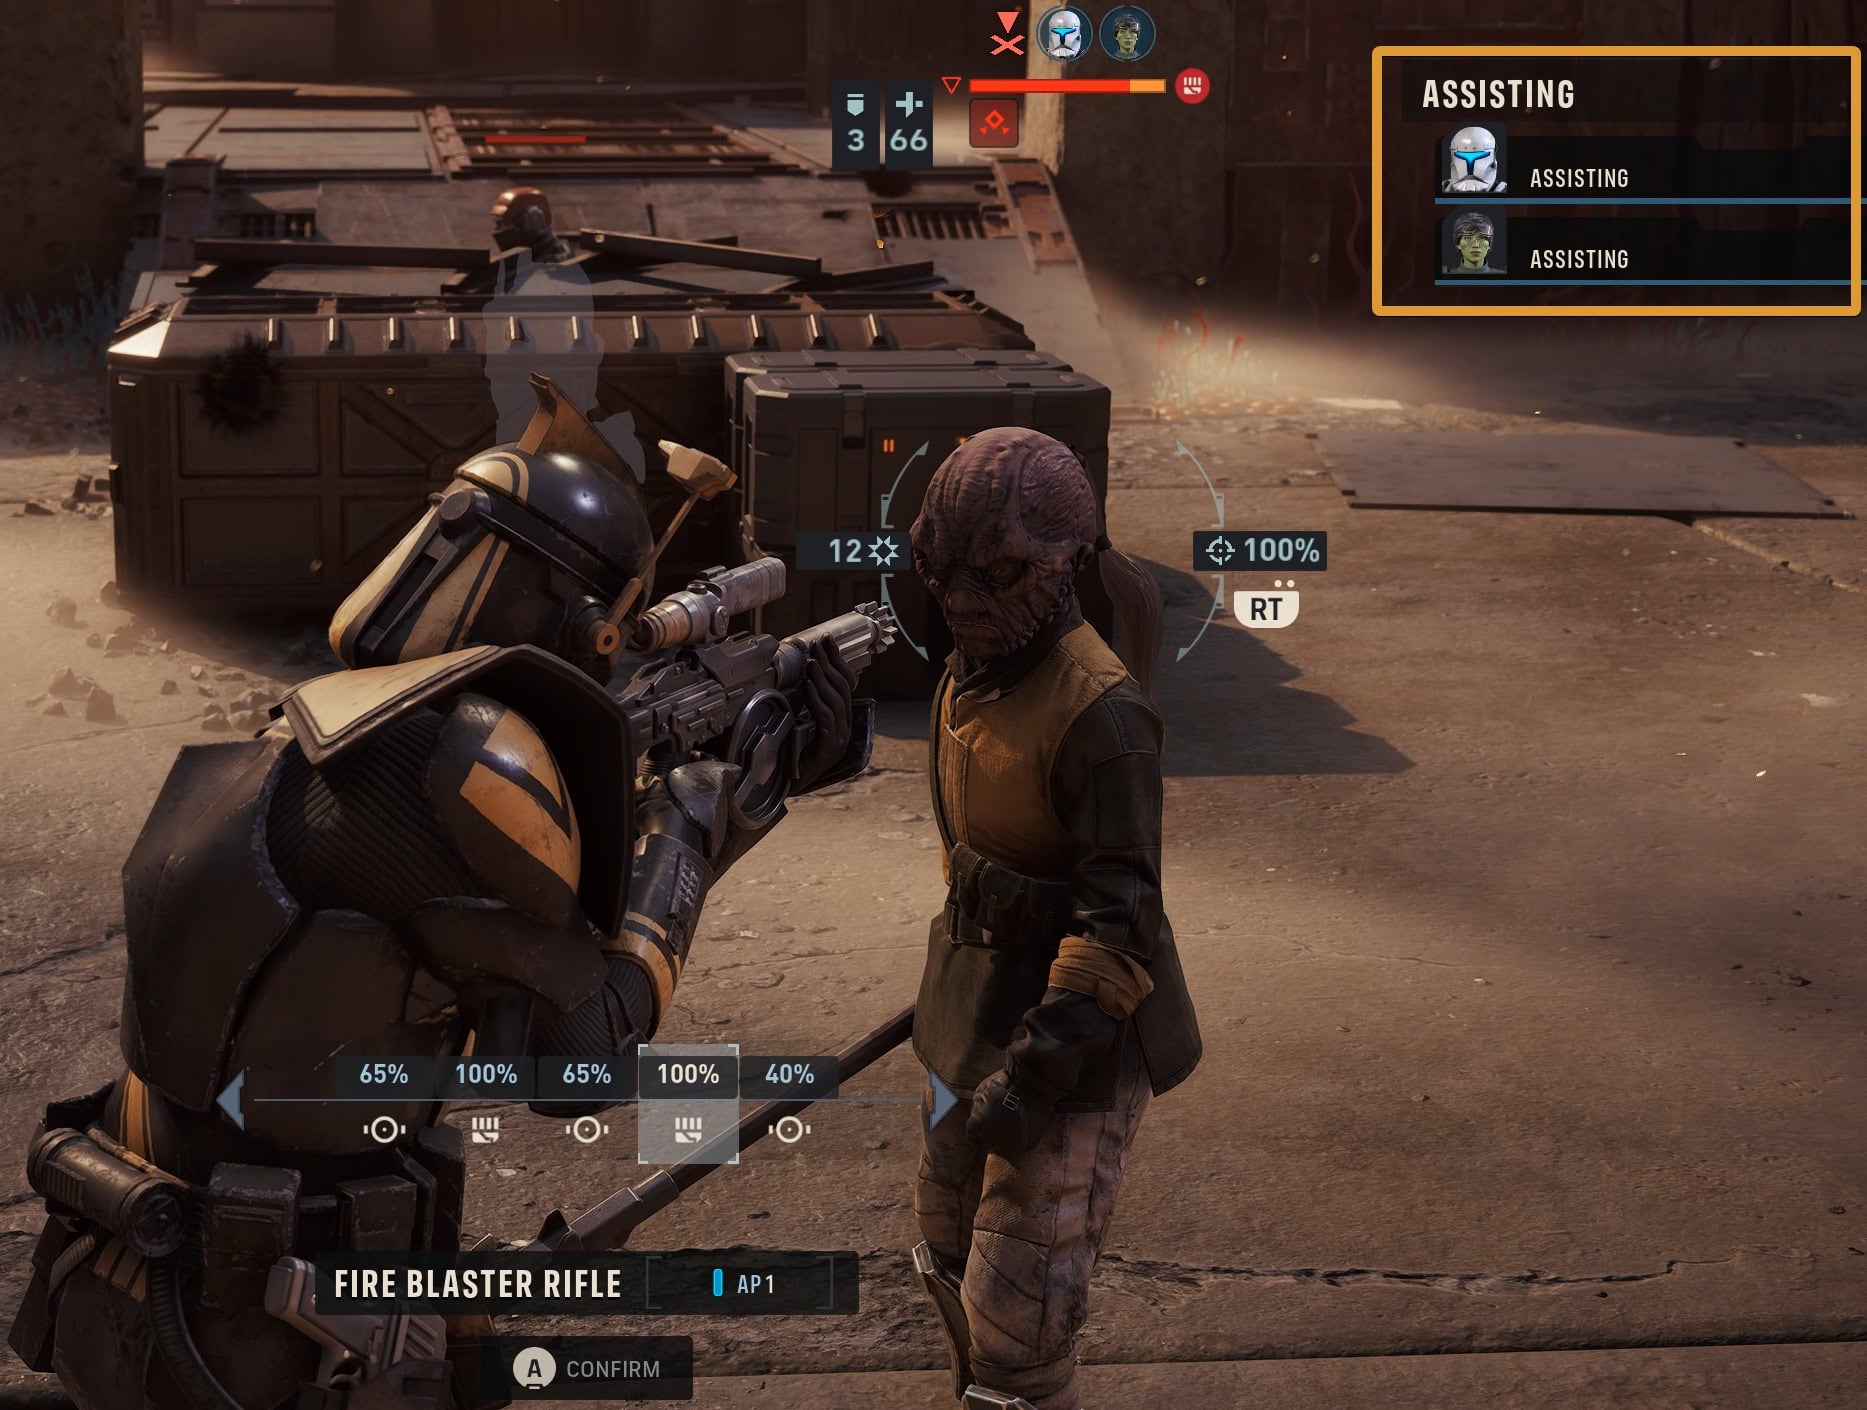
A second Scoundrel cannot apply Easy Mark on the same target if you’re attempting to have 4 Operators attack a single target at once.

Identify Weakness (Standard)
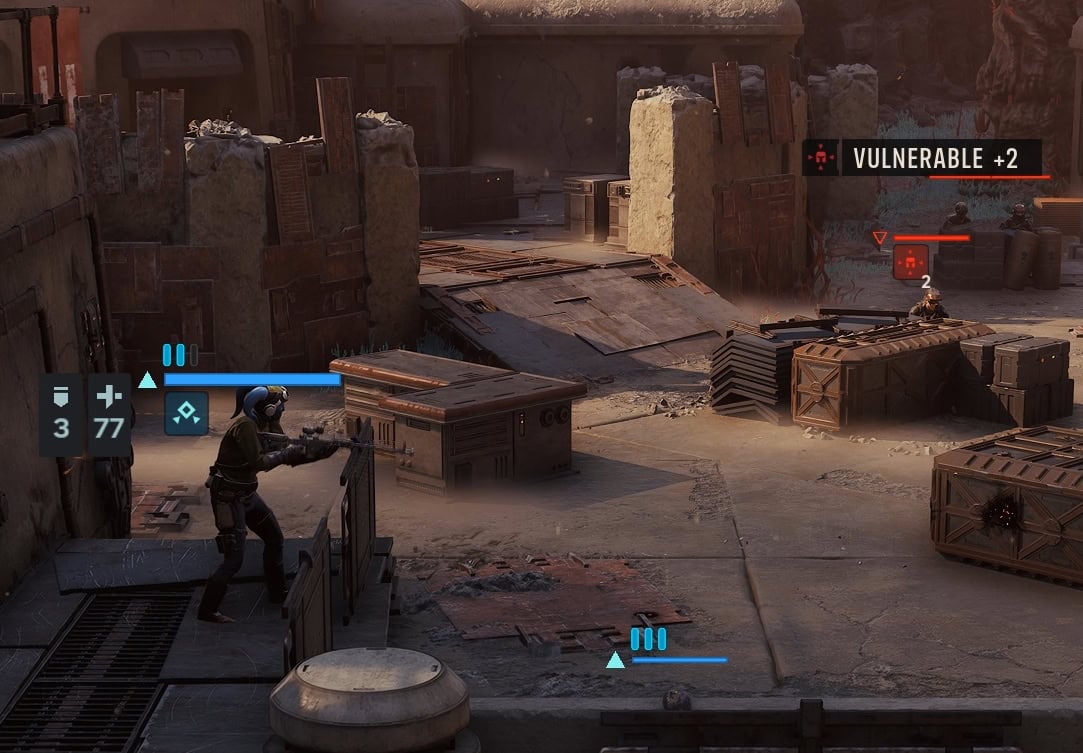
Makes a chosen enemy Vulnerable, allowing the next attack to Critically Hit.
This simple yet powerful ability lets you ensure the next attack that hits them is a critical hit. This does not guarantee a hit as Chance-To-Hit Range Penalties and Cover Penalties still apply.
At max rank, it’ll apply two stacks of Vulnerable and have a maximum range of 28 meters. Depending on your weapon of choice, you’ll want to max this ability second or third.

Never Play Fair (Passive)
Increases this Operator’s Assist Damage by +1.
This may seem rather simple and boring, but this is the ability you should be upgrading to full first. Having most assist damage from Easy Mark or normal assist attacks is very useful for taking down a single target.

Scoundrel’s Instinct (Passive)
All of this Operator’s attacks Penetrate the target’s defenses, ignoring up to 4 points of Defense.
Recommended Weapons
The Scoundrel works well with a Blaster Rifle or a Longarm Blaster, depending if you’re looking to be more Support or DPS respectively. Which weapon you choose also affects which abilities you should rank up first.
Both of these weapons have the best base critical damage of all the four weapons, so leaning into that with critical assists will help the Scoundrel perform their role better.
Blaster Rifle
Use the Blaster Rifle if you’re looking to do more support actions that can consume AP. This might be healing allies, using utilities, or abilities from other specializations.
As the first shot only costs 1 AP, you can use the other 2 AP for other things while still getting a good shot in.
When using the Blaster Rifle, raise Identify Weakness to level 3, max out Never Play Fair, then max Easy Mark, then fill out Identify Weakness or save the Focus Points for your second specialization.
Since the Blaster Rifle has a medium range, you shouldn’t need to focus too much in Identify Weakness.
Longarm Blaster
If you want to do more damage and have a larger range to perform assist attacks, you’ll want to use the Longarm Blaster. This has the best critical damage of the four weapons, but be sure to get at a good vantage point to be able to get a shot at multiple enemies when assisting.
When using the Longarm Blaster, max Never Play Fair first followed by Identify Weakness. When you’re shooting at longer ranges, you’ll want Identify Weakness to get its max range of 28 meters so you can perform assist combos on enemies far away.
Easy Mark is prioritized last with the Longarm as it already has a fairly long range. With the Longarm’s high base critical damage, you’re not in a rush for bonus critical damage unlike the Blaster Rifle.
Recommended Weapon Mods and Utilities
For weapon mods, get a Condenser Barrel for increased critical damage. You’ll also want to get the Stalker Scope for +4 assist damage. You’ll earn this scope by completing Jae’s story.
For Utility, the Auto Rangefinder is a must. Assuming you have a clear shot on your target, the Operator and their allies will ignore chance-to-hit range penalties on the target. This will let you more seamlessly pull off your assist combos.
As a DPS Support, the second slot is free to whatever you see fit. You can’t go wrong with a Scattergun to get some more AoE damage on a specialization that only focuses on a single target.
Best Secondary Specialization Pairings
If you want to focus more of a Support role with a Blaster Rifle, go with the Scout. For more DPS with a Longarm Blaster, Sharpshooter is a good choice.
Scout
The Combat Recon is the key ability to focus on as it’ll grant Advantage for each enemy scanned. With the 7 Advantage cost of Easy Mark, this ability helps immensely.
The Tactical Timing passive is great as well if you defeat an enemy while assisting. If you have 3 allies attacking the same target, you can get 3 Advantage from the hits and a chance to get 1 additional Advantage from Tactical timing.
Sharpshooter
Sharpshooter is great if you’re trying to make the most of your Longarm Blaster with Overwatch and Assist Attacks. Focus on leveling up Zero In so you get better chance-to-hit and critical chance with assists.
Recommended Talents
For the Scoundrel, A Life of Labor, Cold Blooded, and Fearless Leader are great choices for talents.
A Life of Labor
Better suited for a more supportive Scoundrel with a Blaster Rifle, this adds some durability with the bonus Health and Defense. With the medium range of a Blaster Rifle, you’re more likely to get some hits here and there, so the durability helps.
It also adds Melee Damage and Critical Damage, but it’s the Critical Damage that’s going to be the more useful part of this talent.
Cold Blooded
At max rank, this grants 2 stacks of Vicious for your next two attacks. This is good for using Overwatch on a Longarm Blaster as you can get two critical hits.
Fearless Leader
Unique to Hawks, this is a fantastic Talent for a Scoundrel. At max rank, this increases Assist Damage by +4 and Defense by +3 for all Operators in a combat. This will let Hawks deal 9 Assist Damage which is nothing to scoff at.
Cross Training Priority
When picking Cross Training rewards, choose Focus Points, Assist Damage, and Critical Damage in that order. Focus Points are self explanatory, the sooner you rank up your abilities the better.
As the Scoundrel uses a lot of assists, it’s more beneficial to focus on assist damage over critical damage when possible. There may be times where you might not be able to apply Identify Weakness, so the more consistent damage is helpful.
Critical damage is taken over critical chance as you can already get guaranteed critical hits with Identify Weakness or the Cold Blooded Talent. Make those critical hit even harder by investing into critical damage!