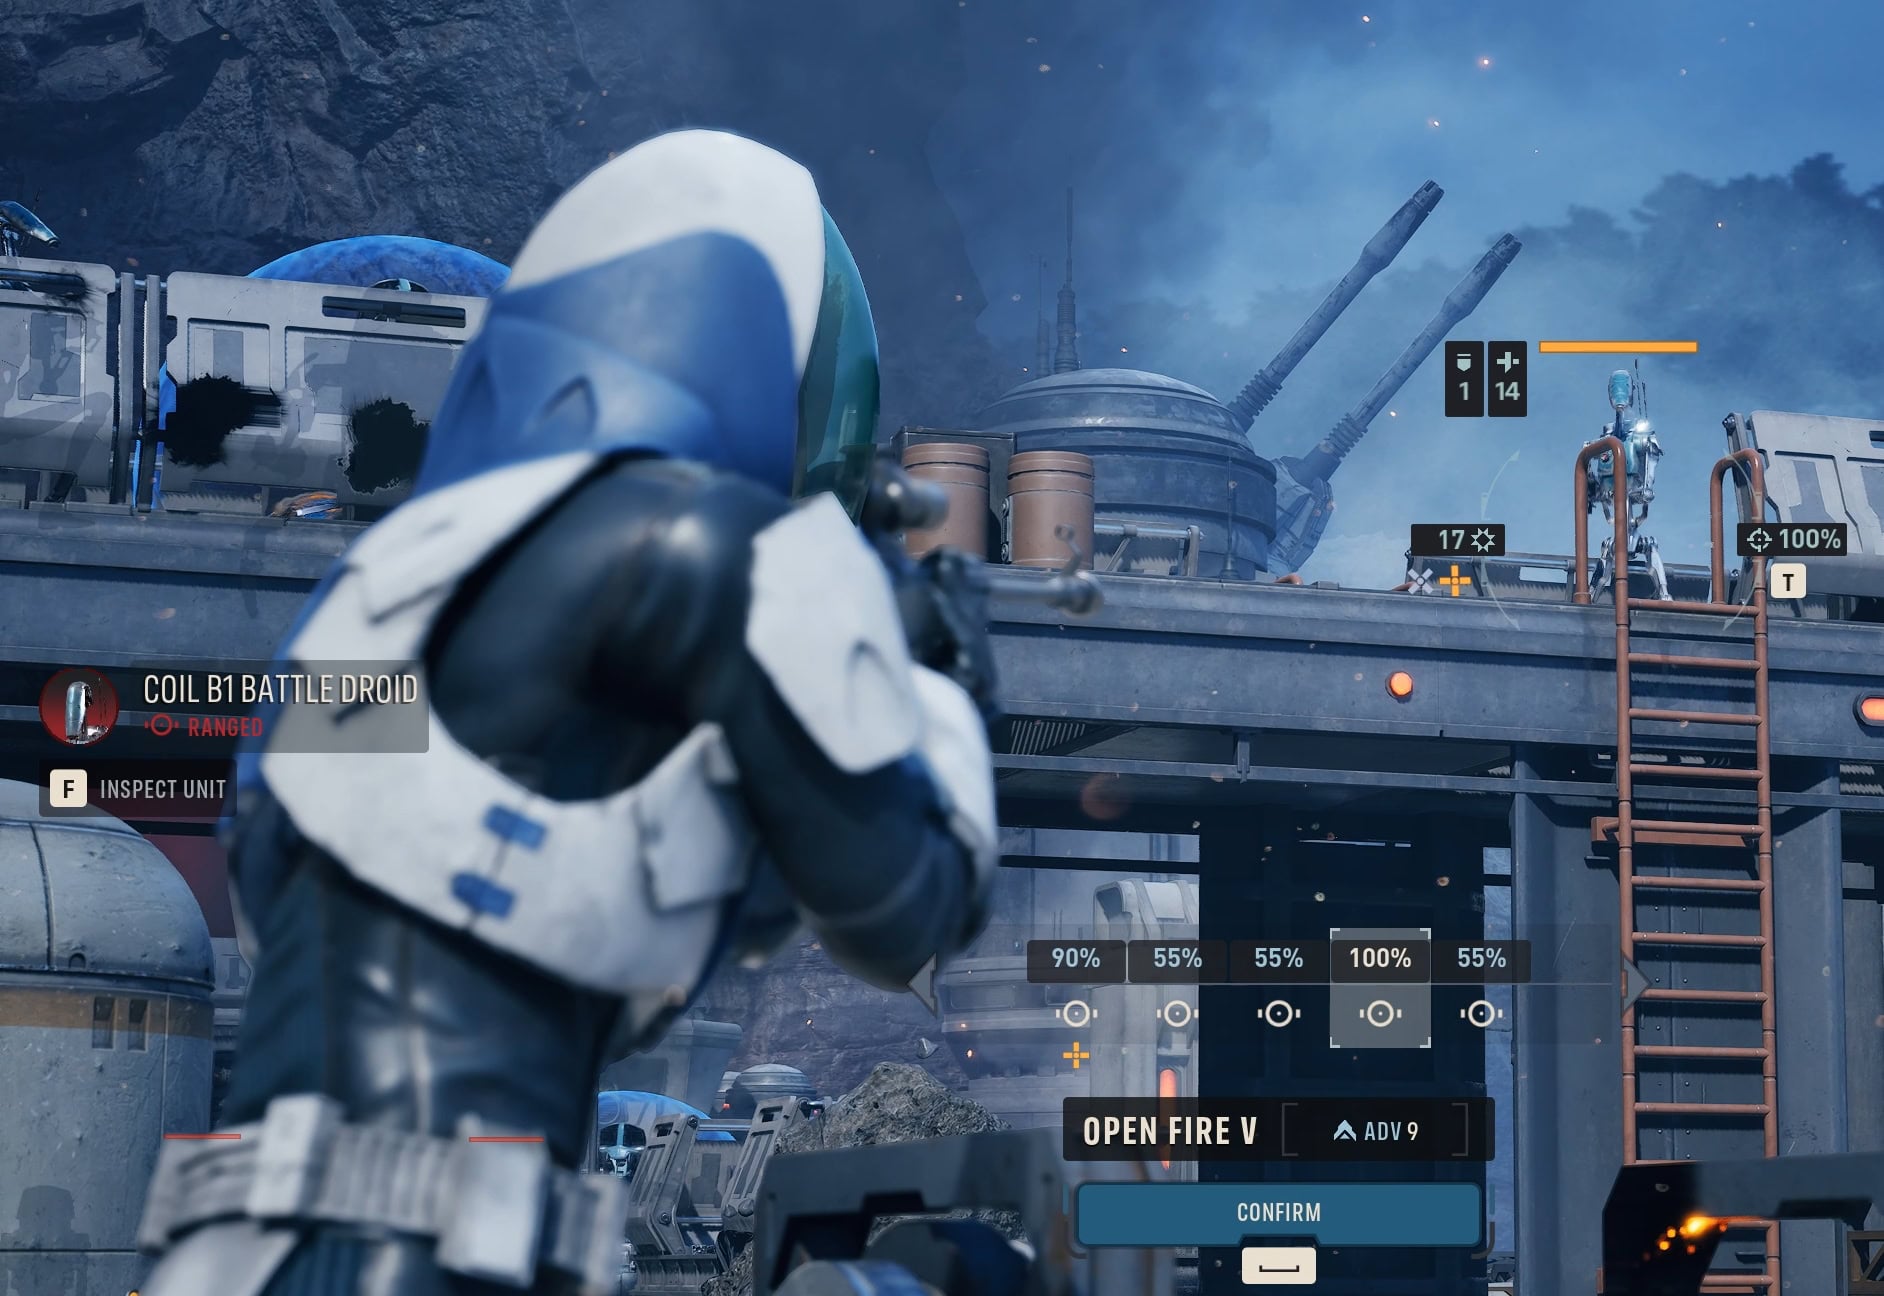
We’ll show you which combinations of Specializations work the best in Star Wars Zero Company and describe why they work so well together and what makes them so strong.
Unlocking Secondary Specializations
Without giving away to many plot points, the crew of Zero Company will find themselves on Bespin during the mission Casualties of War. After completing this mission, you will unlock the ability to give an Operator a second specialization.
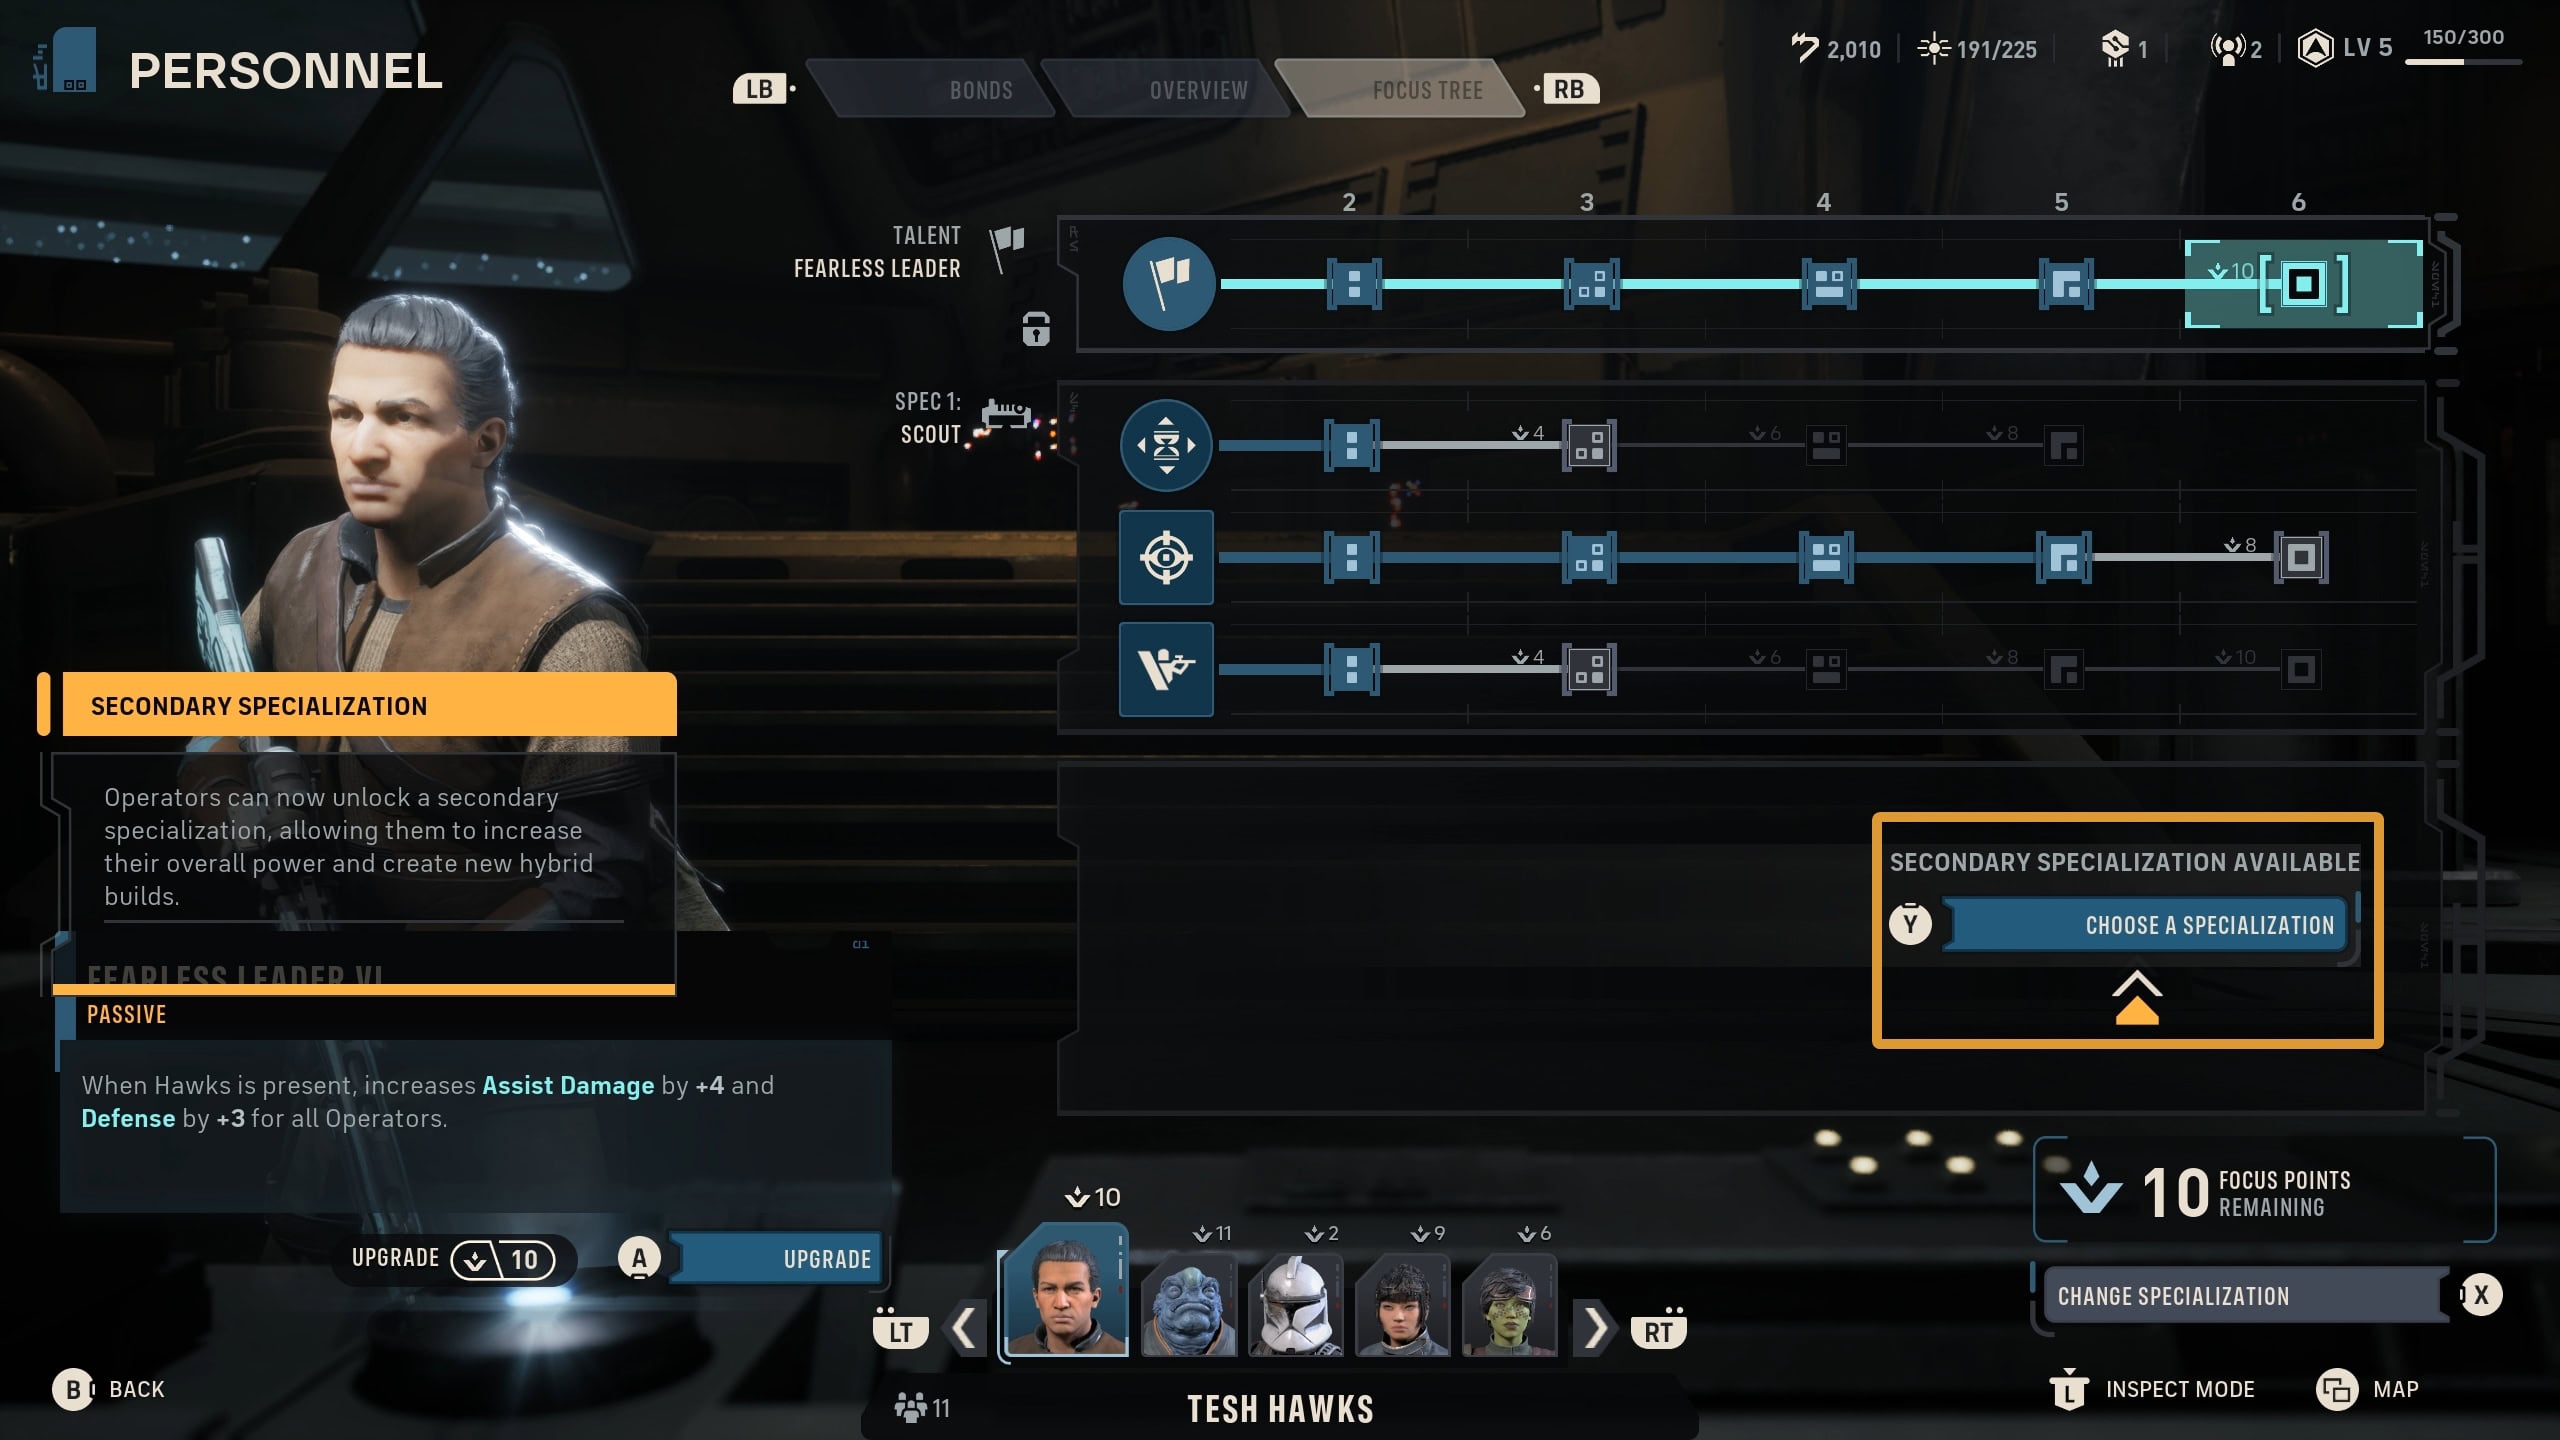
This allows you to further customize an Operator’s playstyle to your liking. If you wanted them to have more critical chance, give them Gunslinger for the passive critical chance! If you wanted shots to taunt a target, give them Heavy!
Limitations of a Second Specialization
There are some limitations to the second specialization, those being limited amount of Focus Points and abilities being less potent.
Chances are you will not be able to get enough Focus Points in a single playthrough to fill out every ability. Secondary specializations are supplemental, so you should focus on one ability at a time to work with your primary specialization.
Secondary specializations are less potent as they don’t have access to each ability’s final level. Let’s use the Medic as an example with their Lifesaving Measures and Combat Stim abilities.
As a main specialization, Lifesaving Measures restores +30% Health with Medpacs at max level. Combat Stim will remain in effect for the rest of the combat at max level.
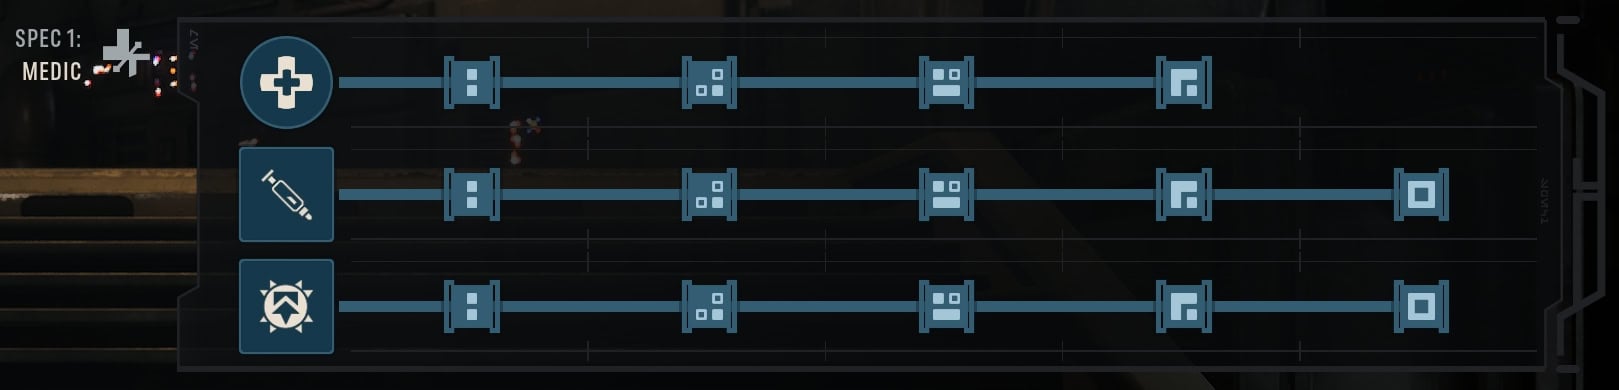
As a secondary, Lifesaving Measures only goes up to +20% and Combat Stim only lasts for 6 turns. If you really want that maximum healing potential, you’d need to have Medic as your primary specialization.
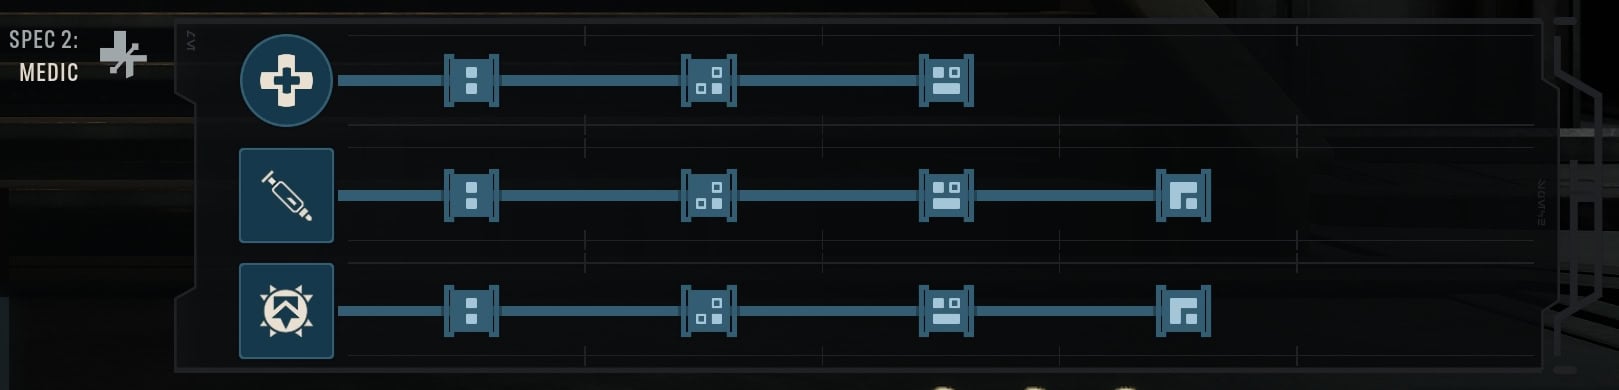
Due to this limitation, you must decide what is your Operator’s defining specialization, and add the second to supplement it. If you’re looking for good combinations, you’ve come to the right place.
You’ll feel this limitation more on Operators you haven’t given a lot of Cross Training rewards to from a lack of Bonding. It’s less of an issue if you stick with the same group of 4 Operators.
Best Specialization Combos & Build Recommendations
This is where the fun begins! These specialization combos are what the VULKK team has often relied upon during our playthroughs of Star Wars Zero Company.
Heavy and Assault: Immovable and Unstoppable
If you get an Operator to be a Heavy towards the start of the game and ensure they stay alive, they can become almost unkillable. Eventually they may even reach a point where you won’t need a dedicated team Medic for them to survive.
Assault is a great addition to the Heavy for the Fleet of Foot passive and the Sweeping Salvo ability. As a tank, the Heavy needs to draw in aggro as much as possible.
After using the Bulwark ability, the Heavy can rush in with their increased first movement from Fleet of Foot and use Sweeping Salvo to taunt a group of enemies.
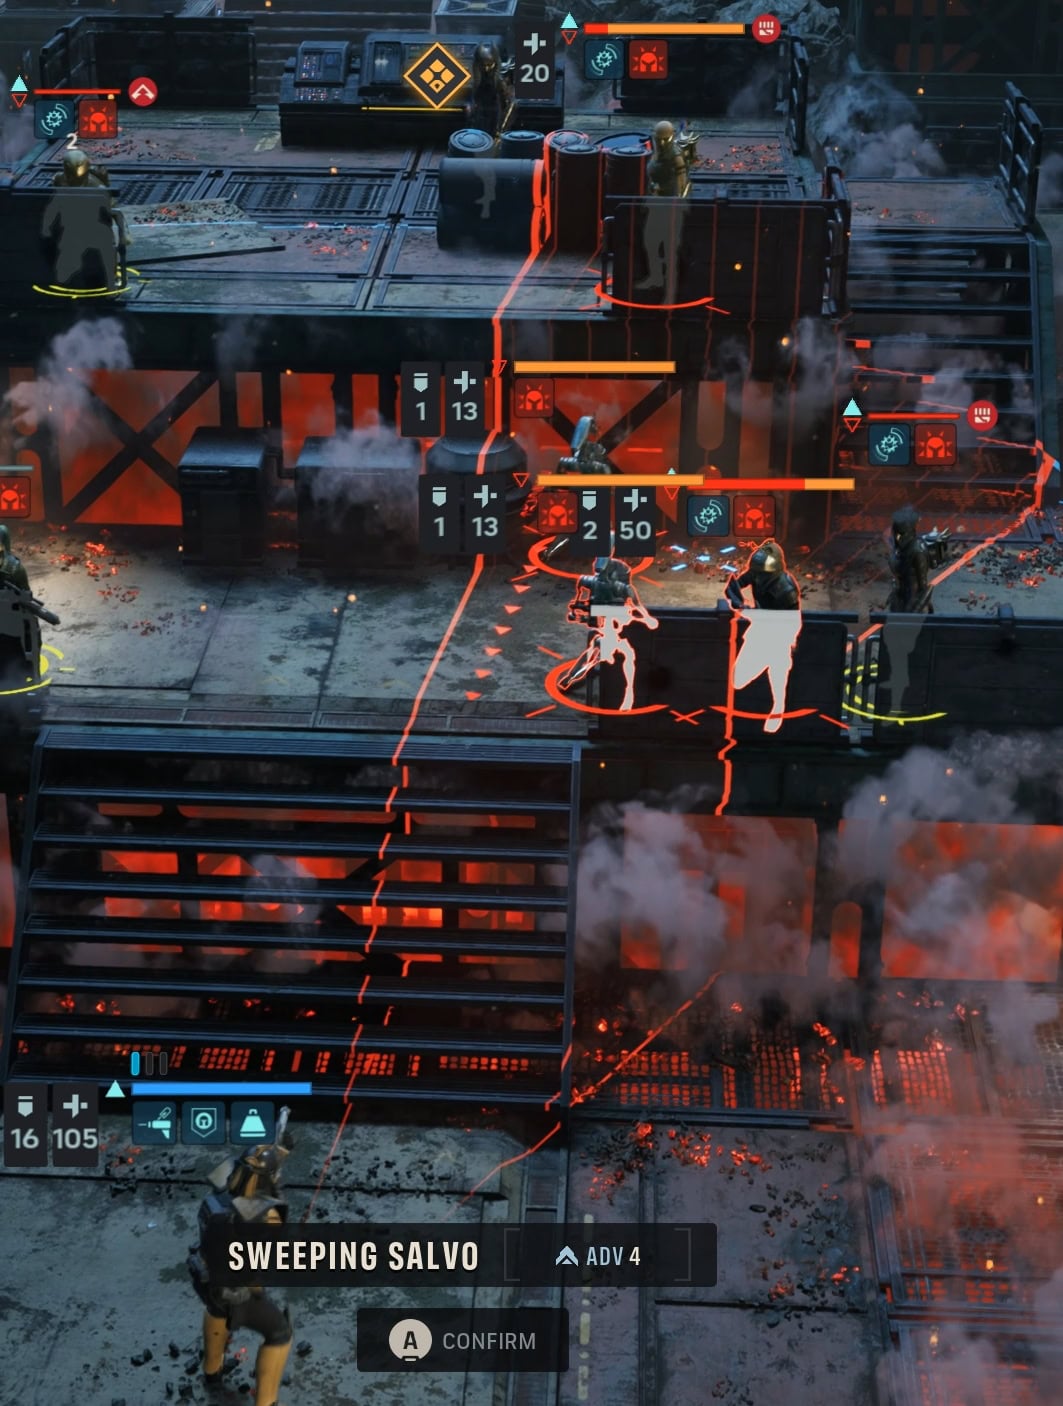
Focus on filling out the Heavy abilities first alongside a defensive Talent. Once you’ve done that, invest in Fleet of Foot. You’re not using Sweeping Salvo for damage as a tank, but as a secondary AoE Taunt.
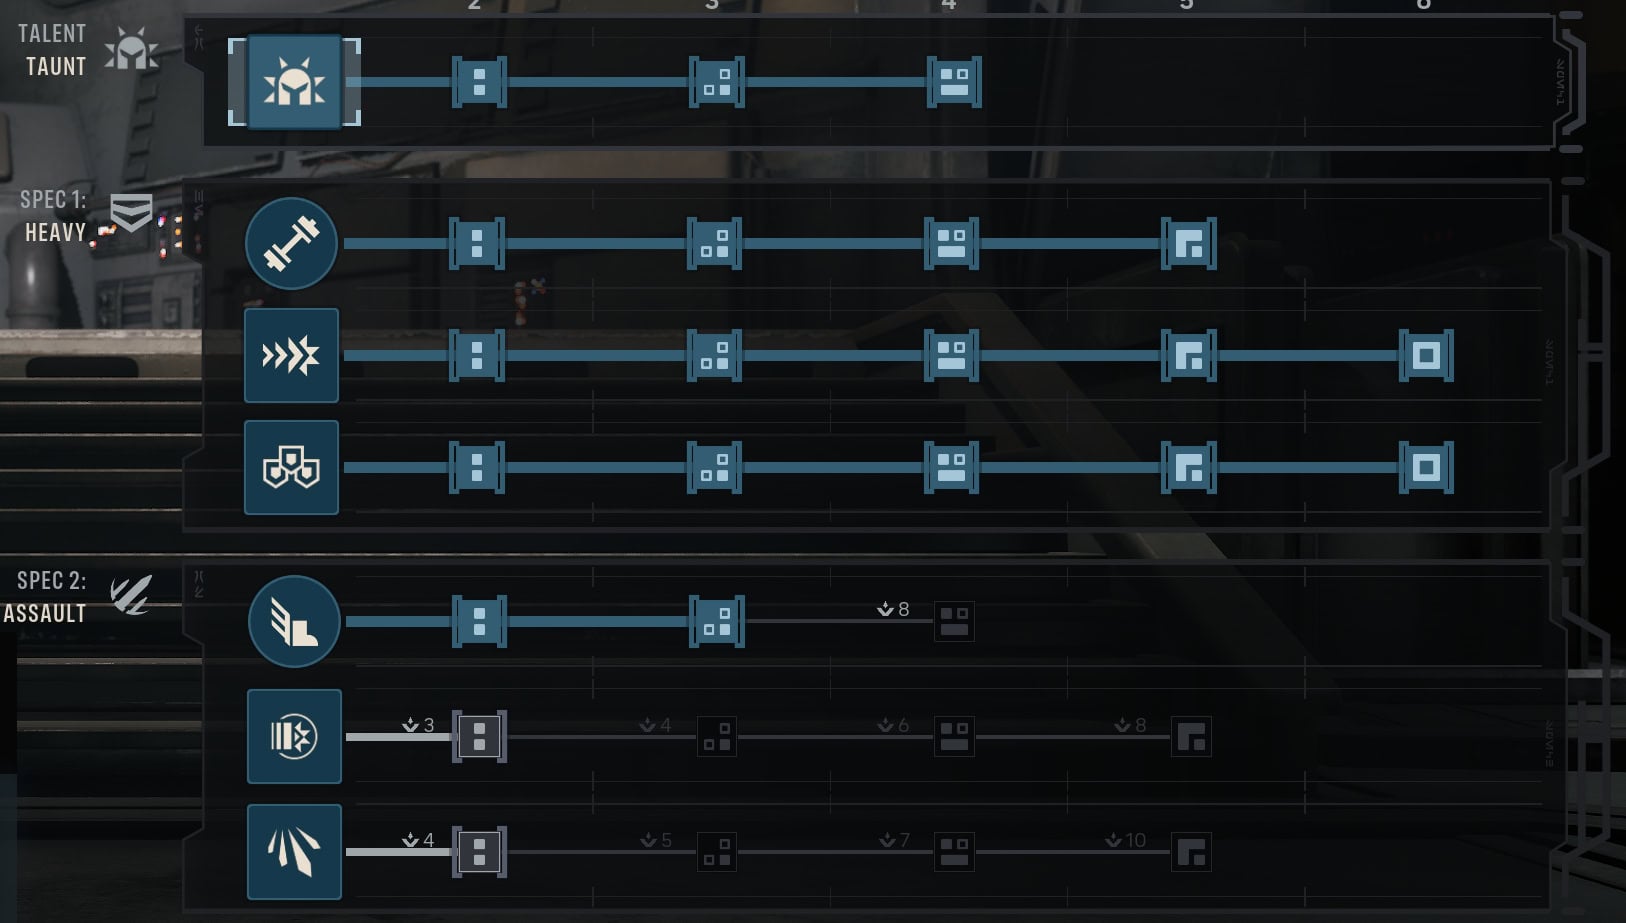
What makes the Heavy unstoppable is that one that has been kept alive throughout the game should gain around 100+ Health towards the late game. Combined with Defense bonuses from Hawks, Bulwark, and Double Down effect, they’ll take less than 10 damage per hit, many times 0 damage.
At max level, Bulwark grants the Heavy the Impervious and Immovable buffs. This makes them immune to all negative status effects, and immune to push and pull effect. Nothing can stop them, and nothing can put them down.
Soldier and Assault: One Man Army
Combining the Soldier and Assault makes for an excellent DPS Operator with strong AoE and Melee attacks. You’ll want Soldier to be the primary so you can max out the Rocket Strike ability. Since it can only be used once per combat, you might as well make it hit hard.
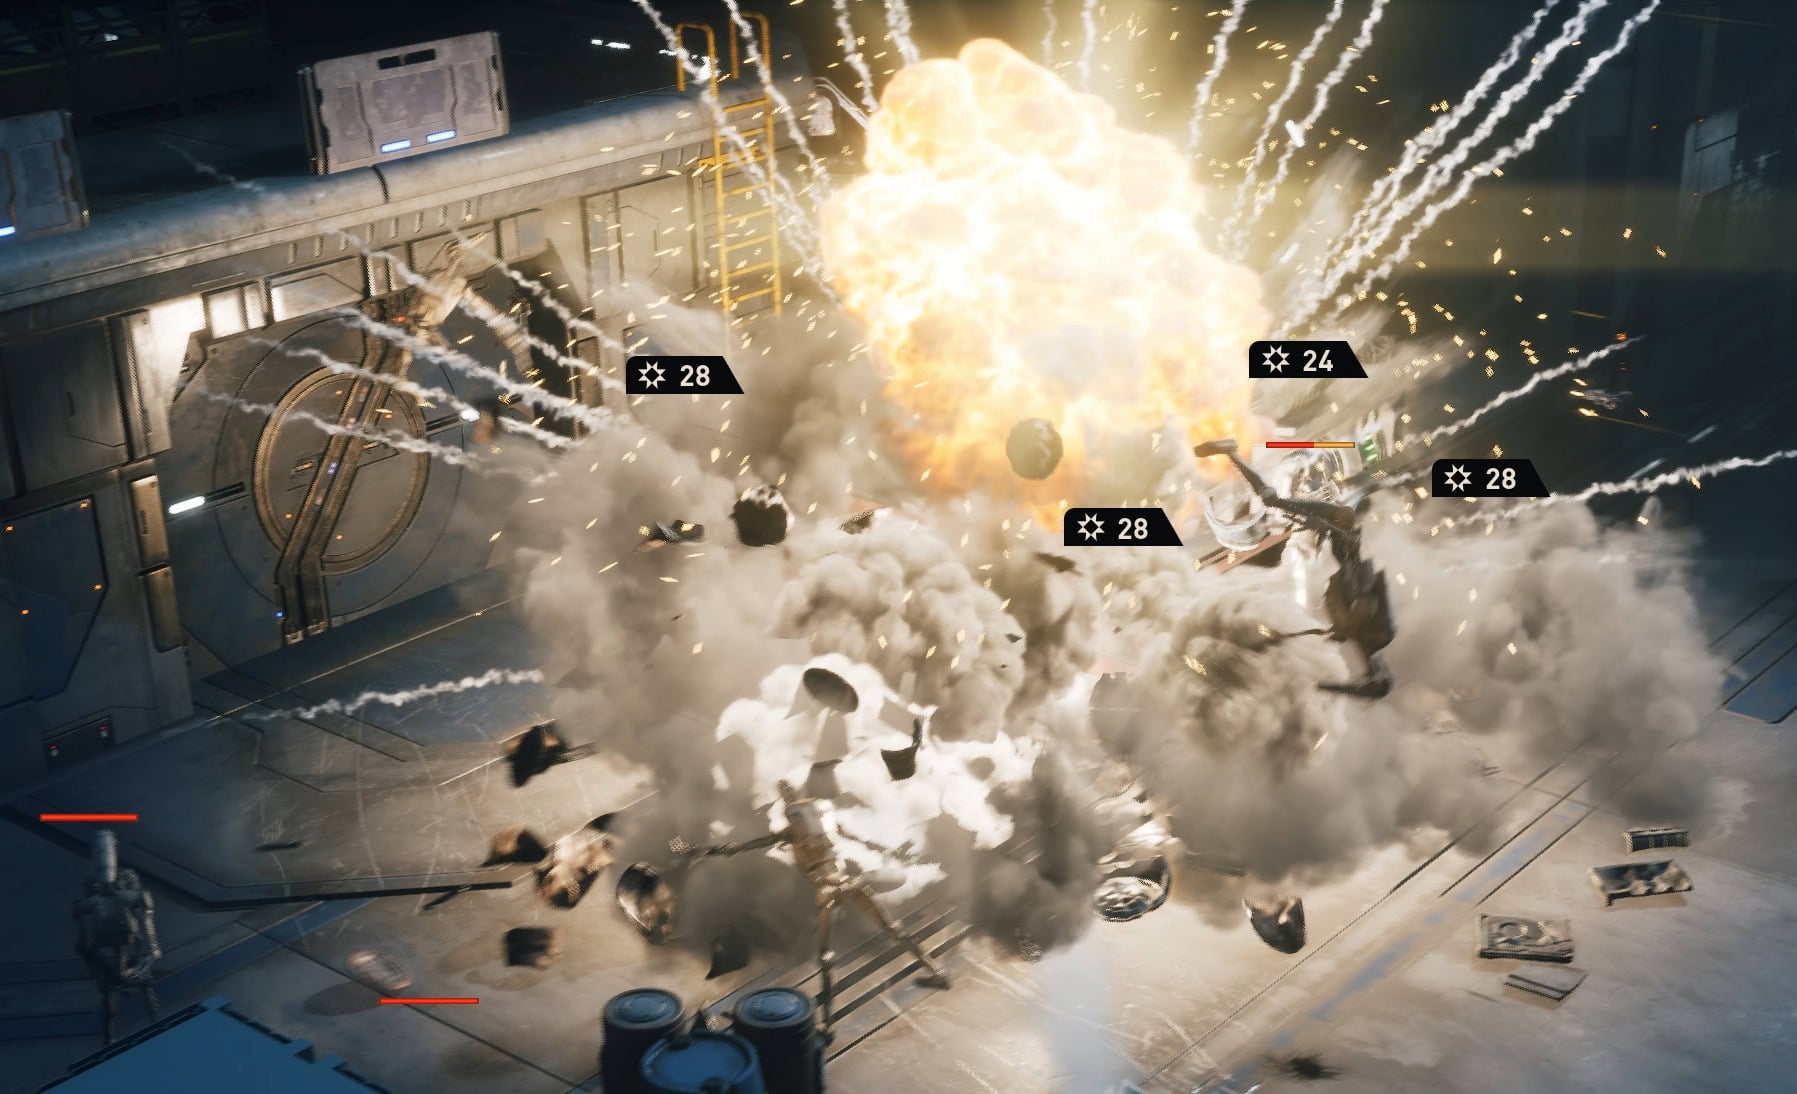
Soldier gives a bonus to melee damage with the Strength which scales well with the Assault’s Bull Rush melee attack. Strength also increases their grenade range, making them a good demolitions expert.
If your team is lacking AoE attacks, have them focus on Rocket Strike, Sweeping Salvo, Strength, and Fleet of Foot (for positioning).
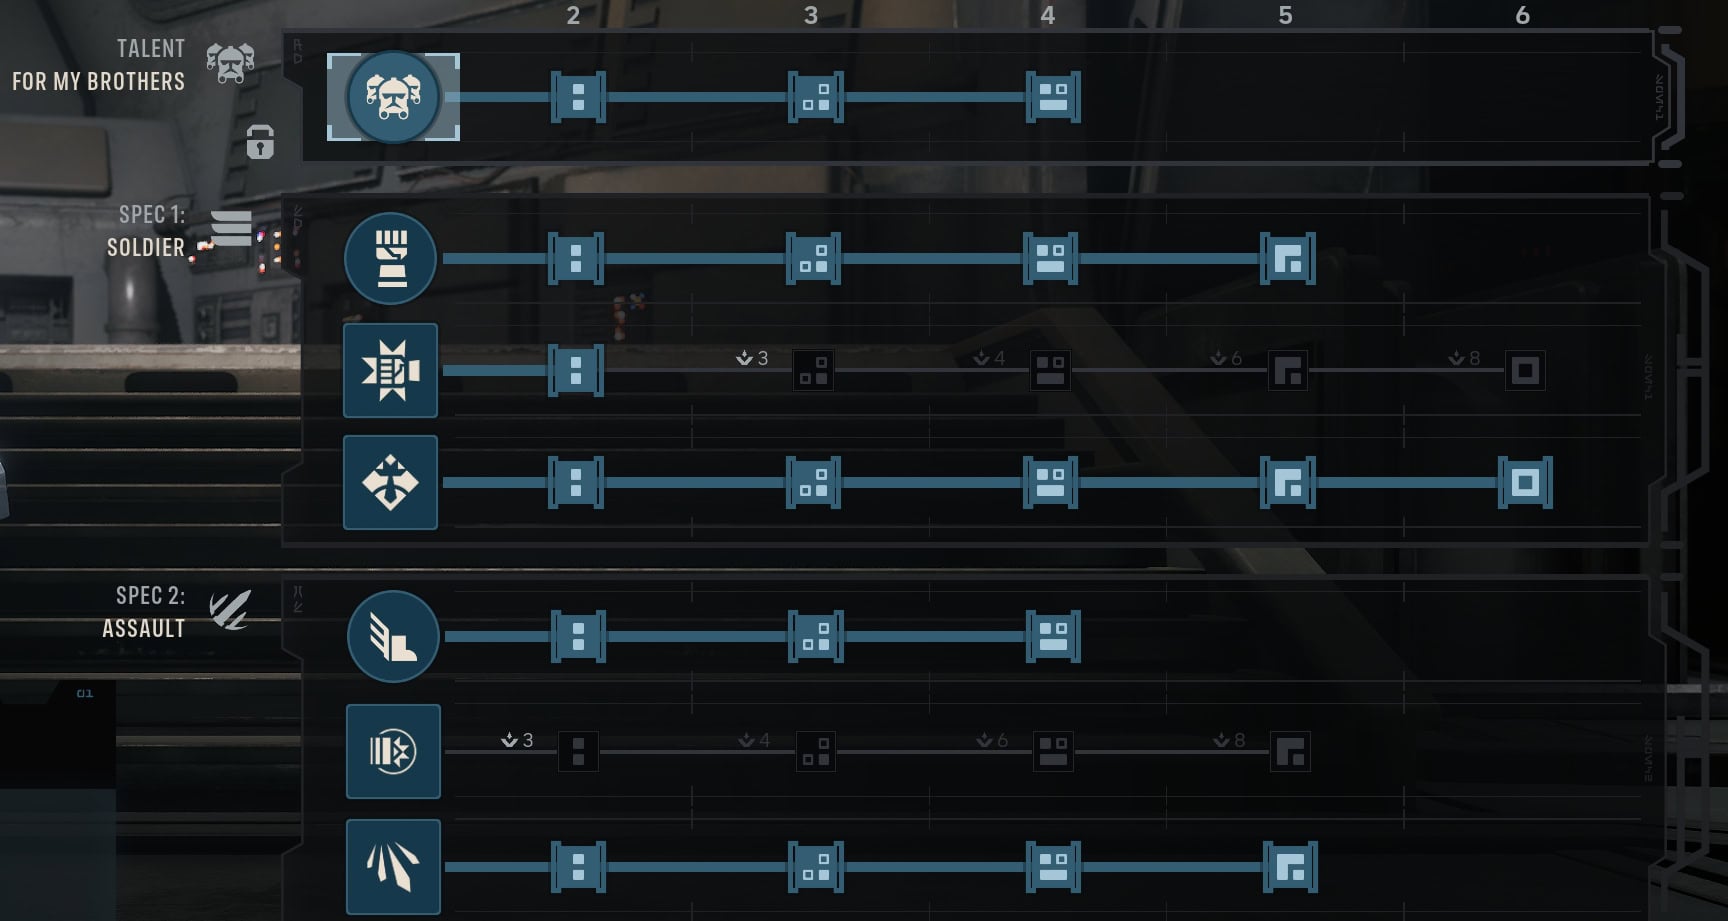
If you’re good on AoE damage, they make an excellent melee attacker and you can use focus points on Strength, Brutal Strike, Fleet of Foot, and Bull Rush.
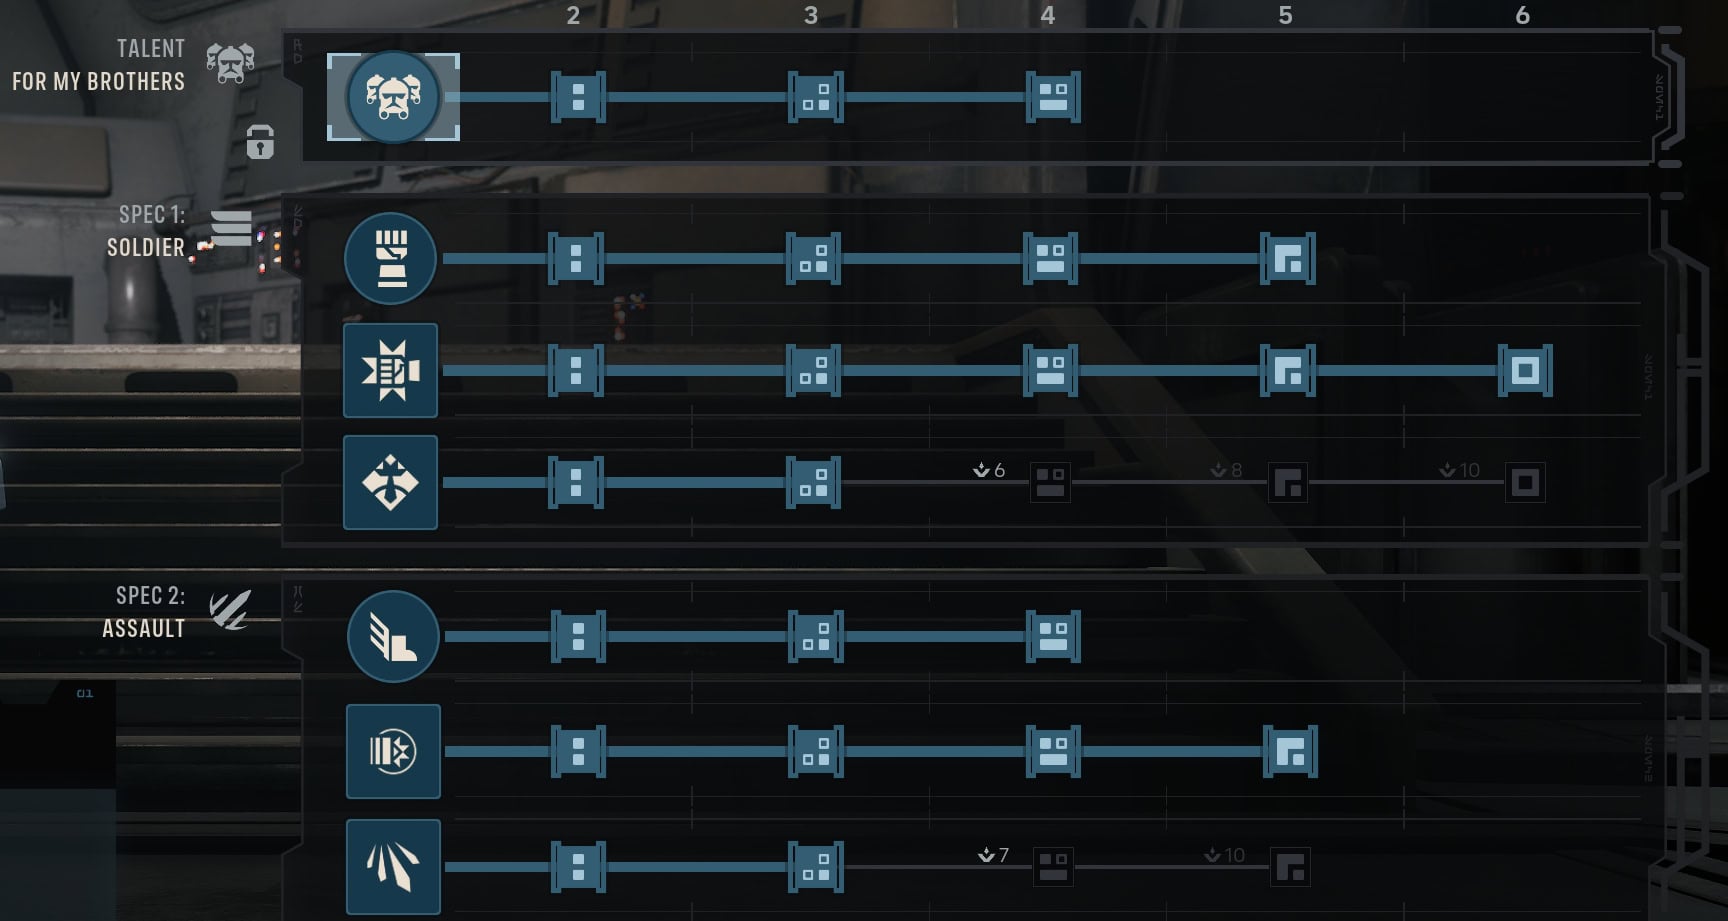
A Soldier/Assault Operator’s Brutal Strike can hurt as much as Tel Rea’s lightsabers when she’s at full stacks of Harmony. This assumes you’ve maxed out their melee abilities, have the A Life of Labor talent, and had chosen a couple Melee Damage rewards from Cross Training.
They can Bull Rush an enemy and beat them or their friends down, with 1 AP left to spare for a blaster shot.
Scout and Medic: The Ultimate Support
This is a good combination for generating Advantage and keeping your team alive. Many of these classes actions are Fast Actions, so they’re cheap to apply as they cost 1 AP.
The Scout‘s Combat Recon ability is easily one of the best in the game as it generates 1 Advantage for each enemy scanned, and revealed any invisible units within the scan area. Max this first to increase the maximum range.
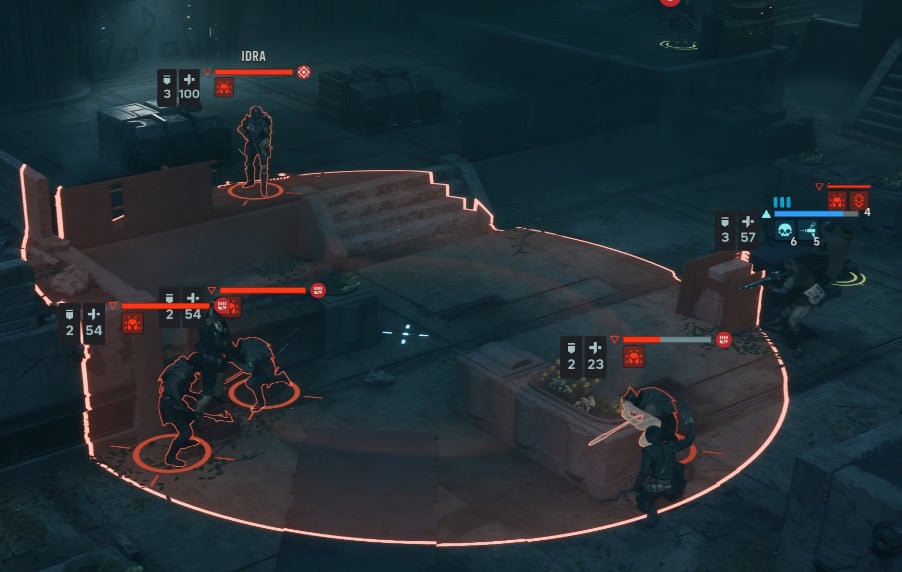
For the Medic secondary, focus on increasing Lifesaving Measures and Combat Stim. From here, you can focus on the Medic’s Morale for a more supportive role, or the Scout’s Ambush passive for a more aggressive support.
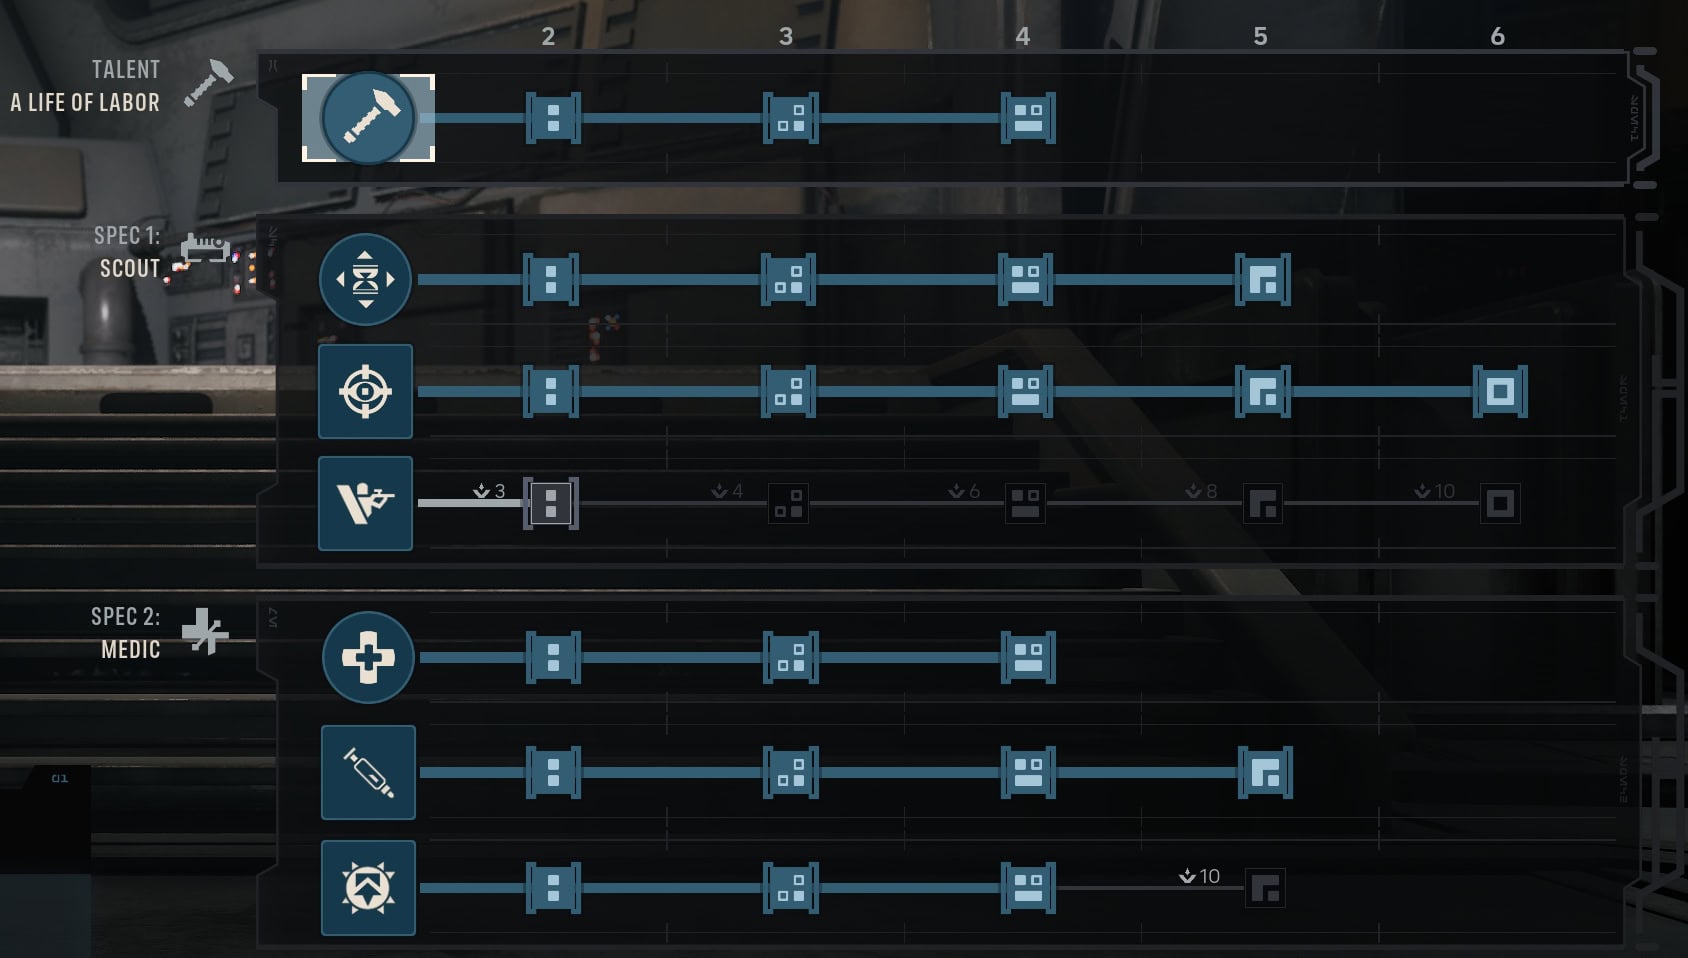
Having one Operator act as a Scout and Medic frees up what your other 3 team members can pull off with their specialization combos. Whenever the Scout/Medic is on the team, you know they’ll be kept safe and have the resources to pull off their fun abilities.
Sharpshooter and Gunslinger: Critical Marksman
Both the Sharpshooter and Gunslinger benefit from high critical chance builds as they both receive buffs to critical chance. While you can use either as the primary, having the Sharpshooter as the primary lets you get more critical chance through their Zero In ability.
At max rank, Zero In gives 8 stacks of Lethal. This means they gain +40% chance-to-hit and +24% critical chance whereas it’d be +35% and +21% respectively if it was the limited as a secondary.
By having 8 stacks of Lethal, level 4 Keen Senses, all Longarm Blaster critical upgrades, a Targeting Visor Mk. III, and an Assassin’s Scope, a Sharpshooter/Gunslinger will have 75% critical chance minimum.
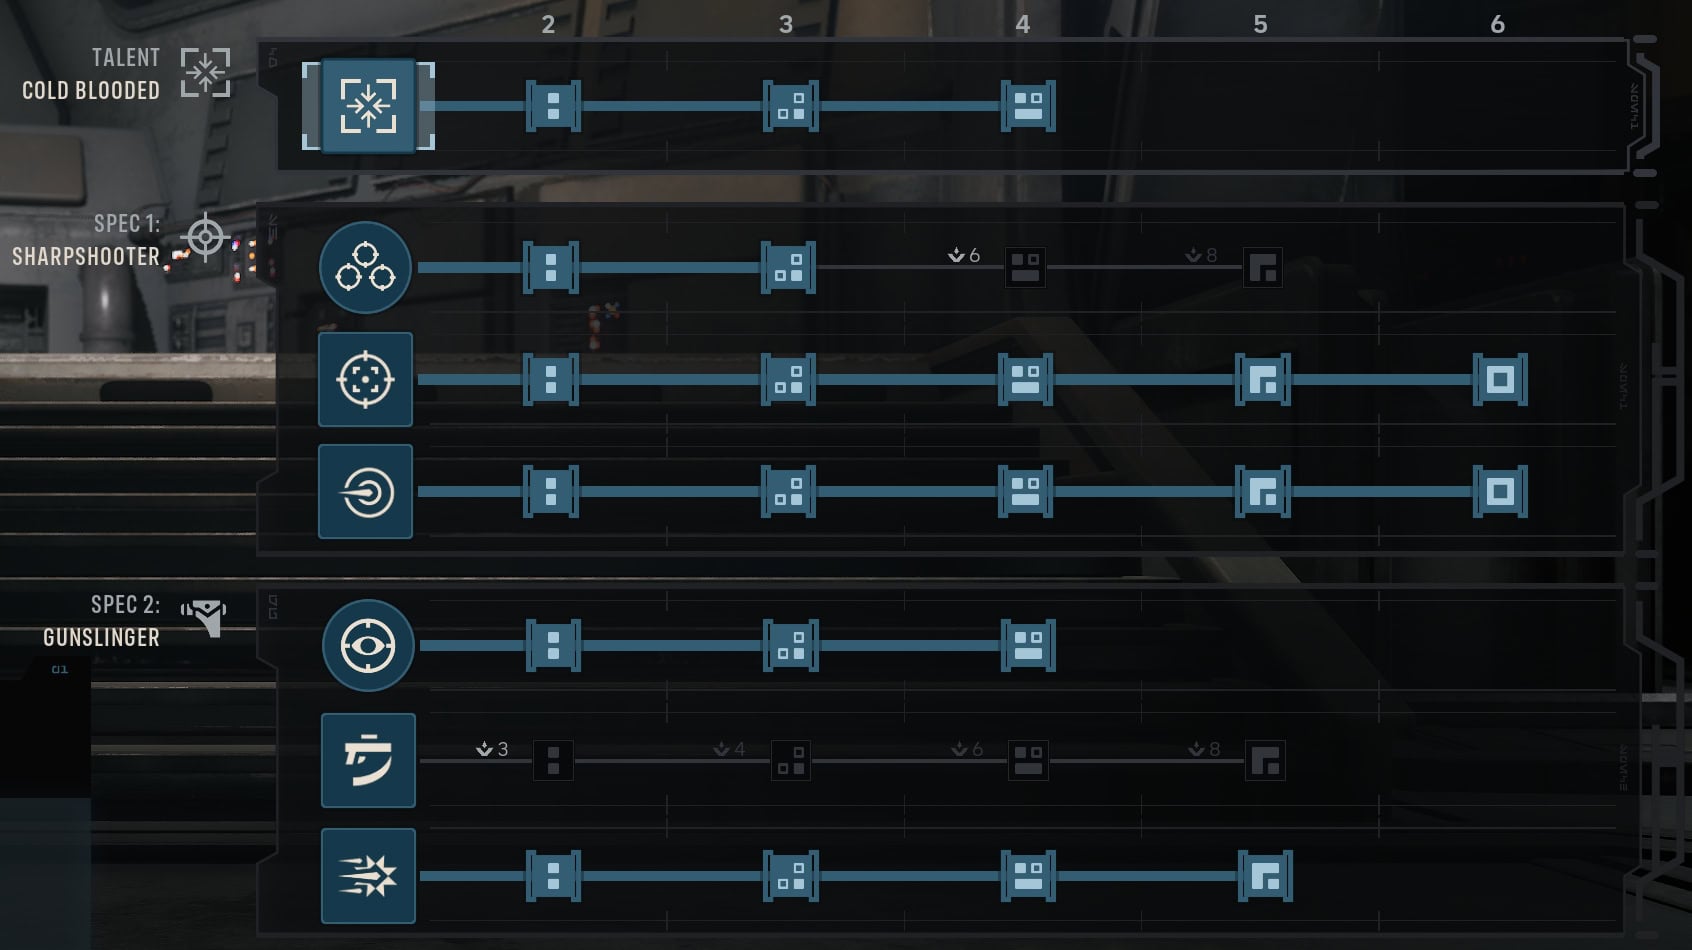
If you’ve been investing in critical chance Cross Training rewards, this number will only be higher. This in turn helps the Sharpshooter’s Precision Shot hurt even more as it gains more critical damage with levels.
If using the Longarm Blaster, the Gunslinger’s Open Fire ability allies them to get at least three shots in on their turn. Often times they’re limited to one attack, so this is a great benefit when you’re looking to mimic Crosshair from Bad Batch.