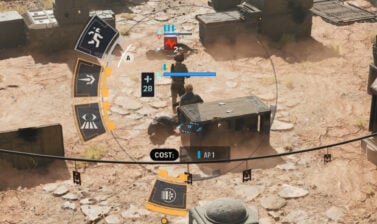
The Medic Specialization allows an Operative to act as the team’s healer in Star Wars Zero Company. This guide covers ability mechanics, weapon choices, secondary specializations, and build tips.
Best Medic Build Overview
The Medic Specialization is a support specialization that allows an Operator to quickly patch up their allies and give them beneficial buffs.
- Best Weapons: Blaster Pistol or Blaster Rifle
- Best Mod: Rapid Cycler
- Best Utilities: Medpac Mk. IV, Repulsor Units
- Secondary Specialization: Scout or Scoundrel
- Recommended Talent: A Life of Labor or Grit
- Cross Training Priority: Focus Points, Health, Body and Mind (Tier 8)
Let’s dive deeper and explain why and how each of those recommendations work together and how to use the Medic Specialization to its max potential in various situations.
Medic Abilities and Mechanics
The Medic Specialization grants four abilities: Morale Boost, Combat Stim, Lifesaving Measures, and First Responder.

Morale Boost (Ultimate)
This Operator and all nearby allies increase to 4 stacks of Morale.
Morale Boost is an AoE buff centered on the Medic. It’s a decent enough Heal Over Time ability that negates Chance-To-Hit Penalties from being Injured. It’s great to use to patch up small injuries, allowing the Medic to do other things.
Use this ability wisely as it you only get one use per combat. Keep in mind that it has a rather small range, it may not apply to every ally.
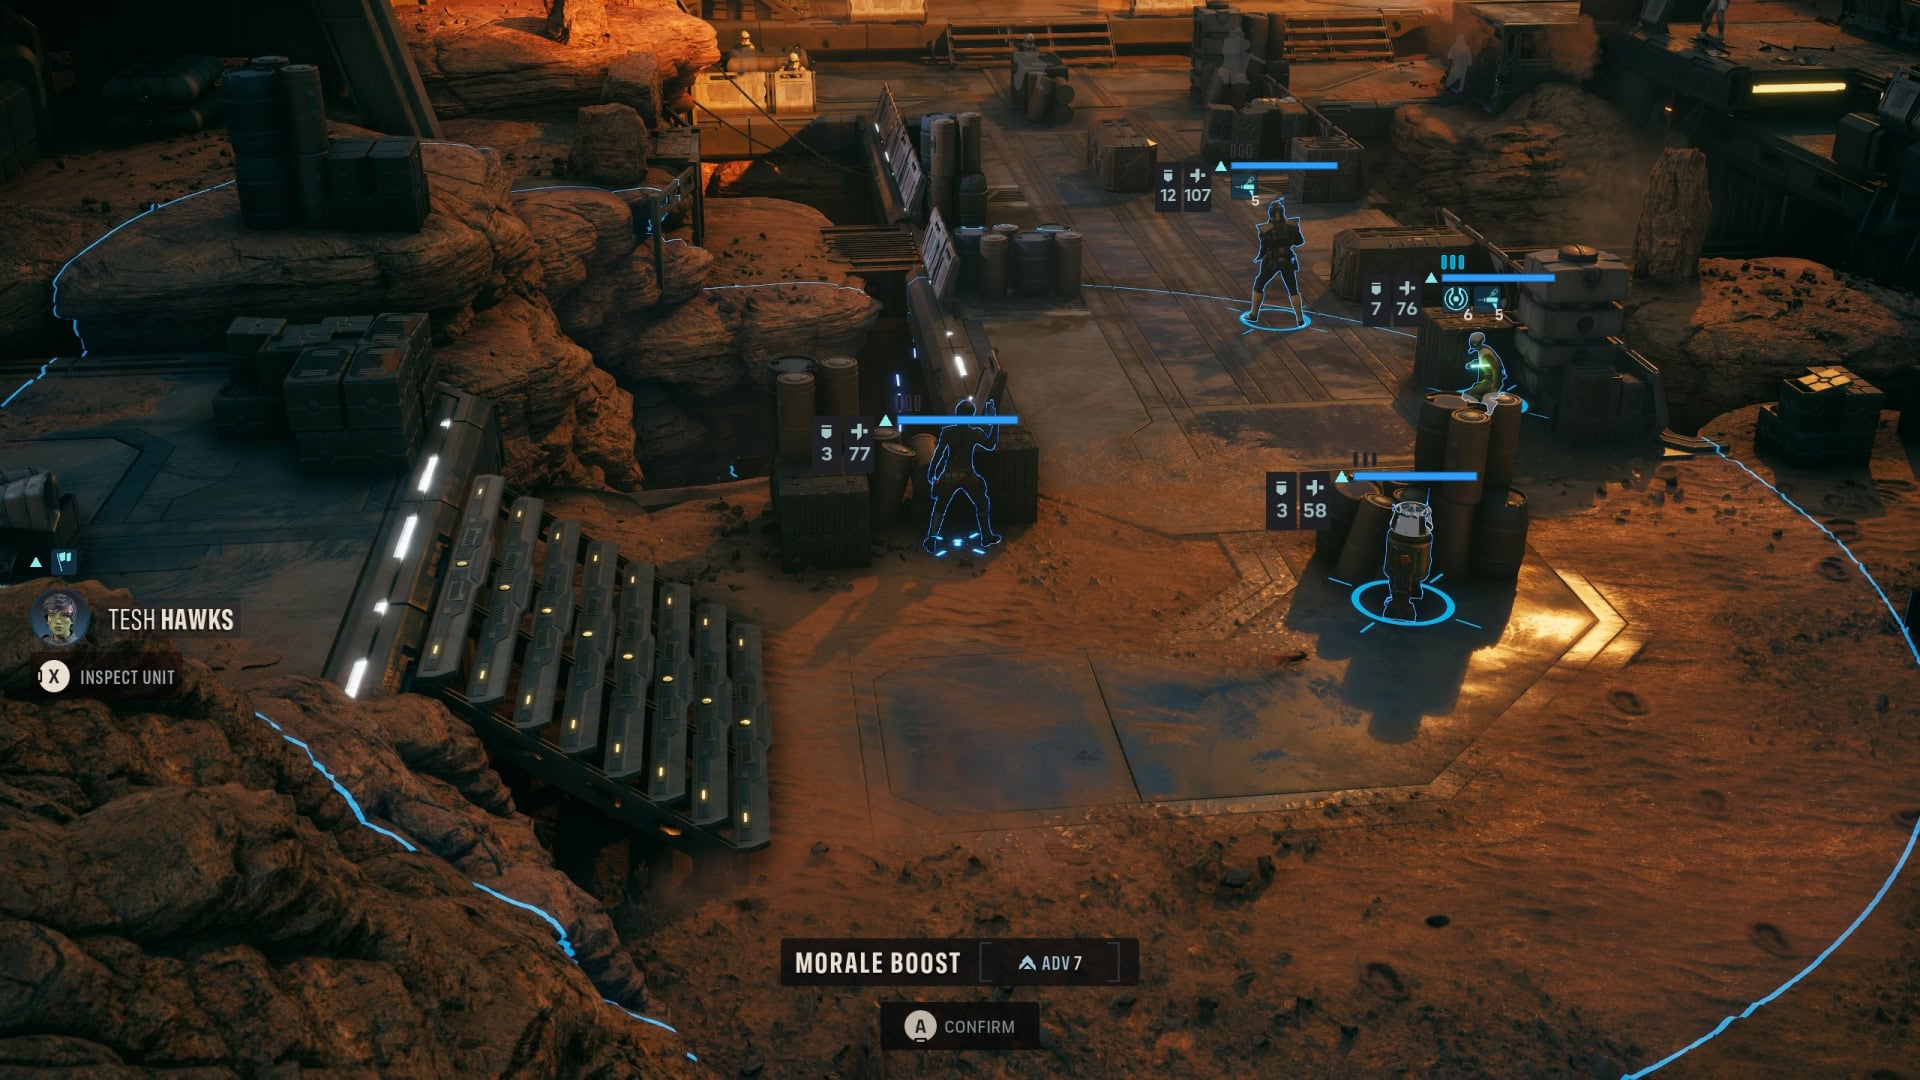
Despite being your ultimate ability, Morale Boost should be focused on last. Lifesaving Measures and Combat Stim are far more useful in the majority of scenarios.

Combat Stim (Standard)
Grants Stimulant to an ally for 2 Turns, increasing Max Health, Melee Damage, and Ranged Damage.
Combat Stim increases the target’s Max Health by 8. It also increases their Melee and Ranged damage by 2. This is a very useful ability and if you have a tank or other frontline Operators, be sure to give them a Combat Stim at the start of a battle.
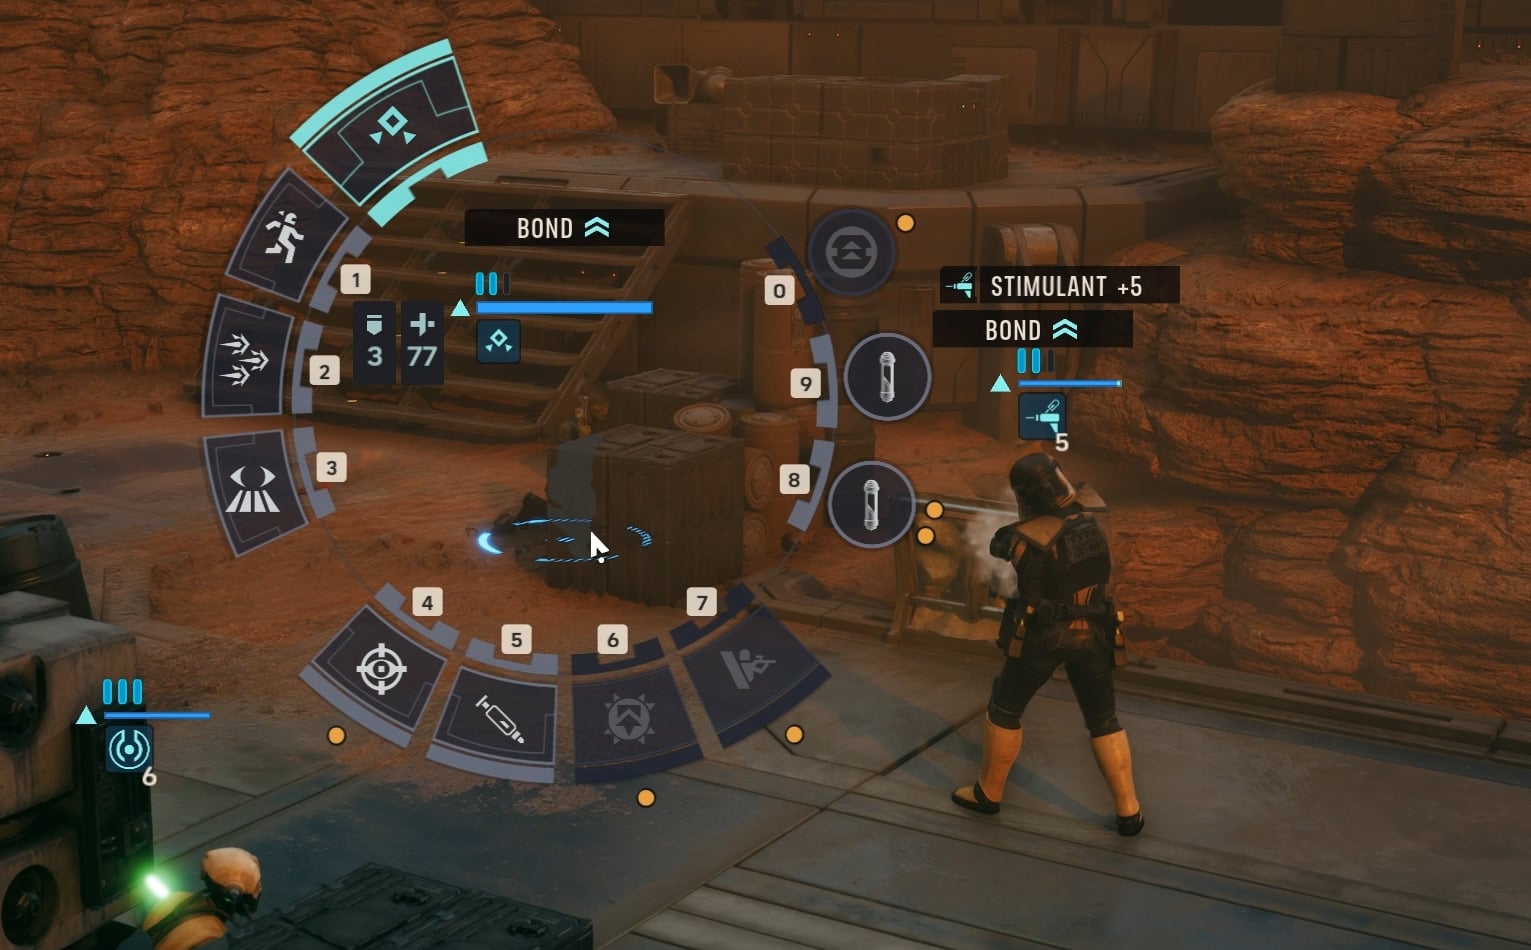
Combat Stim should be the second Medic Ability you fully upgrade. At max rank, the Stimulated effect remains active for the remainder of combat.

Lifesaving Measures (Passive)
Medpacs used by this Operator restore an additional +5% Health.
This is the defining ability of the Medic. While it starts small at +5% additional Health restored with Medpacs, it can increase to +30% additional Health. This means that at max rank, a single use of a Medpac will restore 60% of an Operator’s Health. Focus on fully upgrading this ability first.
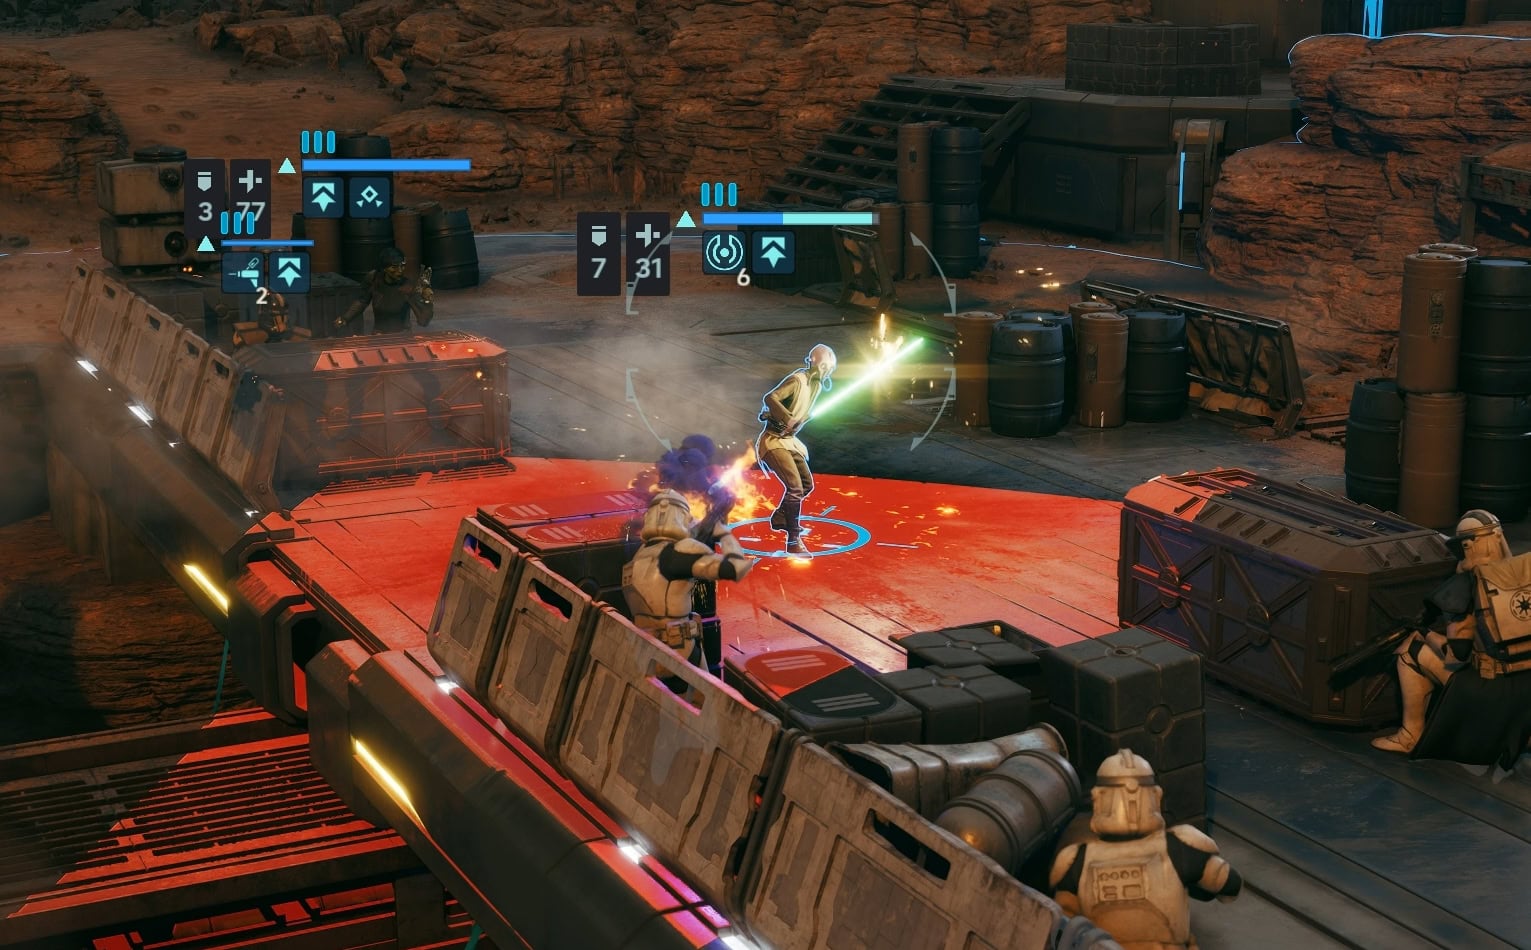

First Responder (Passive)
This Operator is permanently equipped with a Medpac that does not use a Utility slot. When this Operator rescues an ally with Rally, that ally is Fully Healed.
The Medic gets a free Utility Slot that’s filled with a Medpac. This Medpac has two uses for each combat. Stock up on additional Medpacs to perform more heals throughout a combat encounter.
This is great early game, but can be rendered obsolete late game if you acquire and equip the Medpac Mk. IV.
Recommended Weapons
The Medic works best with weapons that don’t require a lot of Action Points, so the Blaster Pistol is the best choice. If you want a little more damage, you can go with the Blaster Rifle.
Between moving around to reach allies, popping Medpacs, and applying Combat Stims, the Medic can quickly run out of AP. If you move then heal someone, you’ll be left with 1 AP. The Blaster Pistol and Blaster Rifle only requires 1 AP to fire with that last AP.
The Blaster Pistol is better as it helps the Medic lean more into a support role. The Blaster Rifle costs 2 AP after the first shot, but the Pistol always remains 1 AP. By taking down weak enemies like B1 Battle Droids, or just shooting enemies with the pistol, the Medic can generate Advantage for the team.
Recommended Weapon Mods and Utilities
For weapon mods, a Rapid Cycler is useful as it grants the chance to gain an additional AP. You can then use this AP to heal, apply a Combat Stim, reposition, or roll the dice again and fire another shot. A Targeting Scope is a solid choice for either a Pistol or Rifle to better hit targets at a distance.
If you want to make an unstoppable Medic, then you’ll want to get the Medpac Mk. IV from completing Zone Aurek Influence. This Medpac can be used an unlimited amount of times, assuming you have the 1 AP to use it each time.
While this renders the Lifesaving Measures passive useless, being able to to heal each turn endlessly is fantastic. As for secondary utilities, you can’t go wrong with Repulsor Units for increased Movement range. The sooner you can get in range to toss an ally a Medpac, the better.
Once you unlock Exquisite quality gear at the Black Market, the Hunter’s Rangefinder is a great choice if you want to support other Operators by negating the Change-To-Hit Penalties from Range and Smoke.
Best Secondary Specialization Pairings
As a purely supportive role, the Medic works very well with the Scout and Scoundrel specializations. While you can use Assault or Heavy to make a combat medic, the Medic specialization doesn’t synergize as well with those specializations.
Scout
The Scout is an excellent choice for a pure support Operator. With Combat Recon, scanning enemies for Advantage can help you use Morale Boost or other abilities your team needs.
If you’re sweeping up with a Blaster Pistol, Tactical Timing only adds to your ability to stack Advantage. Ambush also helps the Medic get some more damage within their otherwise purely supportive kit.
Scoundrel
Like the Medic, Scoundrel is a supportive specialization that focuses more on damage. With Expose Weakness, you guarantee the next attack against that target is a critical hit.
The Hunter’s Rangefinder works well with a Medic/Scoundrel. Use 1 AP to Spot a target with the Rangefinder, another AP for Expose Weakness, and you can help someone with a Longarm Blaster or Repeater to do some serious damage on a single target.
Recommended Talents
Two talents that work well with the Medic are A Life of Labor and Grit.
A Life of Labor
A Life of Labor provides additional health, defense, melee damage, and critical hit damage. For the Medic, you’re using it for the health and defense. The extra damage is just the cherry on top.
Grit
Grit provides up to 12 Max Health and can grant up to 2 stacks of Invulnerable per turn. For 1 AP, this is a good tradeoff compared to something like Anticipation which can use up to 3 AP for a similar effect.
Grit gives you more health and allows the Medic to tank two hits in chaotic battles. If your Medic can keep themself alive, they can keep everyone else alive.
Cross Training Priority
Focus Points are your top priority for the Medic. The sooner you can max out First Responder and Combat Stim, the better. If Focus Points are not an option, go for Hit Points, followed by First Movement.
Try to reach Tier 8 Bonds with other Operatives on the Medic. There’s a chance you can get the Body and Mind training. This allows Medpacs to remove all Negative Status Effects from the healed ally.
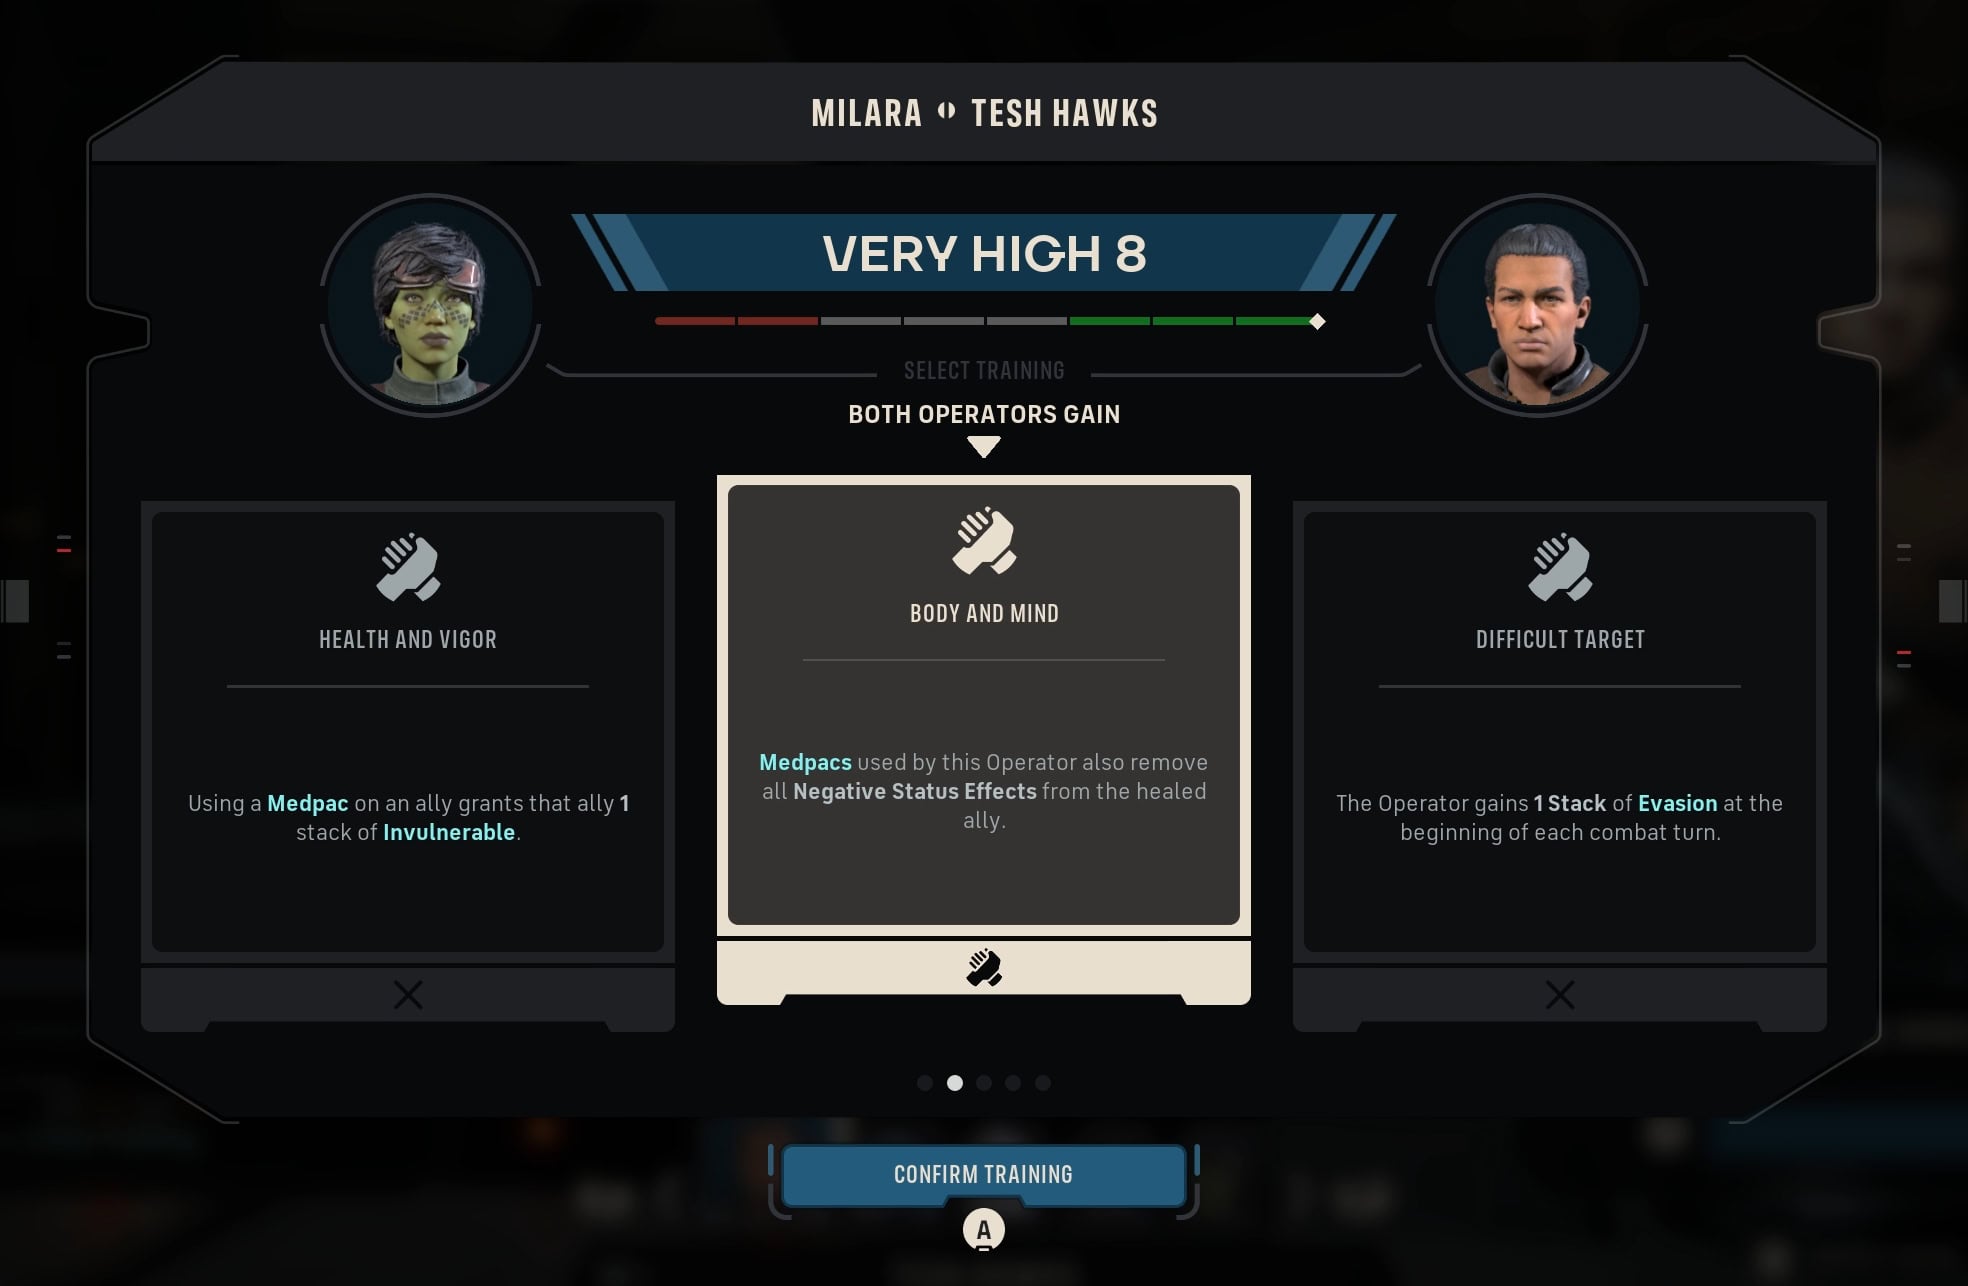
Body and Mind also removes Injuries from a healed target. Giving the other Operative that gained this can help mitigate and negate Injury buildup.