Learn how to complete the Gerudo Proving Grounds in The Legend of Zelda: Ocarina of Time for the Nintendo Switch 2. Includes an interactive map to help you navigate, tips on beating its challenges, and info on what the Gerudo’s Secret Treasure does.
Use the Table of Contents, located in the left panel (top left button on the mobile menu) to navigate through this long guide more easily and quickly.
Where to find the Gerudo Proving Grounds
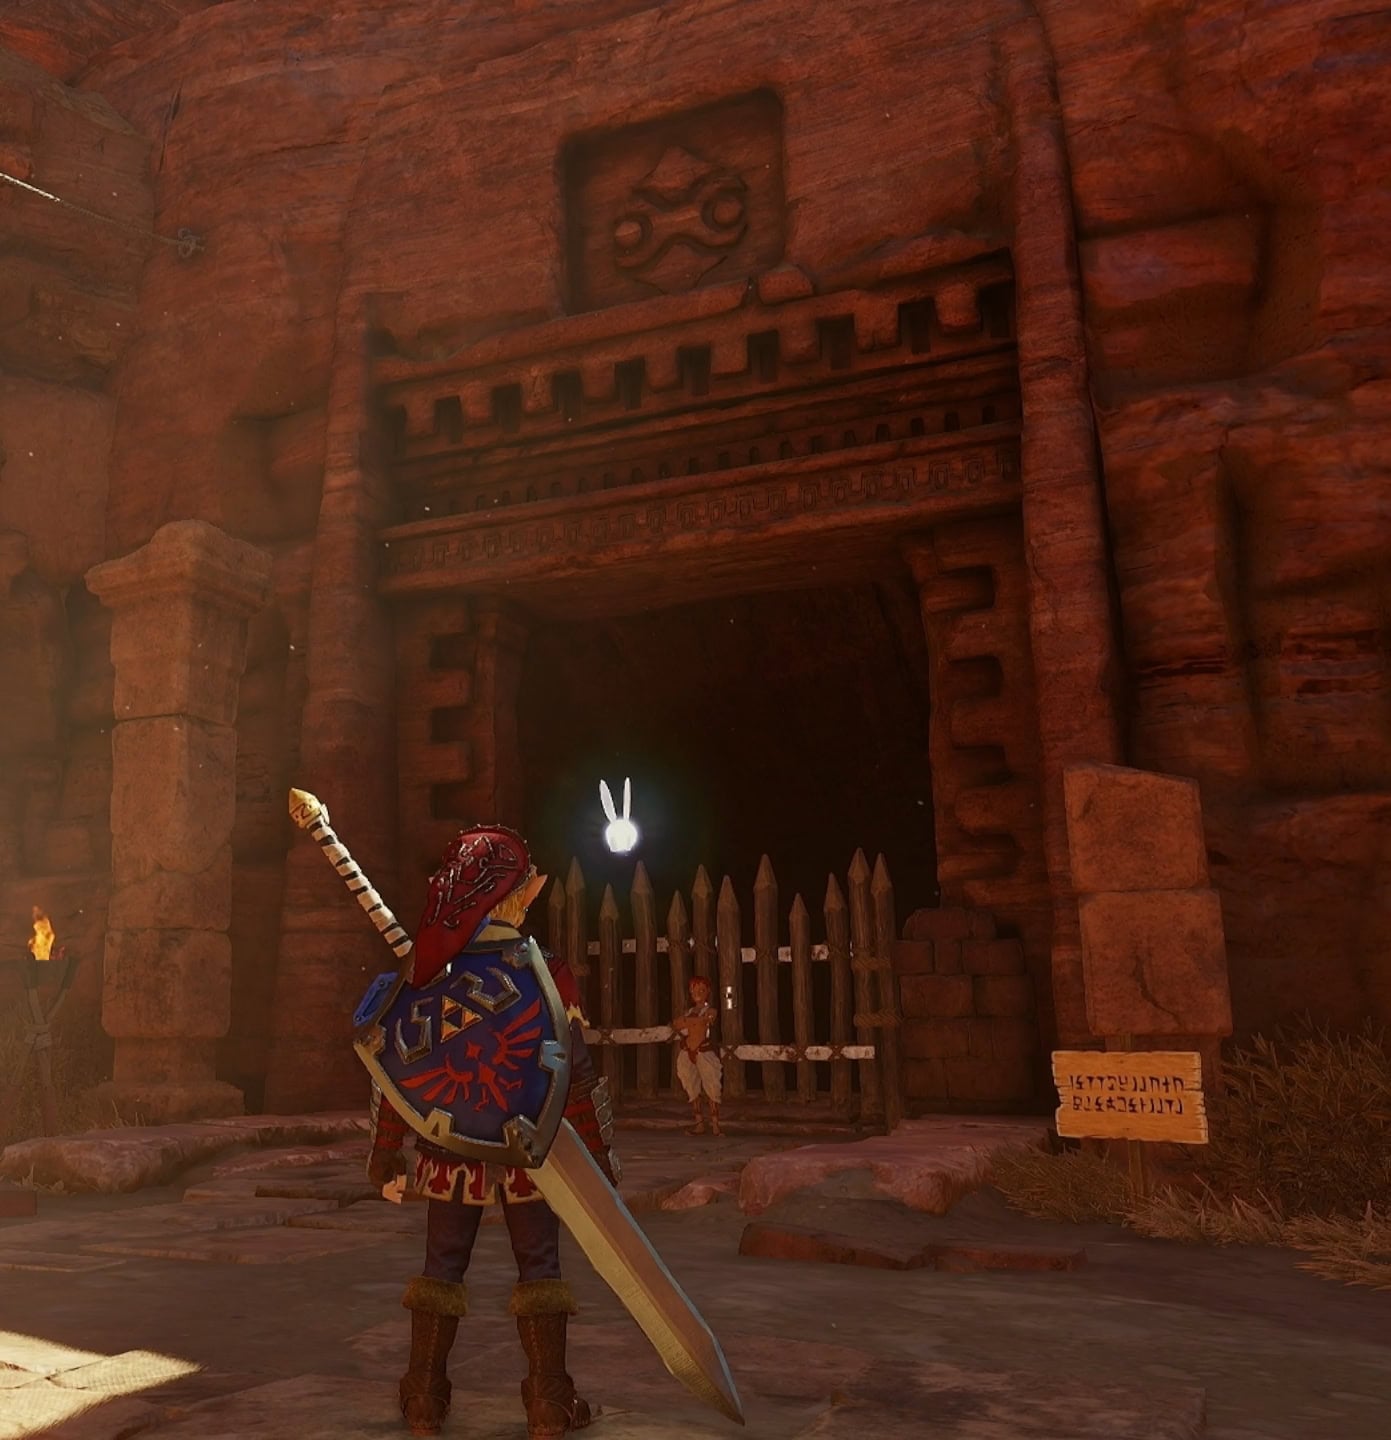
The Gerudo Proving Grounds can be found in Gerudo Fortress, but without the Gerudo Pass, you’ll be unable to enter. You must first earn the trust of the Gerudo, then you can be granted entry after paying 10 rupees to the guard at its gate.
Preparing for the Gerudo Proving Grounds
In order to fully complete this challenge, you will need the following items:
- Fairy Bow
- Megaton Hammer
- Longshot
- Lenses of Truth
- Silver Gauntlets*
*These are not necessary to get enough keys to reach the final treasure, but required if you want to fully complete every room for the sake of completion.
It’s also a good idea to fill your Empty Bottles with some potions to restore your health and magic, a pink fairy, and some Business Scrub Seeds in case you need more potions.
Map of the Gerudo Proving Grounds
Below is the map for the Gerudo Proving Grounds with a recommended path seen by the number markers. There is no map in-game as you go through this dungeon.
Upon entering the training grounds, you’ll have three doors ahead as seen by the stone lion heads. You can use Farore’s Wind within to avoid paying the entry fee in case you need to leave.
The easiest way to go about the Gerudo Proving Grounds is to go around clockwise, starting with the door to the left. For now, take a look at what’s inside the middle door to see what lies ahead.
The Treasure Room
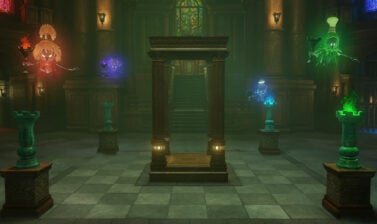
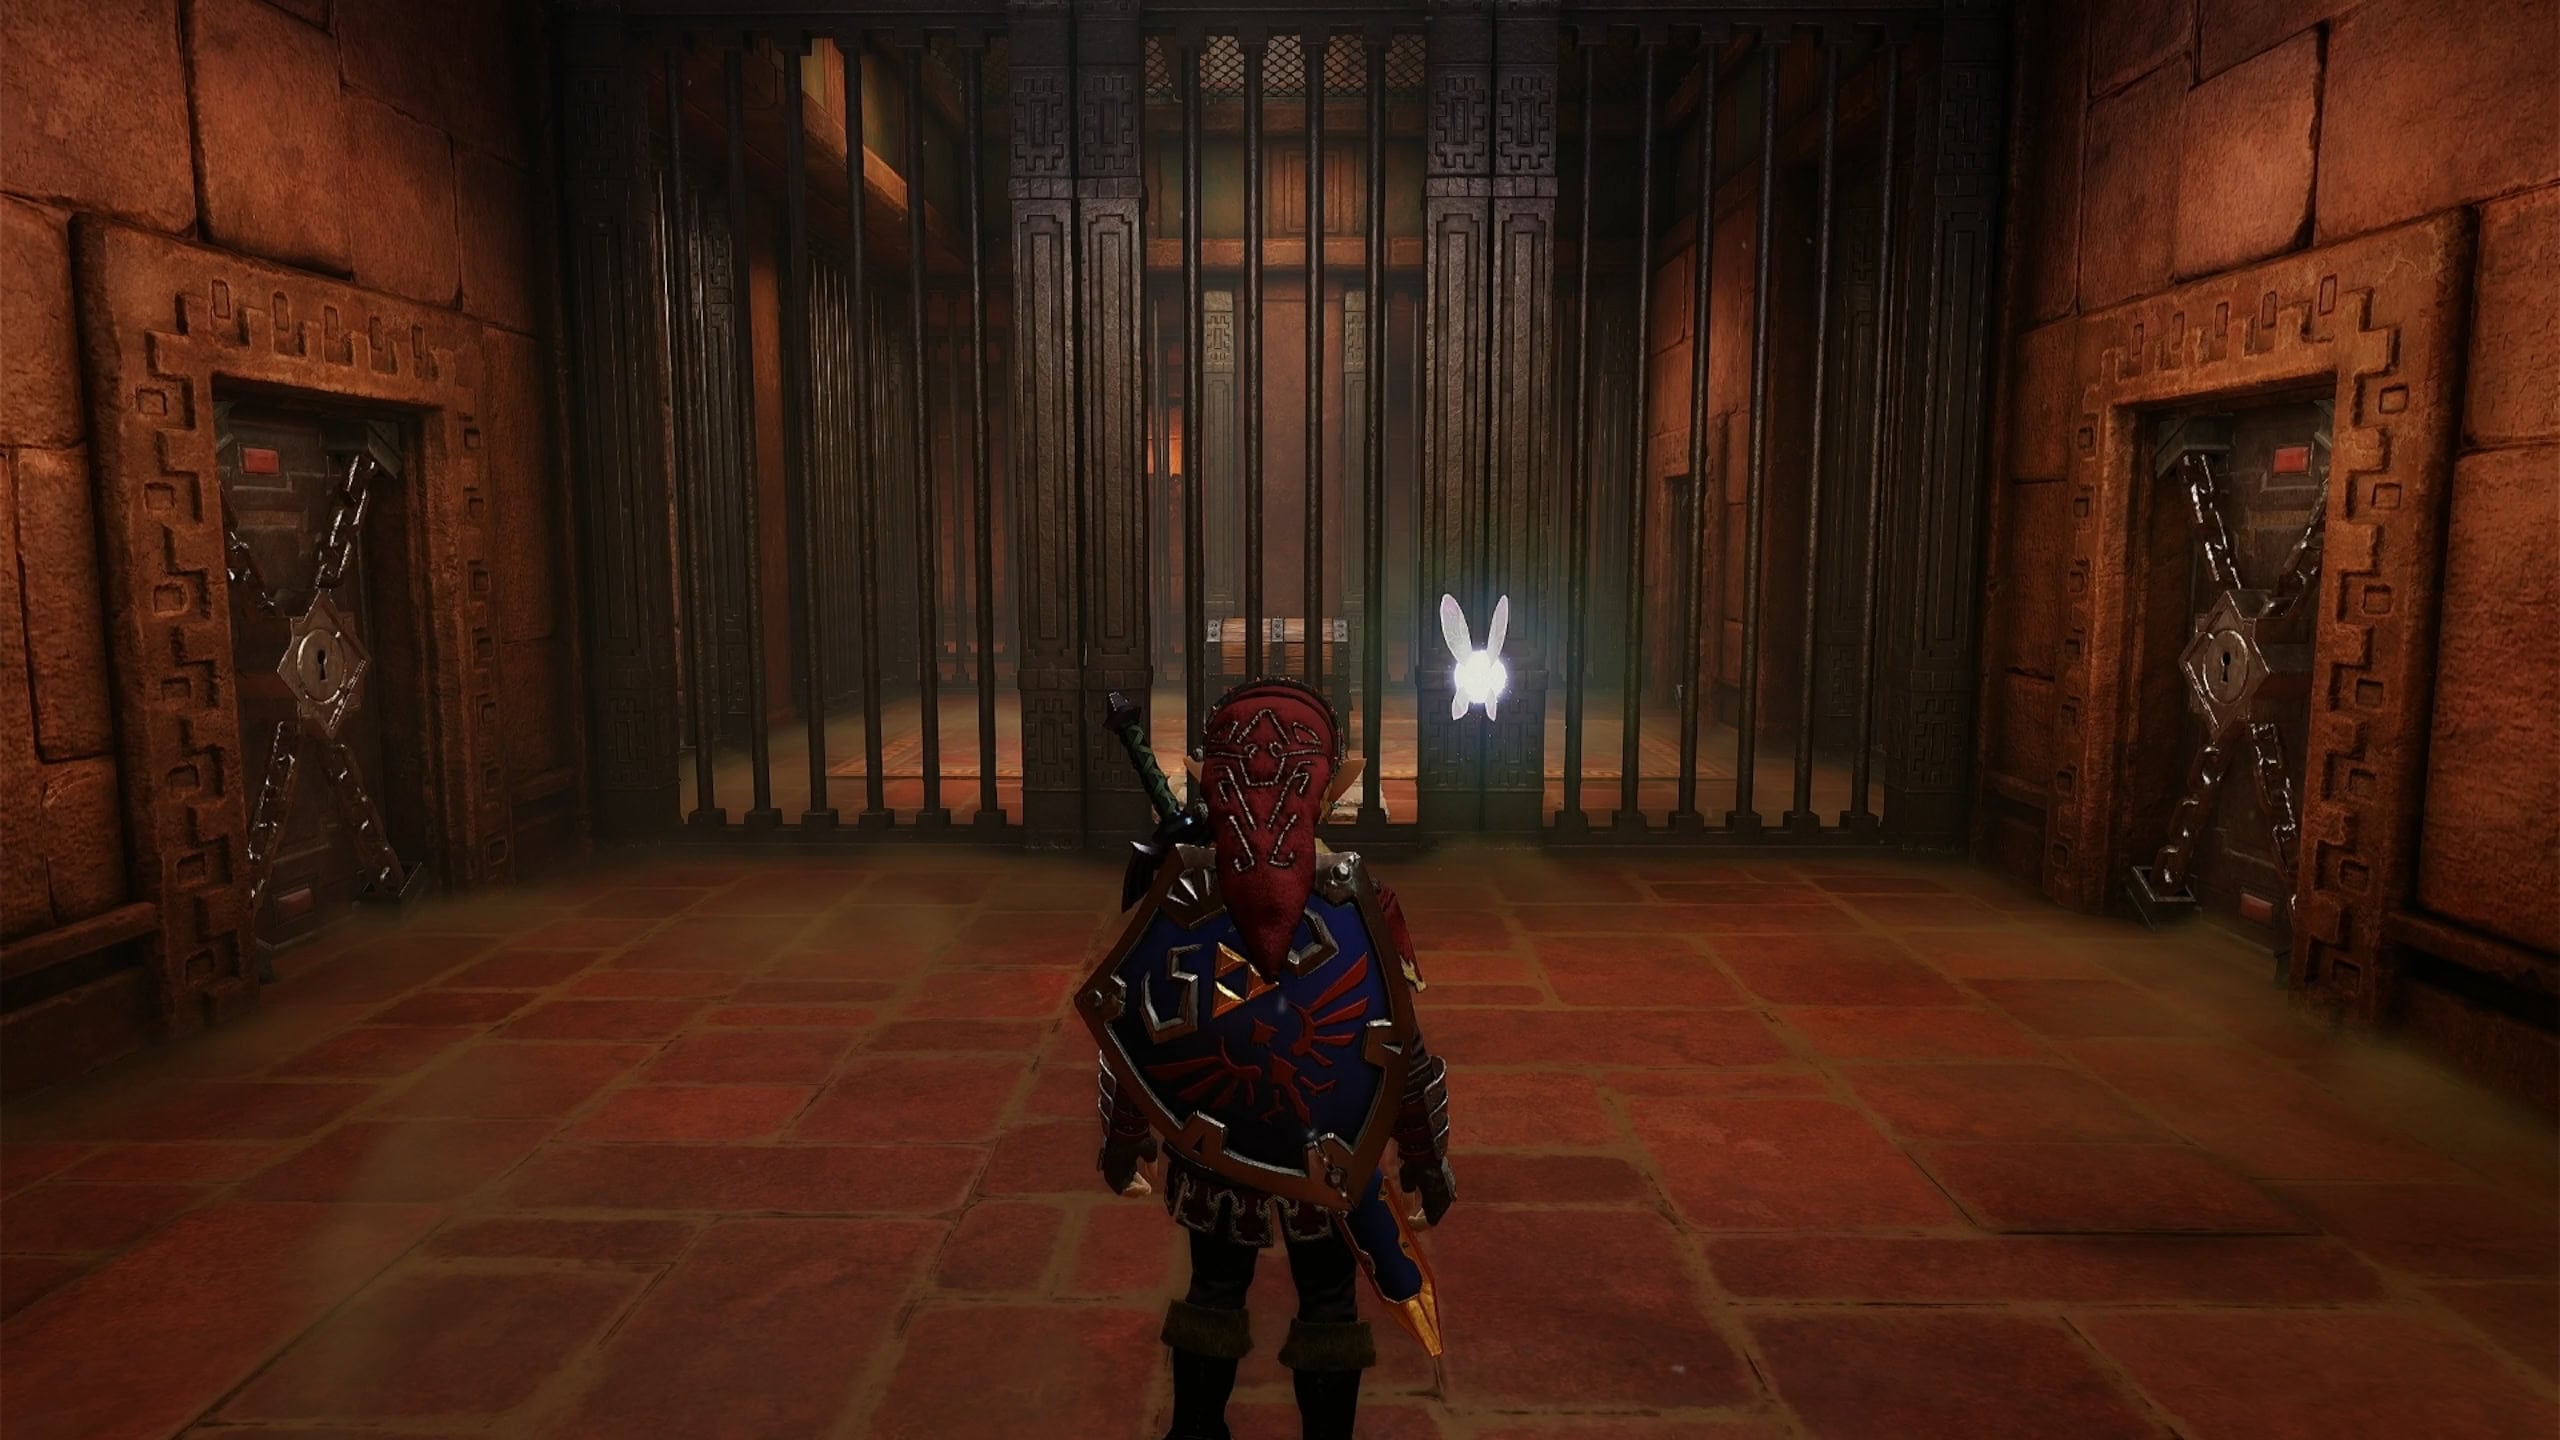
The middle door leads to a room filled with iron bars and numerous locked doors. You can either take the left path or right path, and there are a total of 9 locked doors.
1. Stalfos
Starting with the left door form the entrance, you’ll need to defeat the two Stalfos within the sandy arena. Fight on the solid platforms near the doors instead of the sand, then grab the Small Key.
2. Boulders and Silver Gems
This room consists of three vertical paths with horizontal connections going through them. The paths to the left and right will have boulders rolling down them, and there’s some fire wall traps similar to the ones in the Fire Temple’s Fire Maze.
Start by going to the right path towards the bottom to get the silver gem. Then use the Longshot on the target above the door you came from.
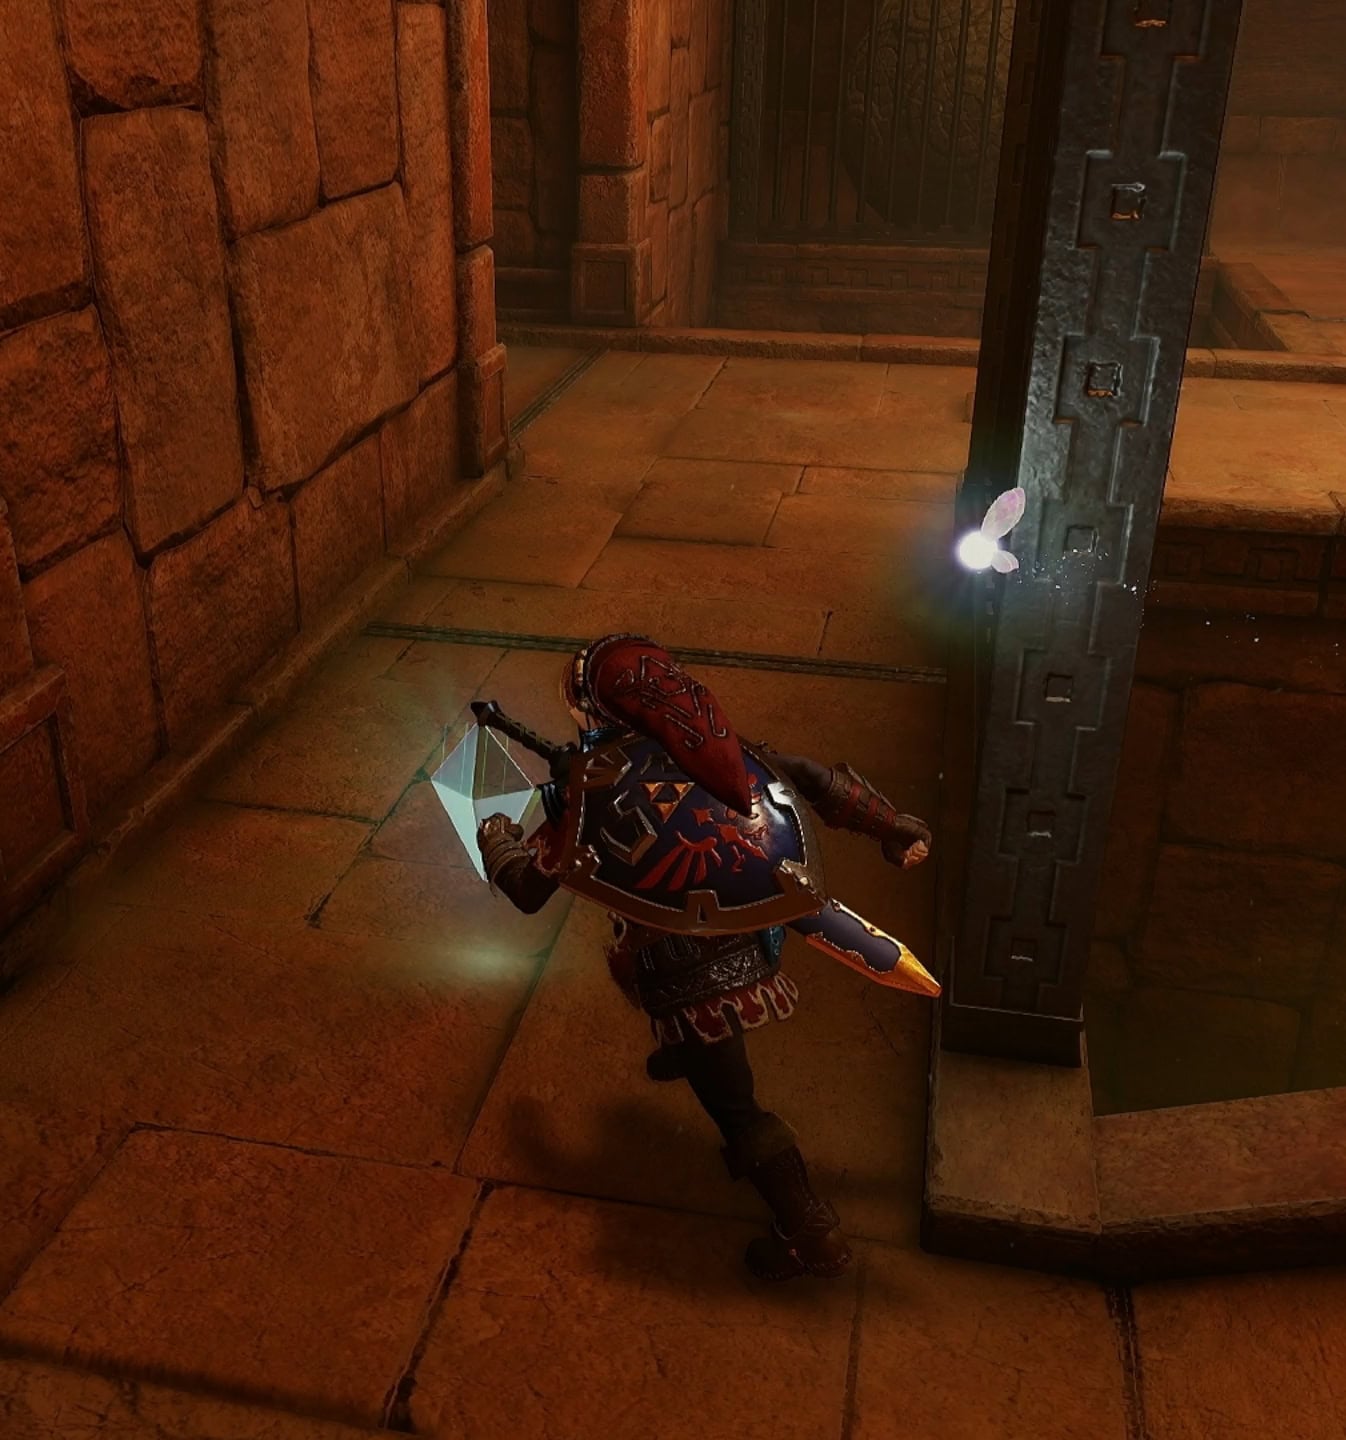
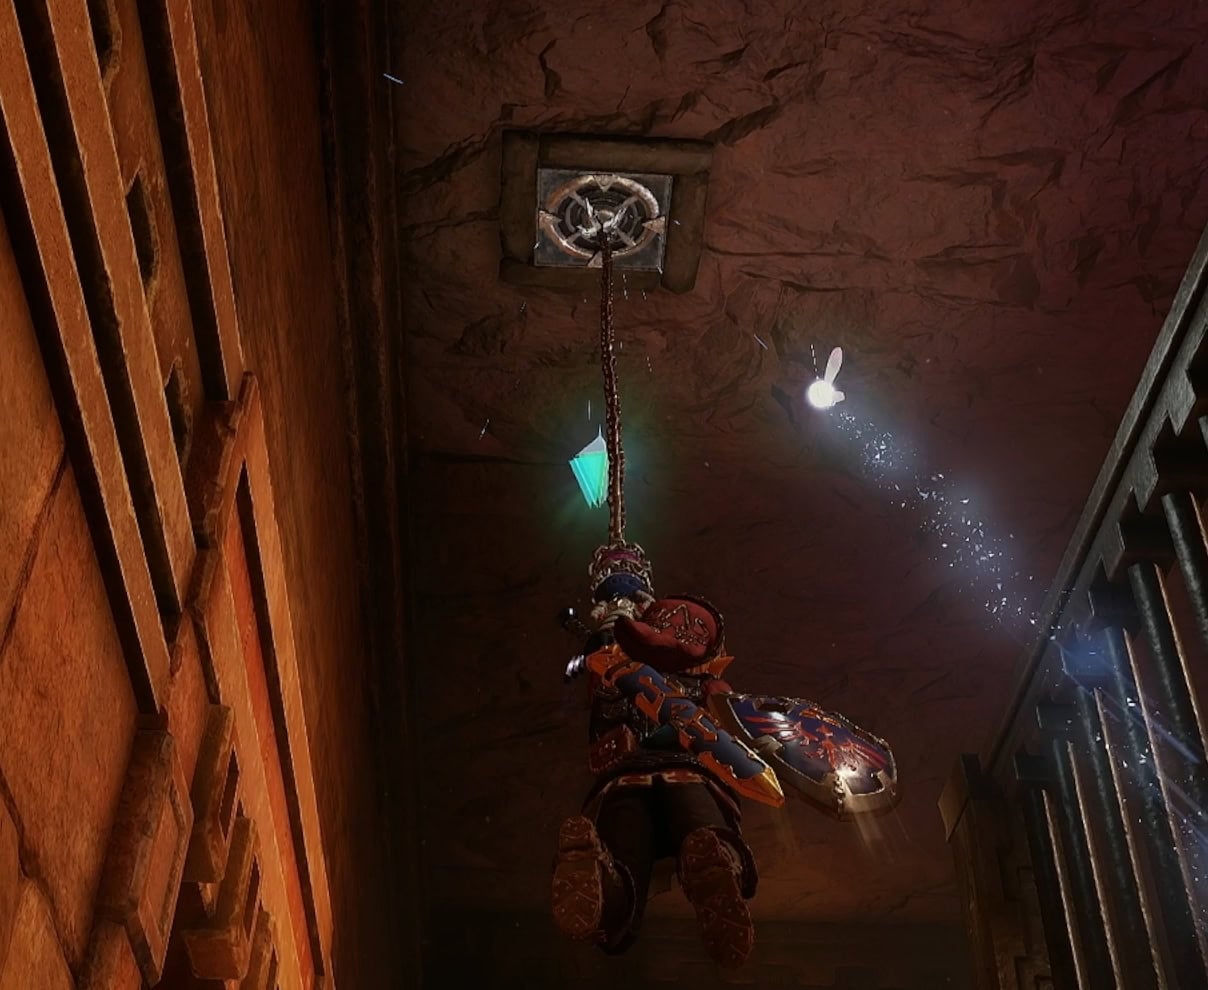
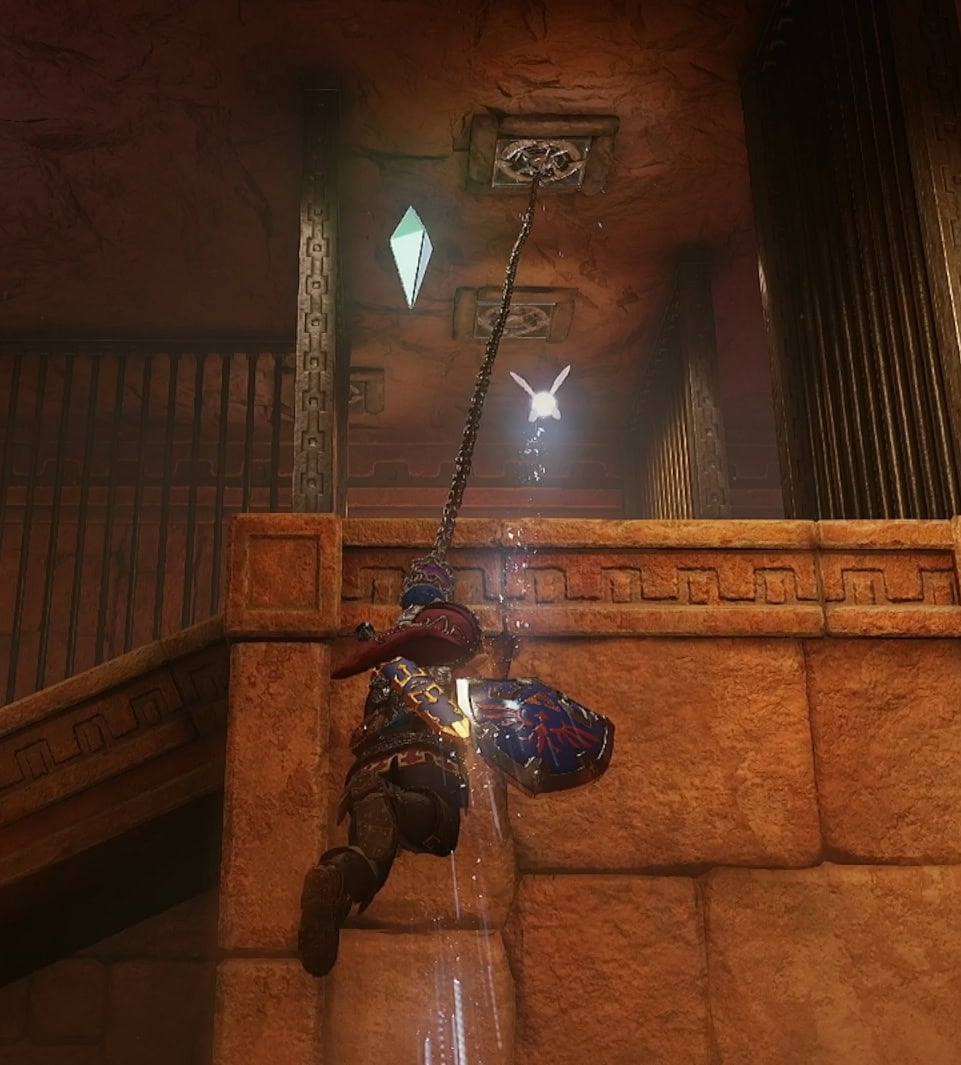
Use the Longshot to reach the floating silver gem in the center of the room, jump back down, then get both gems on the left path. Longshot onto the targets near the door on the north wall.
3. Dead Ends
Defeat the Wolfos and White Wolfos that appear, focusing on the regular ones as they’re weaker. This will spawn a small chest containing a blue rupee.
If you have the Silver Gauntlets from the Spirit Temple, you can push the large silver block out of the way. This leads to a room filled with 3 Like Likes. Defeat them and open the invisible chest near the ice trap chest at the end for a small key.
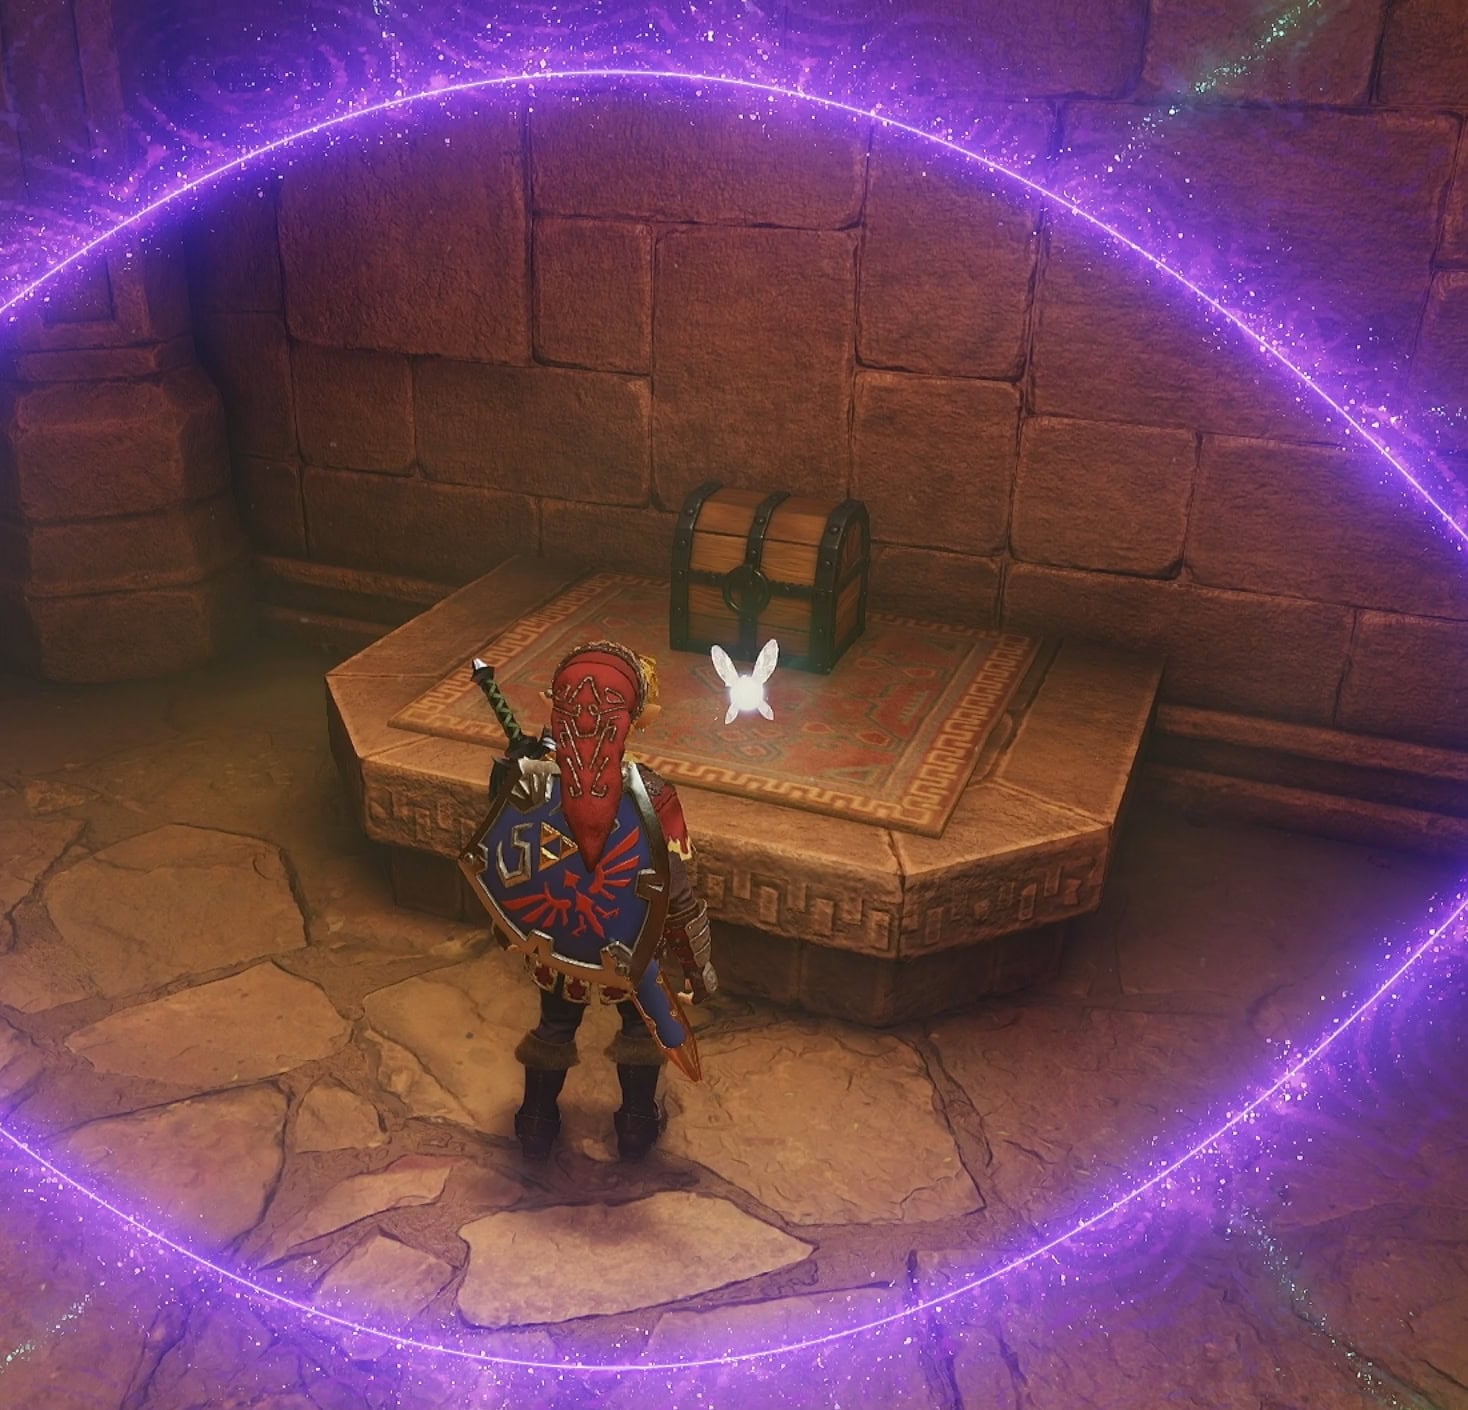
Above where the False Door was is an illusory wall that leads to the next room going east. Equip the Goron Tunic before entering this next room.
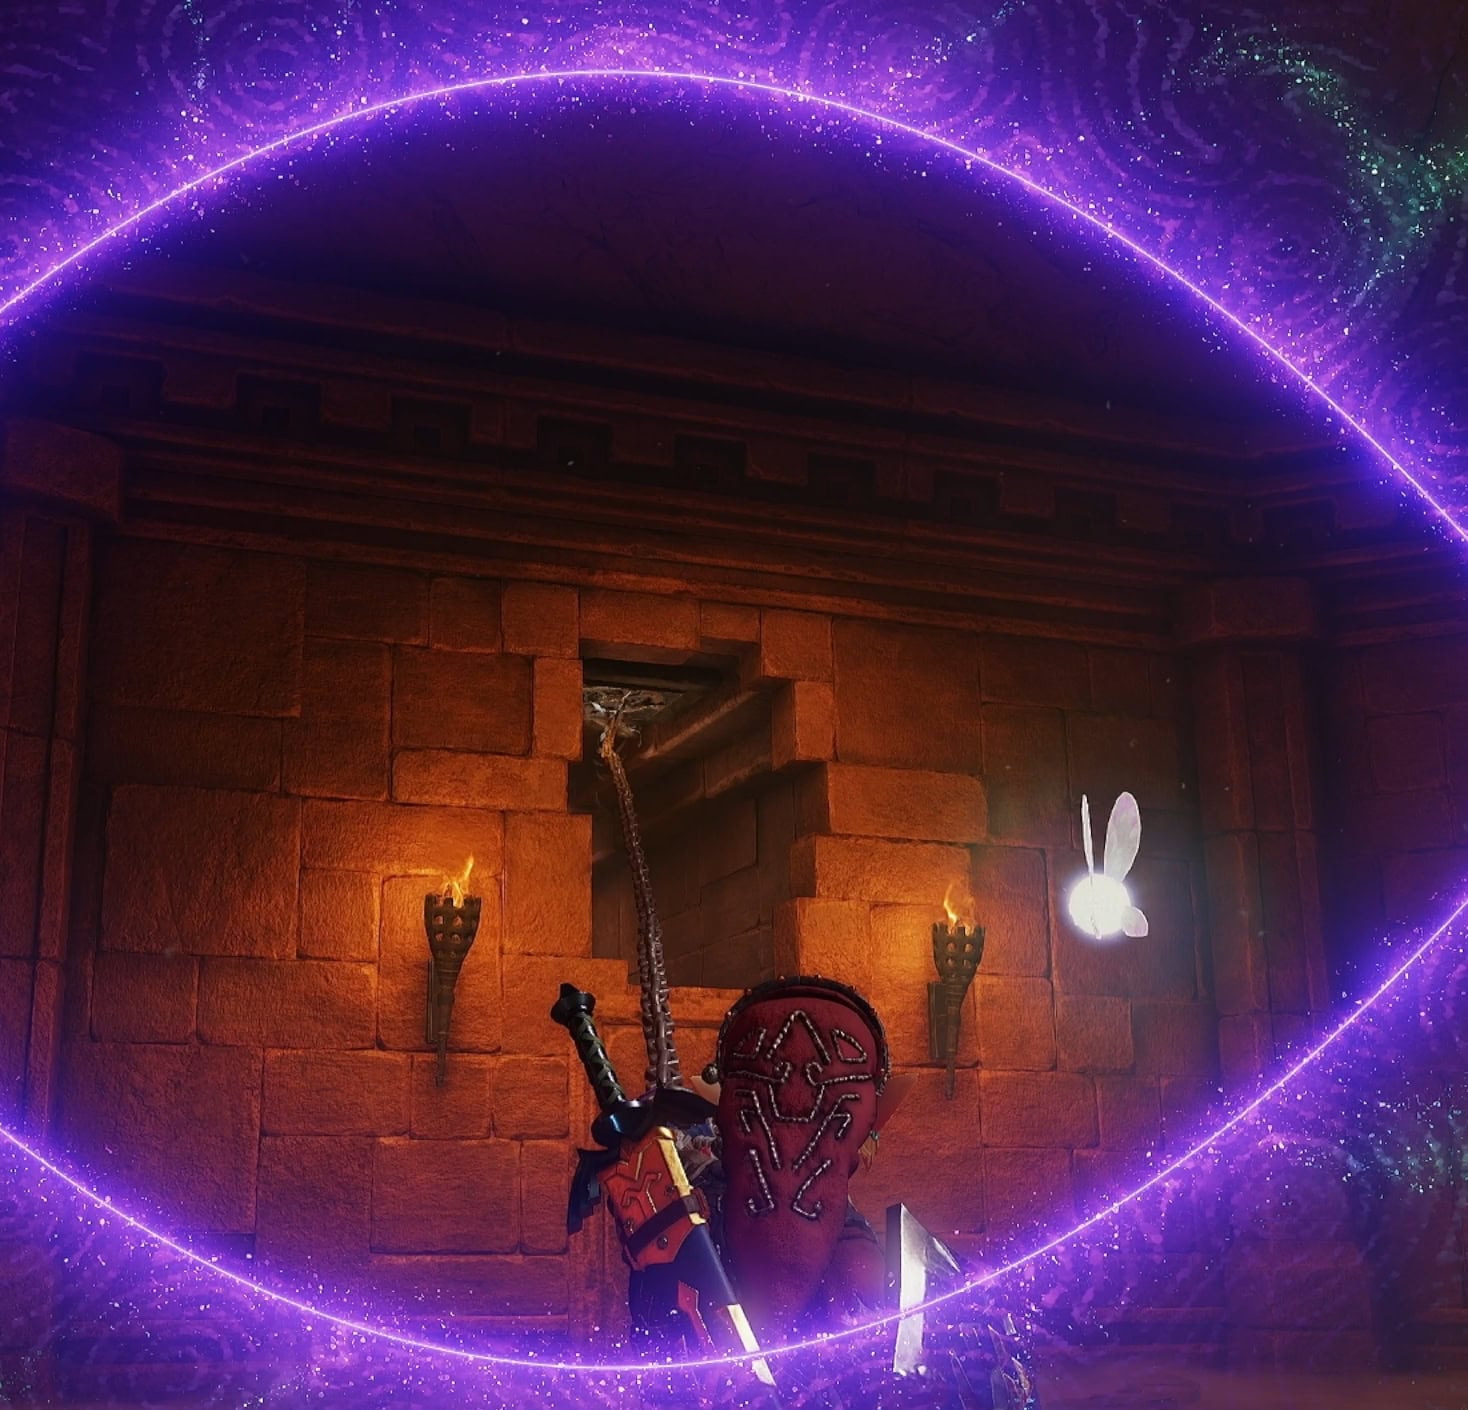
4. The Cyclopean Statue
When you reach this room by coming in from the west, you’ll find a spot you can summon Pierre on the ledge, and a barred off door to the south.
Summon Pierre with the Scarecrow’s Song or place Farore’s Wind up here. When you have your way back up here made, jump down onto the ring below.
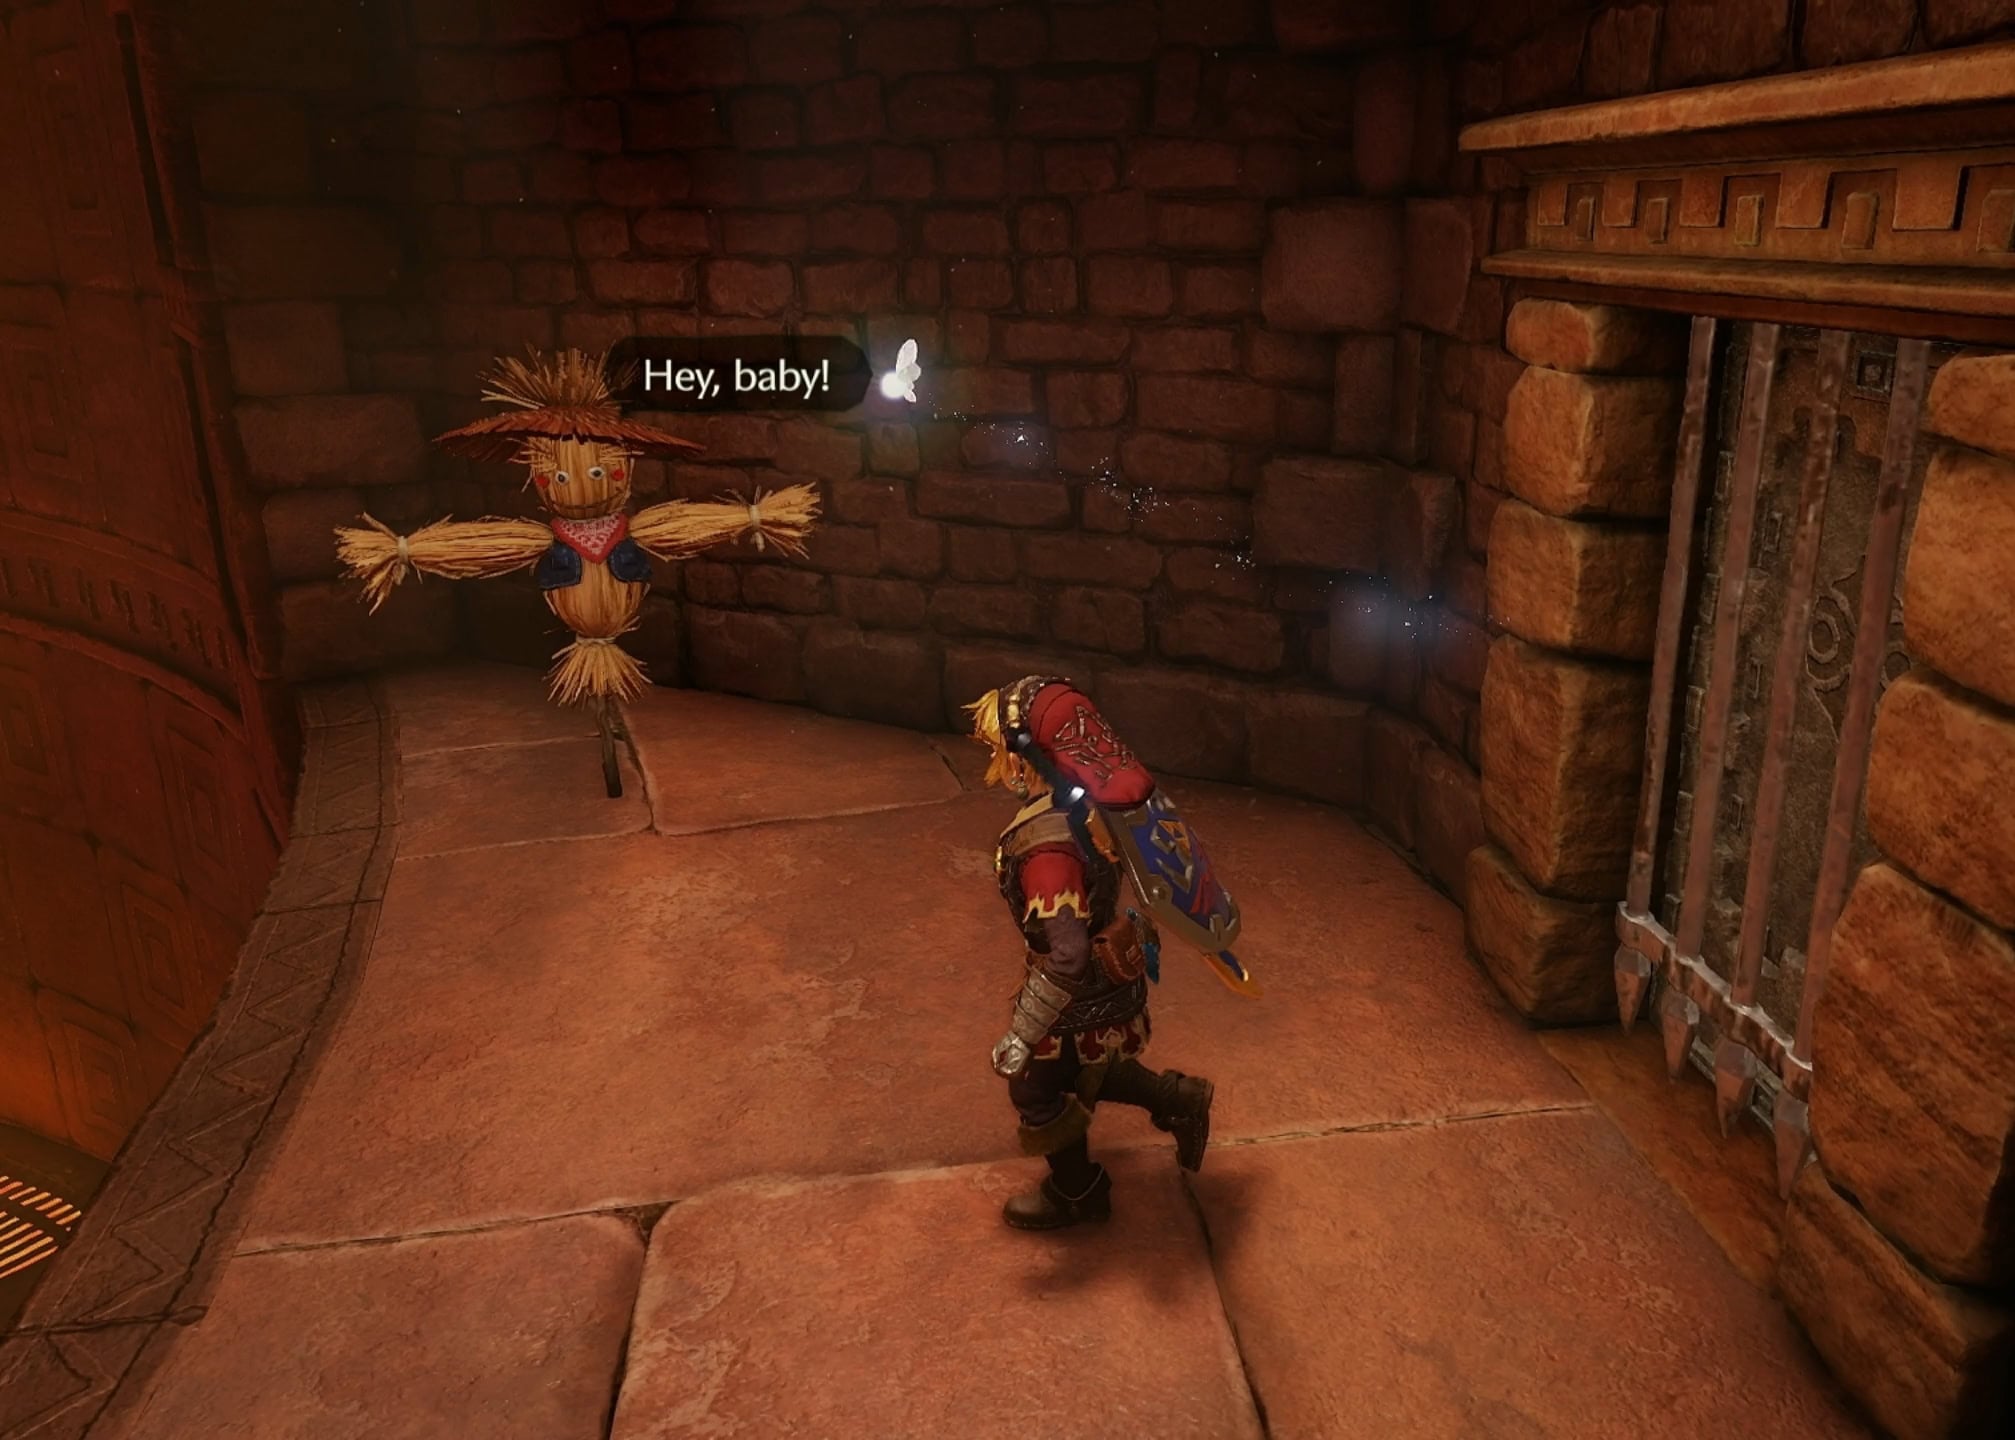
Shoot the eye switch above the door on the lower level to activate this room’s challenge. A statue with four eye switches placed around it will pop out of the lava.
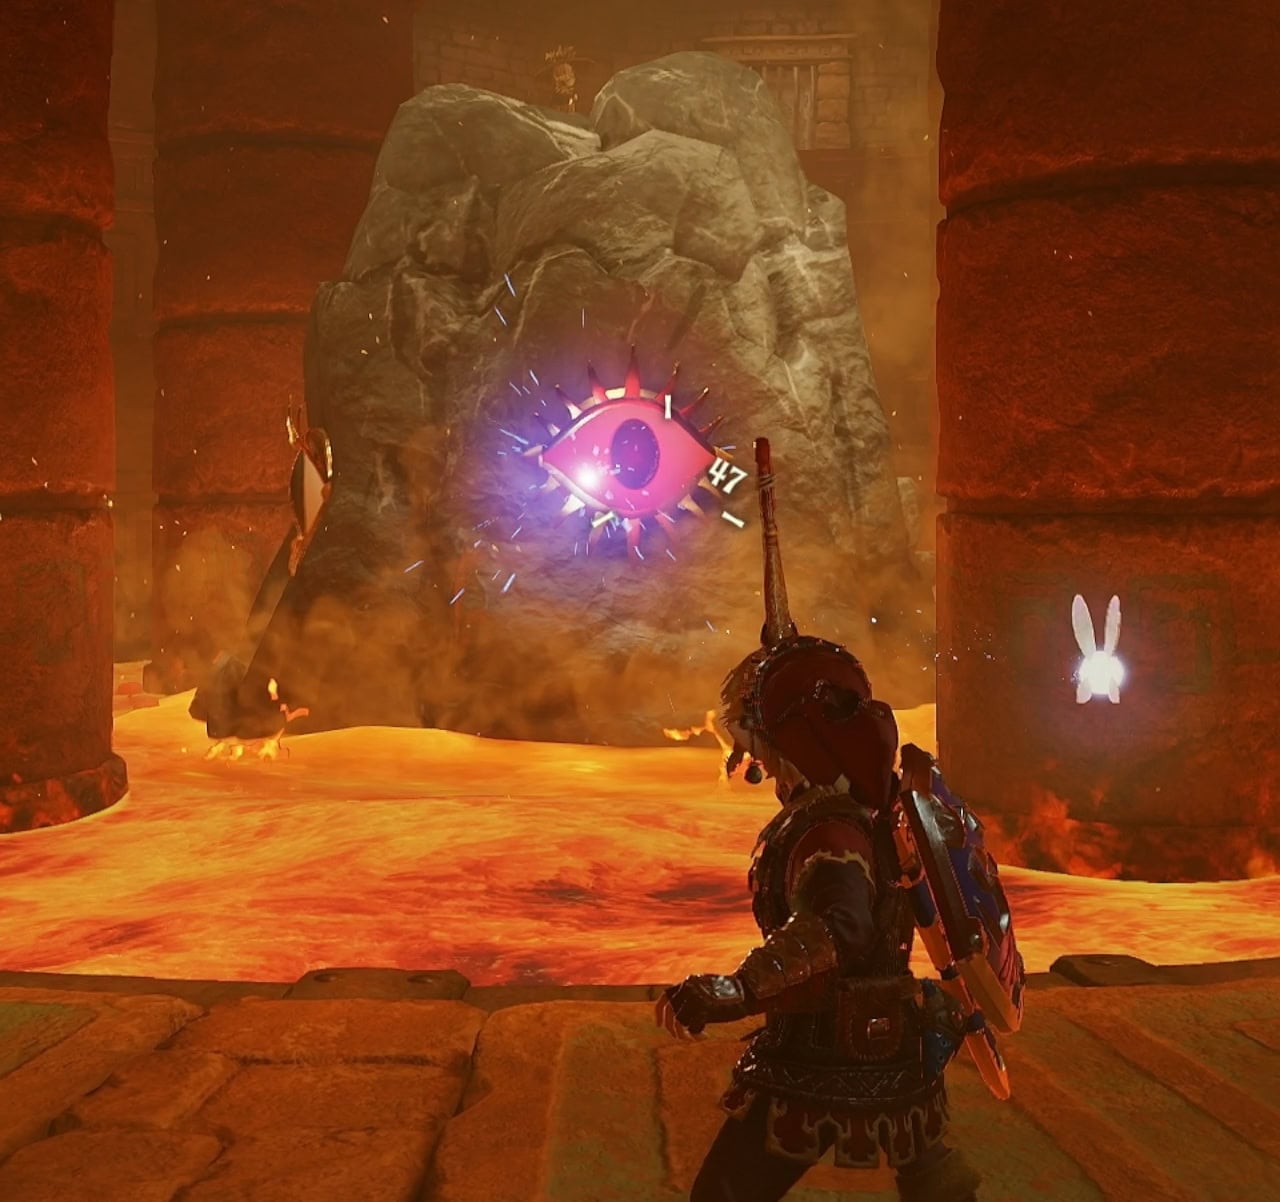
Shoot all four eye switches on the statue before it sinks into the lava. Doing this will drain the lava and expose a chest with a Small Key in it.
Return to the top ledge with Pierre or Farore’s and go through the newly unlocked door to find another chest with a Small Key.
5. Tiered Statues
Defeat the Fire Keese and Torch Slugs to spawn a small chest with 5 arrows. Use the Megaton Hammer on the tall pillar just right of this chest to reveal an eye switch. Shoot the eye switch to unlock the barred door.
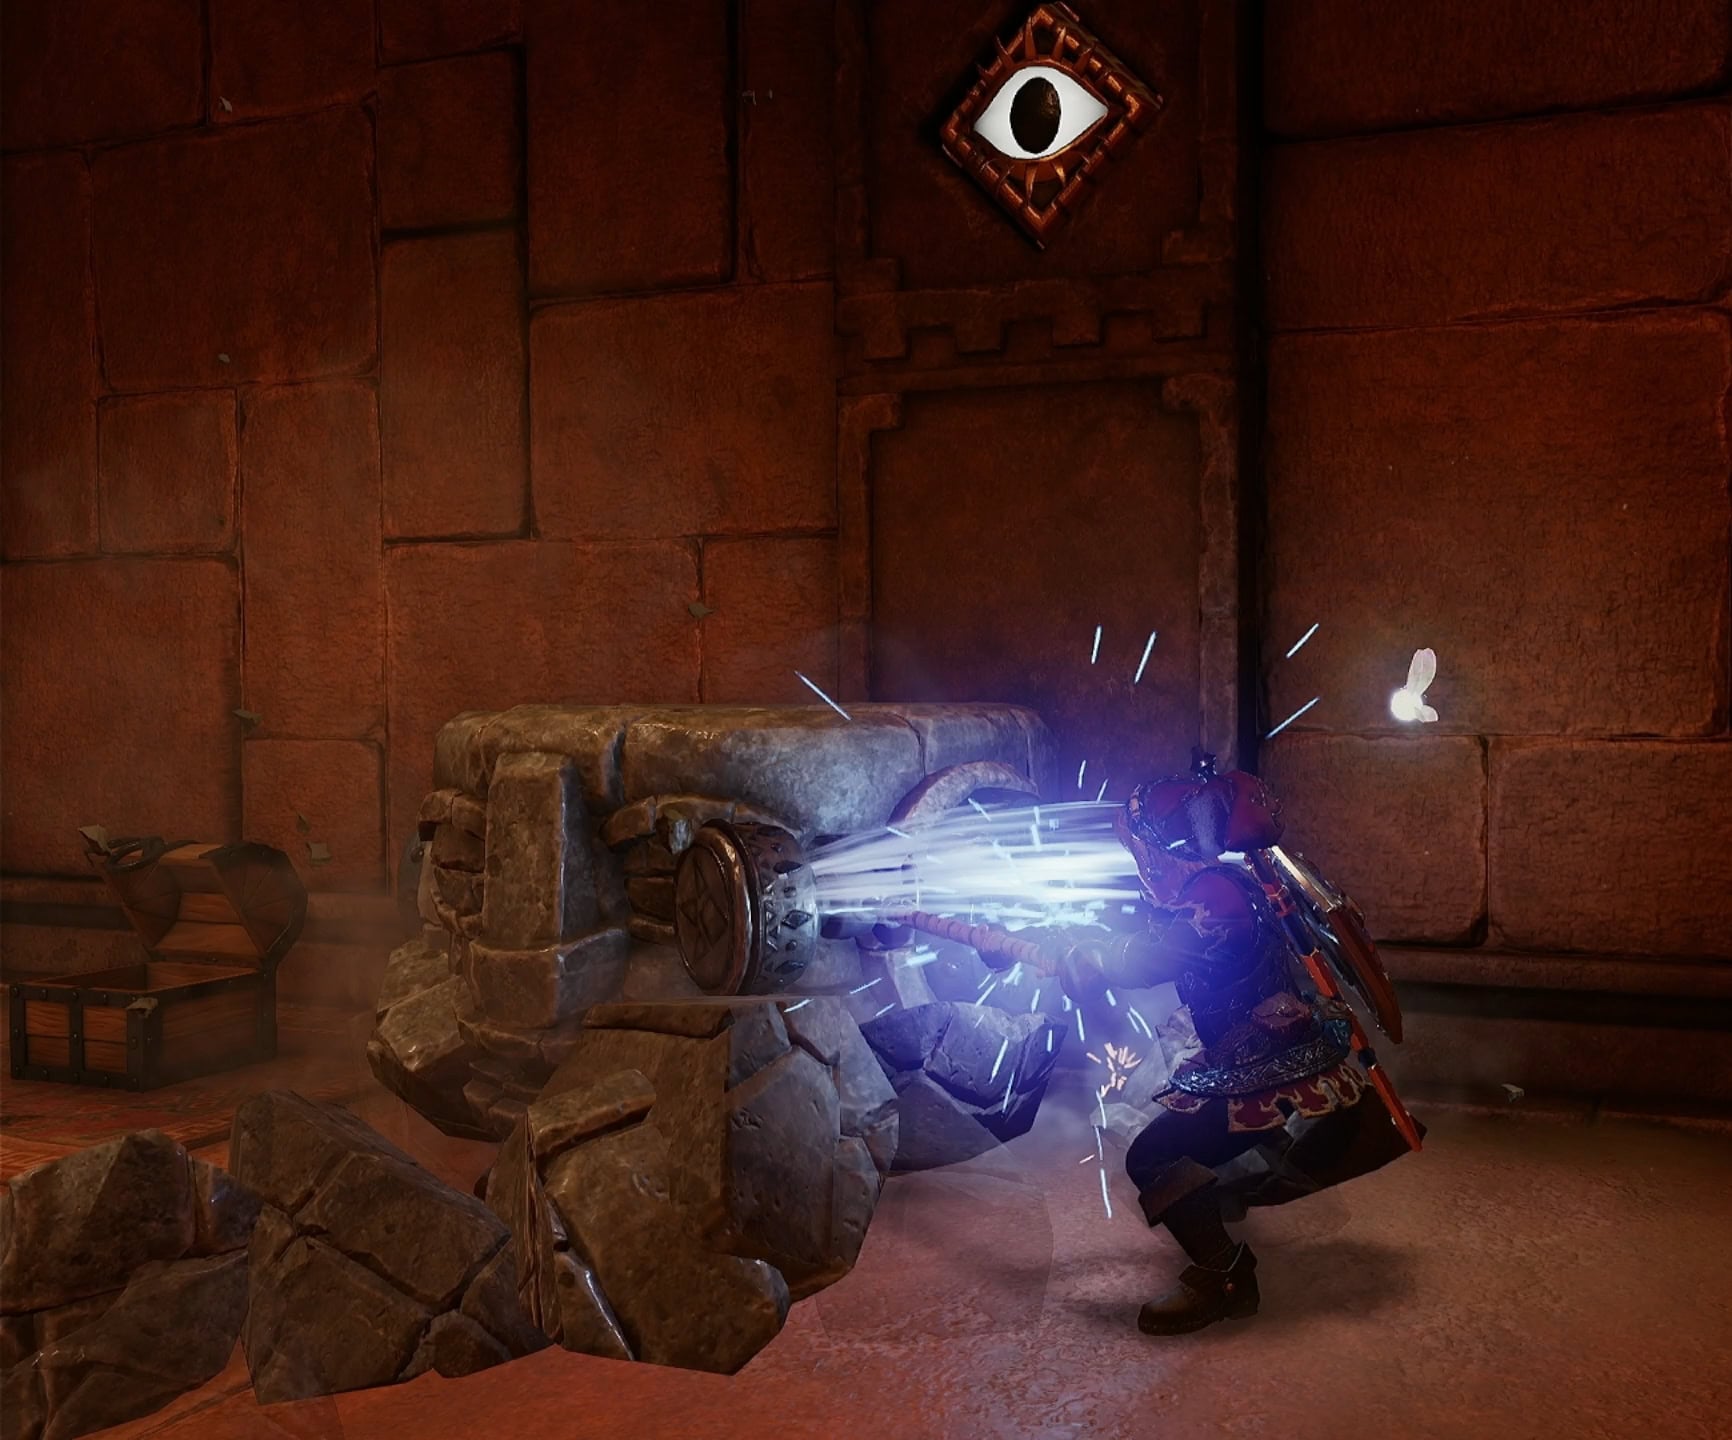
Going clockwise from the eye switch, the next pillar will have a hidden floor switch underneath it. This will turn off the ring of fire around the chest housing a Small Key.
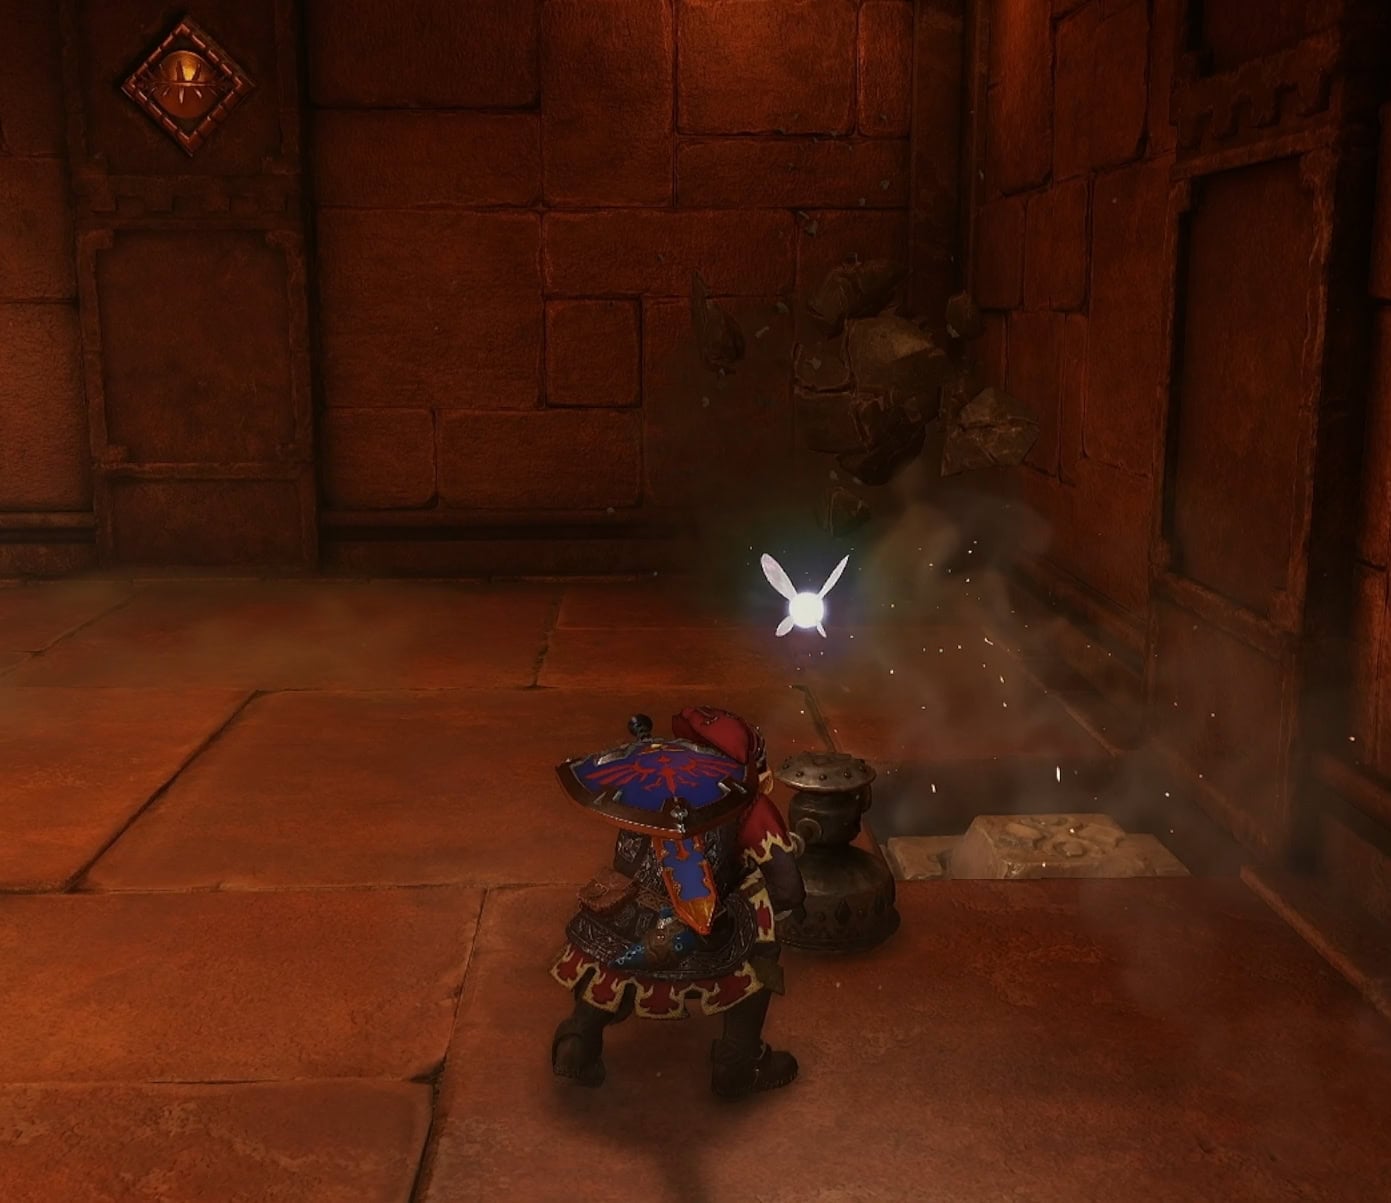
6. Lava and Silver gems
This is a relatively simple task of collecting 5 silver gems, one of which is surrounded by a ring of fire. The Hover Boots make this area a little bit easier, but they’re not necessary.
Near the center, you can summon Time Blocks to create some extra platforms to jump on. They also lead to a door that goes to the Treasure Room, giving you immediate access to three chest that contain a Small Key, 5 Bombchus, and 3 arrows.
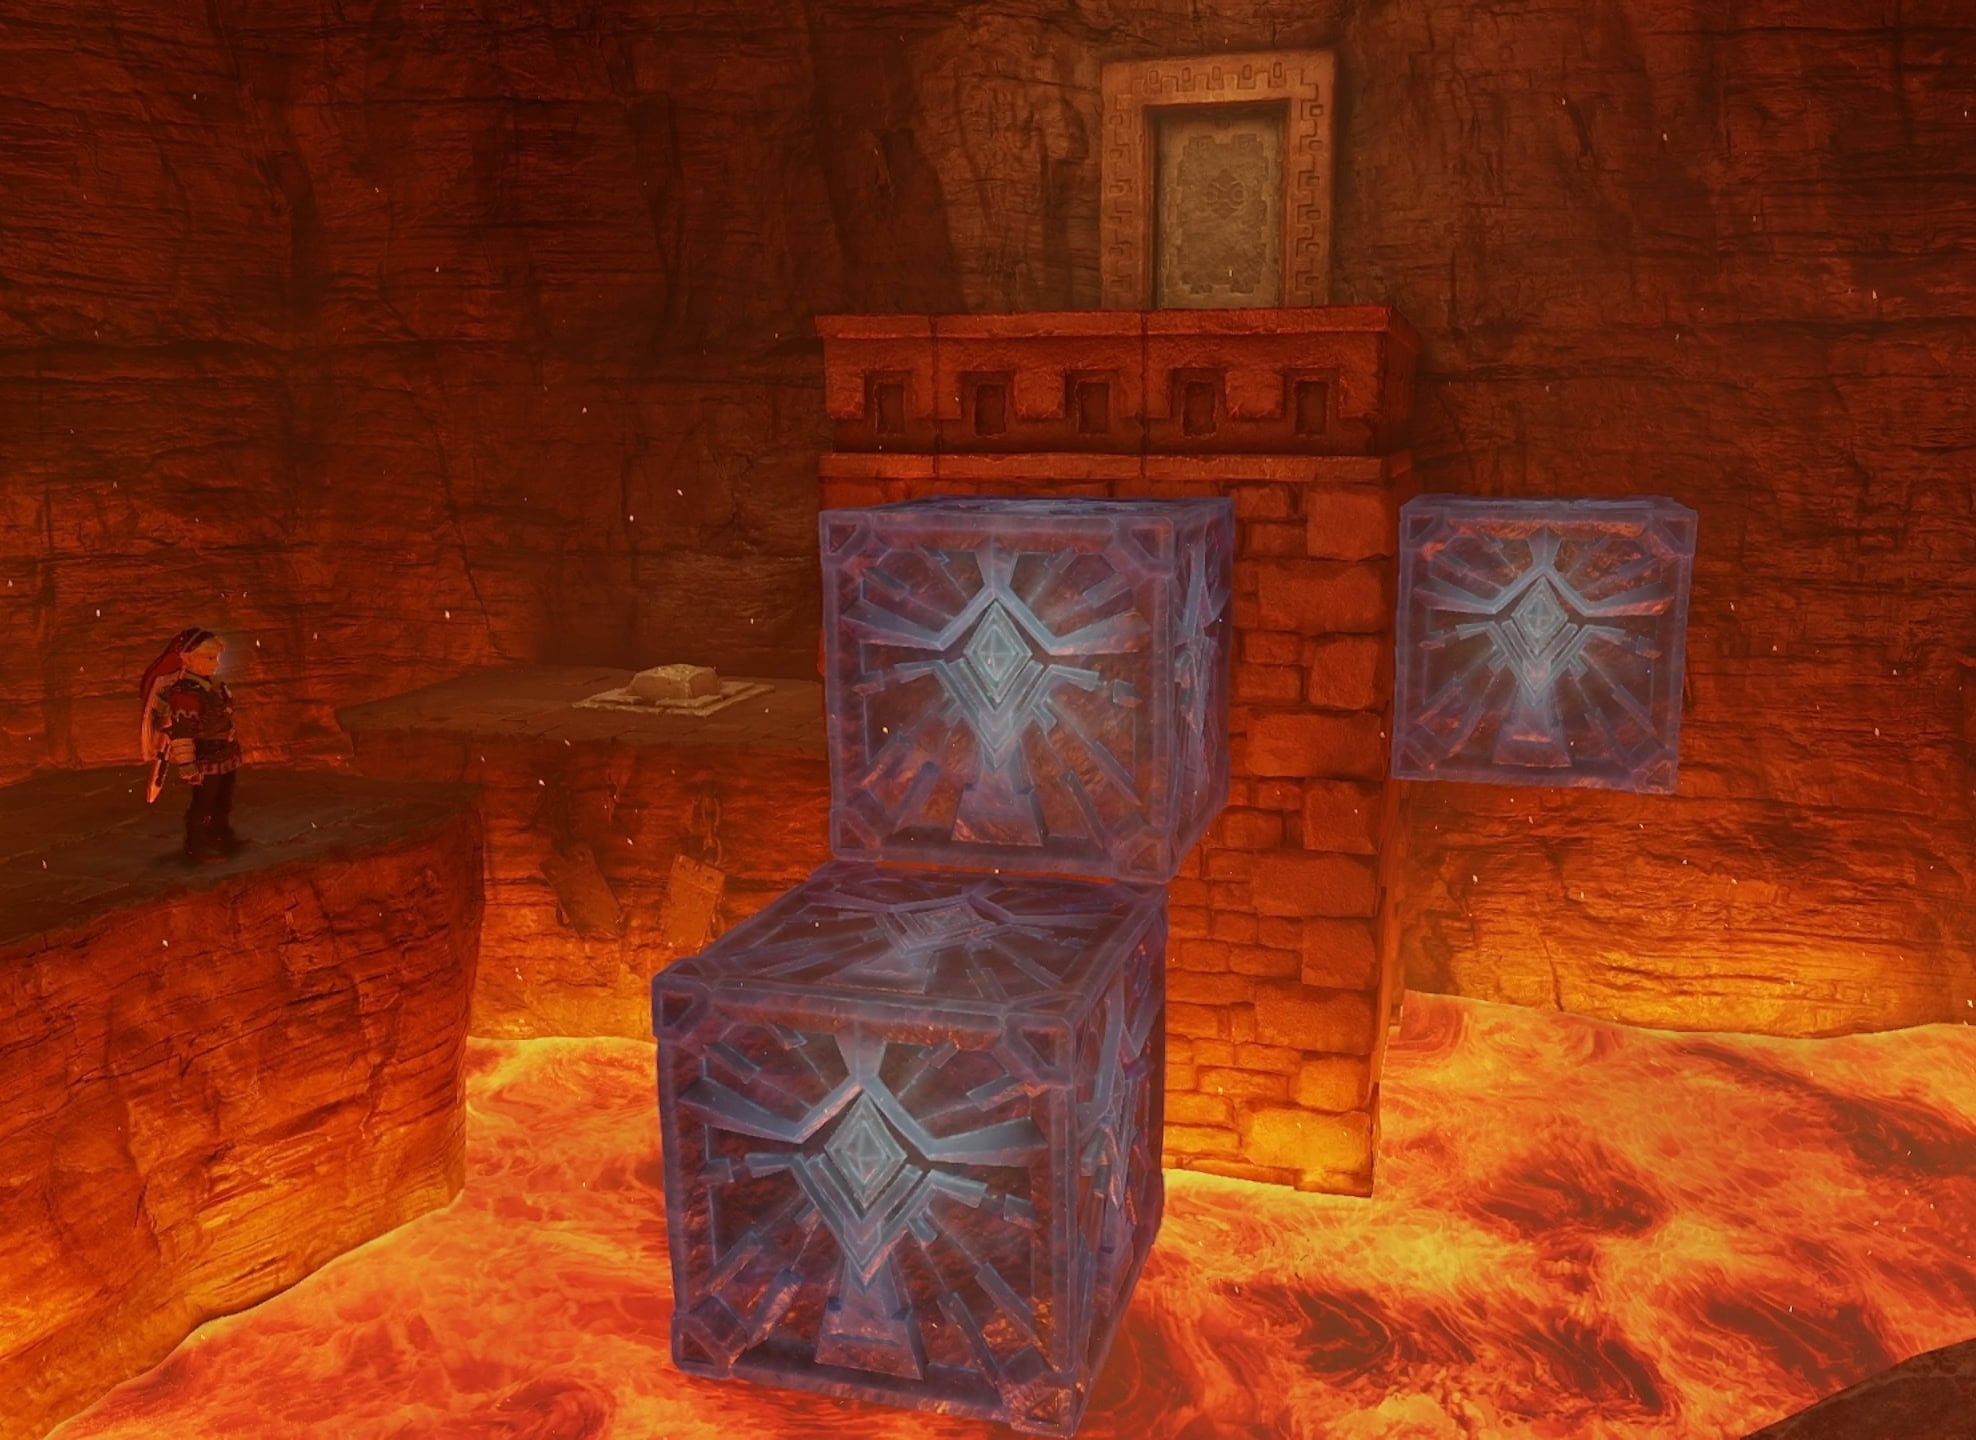
Activate the floor switch to turn off the ring of fire, then jump across the Time Blocks to reach the silver gem to unlock a door to the east.
7. Water and Silver Gems
In the east side of the Lava Room leads to a small chamber with Time Blocks on the floor. Remove the Time Blocks to reveal a deep shaft of swirling water.
Collect the 5 silver gems in here by sinking down the the Iron Boots. You’ll also need to use the Longshot to get some of the gems, and the one on top is easily acquired if you simply float up to it. Getting all of the gems will get you a Silver Key on the surface.
8. Dinolfos
This last room (which is the room to the right of the main entrance) needs you to defeat two Dinofols and a Beamos to get the Small Key.
Getting the Treasure
Return to the Treasure Room and go through the the left door. Equip your Lens of Truth then look left and up. An illusory wall is on the ceiling, and climbing up the chain-link fence will lead you to a Small Key.
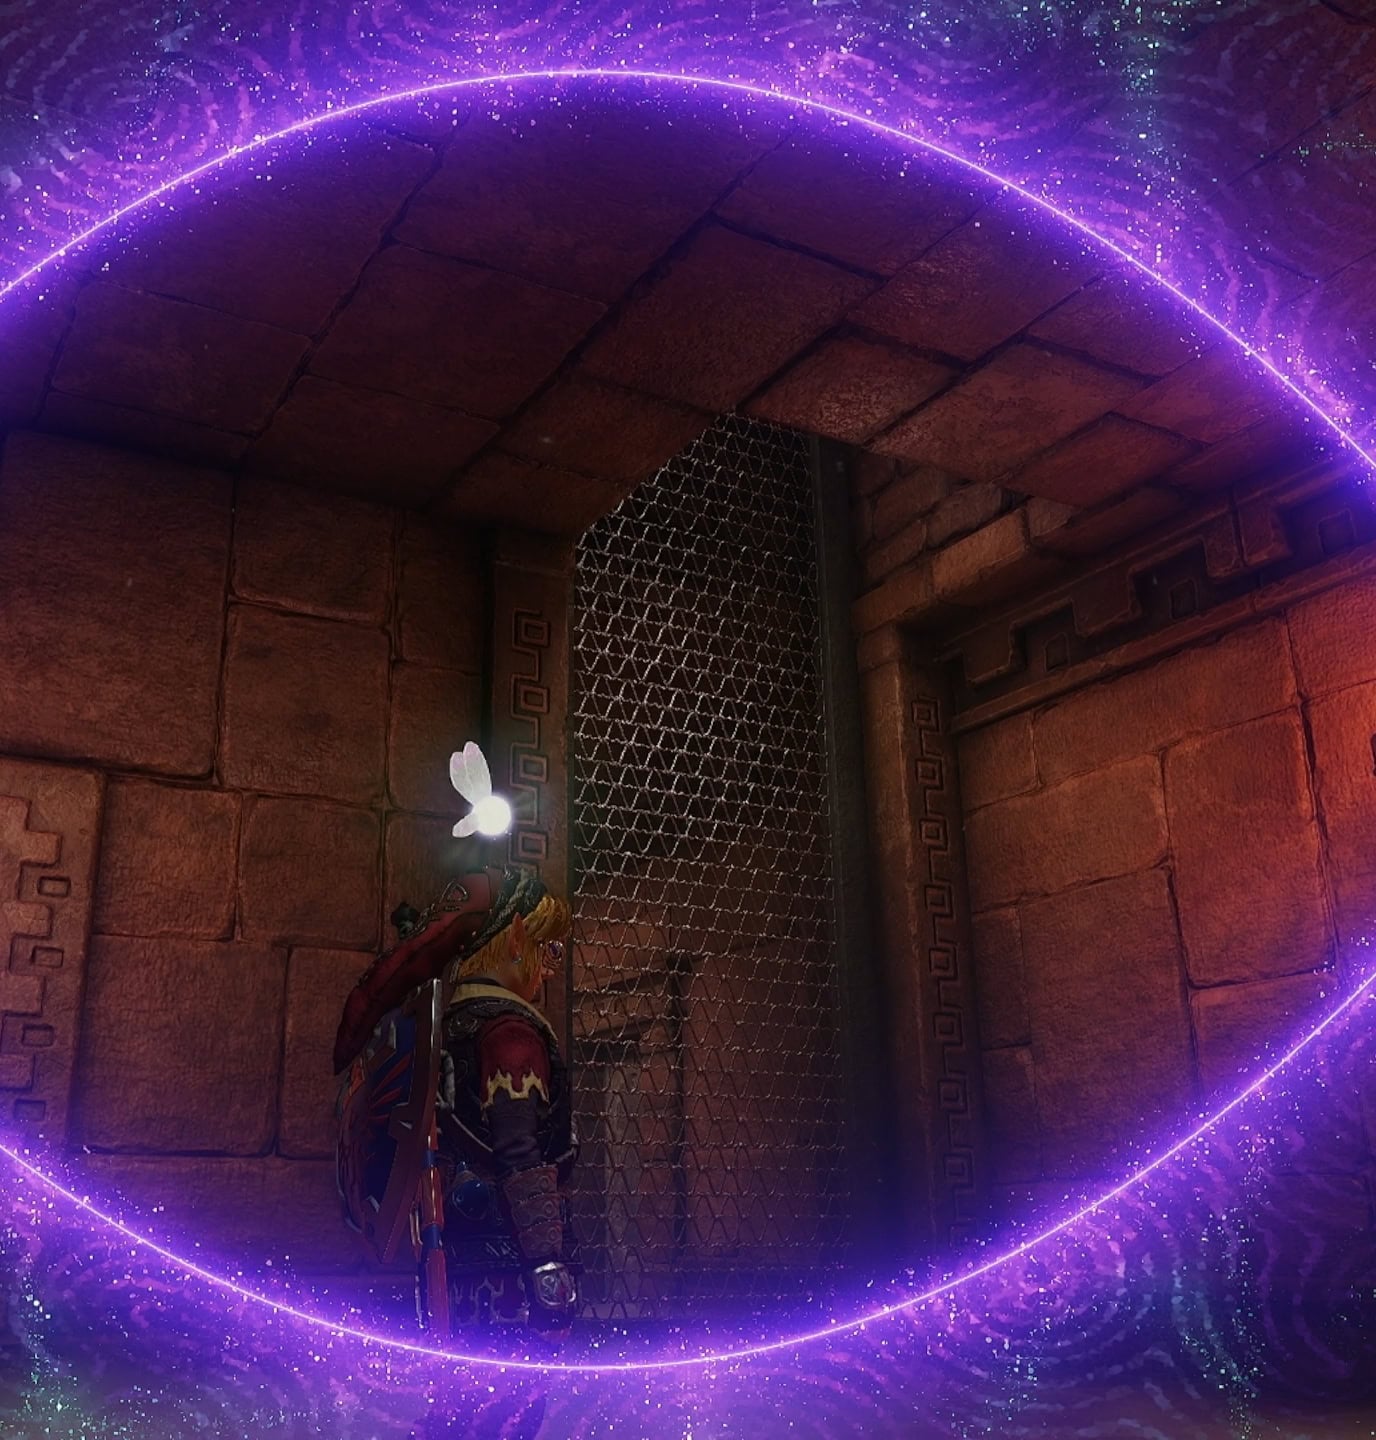
Continue following the left path of the Treasure Room. After unlocking six more doors, you’ll finally reach the treasure in the center of the room.
The Ice Arrows
Your reward for completing the Gerudo Training Grounds are the Ice Arrows. These magic arrows will freeze opponents and can provide a funny interaction with the boss of the Shadow Temple.
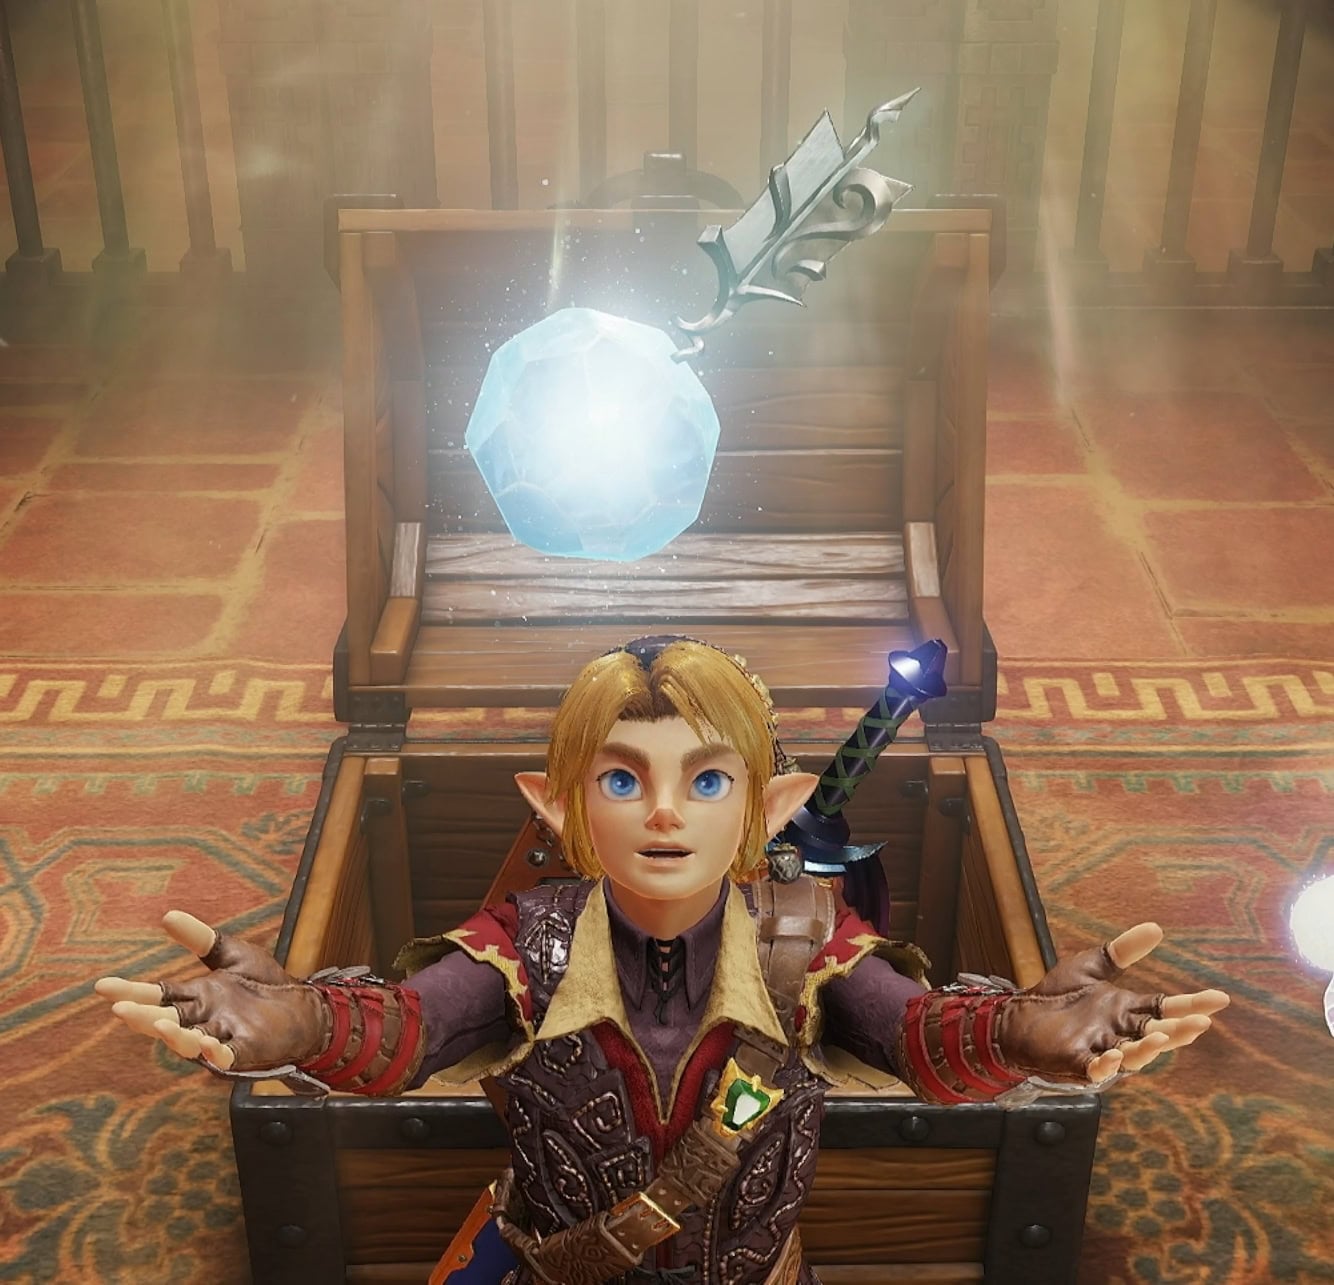
These are useful in that they can both stun and damage enemies at the same time, whereas the Hookshot or Deku Nuts primarily just stun without dealing damage to strong enemies.
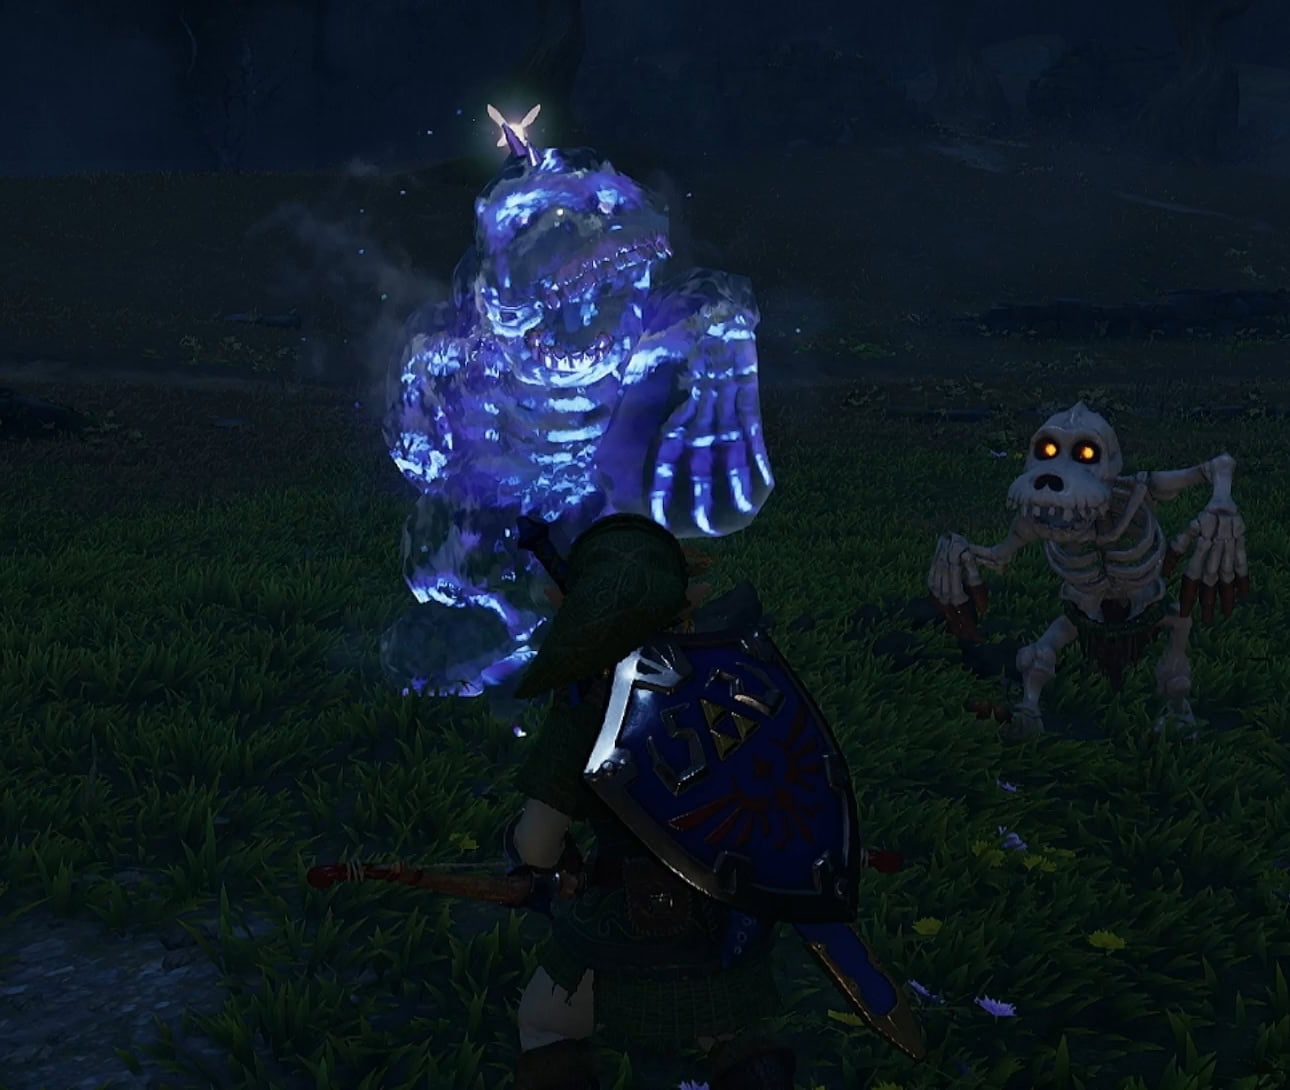
Another added benefit is that defeating an enemy with the Ice Arrows will almost always drop a Recovery Heart. If you’re ever low on health but high on magic, use the Ice Arrows to recover some health!
Some enemies with pre-designated drops such as Stalchildren will not drop a Recovery Heart when defeated with the Ice Arrows. They will continue to drop a green or blue rupee depending on their size.