A complete walkthrough for completing the Shadow Temple in The Legend of Zelda: Ocarina of Time on the Nintendo Switch 2. Includes an interactive map to help you navigate, tips on which areas to look for with the Lenses of Truth, and all locations of Gold Skulltulas and treasure chests.
Use the Table of Contents, located in the left panel (top left button on the mobile menu) to navigate through this long guide more easily and quickly.
Heading to the Shadow Temple
The only way into the Shadow Temple is to play the Nocturne of Shadow you previously learned from Sheik. After acquiring the Lenses of Truth from the Bottom of the Well, you can safely navigate the Shadow Temple.
The stairs going down from the teleportation pedestal leads to a circular group of invisible torches.
Use Din’s Fire to light all of them at once to open the door. While you can do this as Child or Adult Link, only Adult Link can proceed due to the Hookshot target needed to cross the gap.

If you want a funny interaction later on in this temple, take some time to complete the Gerudo Proving Grounds. The secret Gerudo Treasure will aid you in the Shadow Temple.
Map of the Shadow Temple
The following map features all the floors, items, and order of events needed to complete the Shadow Temple.
1. Skull of Truth
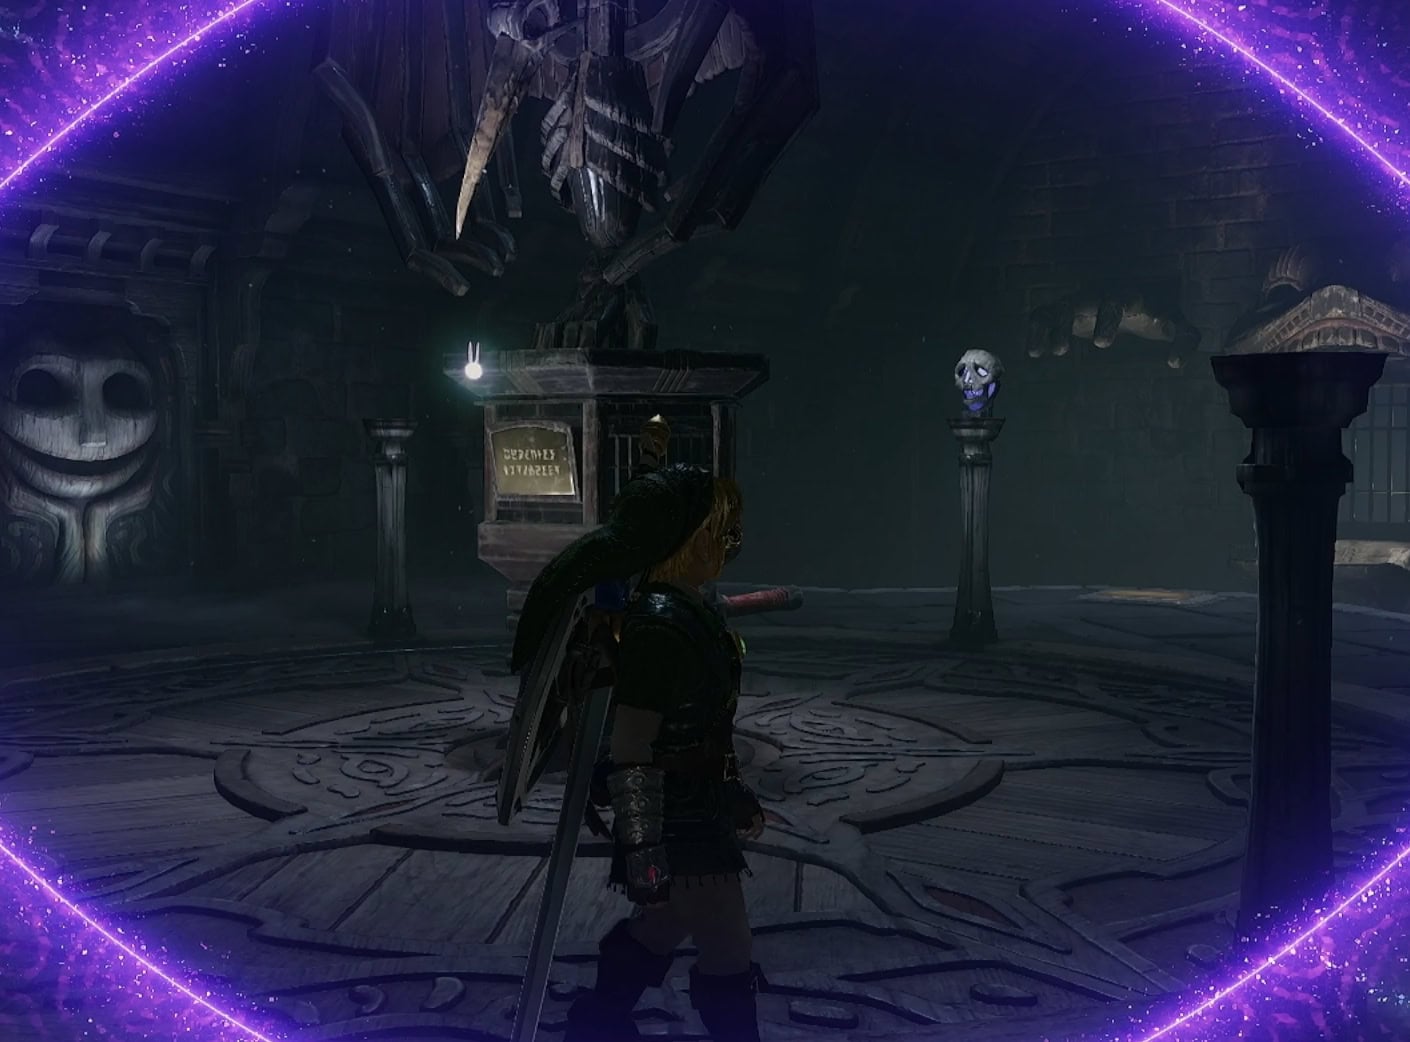
Use the Lenses of Truth to see which of the skull torches is real. Push the bird statue to make it face the real skull to open the gate across the room. Though this only solves have the problem, the other half is finding a way to get across the chasm.
2. Redead
Behind an illusory wall, you’ll find a room with a Redead and some Keese. Defeat them to get the Map for the Shadow Temple.
3. Dead Hand
Time for round 2 against the Dead Hand! You can use your Lenses of Truth to see where it’s hiding this time. Look for the shadow on the ground with bits of dirt flying up. Throw a bomb there to force it back out.
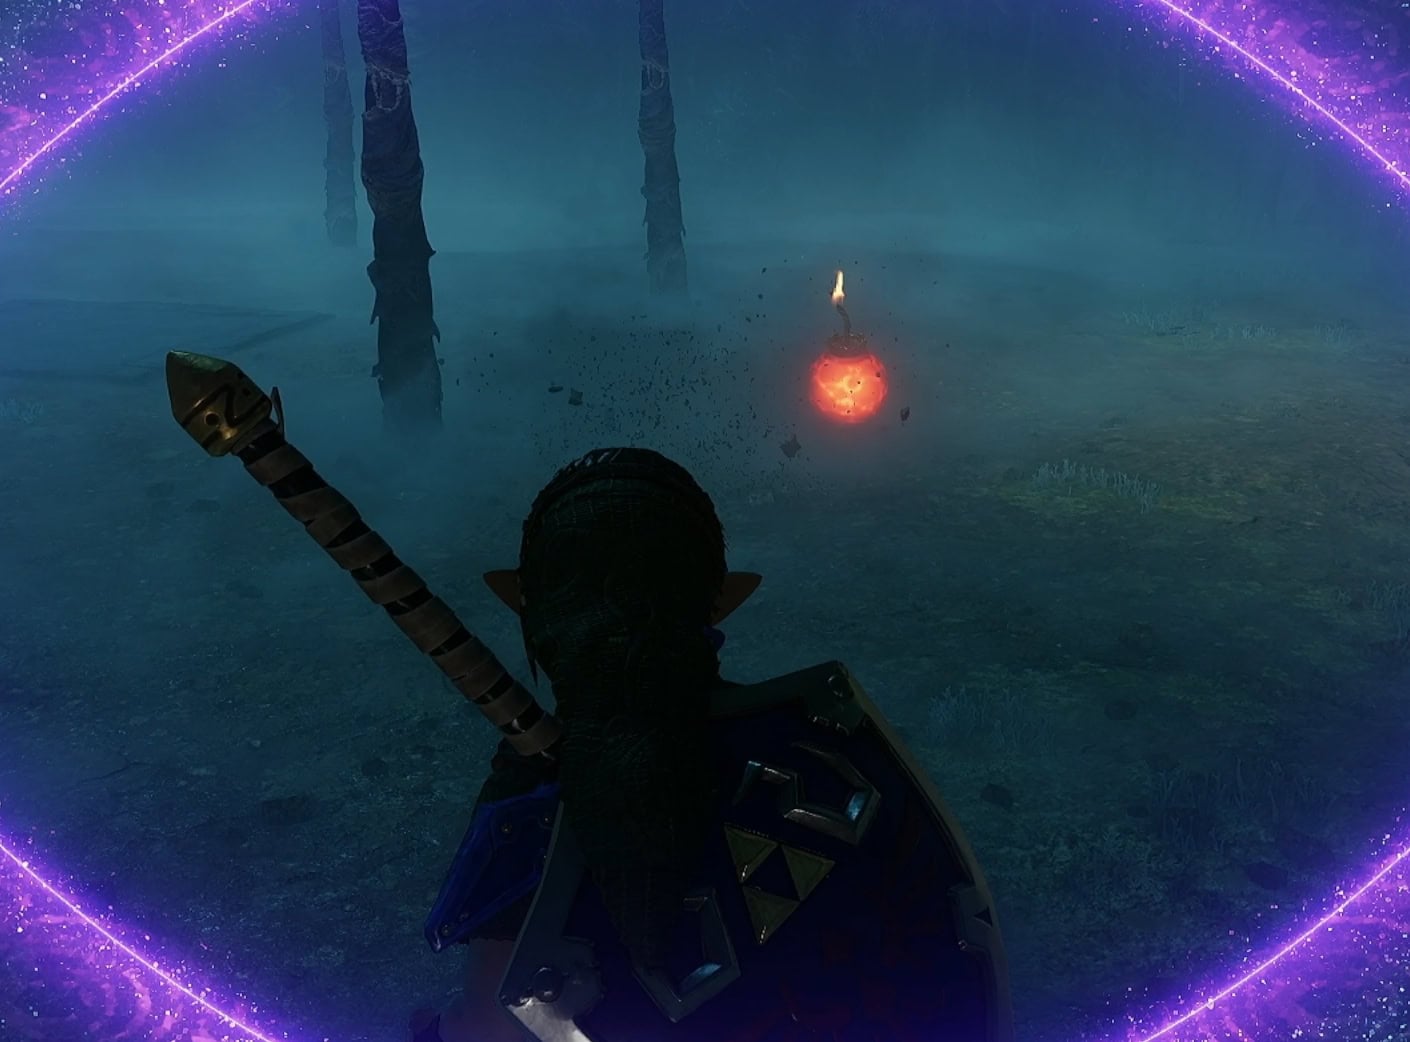
Defeating the Dead Hand will get you the Hover Boots. With these, you’ll be able to walk on air instead of jumping off a ledge. Don’t leave them on when you don’t need them, they remove all friction and it will feel like you’re walking on ice.
With the Hover Boots in hand (or… on foot?), return to the Skull of Truth room and cross the chasm.
4. Gibdos
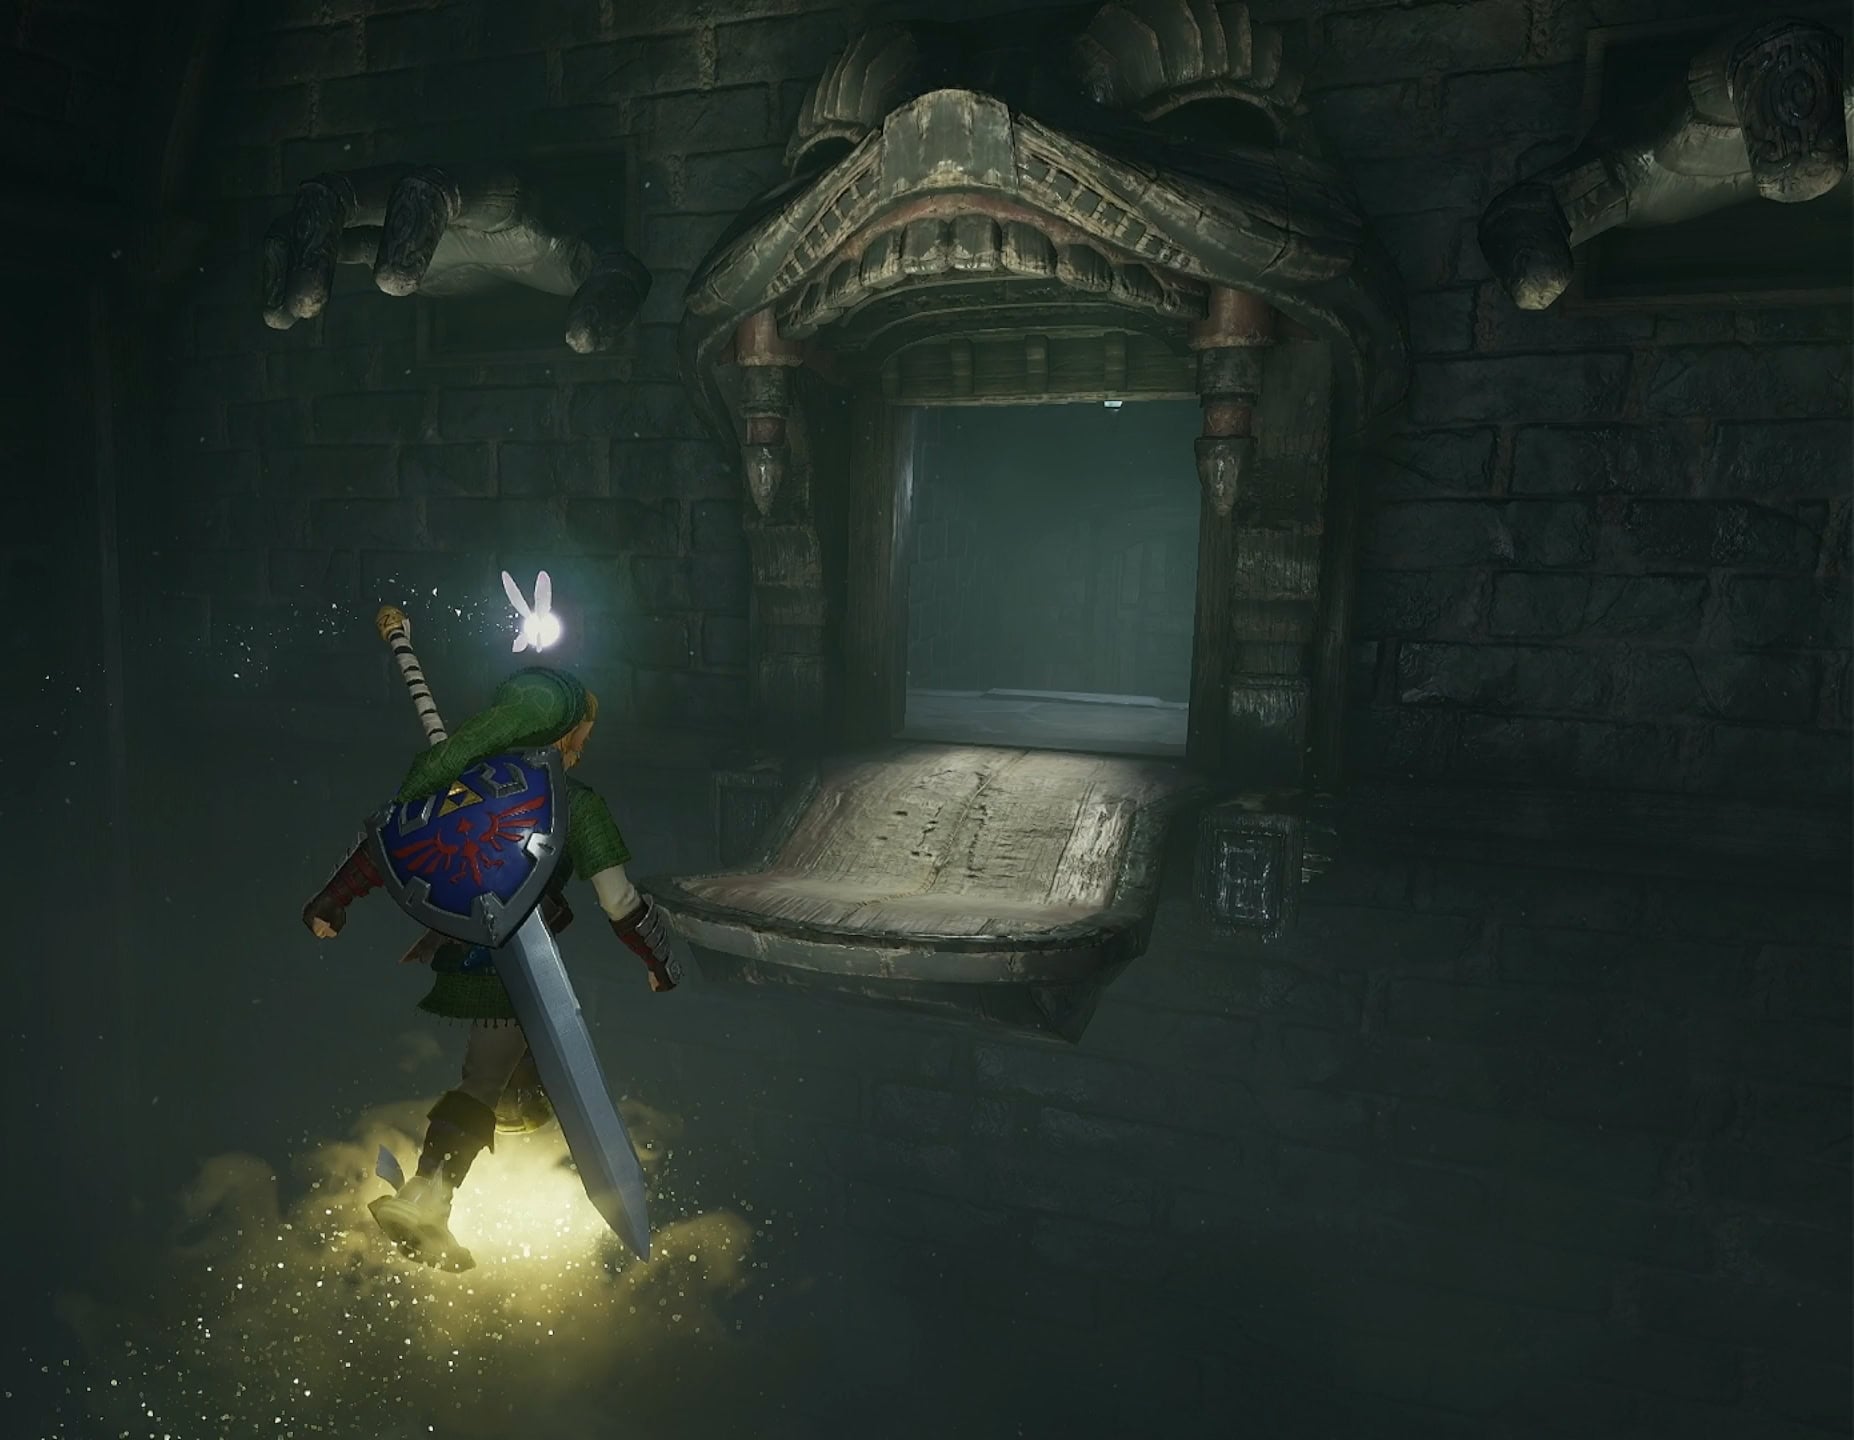
When you reach the small room with the Beamos, go through the right illusory wall and defeat the pair of Gibdos to retrieve the Compass.
5. Reaper Room
A large statue of two reapers will spin their scythes around the room. Collect the 5 silver gems in here. This will unlock a gate blocking off a Small Key in the southeast corner.
In the northeast corner is an illusory floor hides a lift that leads to the lower levels. You can’t do anything here yet, but this will later become a shortcut.
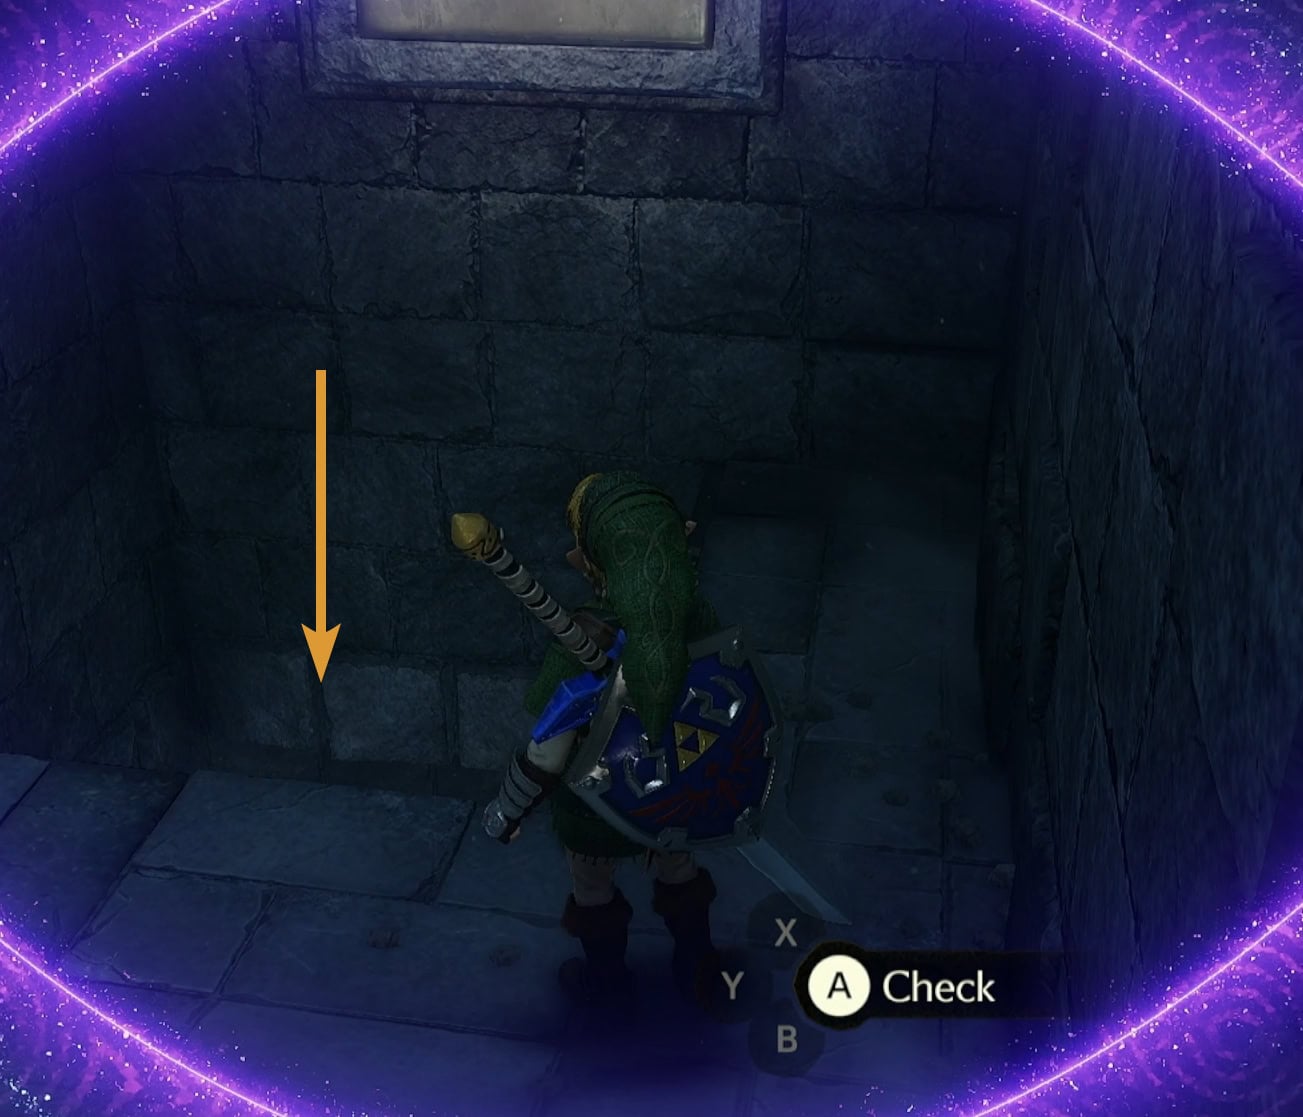
Make your way back to the Beamos room and destroy the cracked wall to get to the locked door. Get through the hall of Big Skulltulas and guillotines to reach a large, cavernous room.
6. Invisible Trap Room
North of the platform where you fight the Stalfos are some hidden platforms you can hover to. This will lead you to the Invisible Trap Room.
Using the Lenses of Truth will show you another one of those reaper statues. Defeat all the enemies in this room to unlock the room with the Gold Skulltula. Return to the large, cavernous room once you’ve acquired the token .
7. Silver Gems
Silver gems are surrounding a pair of spike traps circling around a Beamos. Collect them all to unlock the door ahead. The first one near the platform that led you here needs to be jumped to.
8. Rain of Blades
To get past the falling spike traps, equip the Lenses of Truth to find the movable block. Pull it out then push it halfway between the spikes so they’re both blocked off.
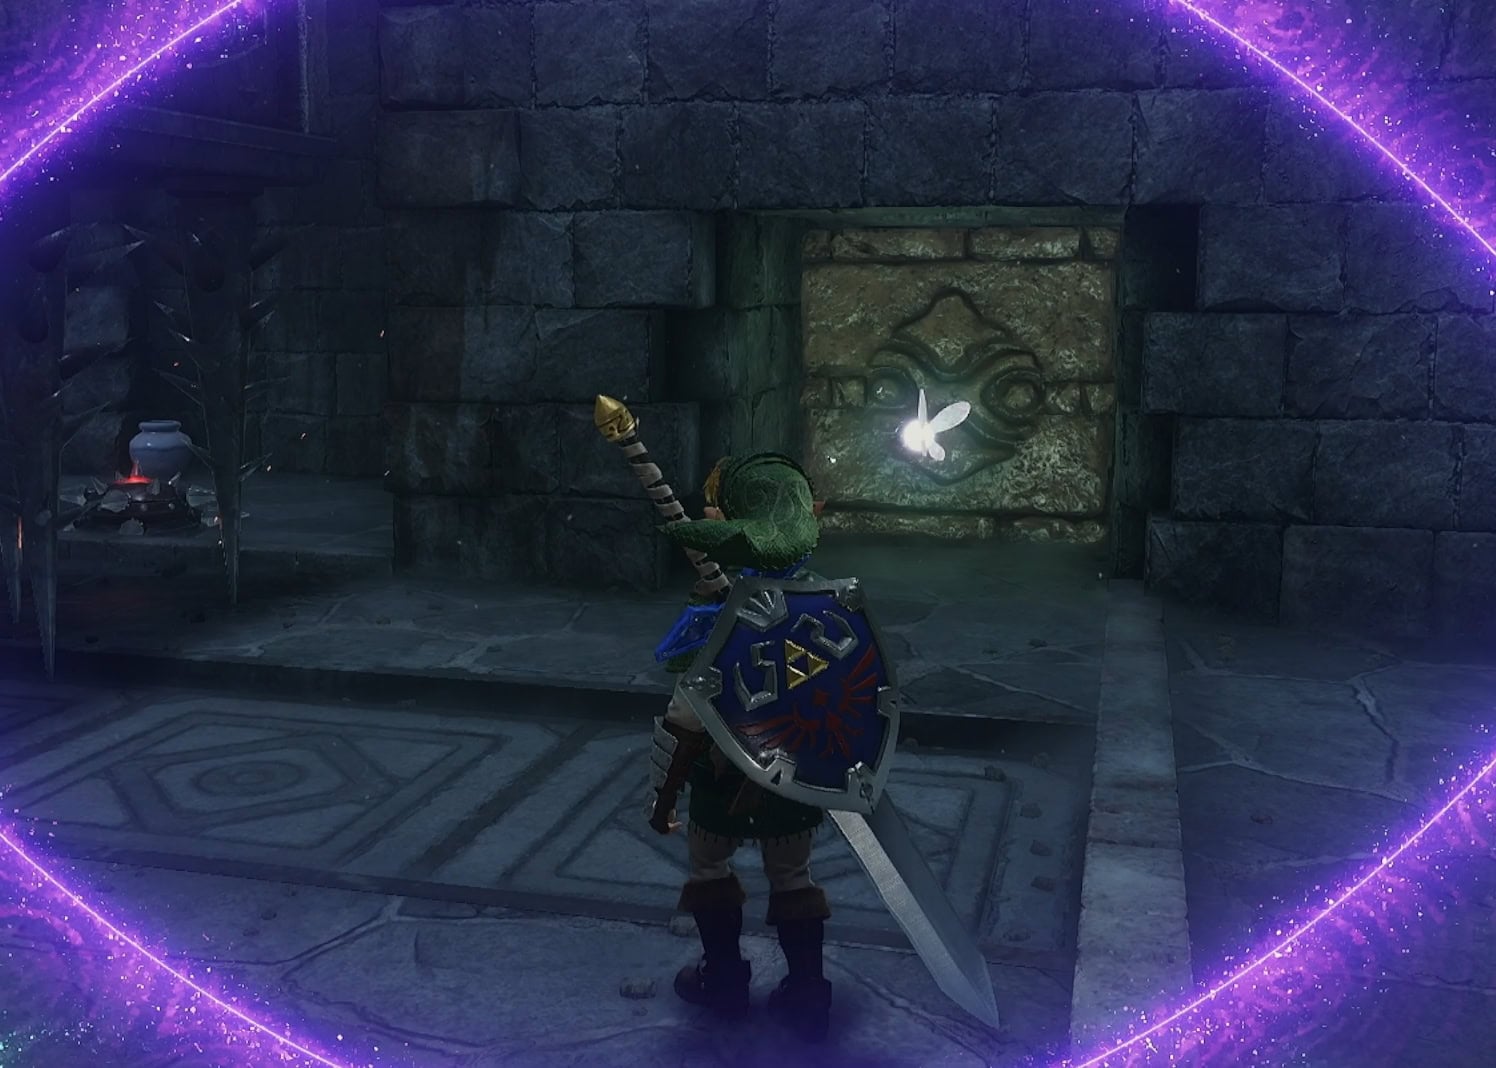
Go around the block and pull it to the end. If you push it instead, you’ll get crushed by the first spike trap. Climb on top of the block, activate the floor switch, and get the newly spawned chest for a Small Key.
Return to the large, cavernous room and follow the path going north with the guillotine. Equip your Lenses of Truth and Hover Boots, then move across the invisible platforms to the locked door.
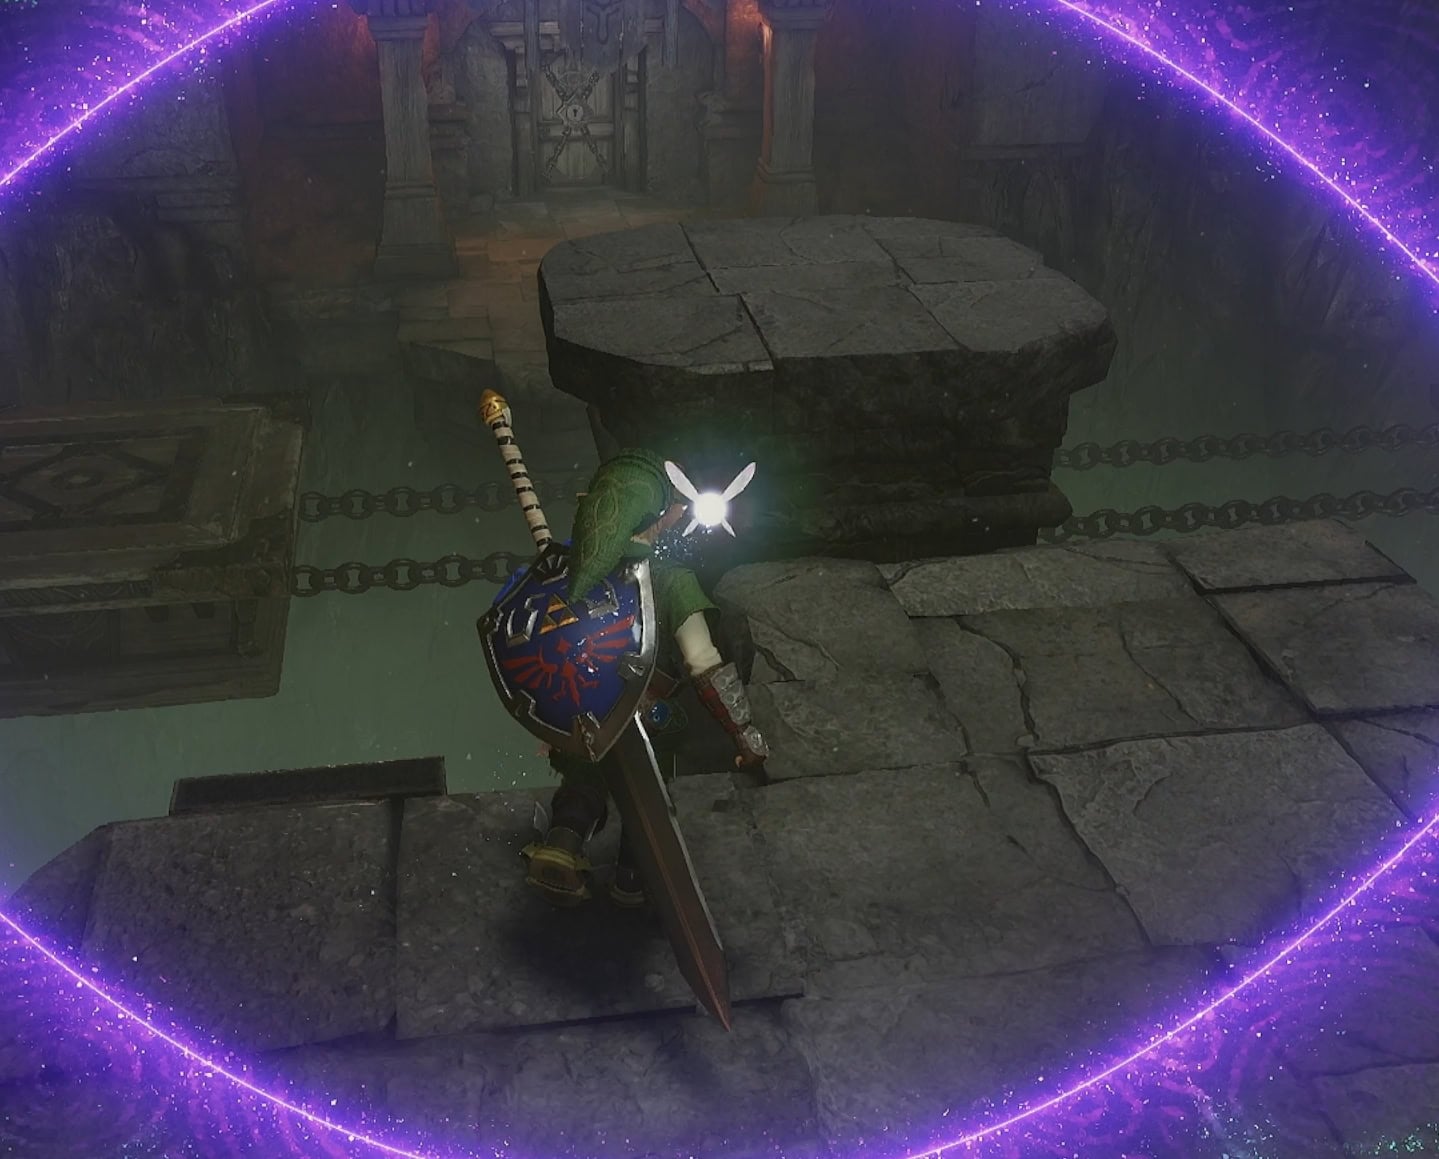
9. Invisible Traps and Silver Gems
You’ll need the Hookshot to get the floating gems, just watch out for the Redeads and the invisible spikes on the ground.
Use the Lenses of Truth to safely navigate the room. There’s an invisible platform on the northwest corner that you can land on from the Hookshot target above it.
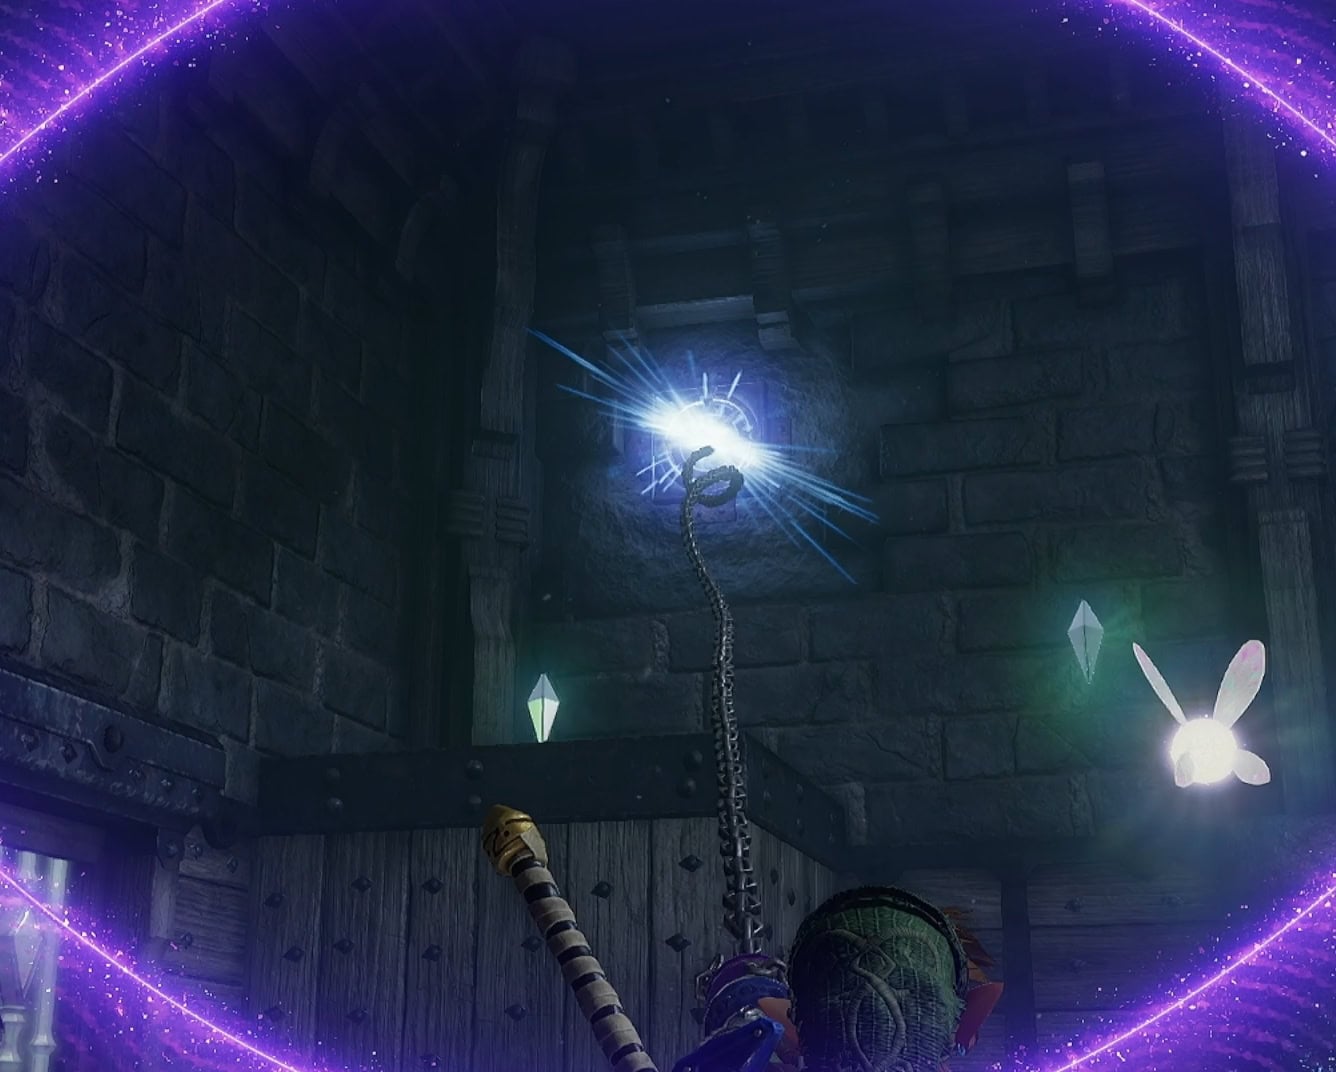
When all of the gems are acquired, the west door will unlock. In this room, climb up to the back platform and throw a bomb into the giant skulls to get a Small Key.
10. Hall of Fans
Equip your Iron Boots to get across the halls with fans in them. Without them, you’ll be pushed back, into spike traps, or down a chasm.
When you reach the last hall with chasms on both sides, stand in front of the last fan. Equip your Hover Boots and you’ll be pushed through an illusory wall that leads to the next door.
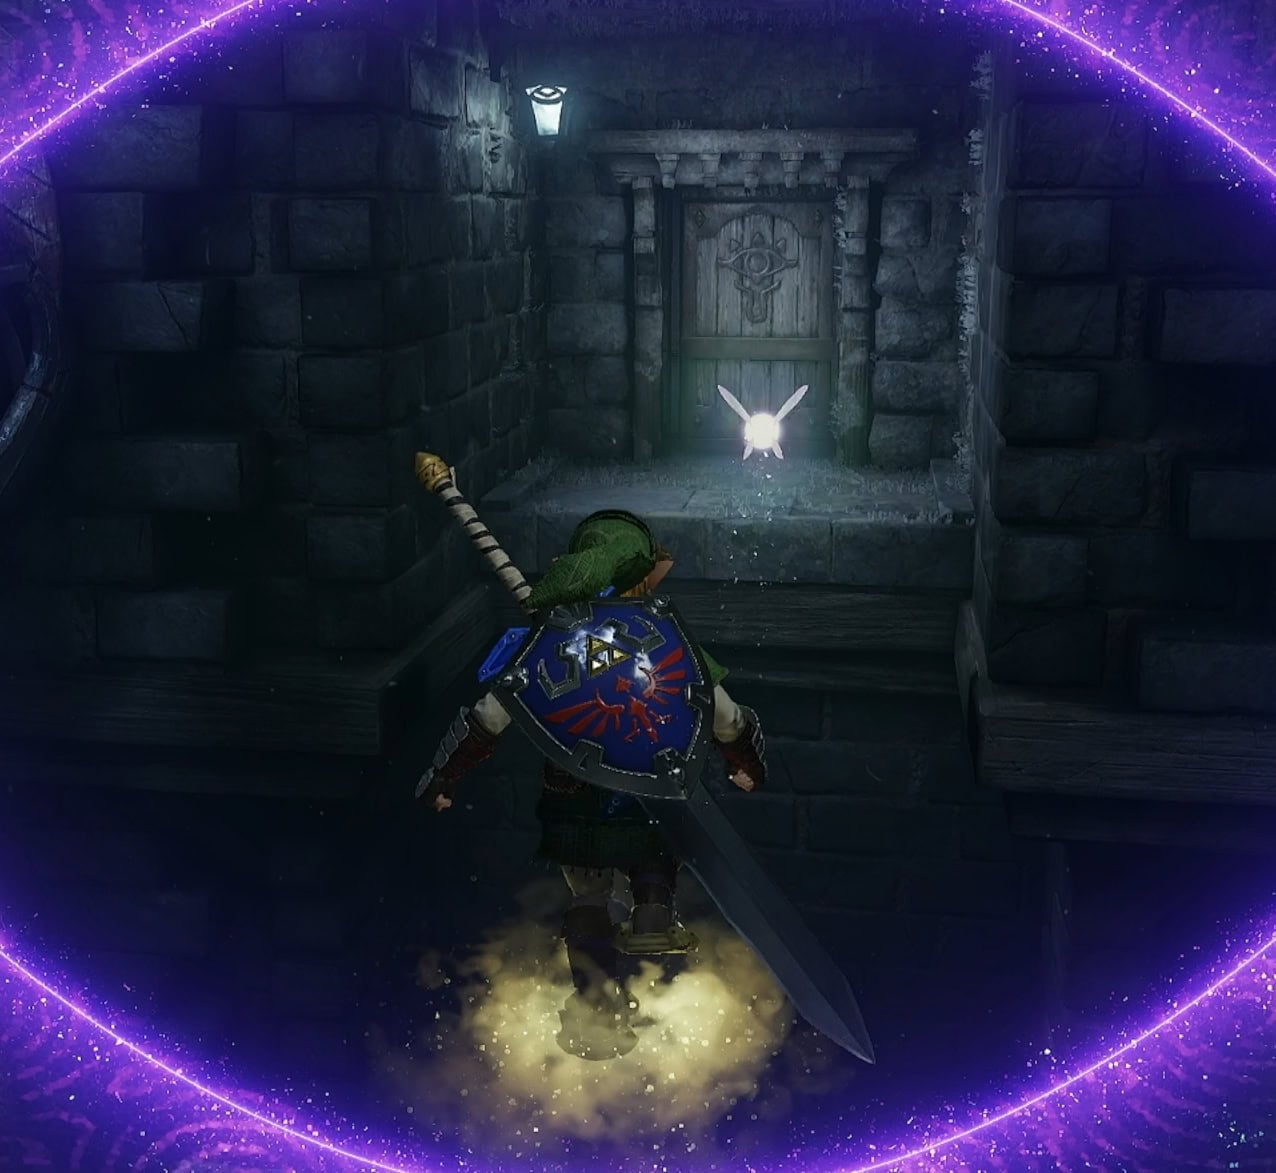
11. The Missing Key
Defeating the two Gibdos in this room will spawn a small chest with a green rupee. Smash the cracked rock blocking a path to find an invisible chest with a Small Key.
12. Ferry of the Dead
When you enter this room, turn to the left and pull the block along the track. This will create a shortcut to B2 and allow you to climb up to the dock on the east side of the room.
When you climb up the dock, a platform across from you hides a Gold Skulltula behind some fencing. Play the Scarecrow’s Song to summon Pierre, then Hookshot over there to reach the Gold Skulltula.
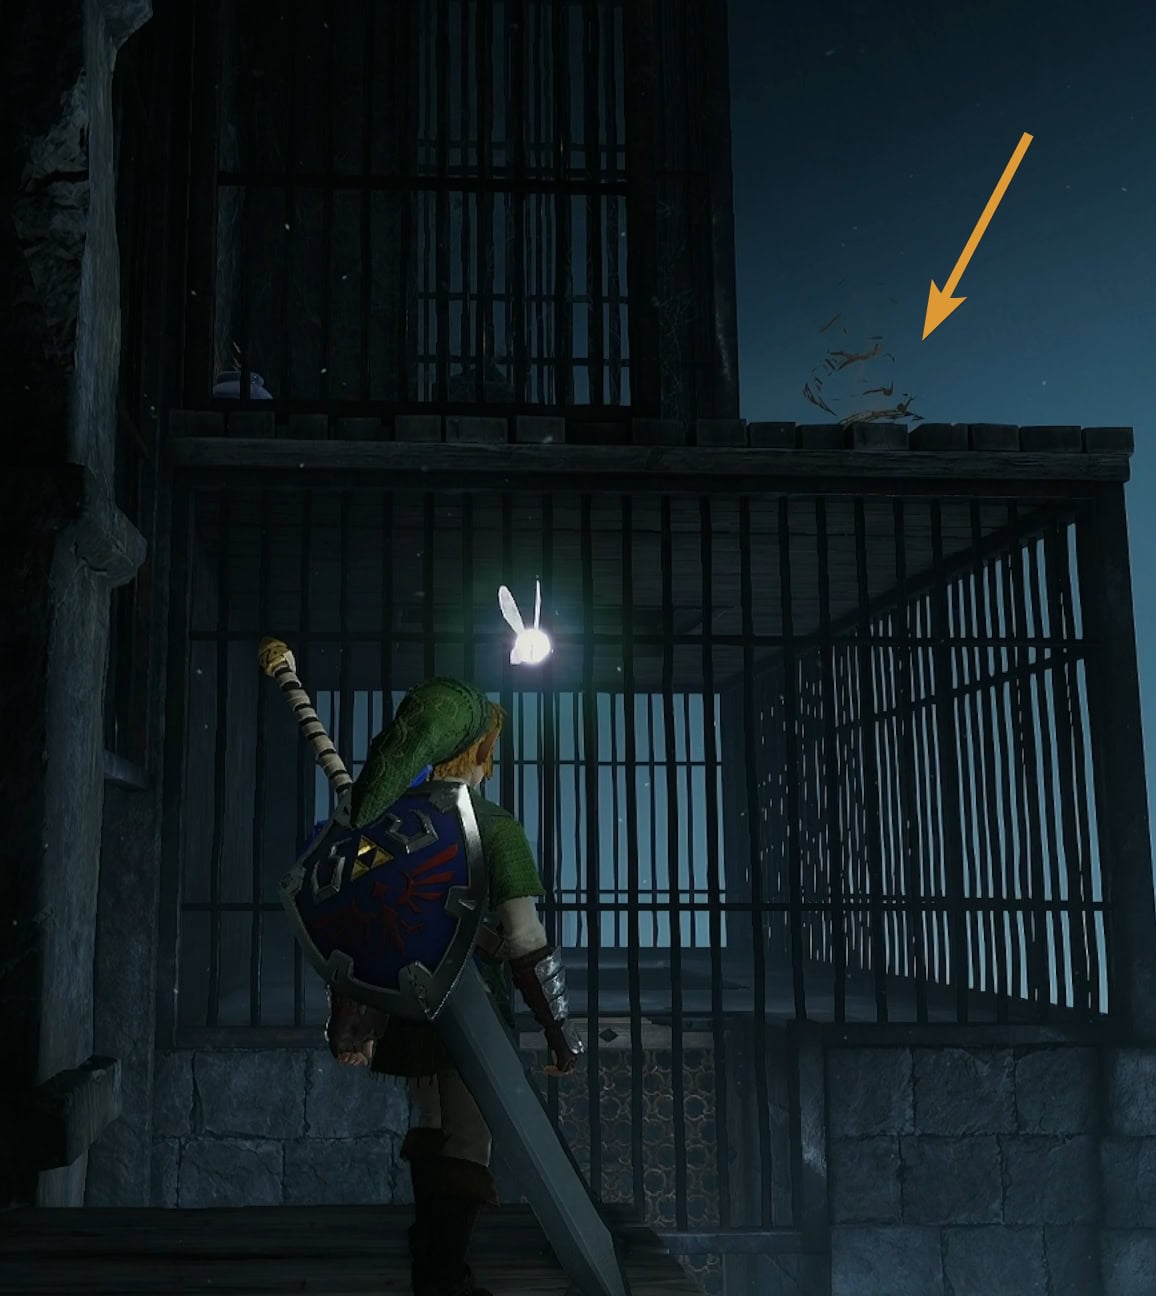
Board the ferry and play Zelda’s Lullaby on the Triforce Emblem on its deck. Fight the Stalfos that appear, but jump off onto the south platforms when the boat hits the wall.
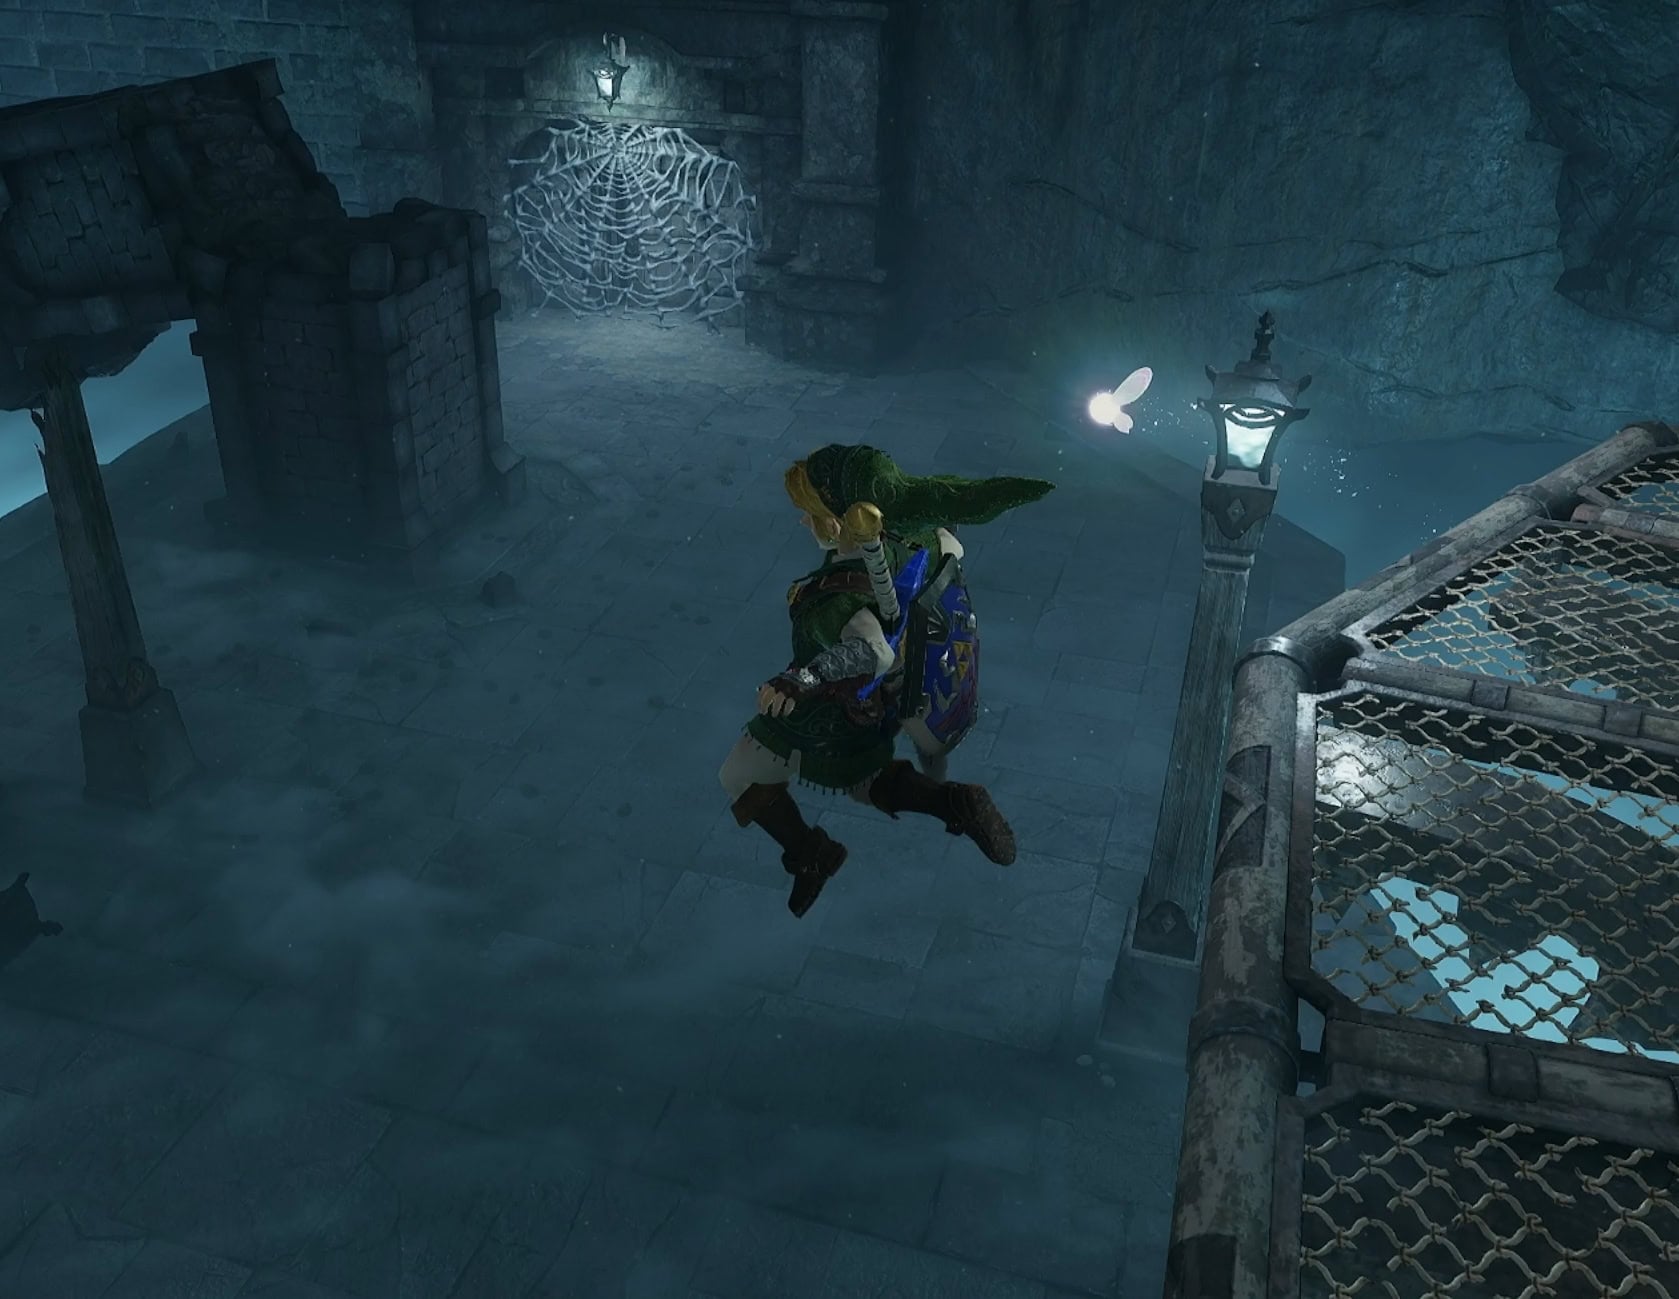
13. Building a Bridge
When you get off the ship, you’ll find a cracked pillar with a bird statue on it. Break the pillar with a bomb or the Megaton Hammer to create a bridge to the other side. Look for the nearby door and burn the cobwebs off of it, then go inside.
14. Floormaster Maze
This room is filled with invisible walls and Floormasters. Defeat the Floormaster in the south room to get a Small Key needed for the north room.
The west room has a Gold Skulltula hidden in one of the giant skulls. Throw bombs in them until you find it.
15. Spiked Wall Trap
Upon entering the north room of the Floormaster Maze, two wooden walls of spikes will start closing in on you. Use Din’s Fire to burn them before they crush you, then open the blue chest for the Big Key. Return to the bridge you made, and take the south door.
16. Invisible Path
The last puzzle is a fairly simple one, just equip the Hover Boots and Lenses of Truth and float across the platforms to reach the Boss Door.
Bongo Bongo
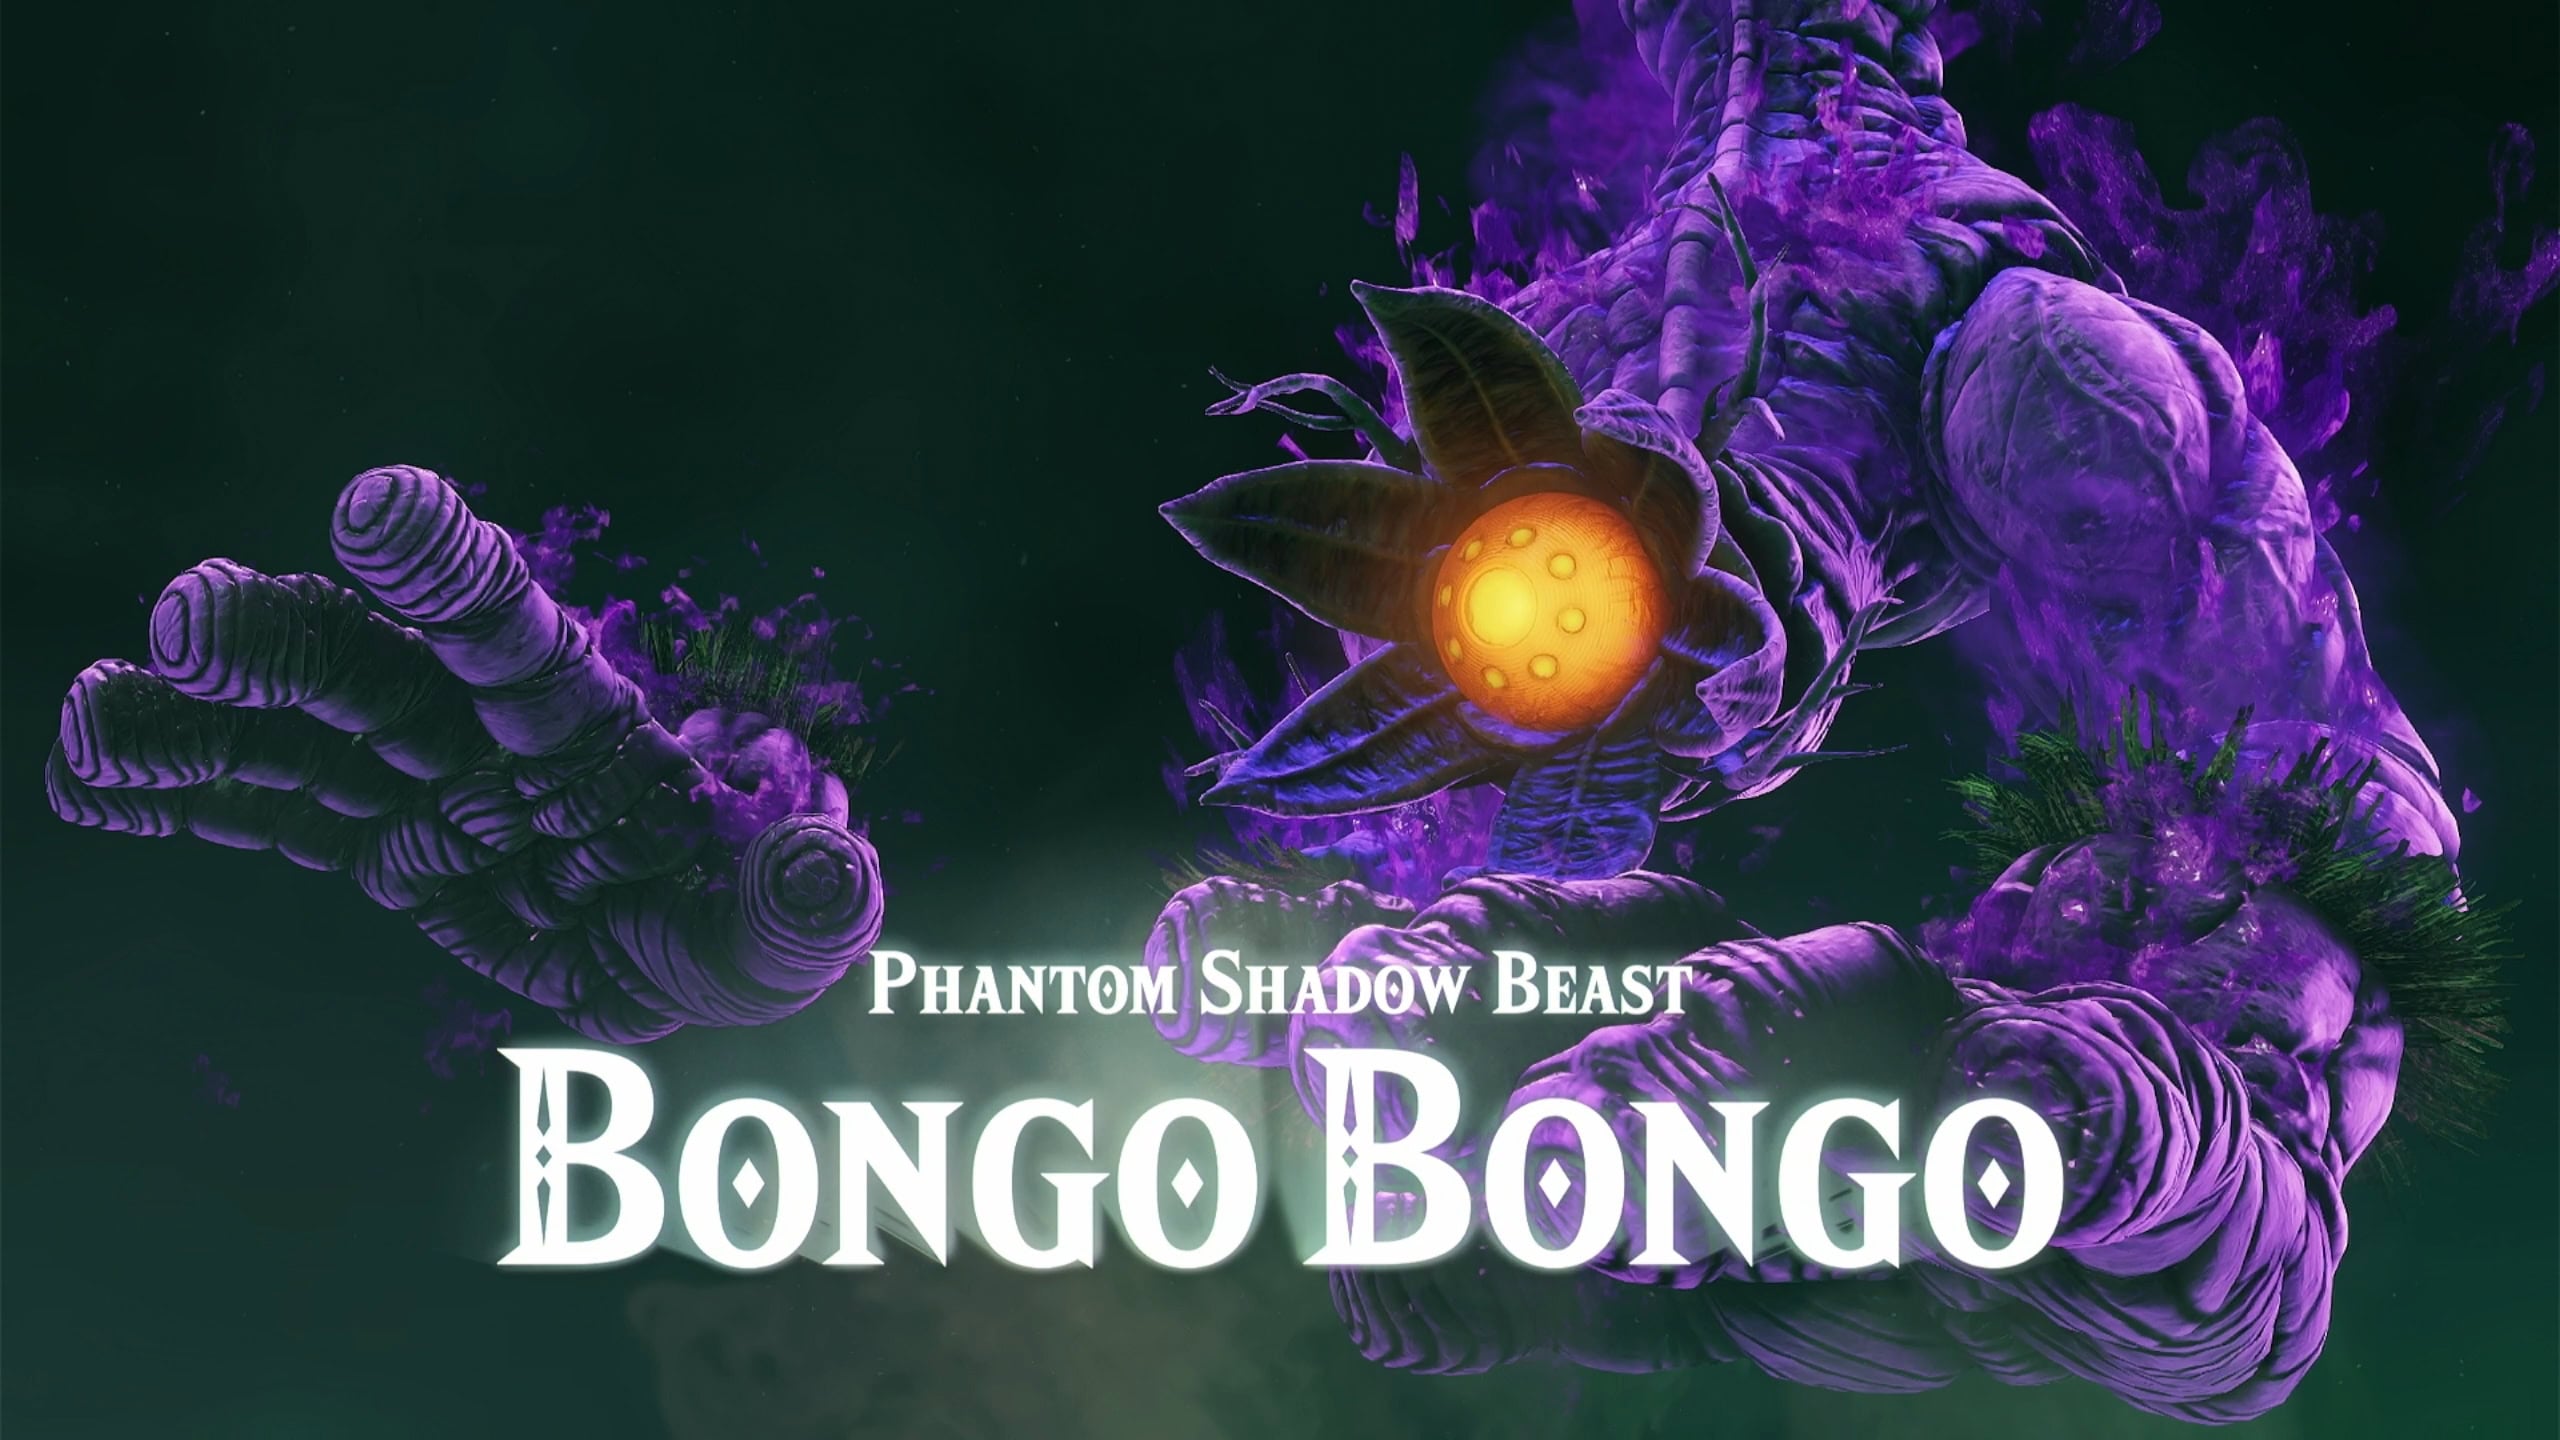
The Boss Room will only have a deep hole in the center. With it being the only way to go, jump down and you’ll find yourself on… a giant drum? Two large hands beat the drum and reveal the Phantom Shadow Beast, Bongo Bongo!
If you decided to pick up the treasure from the Gerudo Proving Grounds, this is where the shenanigans come into play!
The Desert Wind Blows
Only one temple remains, but it can only be found in the west where the Gerudo call home. Getting by them will not be easier as they’re not welcoming to outsiders, especially men. You’ll need to find a way to earn their trust to get by.
The Legend of Zelda: Ocarina of Time – Gerudo Fortress Walkthrough