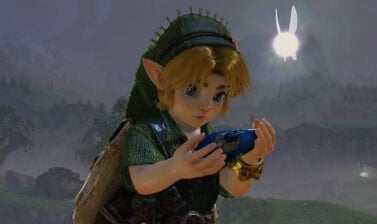
A complete walkthrough for the Spirit Temple in The Legend of Zelda: Ocarina of Time on the Nintendo Switch 2. Includes an interactive map to help you navigate, tips on completing its puzzles and tough enemies, and all locations of Gold Skulltulas and treasure chests.
Use the Table of Contents, located in the left panel (top left button on the mobile menu) to navigate through this long guide more easily and quickly.
Past and Future
After earning the trust of the Gerudo and making your way through the Haunted Wasteland, you’ll reach the Desert Colossus. Within it is the Spirit Temple, where you’ll need to complete one half as Child Link and the other as Adult Link.
Map of the Spirit Temple
The following map features all the floors, items, and order of events needed to complete the Spirit Temple.
Child Link will be able to complete steps 1-8
Adult Link will complete steps 9-21
1. Three Locked Doors
Defeat the Keese and Armos in this room to unlock the barred doors. There’s a door past the tunnel you can crawl through, but you’ll need to take the left door to start your path to the Small Key.
2. Crystal Switch Bridge
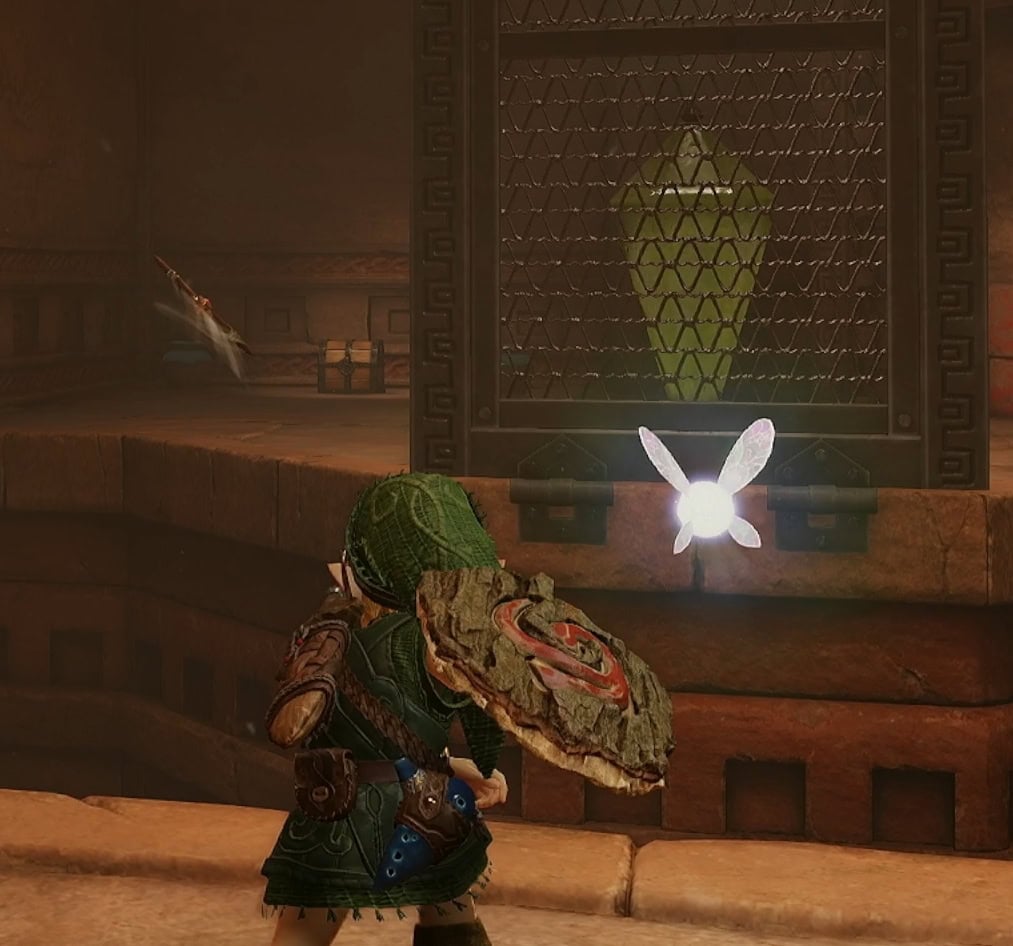
Defeat the Stalfos to safely hit the Crystal Switch across the room with your Boomerang. Watch out for the pots near the small chest, they’re going to fly right towards you.
3. Anubis
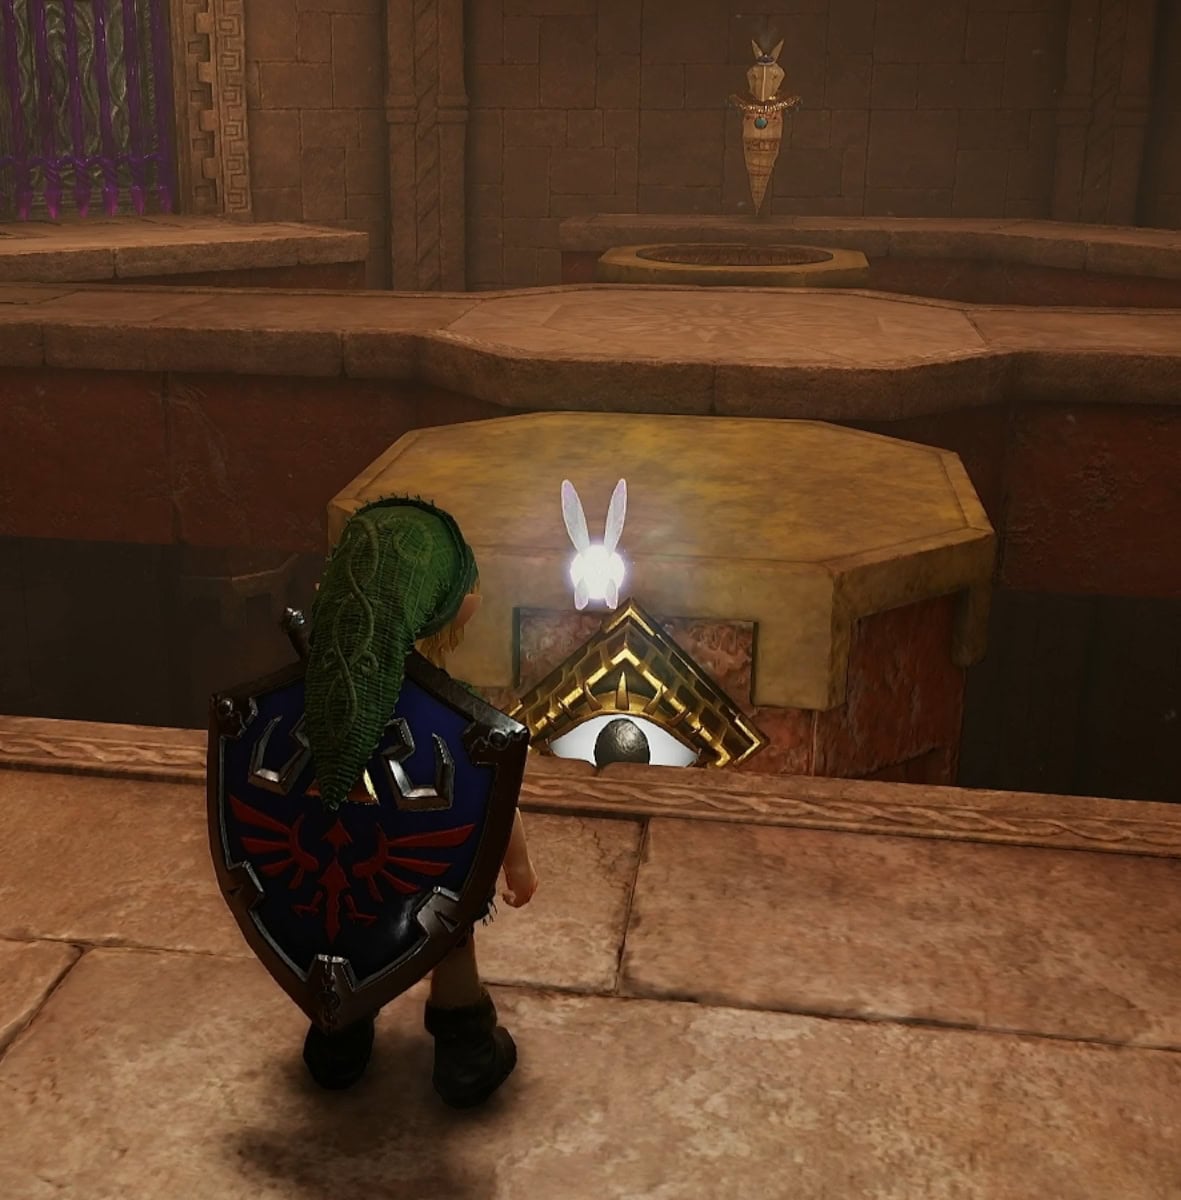
A new type of enemy called the Anubis will mirror your movements. If you swing your sword, it’ll shoot purple fire at you.
An eye switch will spawn a ring of fire for a moment. If you move the Anubis to where the fire spawns, then hit the switch, it’ll burn up and unlock the door. Alternatively, just use Din’s Fire to burn it.
4. Silver Gems
Defeat the Wallmaster, then clear out the Keese. Get the silver gems to lower the bridge, then light the torches to spawn the Small Key. Be sure to get the Gold Skulltula on your way out. Return to the Three Door Room and unlock the door in the middle.
5. Light and Lizalfos
Defeat the Lizalfos the activate the crystal switch high up on a platform. This will spawn a small chest containing Bombchus. Use a Bombchu to hit the rock that has light shining through to activate the sun switch.
6. Goddess of the Sand
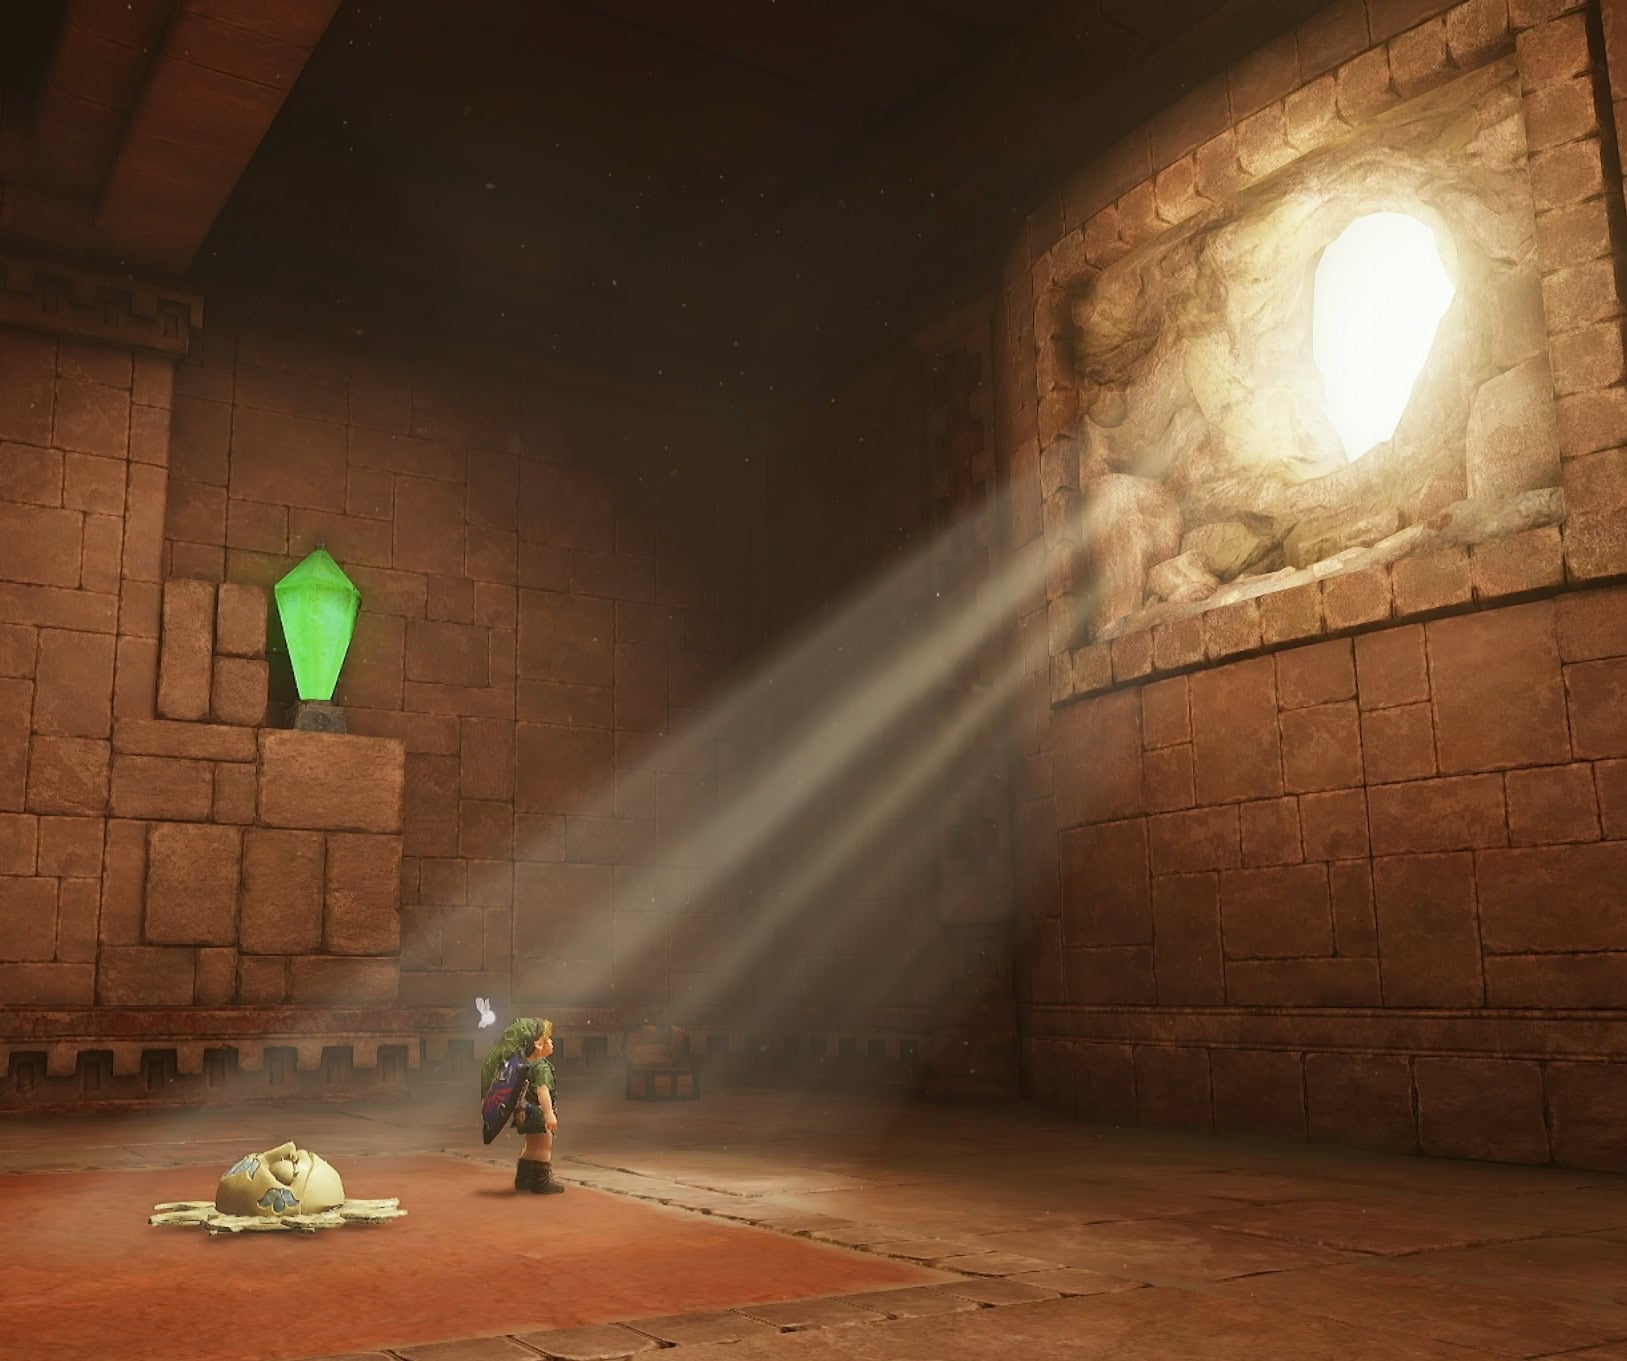
Jump down to the goddess statue and light the torches in front of her to spawn a big chest containing the Map. Climb back up to where you came from and go up the stairs to 3F.
Climb up the chain-link wall and push the Armos statue down onto the floor switch to unlock the next door.
7. Silver Gems and Beamos
Start by destroying the Beamos to make this room a little less hazardous. Collecting all the silver gems to unlock the next door.
Look for the block with the sun switch and move the blocks surrounding it out of the way. Move the sun switch block into the light to spawn a Small Key.
8. Iron Knuckle
This mini-boss is incredibly dangerous as they hit hard and it can take a beating. Focus on dodging their attacks rather than blocking them. If you’re struggling, use Nayru’s Love.
When they hold their axe back behind them, dodge to the side. When they hold it with two hands to the side, back up and get away.
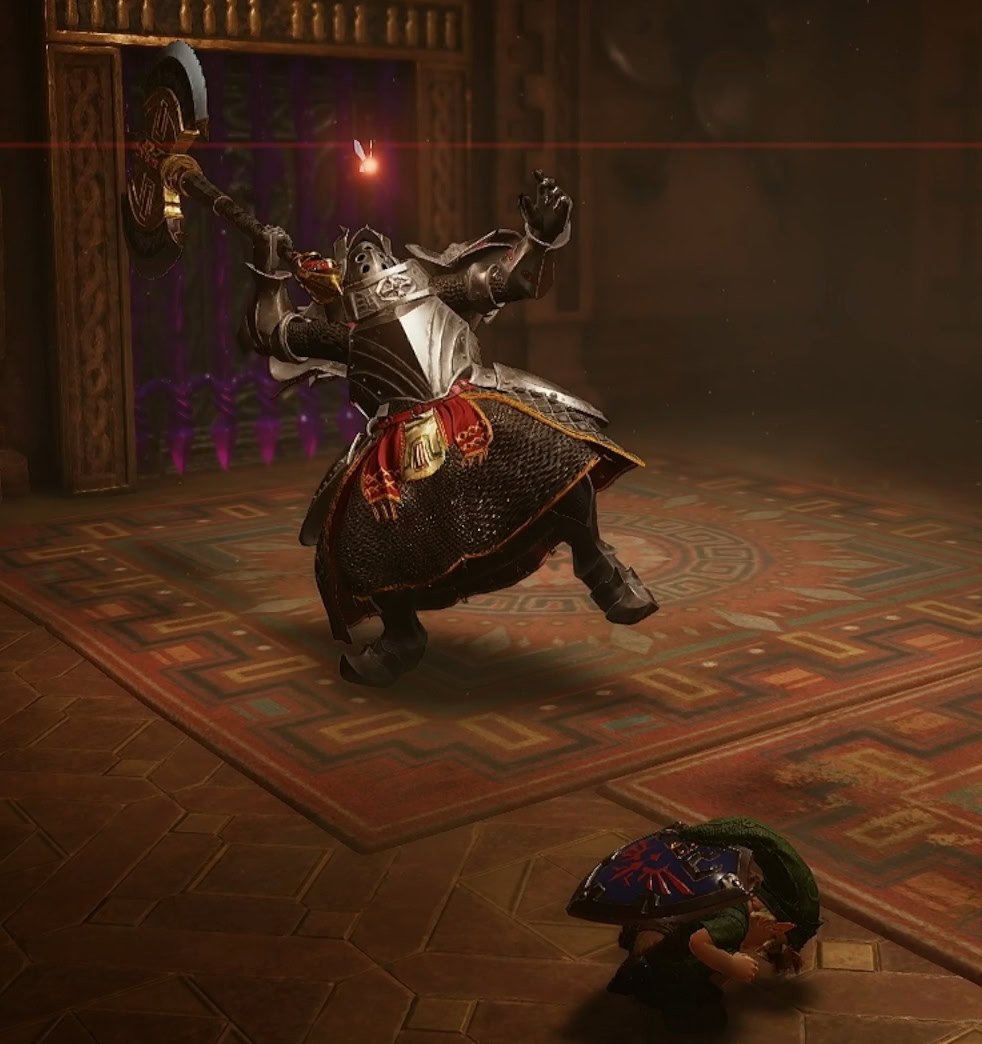
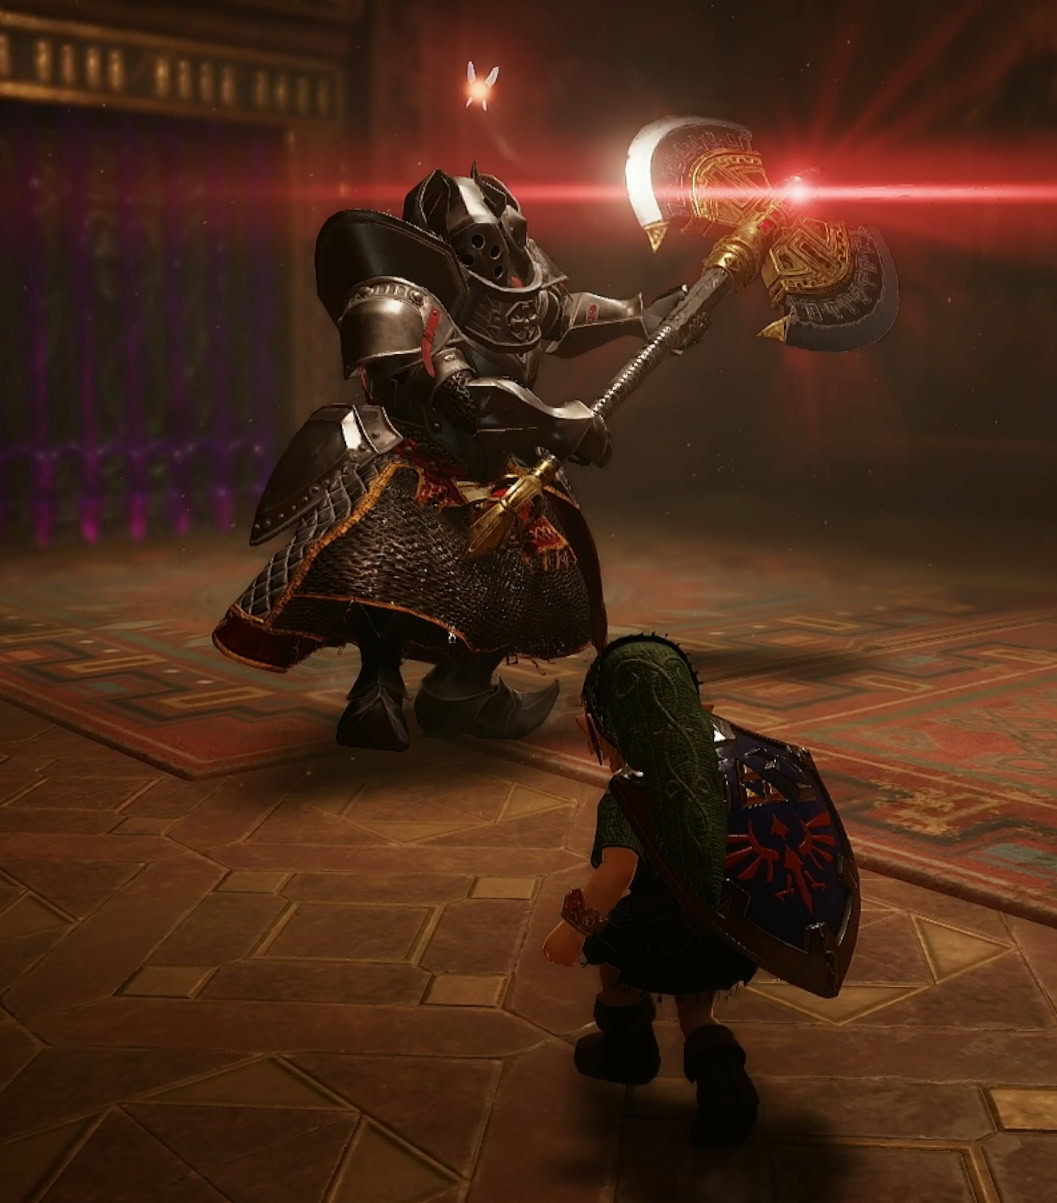
You can bait their attacks so that they hit the pillars, dropping supplies such as Recovery Hearts.
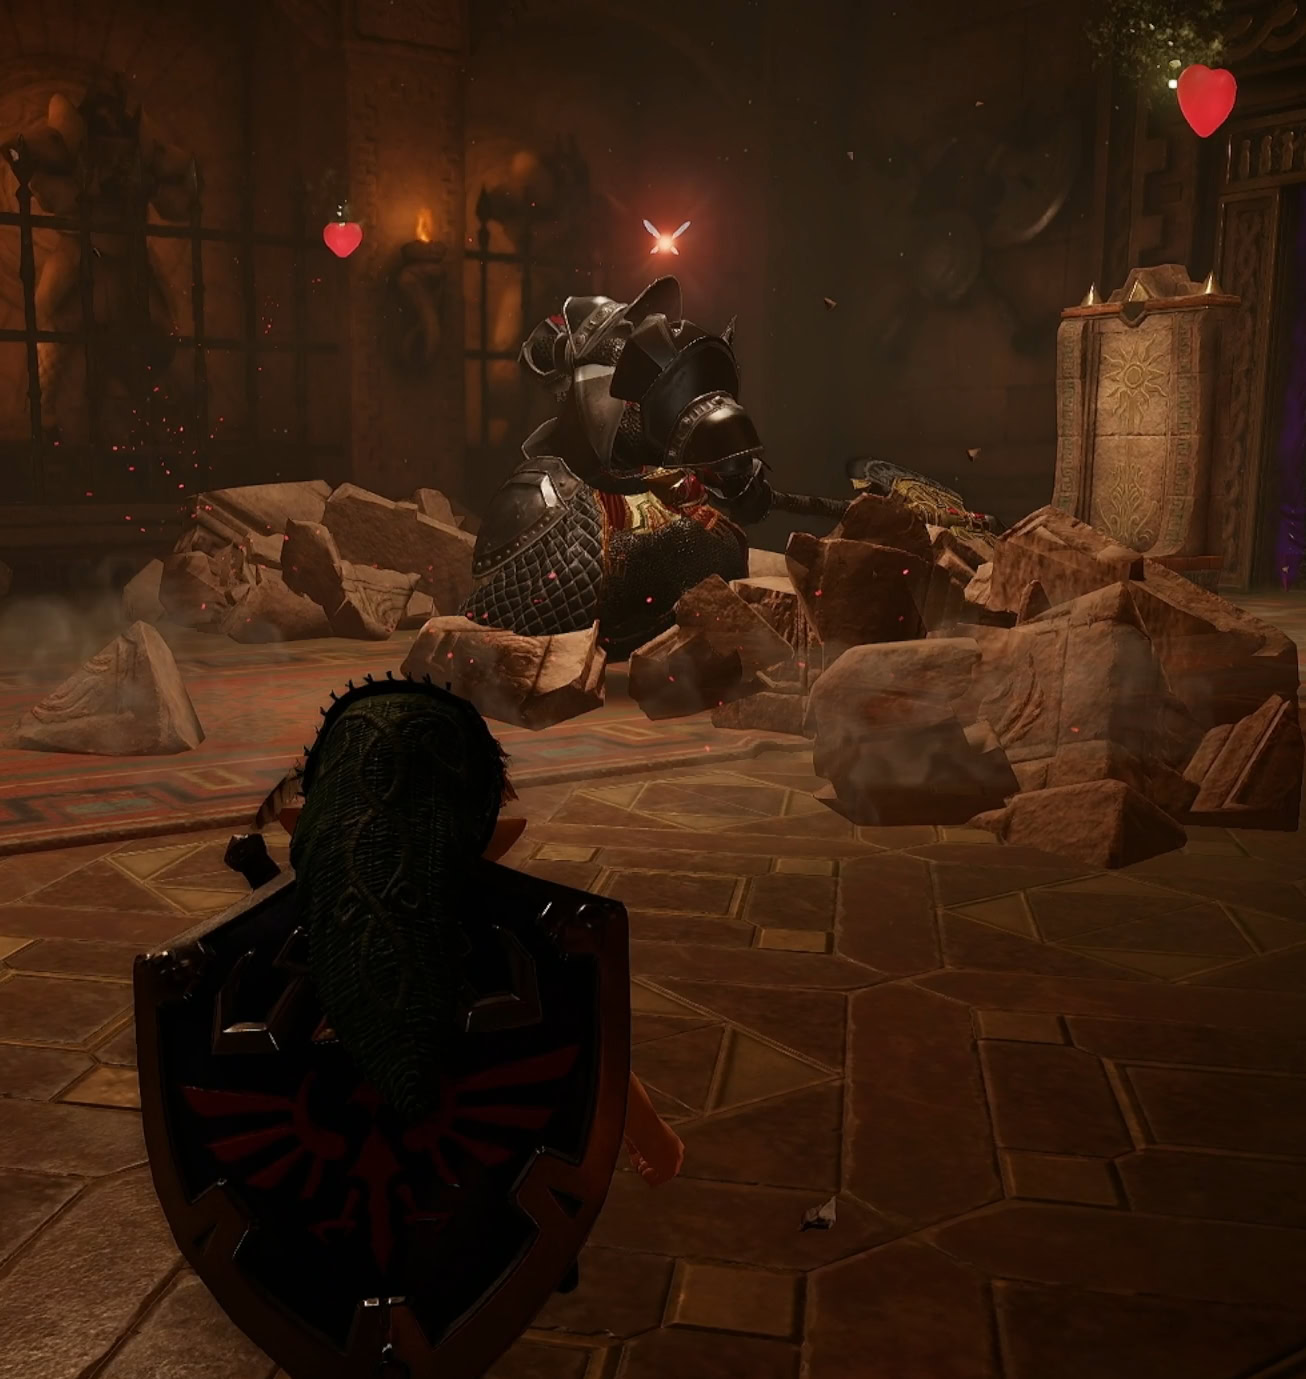
While they’re slow to start, they’ll lose some armor as they take damage. They become faster and more dangerous as a result.
If you’re not confident or low on health, sending Bombchus their way is a safe method to fight them. If you want to get the most damage on them, use Jump Attacks with Deku Sticks.
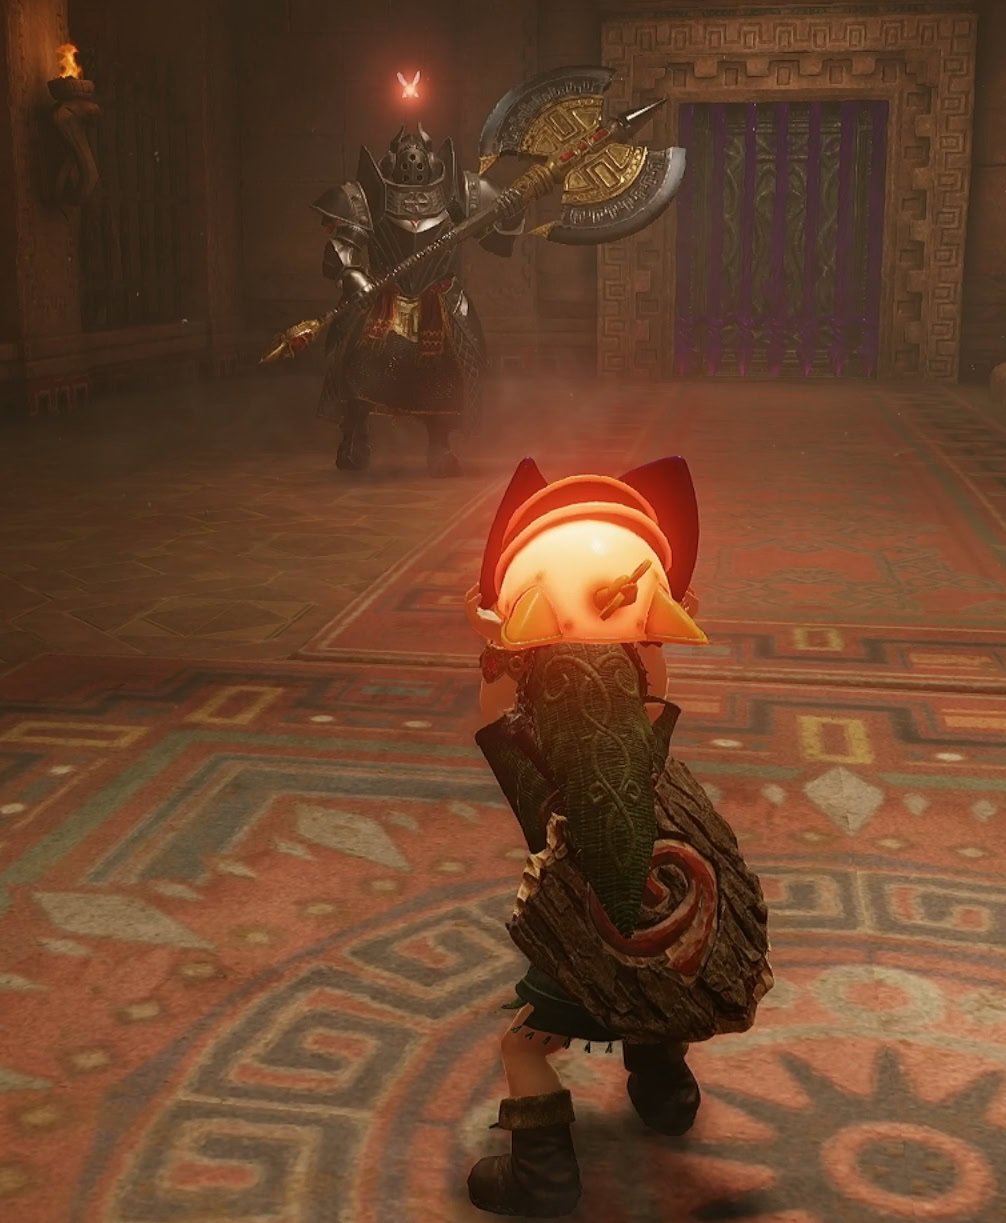
Once defeated, you can take the door going outside and open the chest containing the Silver Gauntlets. A cutscene will start and now it’ll be time to return to the Spirit Temple as an adult.
The Silver Gauntlets
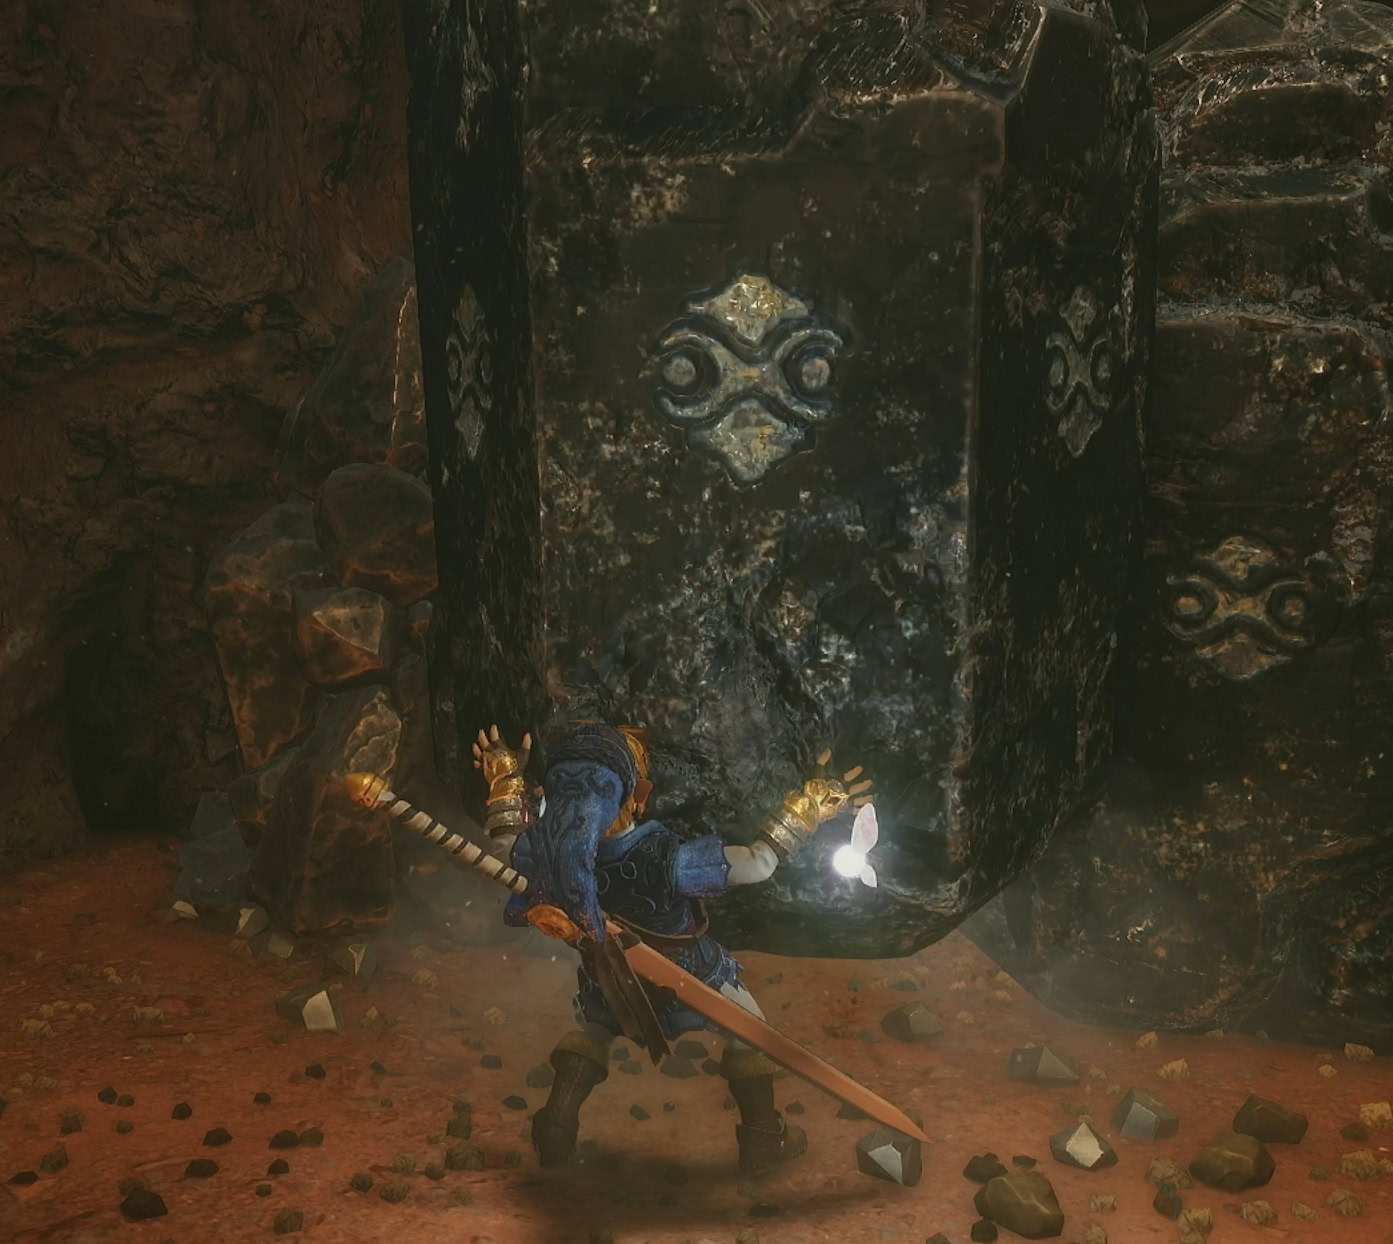
This item can only be used by Adult Link, and will allow you to push silver blocks. Additionally, you can now pick up and throw those silver columns you sometimes find throughout the world.
9. Silver Block
Now equipped with the Silver Gauntlets, you can push the silver block on the right side of the lobby. Keep pushing until it falls into a hole, revealing the path ahead.
10. Three More Locked Doors
Unlike the other set of doors, you don’t need to defeat all the enemies to unlock the doors ahead. Instead, hit the crystal switch hanging on the ceiling to open them, then take the left door first.
11. Sand Pit Room
There’s nothing particularly exciting about this room outside of a sand pit and a Wolfos. Play Zelda’s Lullaby on the Triforce Emblem to acquire the Compass.
12. Boulders and Silver Gems
This room features a large half pipe with boulders rolling back and forth. Collecting all of the silver gems will unlock the door ahead. Get the Small Key in the next room, then unlock the door from the three-way fork.
13. Mirrors and Sunshine
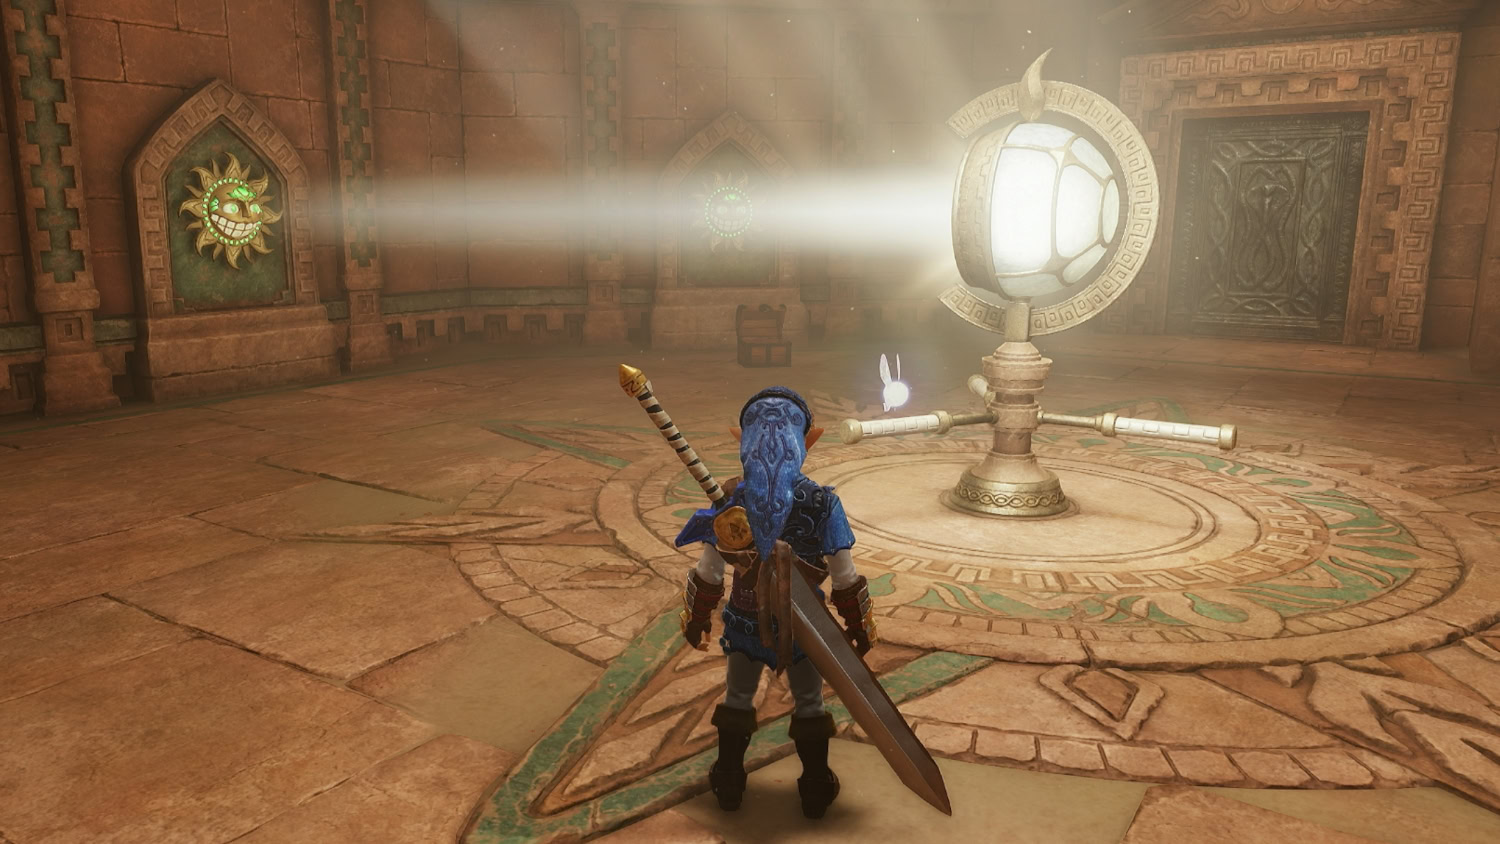
Rotate the mirror onto the second sun switch from the right to unlock the door. The first on the left gives you a chest with 5 bombs, the second from the left spawns a Wallmaster, and the first from the right spawns a trap chest that will freeze you.
14. Palms and Passages
Climb up the stairs in the goddess chamber and walk into her left palm with the Triforce Emblem on it. This will spawn a Small Key on her other hand.
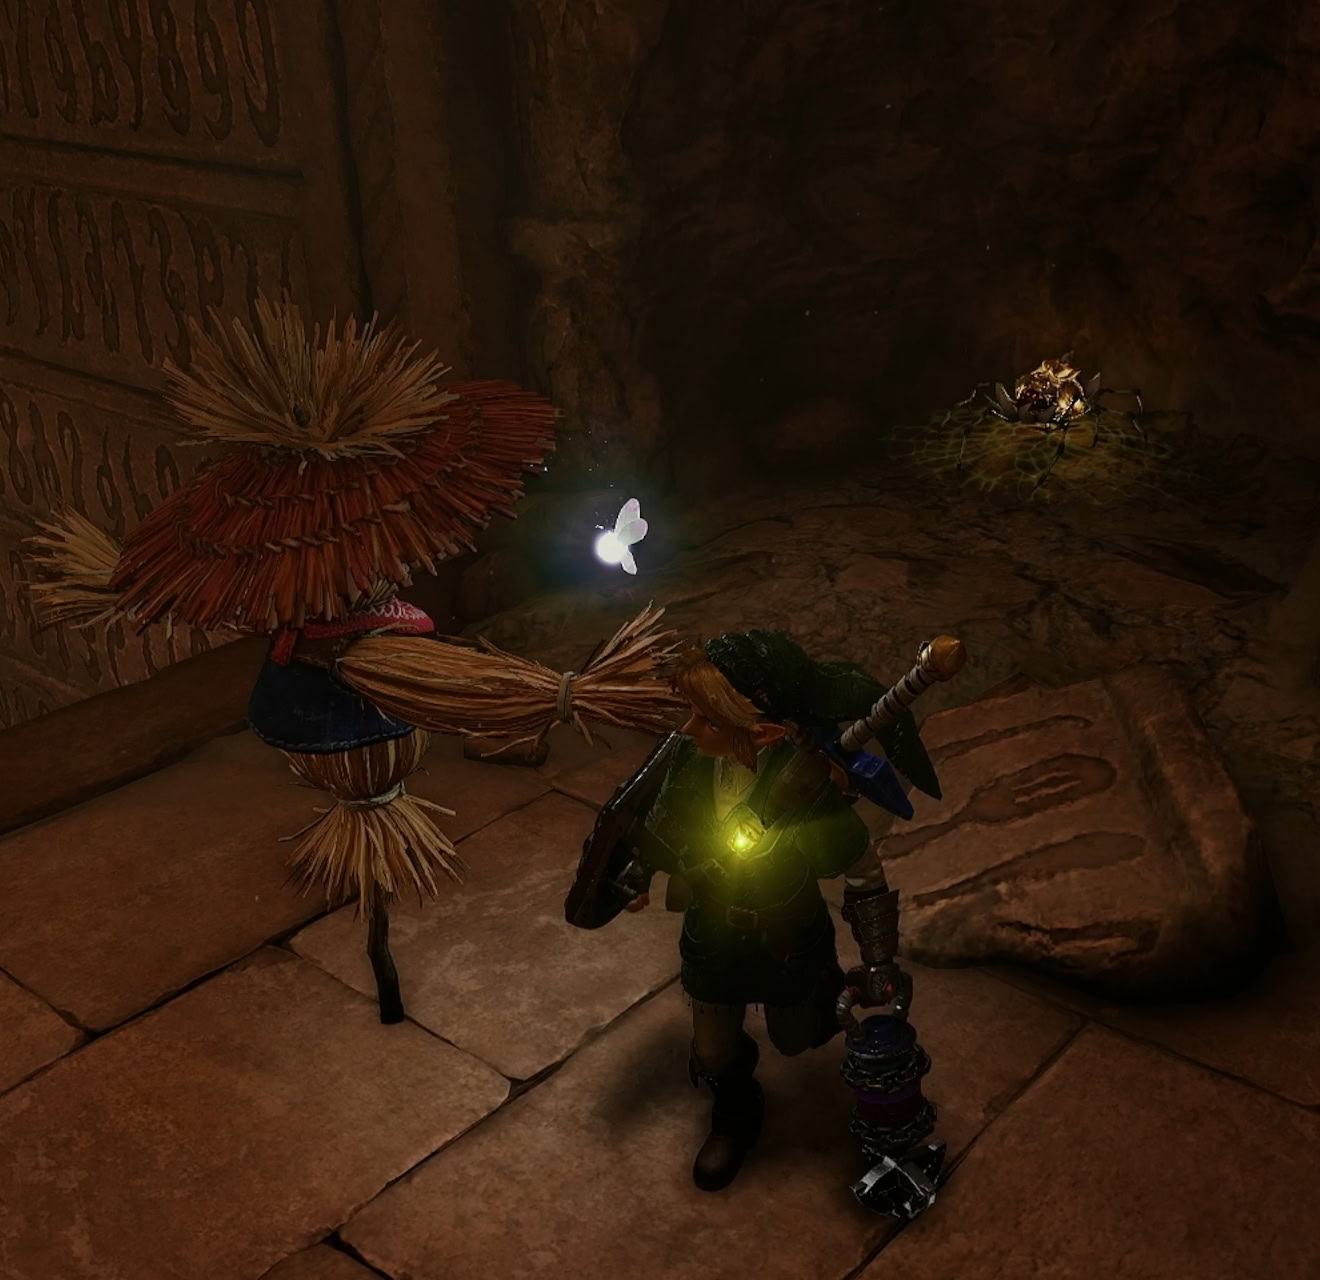
Travel to the Small Key on the other hand. There’s a platform in the corner where you can summon Pierre with the Scarecrow’s Song to get a Gold Skulltula.
When you get the Small Key, turn around and find the Hookshot target below the metal switch. Make your way to it and use the Megaton Hammer to activate it.
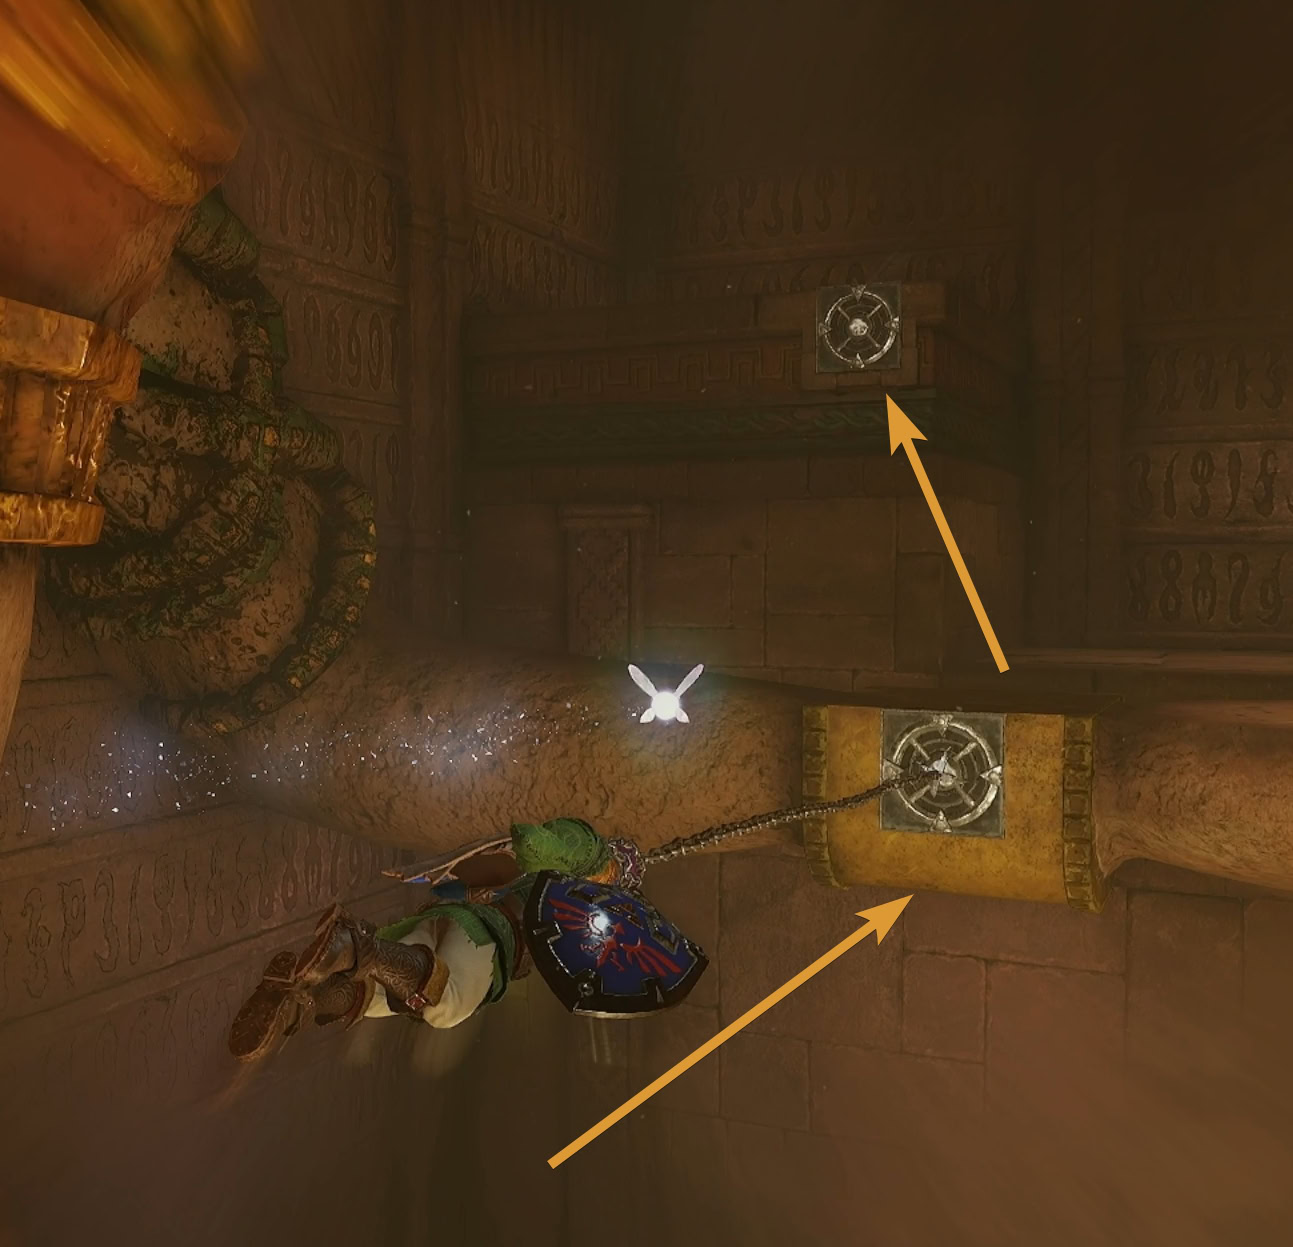
This will unlock the door below, allowing you to create a shortcut to the entrance after pushing a couple silver blocks out of the way. When you’re done, climb up to 3F on the east side of the goddess room and go through the door.
15. Another Anubis Encounter
A pair of Anubis and a Beamos are encountered in this room. With the Fire Arrows, it’s much easier to take out the Anubis from a distance. Defeat them and the Beamos to unlock the door ahead.
If you’re out of magic, there’s a floor switch that will activate fire you can lure the Anubis into.
16. Armos Pit
An Armos is near a floor switch. Lure it onto the floor switch to unlock the next door. If you destroy it, another one will drop in from the ceiling.
The Mirror Shield
Defeat the Iron Knuckle and take the door outside. You’ll acquire the Mirror Shield from the large chest. This shield is exceptionally useful as it can reflect sunlight and magical attacks. Try it on a Beamos’s laser beam, give them a taste of their own medicine!
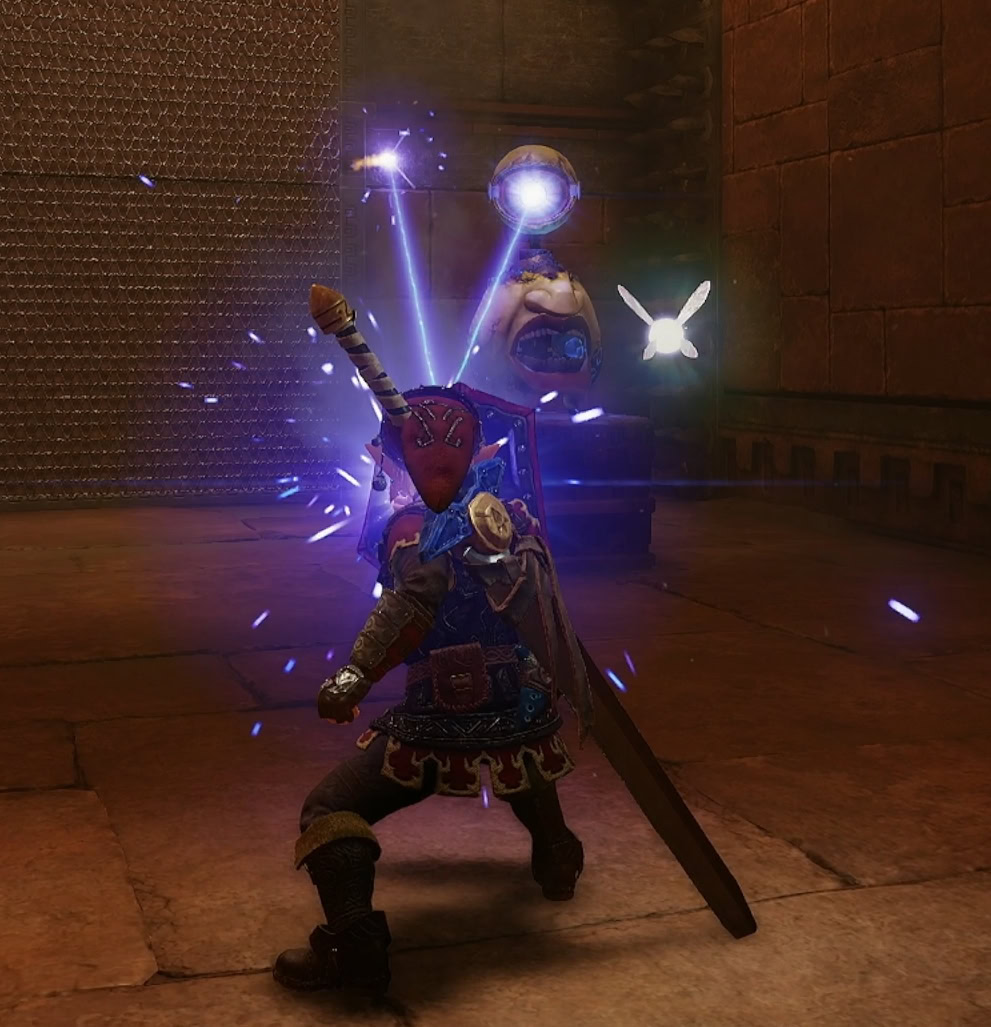
17. Ray of Sunshine
With your newfound shield, return to the armor room and shine the light coming through the wall onto the sun switch to get a Small Key. Return to the Anubis room and unlock the locked door.
18. Shifting Wall
Parts of this wall will shift left and right, be sure to only climb up the moving parts when they’re still. If you try climbing between them as they shift, they’ll knock you off.
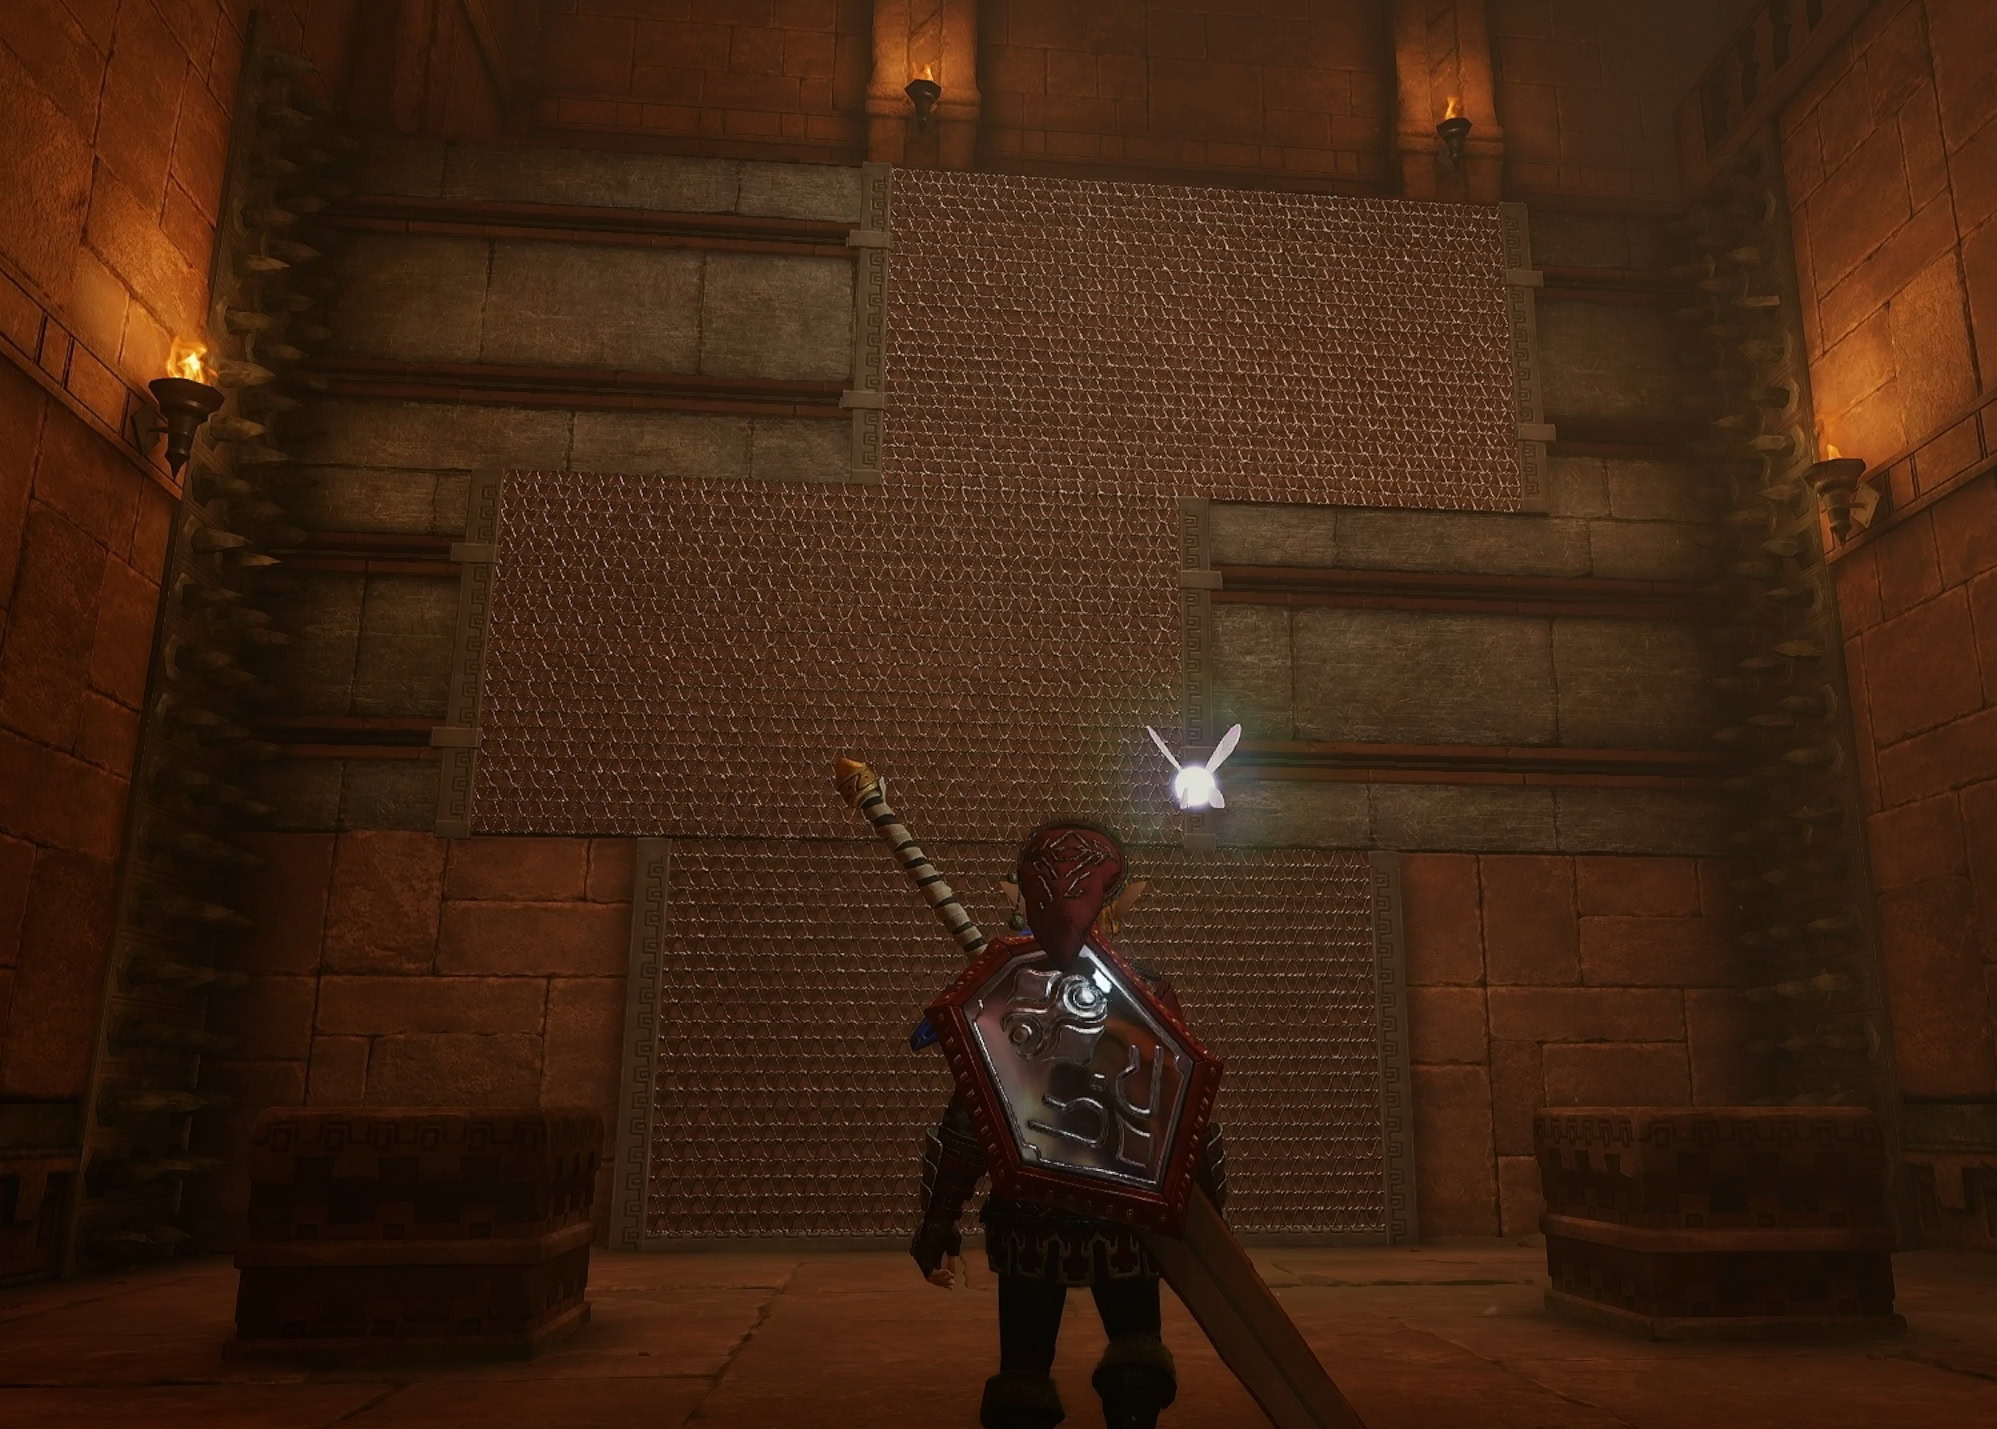
If you want to ignore this entirely, Longshot onto the top part of the wall to get up immediately.
19. Big Key Room
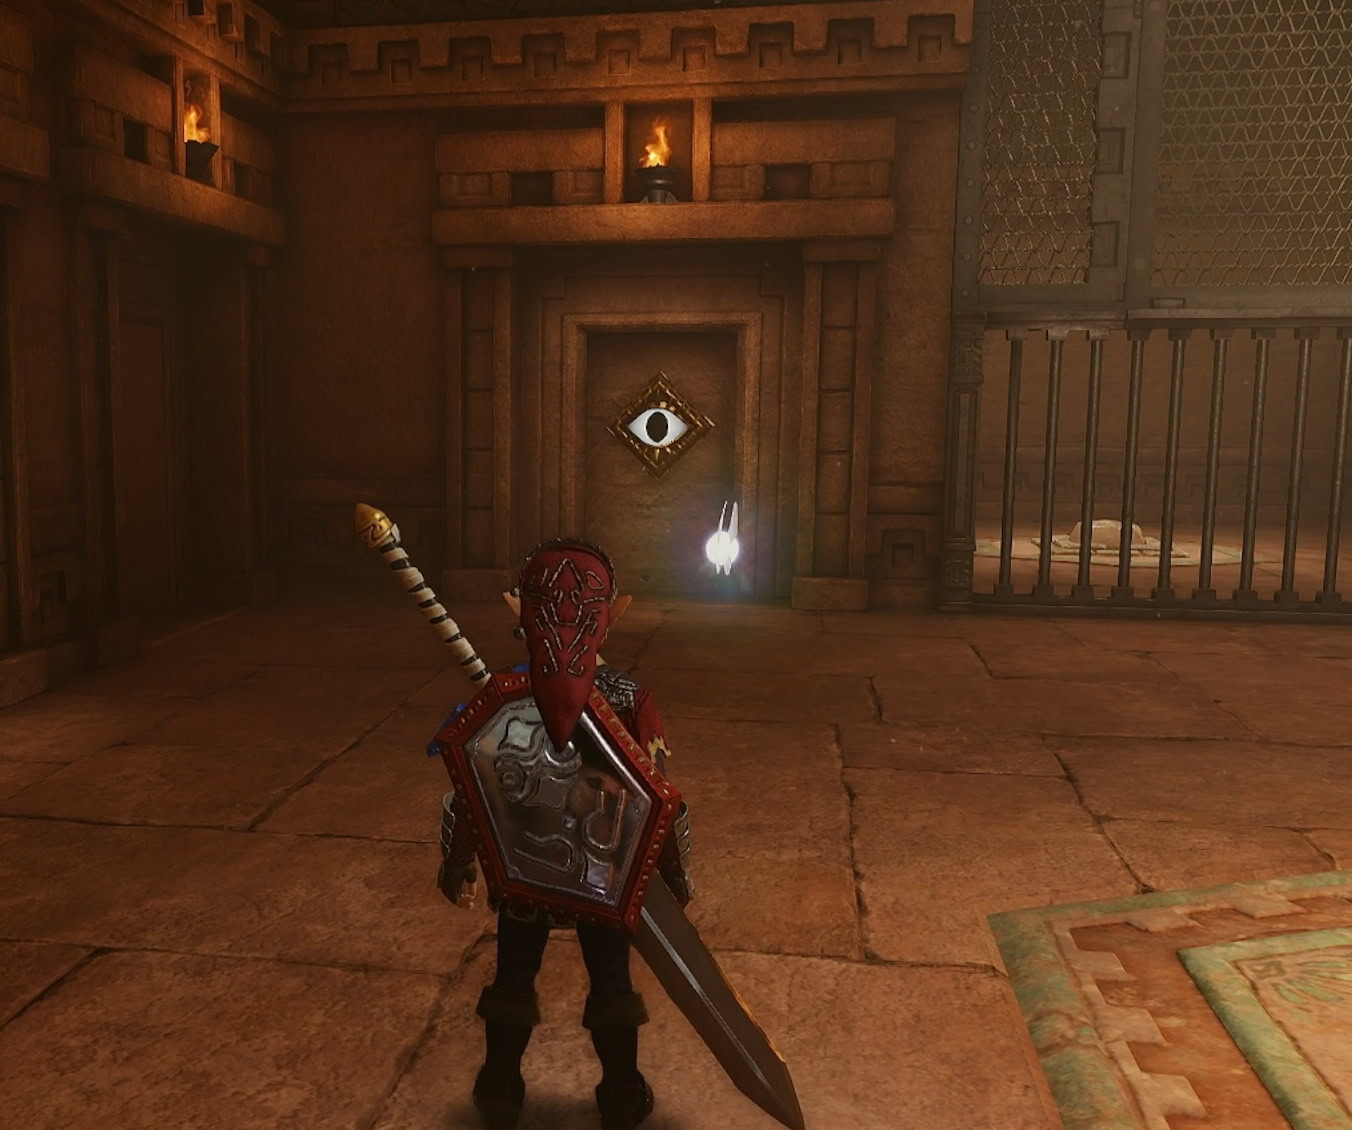
Unlock the door with Zelda’s Lullaby, then defeat the Torch Slugs. The fake door to the left of the chest will reveal an eye switch. Shoot it to activate a platform above, then Longshot onto the target on the ceiling. Activate the floor switch then get the Big Key.
20. Mirror Rooms
Activate the crystal switch on the lower level, then go through the unlocked door. Above the first hole in the wall is a Sun Switch that will spawn a chest with 5 bombs.
Defeat the White Bubbles, destroy the cracked wall, then rotate the first mirror towards the second mirror.
Defeat the Dinolfols then rotate the second mirror towards the large mirror past the iron bars.
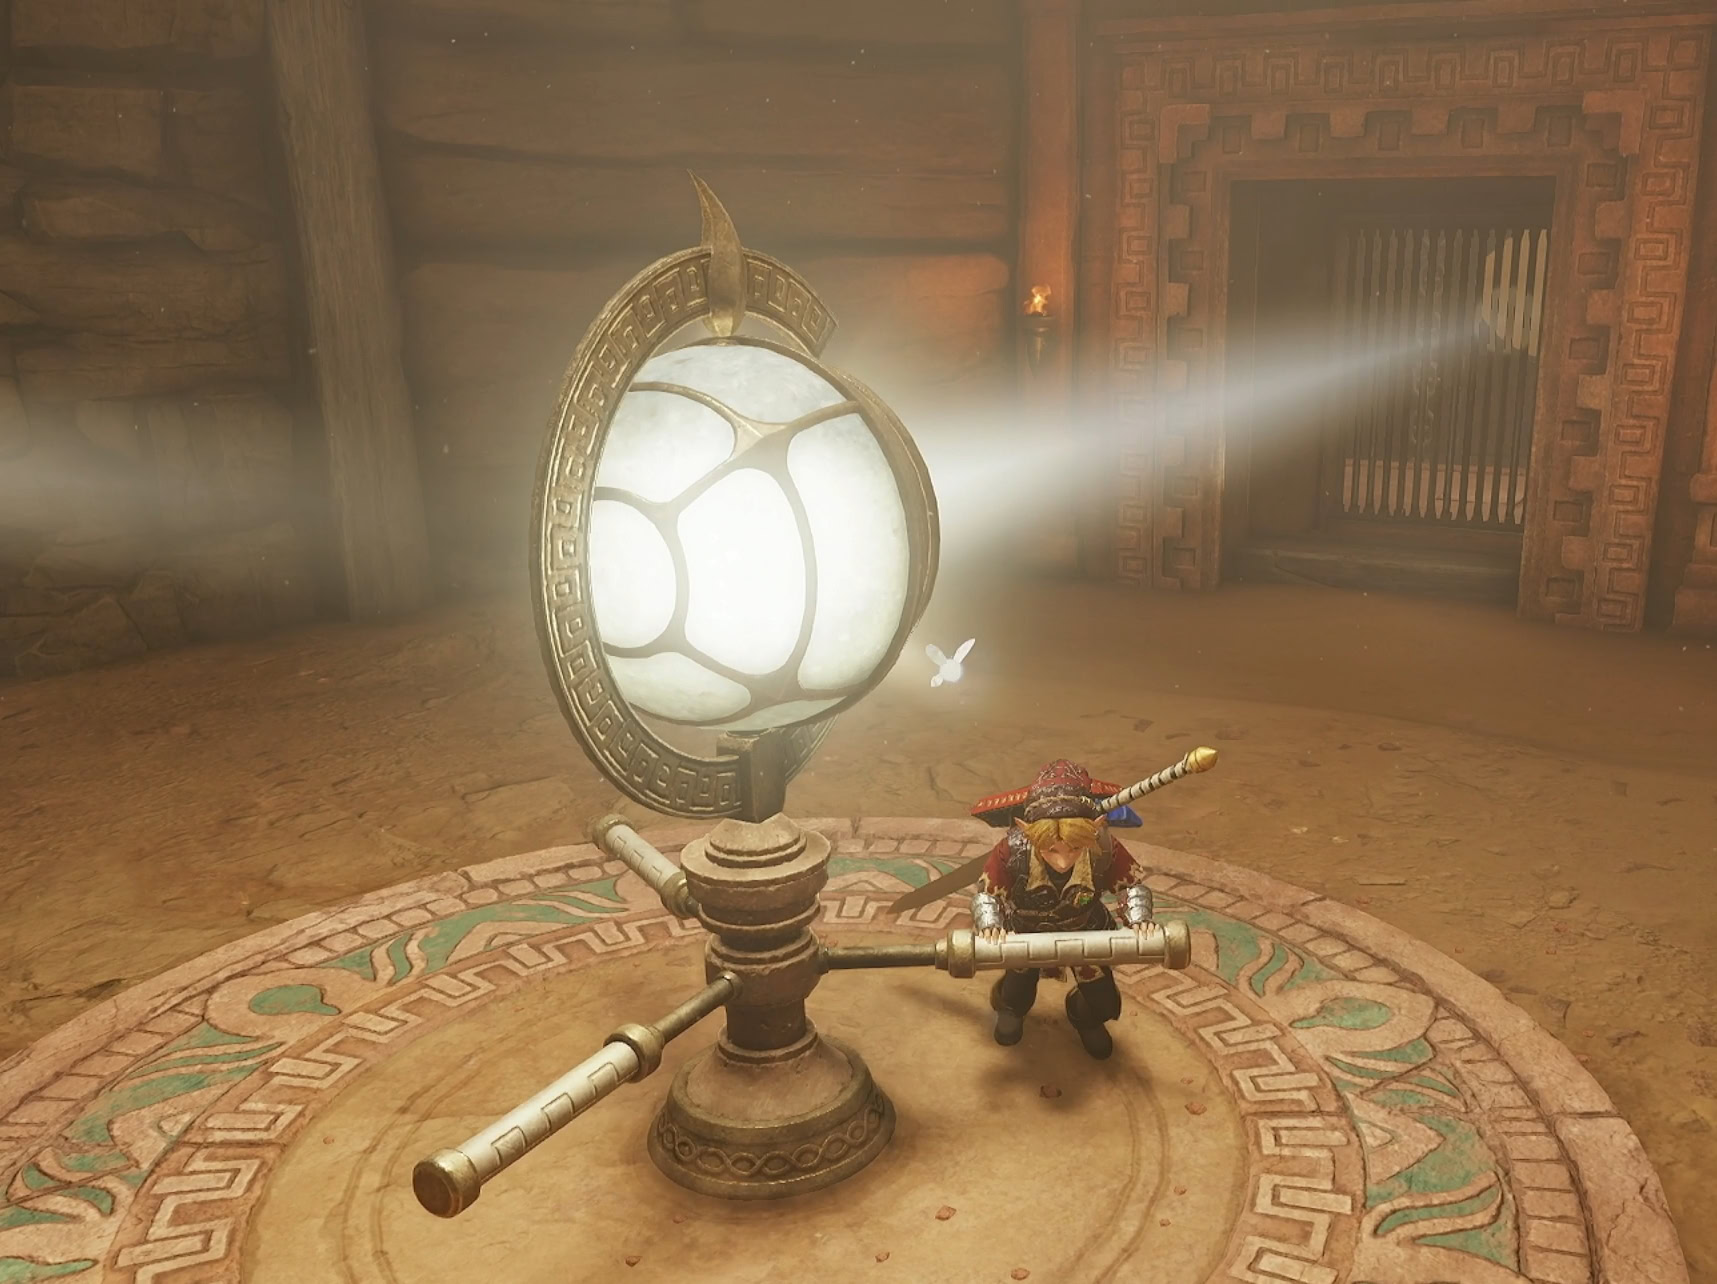
Return to the room with the large mirror and shine light on the sun switch to lower the platform down to 3F.
21. Extreme Makeover
With the platform lowered, you’ll be face to face with the goddess statue. Reflect the sunlight onto her face to reveal the path to the boss room.
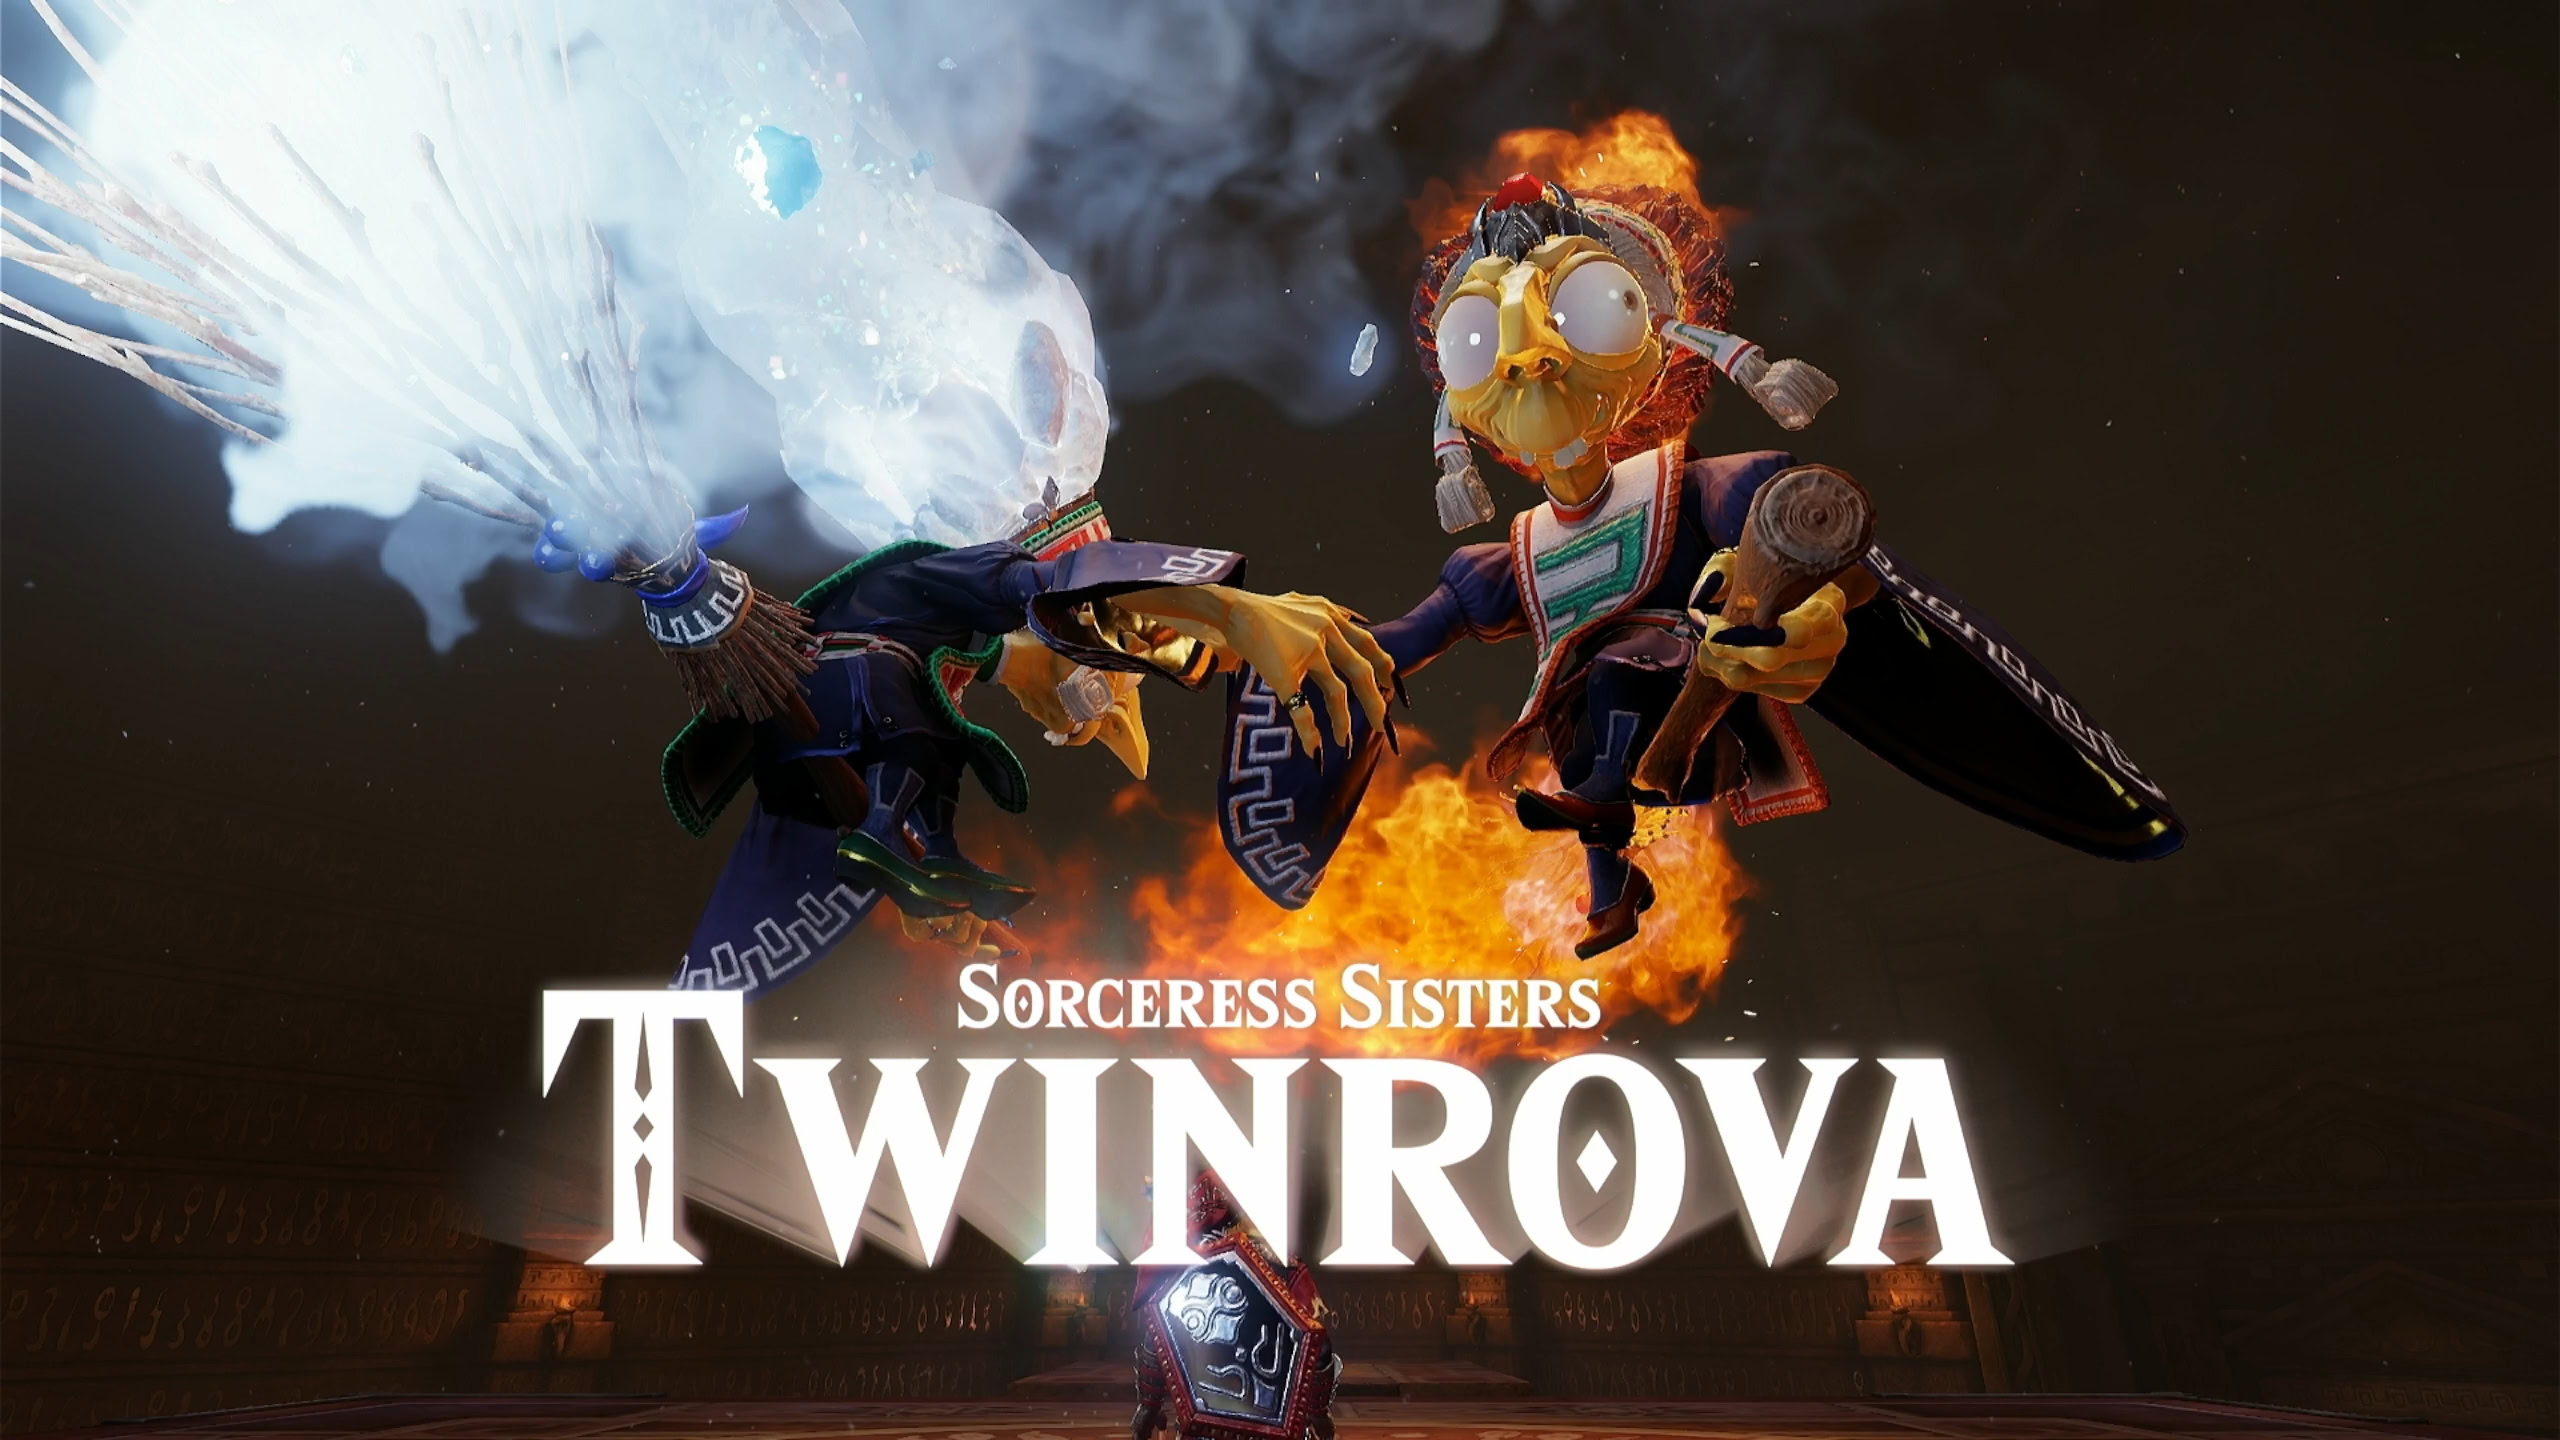
Twinrova
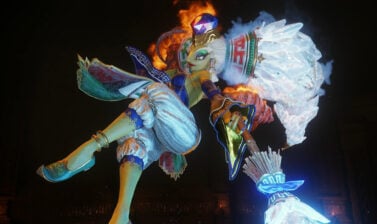
The bosses of the Spirit Temple are none other than the witches who raised Ganondorf himself, Kotake and Koume. One specializes in volatile fire magic, while the other specializes in terrifying ice magic. Together, these Sorceress Sisters are Twinrova.
Someone Awaits You
As the Spirit Temple is often the last temple for most playthroughs, you’ll now have to return to the Temple of Time. Someone there awaits you, and with all of the sages awakened, Ganondorf’s rule is close to its end.
Inside Ganondorf’s Castle Walkthrough