A complete walkthrough for Inside Ganondorf’s Castle. Includes an interactive map with how to navigate, tips on which rooms to complete first, and info on how to move the black and gold pillars.
Use the Table of Contents, located in the left panel (top left button on the mobile menu) to navigate through this long guide more easily and quickly.
The Light Arrows
After collecting all of the Sage Medallions, you’ll be summoned back to the Temple of Time. This is none other than Princess Zelda, and she will give you the Light Arrows to help defeat Ganondorf.
Unfortunately, revealing her location ends up getting her captured. You’ll need to save her from Ganondorf’s Castle, but getting there can be easier said than done.
If you haven’t done so already, be sure to pick up some more Pieces of Heart, collect some bottles, and purchase Blue Potions unlocked from the Biggoron Sword Trading Sequence.
Entering Ganondorf’s Castle
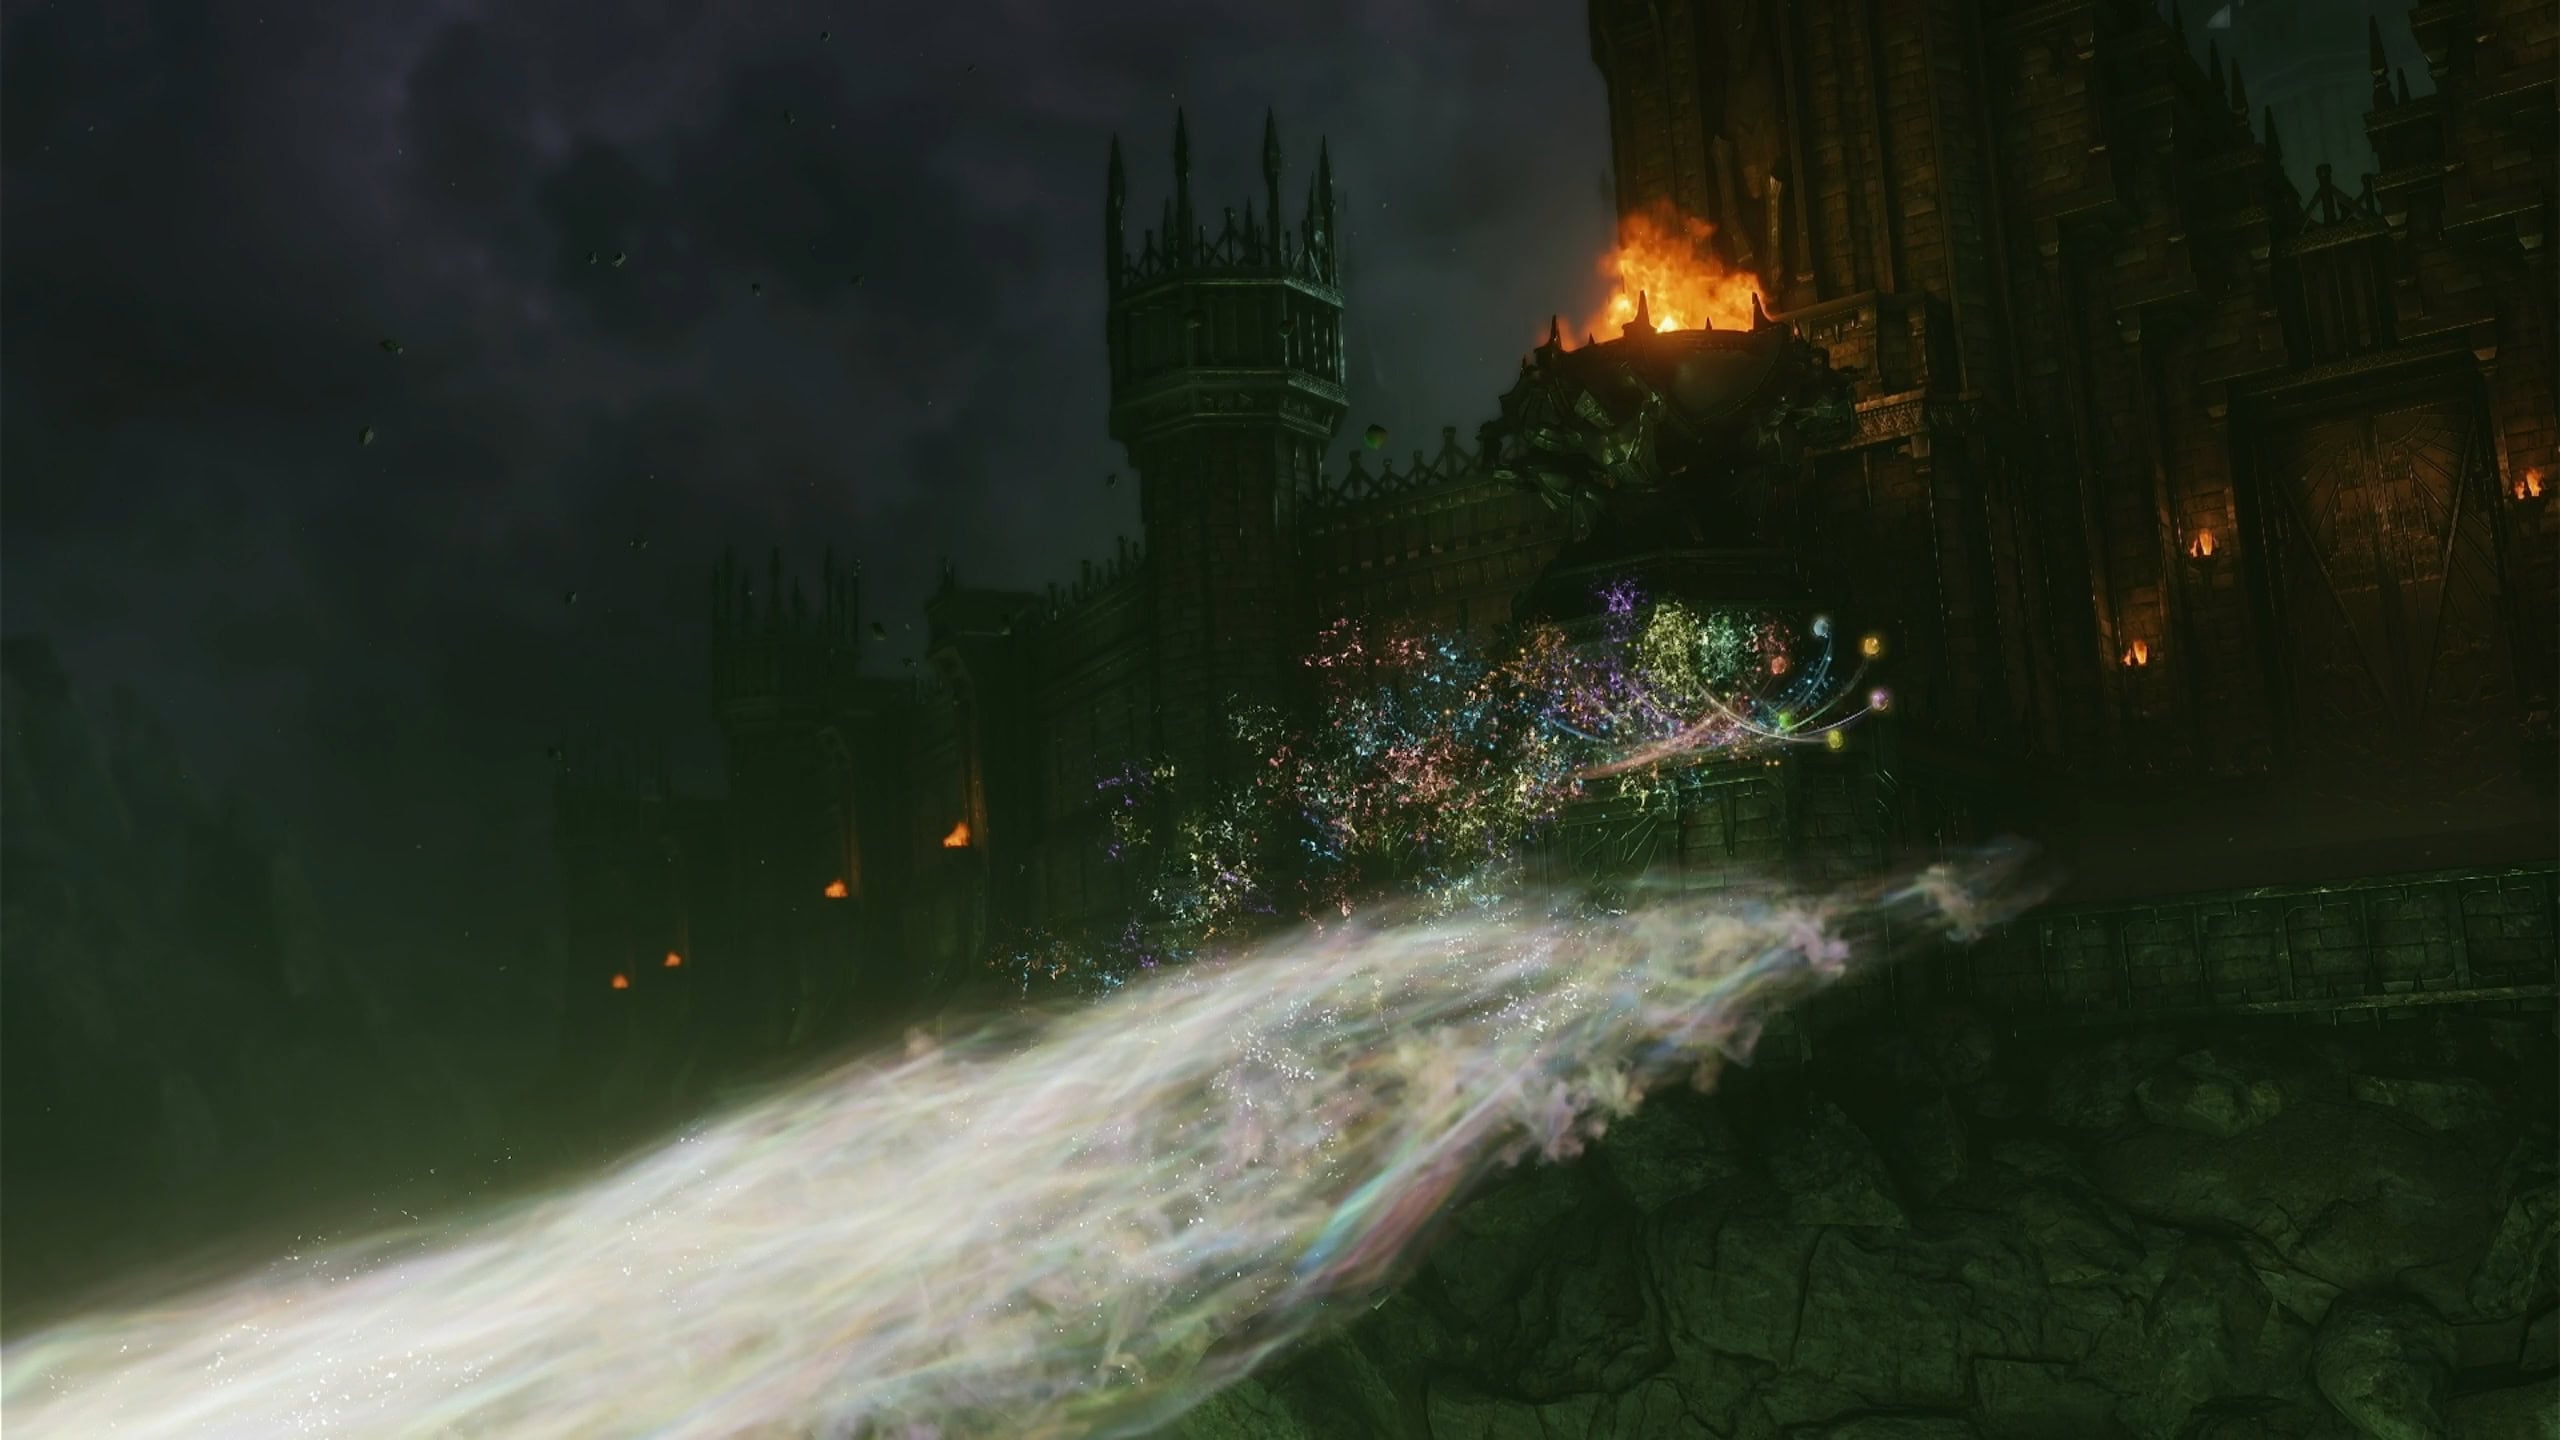
You’ll have likely seen this place shortly after becoming an adult. This ominous castle floats over a boiling lake of lava and is impossible to reach to by normal means. There’s nowhere to Hookshot onto, and the Hover Boots don’t last long enough to reach it.
You can only form a bridge by stepping near the ledge after collecting all 6 Sage Medallions. The sages will then use their combined powers to form a bridge you can cross.
Map of Inside Ganondorf’s Castle
The following map features all the floors, items, and a recommended order of events used to complete Inside Ganondorf’s Castle.
When you get past the Beamos, you’ll see the entrance to the central tower is blocked off by a magical barrier. You’ll need to bring it down by completing each of the themed rooms.
The smoothest way to go about this is to go counter-clockwise, or starting from your right from where you first enter.
1. Forest
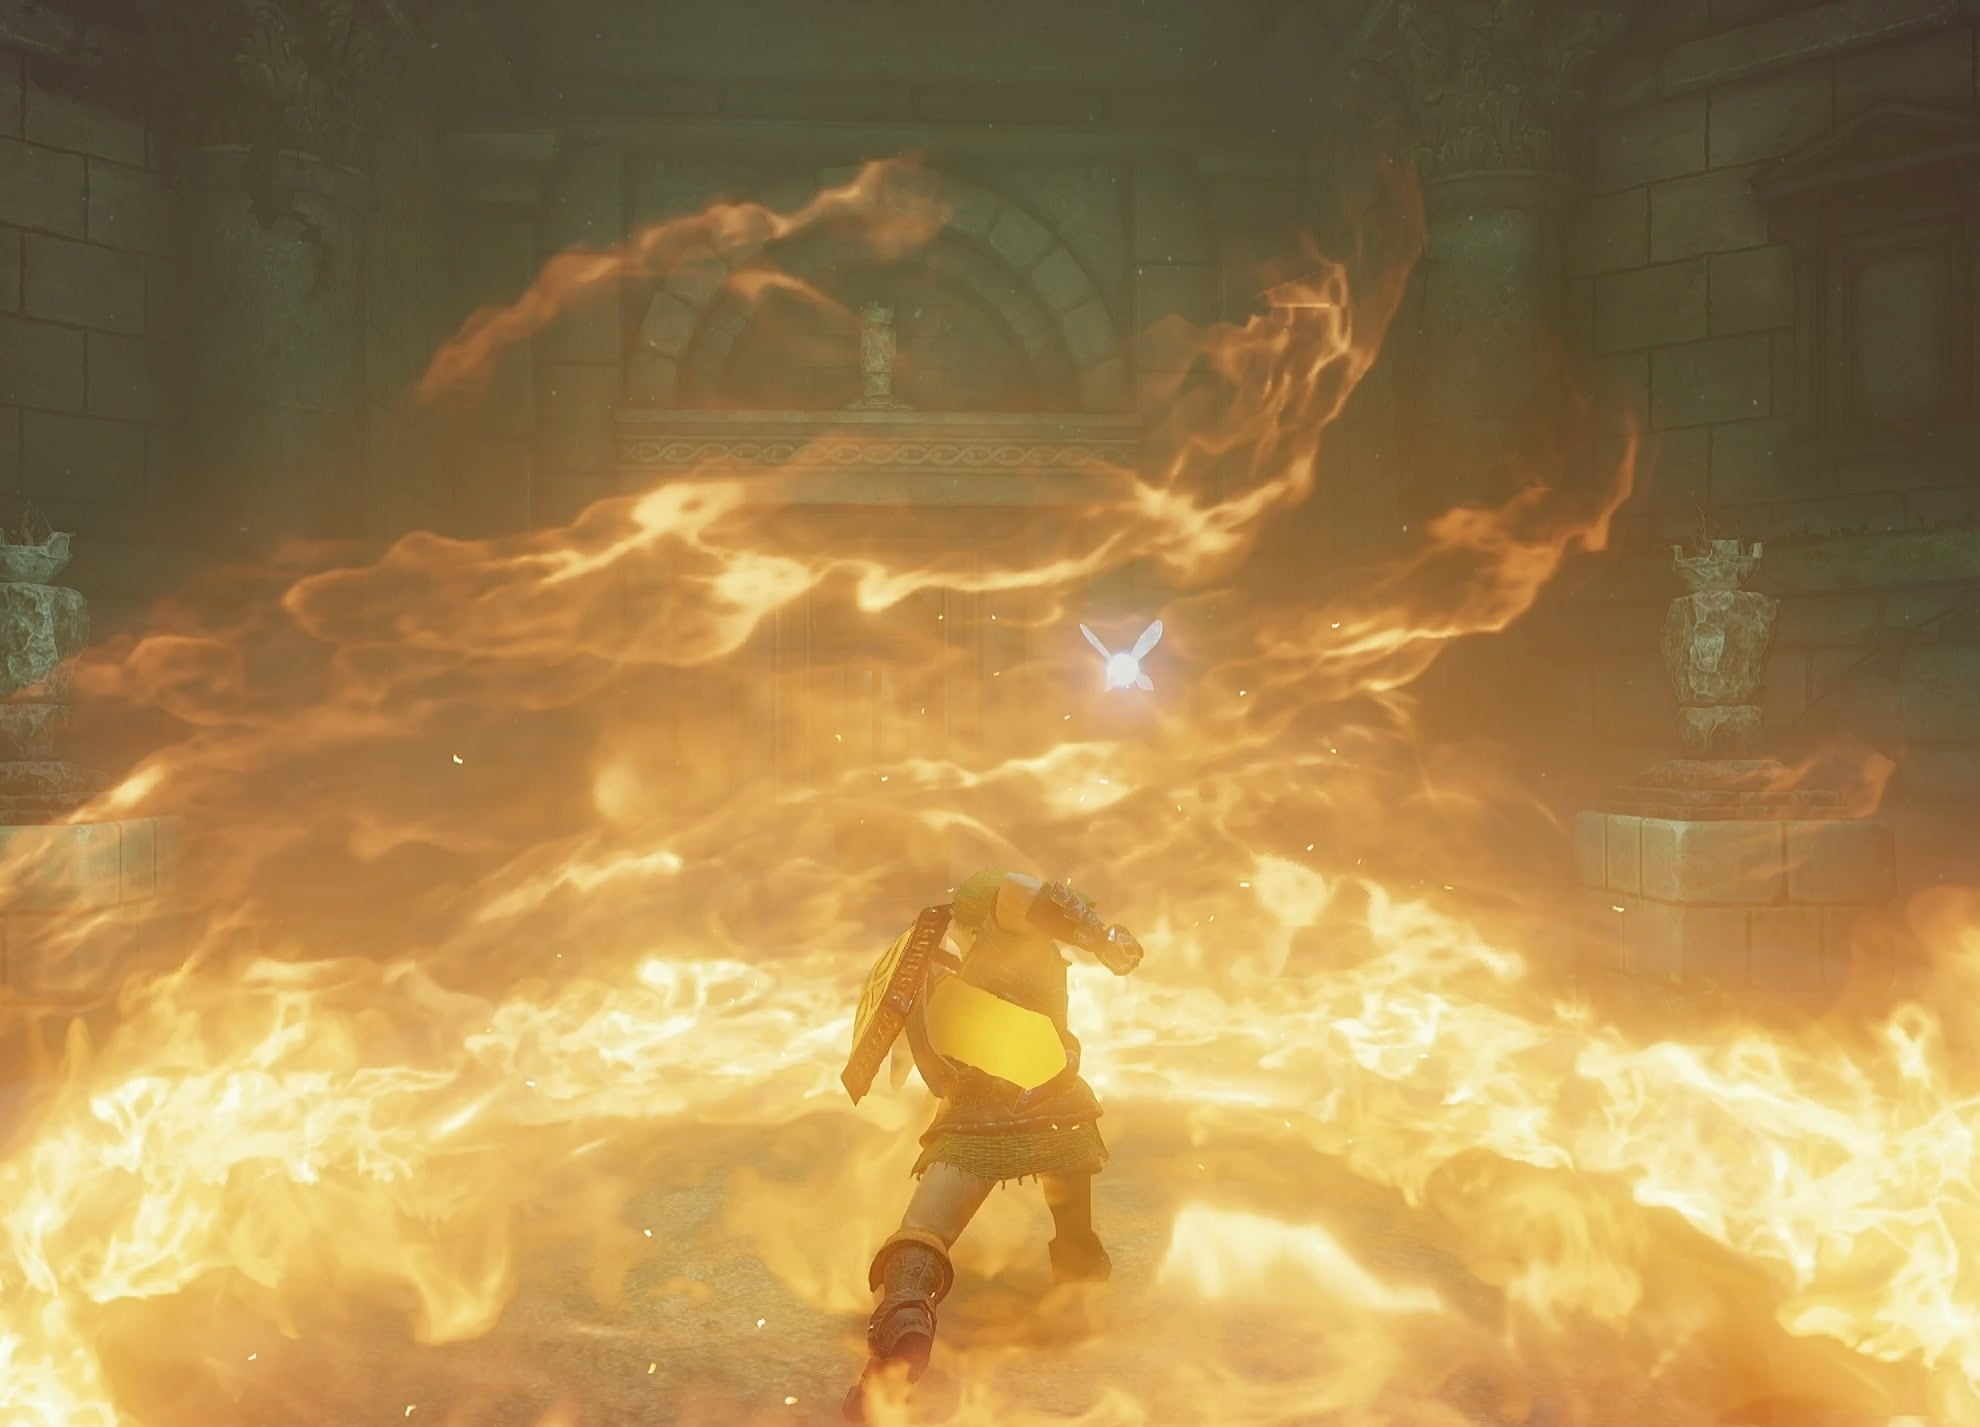
Defeat the Wolfos then use Din’s Fire to light the four torches in the center of the room. Use a Fire Arrow (or a regular arrow shot through a lit torch) to hit the torch on the upper ledge.
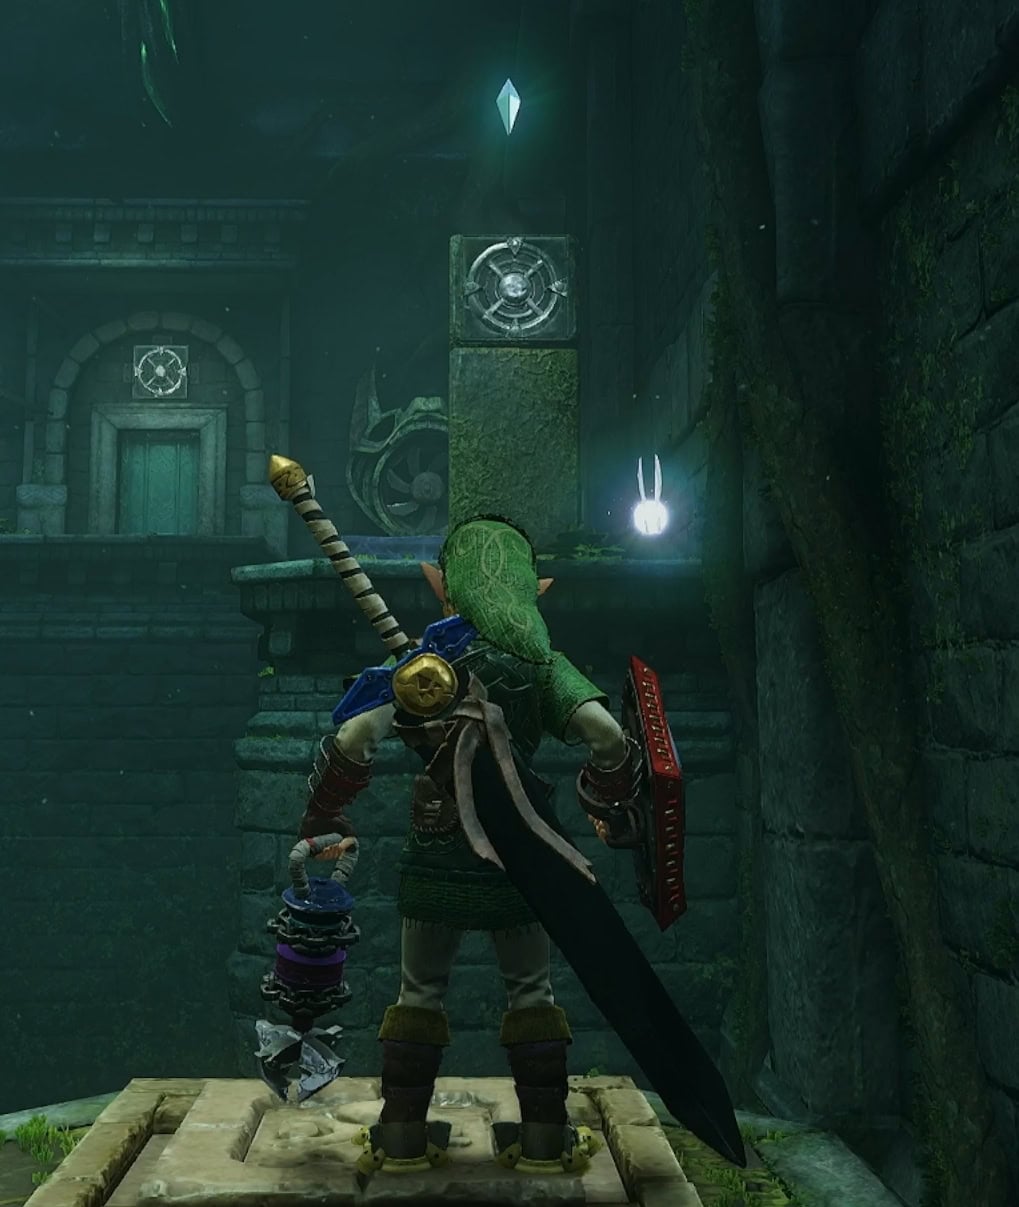
In the next room, destroy the Beamos then use the Hover Boots to reach the silver gems. A floor switch will activate a pillar that you can hook onto to reach the high gem.
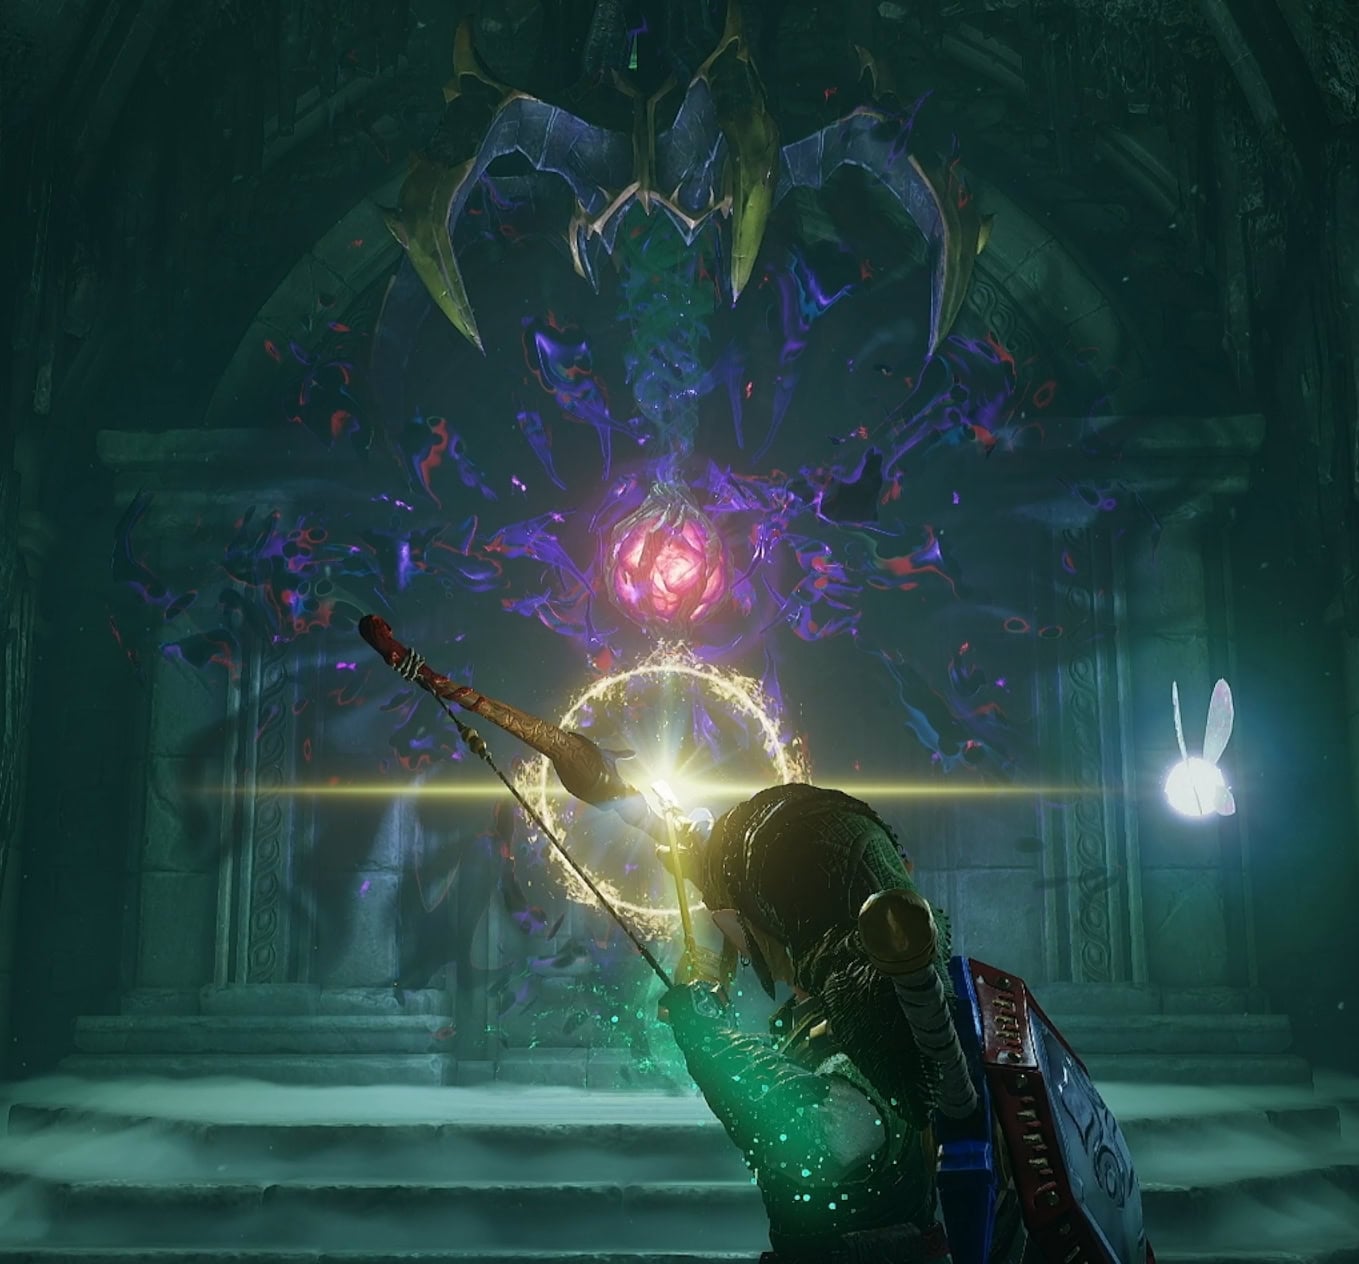
In the final part of this area, you’ll find a dark orb surrounded by evil power. Shoot it with a Light Arrow to bring down the Forest Barrier.
2. Water
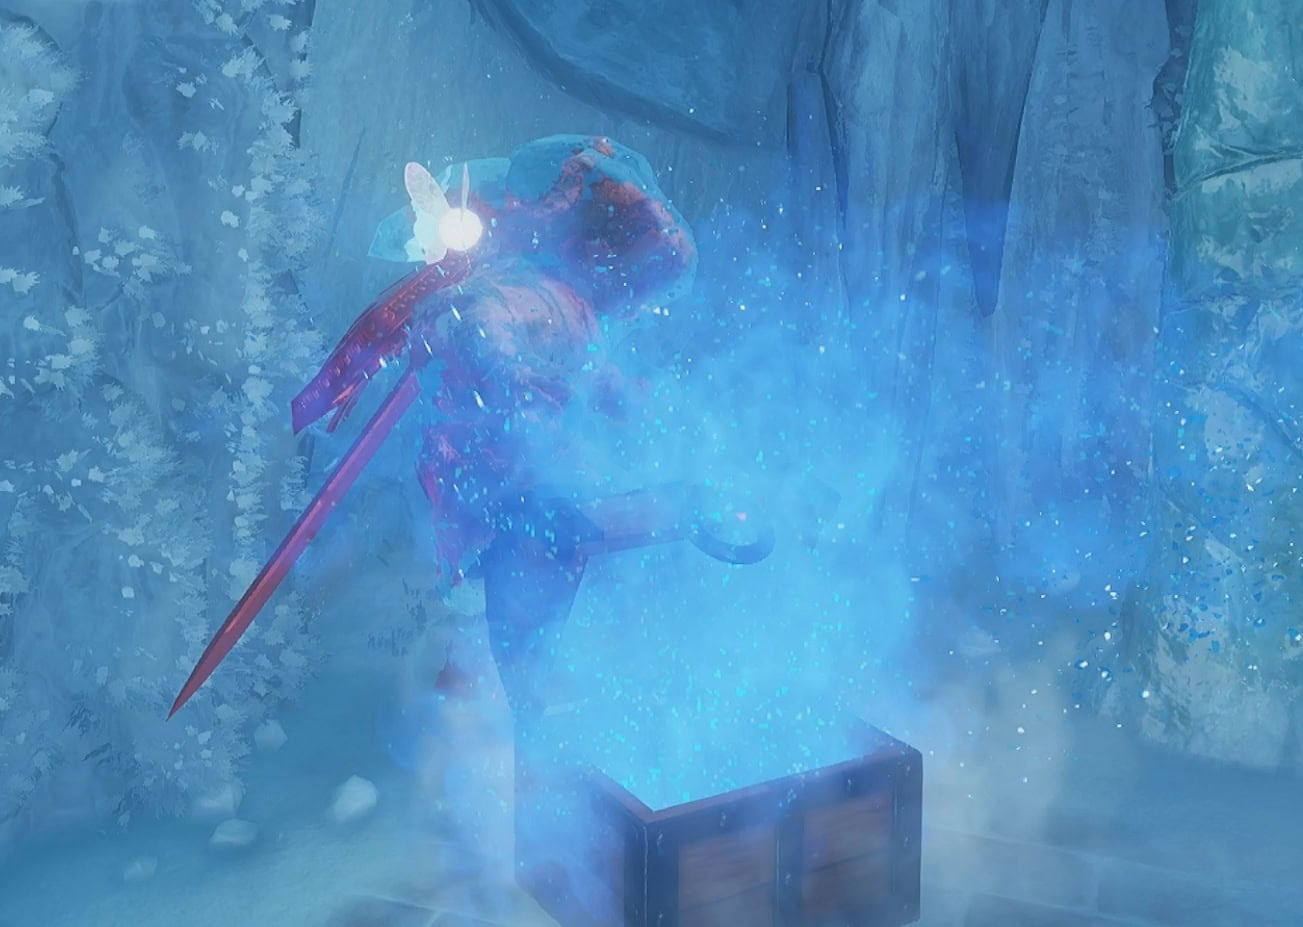
Defeat the Freezards and thaw the red ice with the Blue Fire found in the room. Ignore the left small chest as it’s a trap that will freeze you.
The right chest will give you 5 Bombchus. Bring another bottle of Blue Fire before going into the next room.
In the second room, you’ll have to slide the blocks in a way that let you reach the wall of red ice. Behind it is a metal switch that will unlock the next door.
Go to the ice block towards the back and push it right until it hits an ice column. Proceed to push it into the square hole to create more surface area.
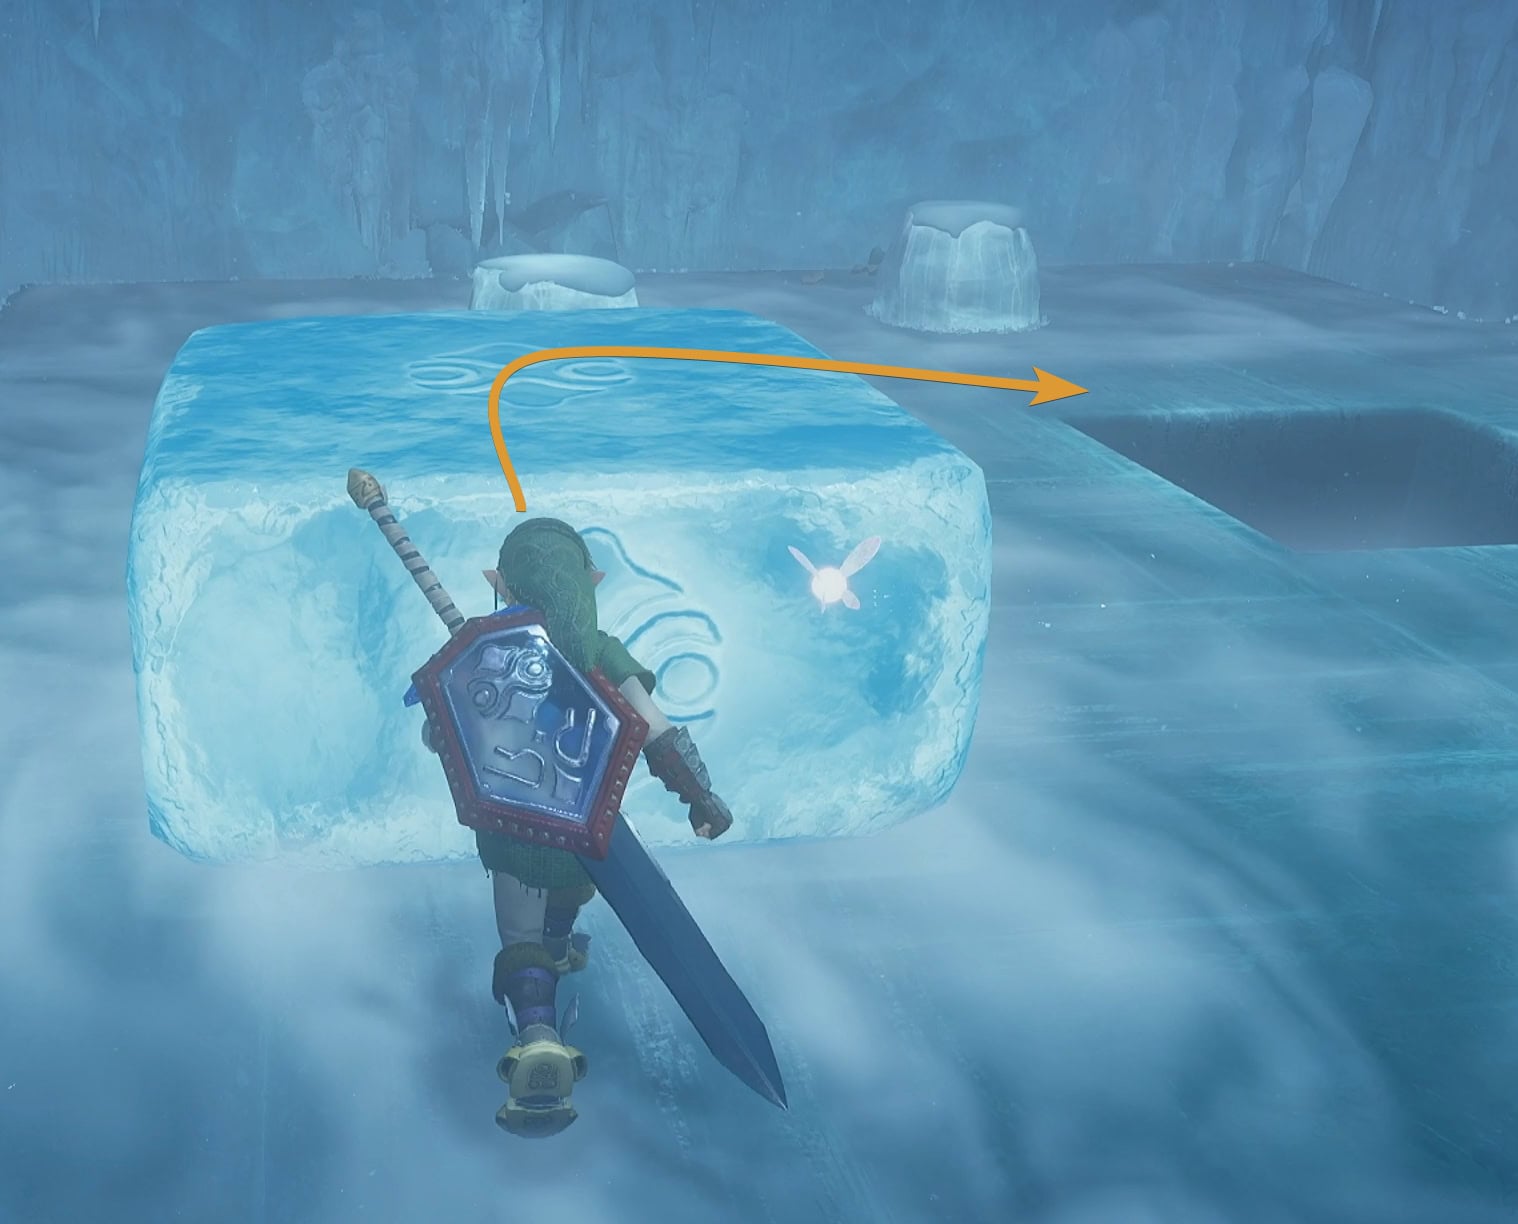
Push the next block into the ice column, going over the hole you just filled. Then push it towards the other column, then towards the red ice wall.
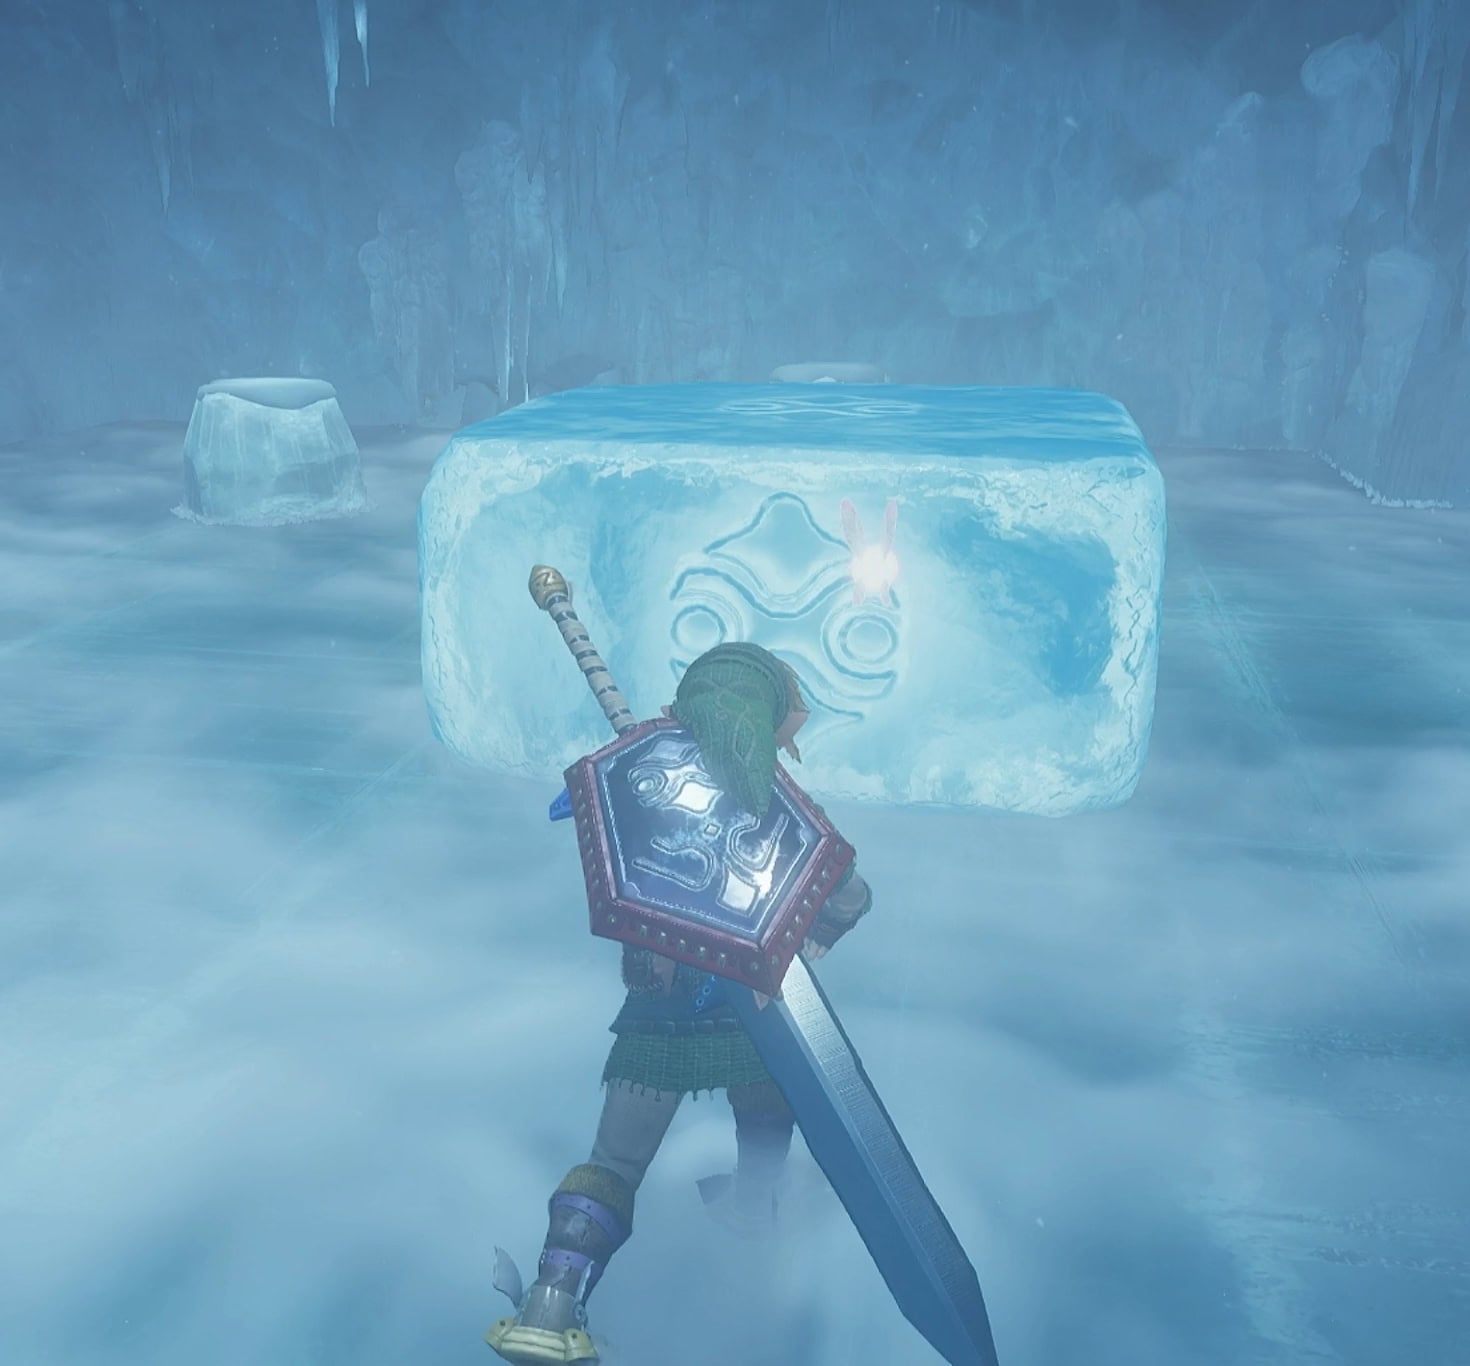
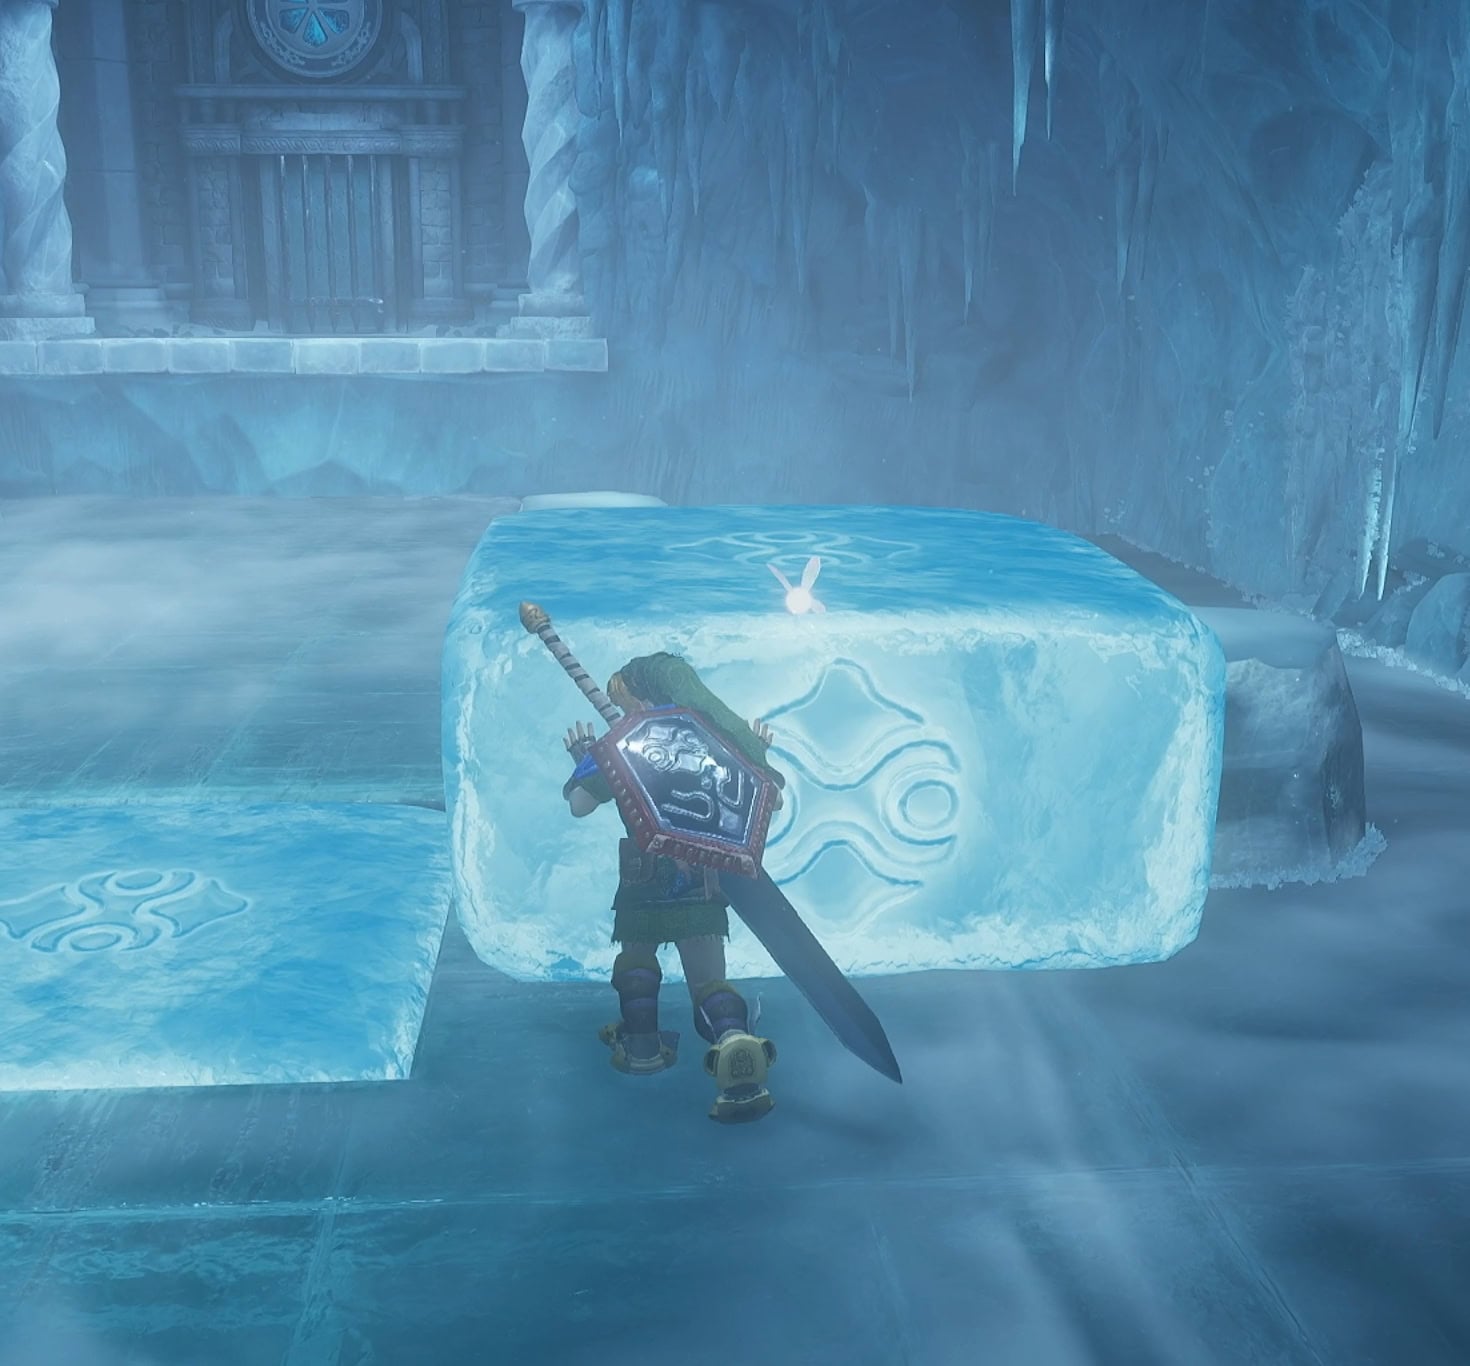
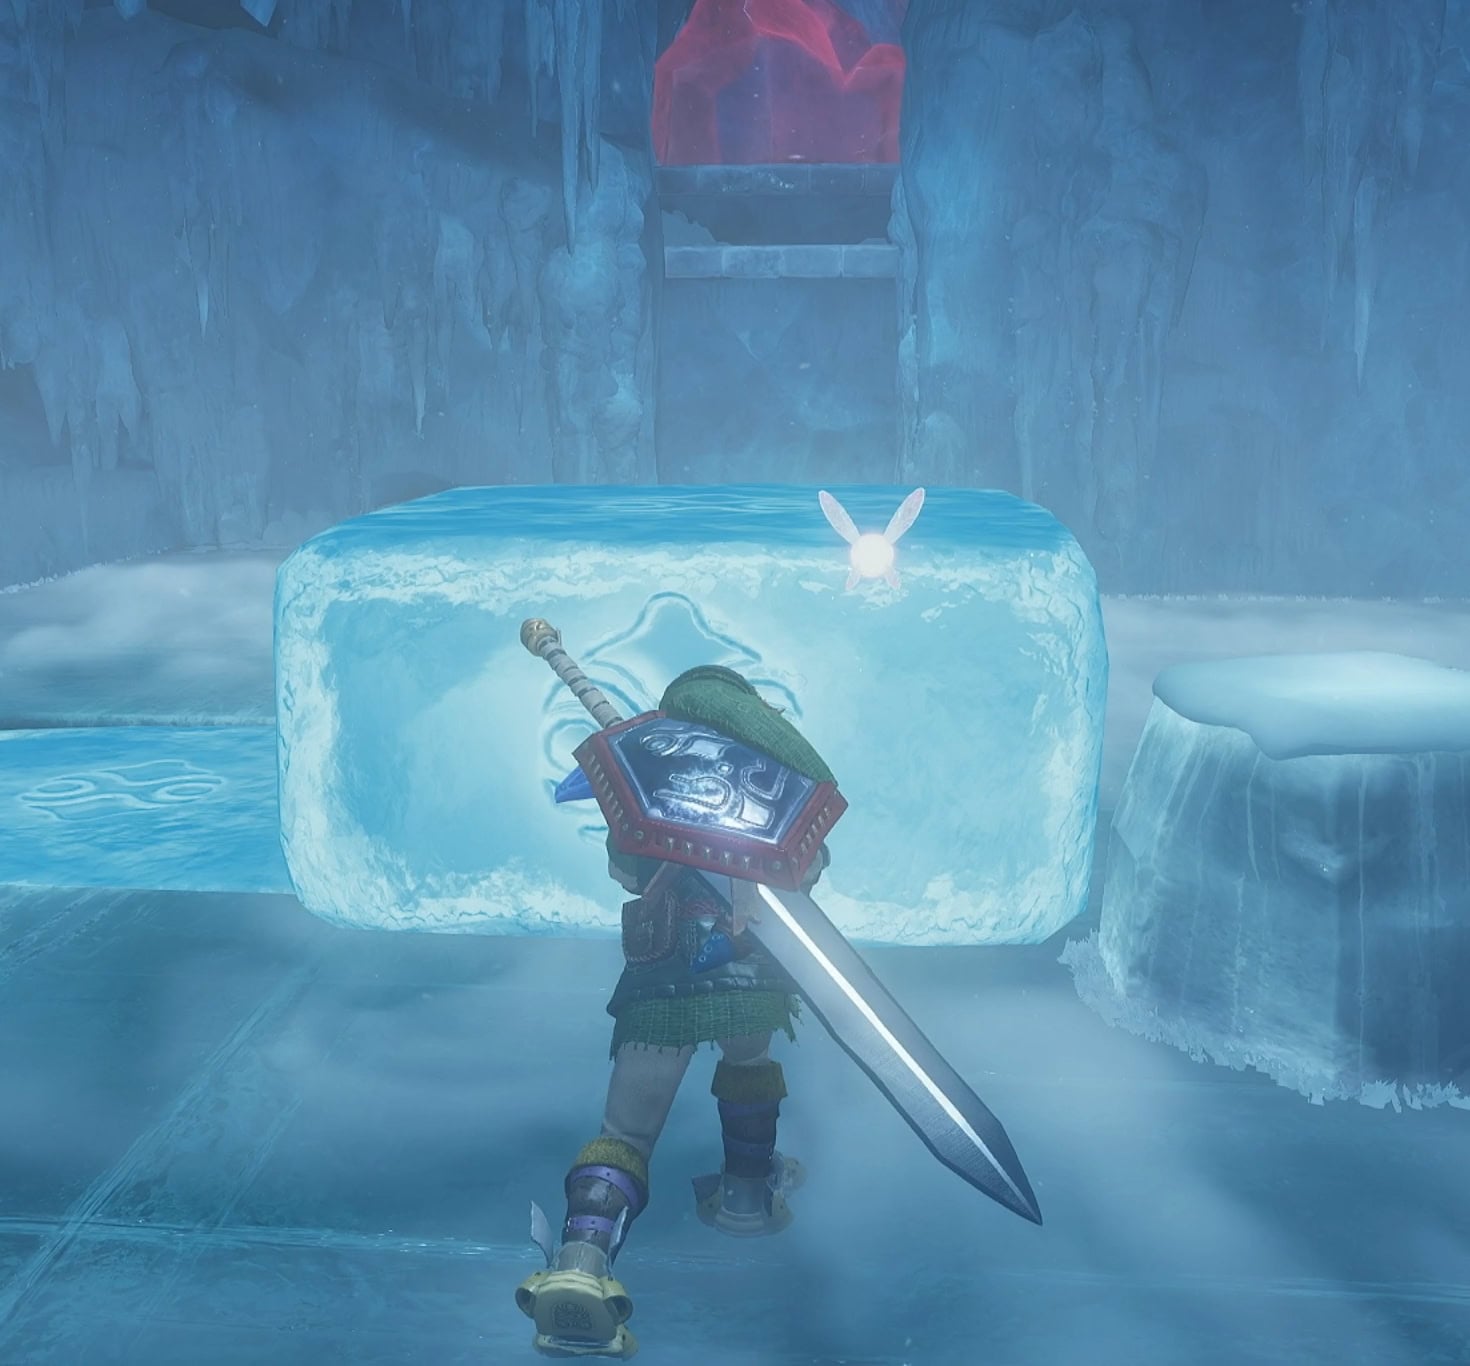
Thaw the red ice, smash the metal switch with the Megaton Hammer, then go through the door. Shoot the blue orb with a Light Arrow to dispel the Water Barrier.
3. Shadow
First off, take down the Like Like and the Green Bubble in the distance before doing anything else. Light the torch to your right with a Fire Arrow, then cross the platforms before they disappear when the fire dies out.
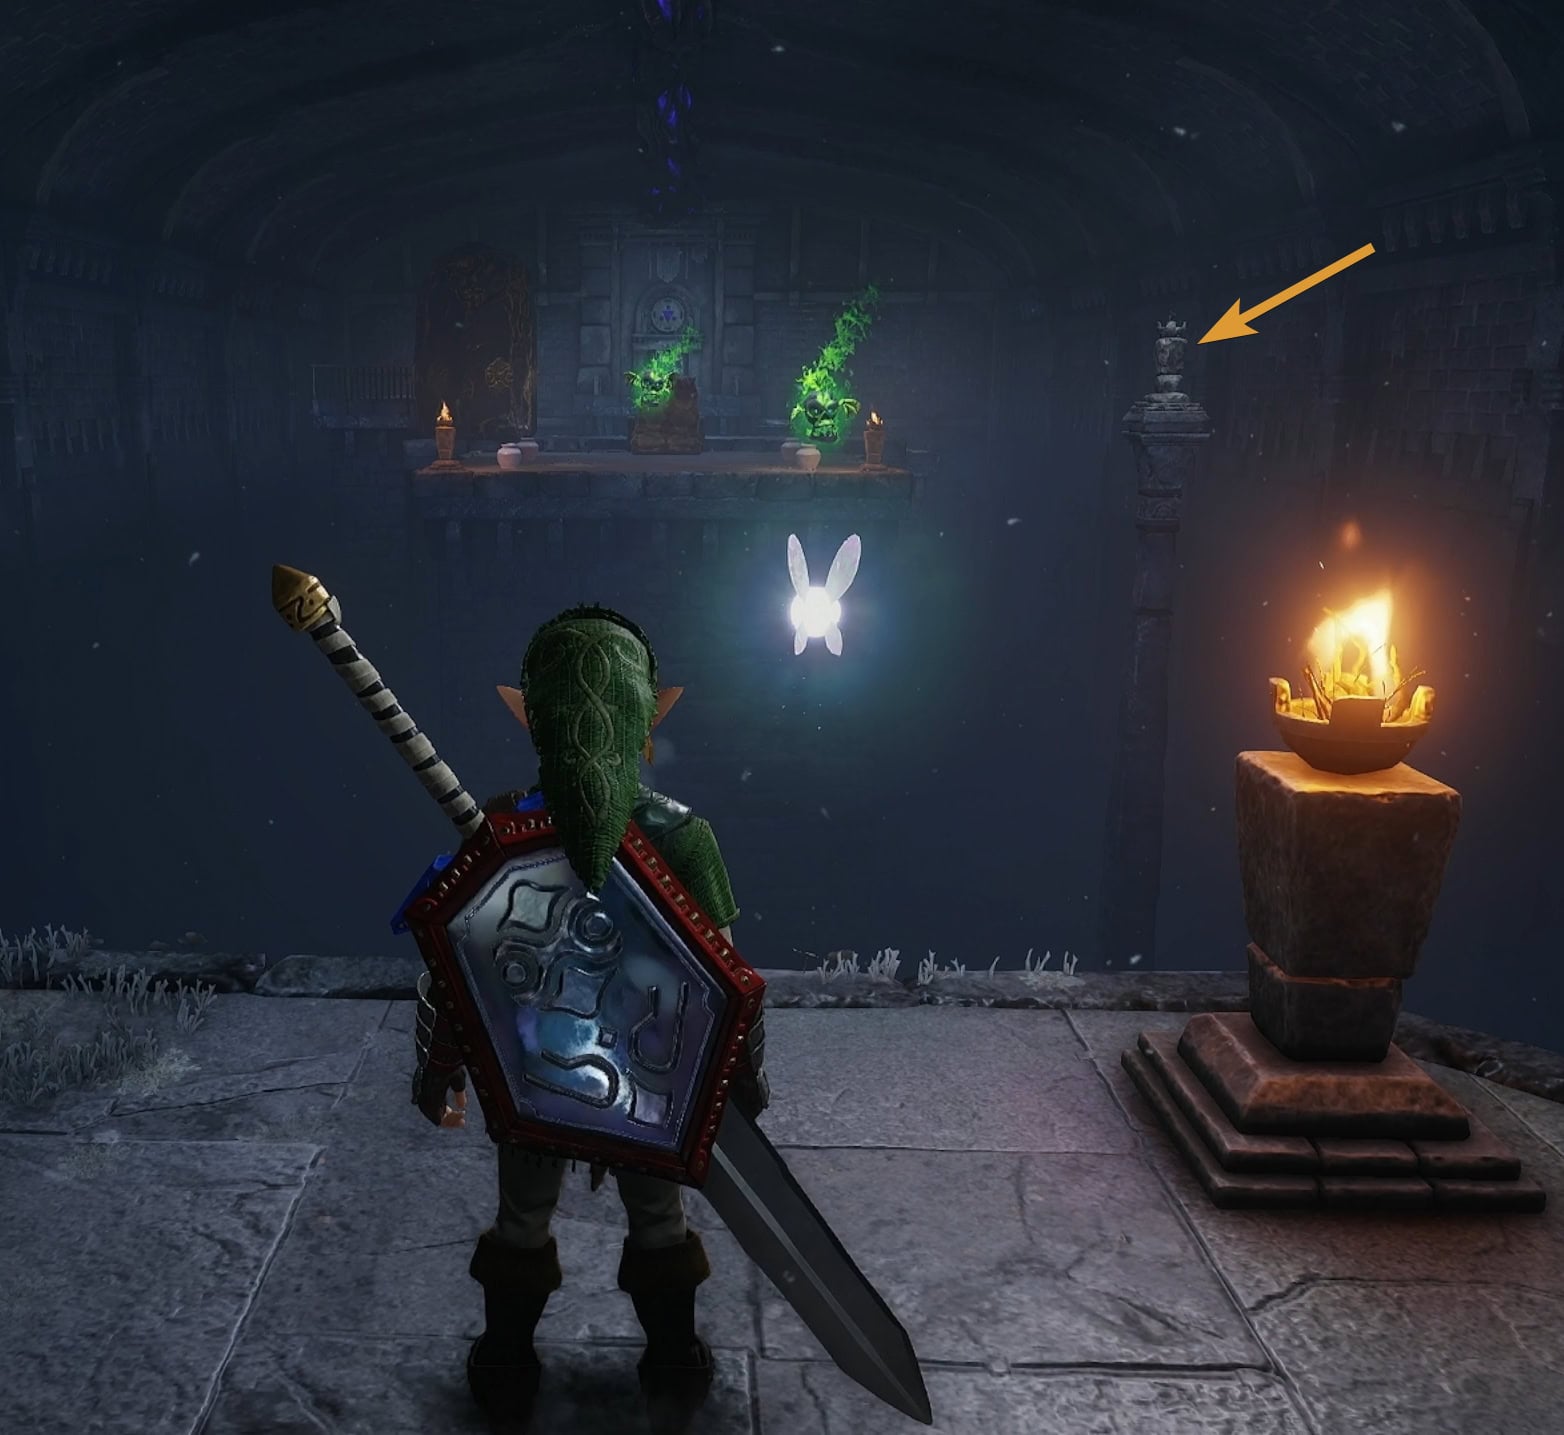
When you’re on the platform the Like Like was on, use the Lenses of Truth to find a hidden path that leads to a floor Switch. This switch will spawn a large chest containing the Golden Gauntlets.
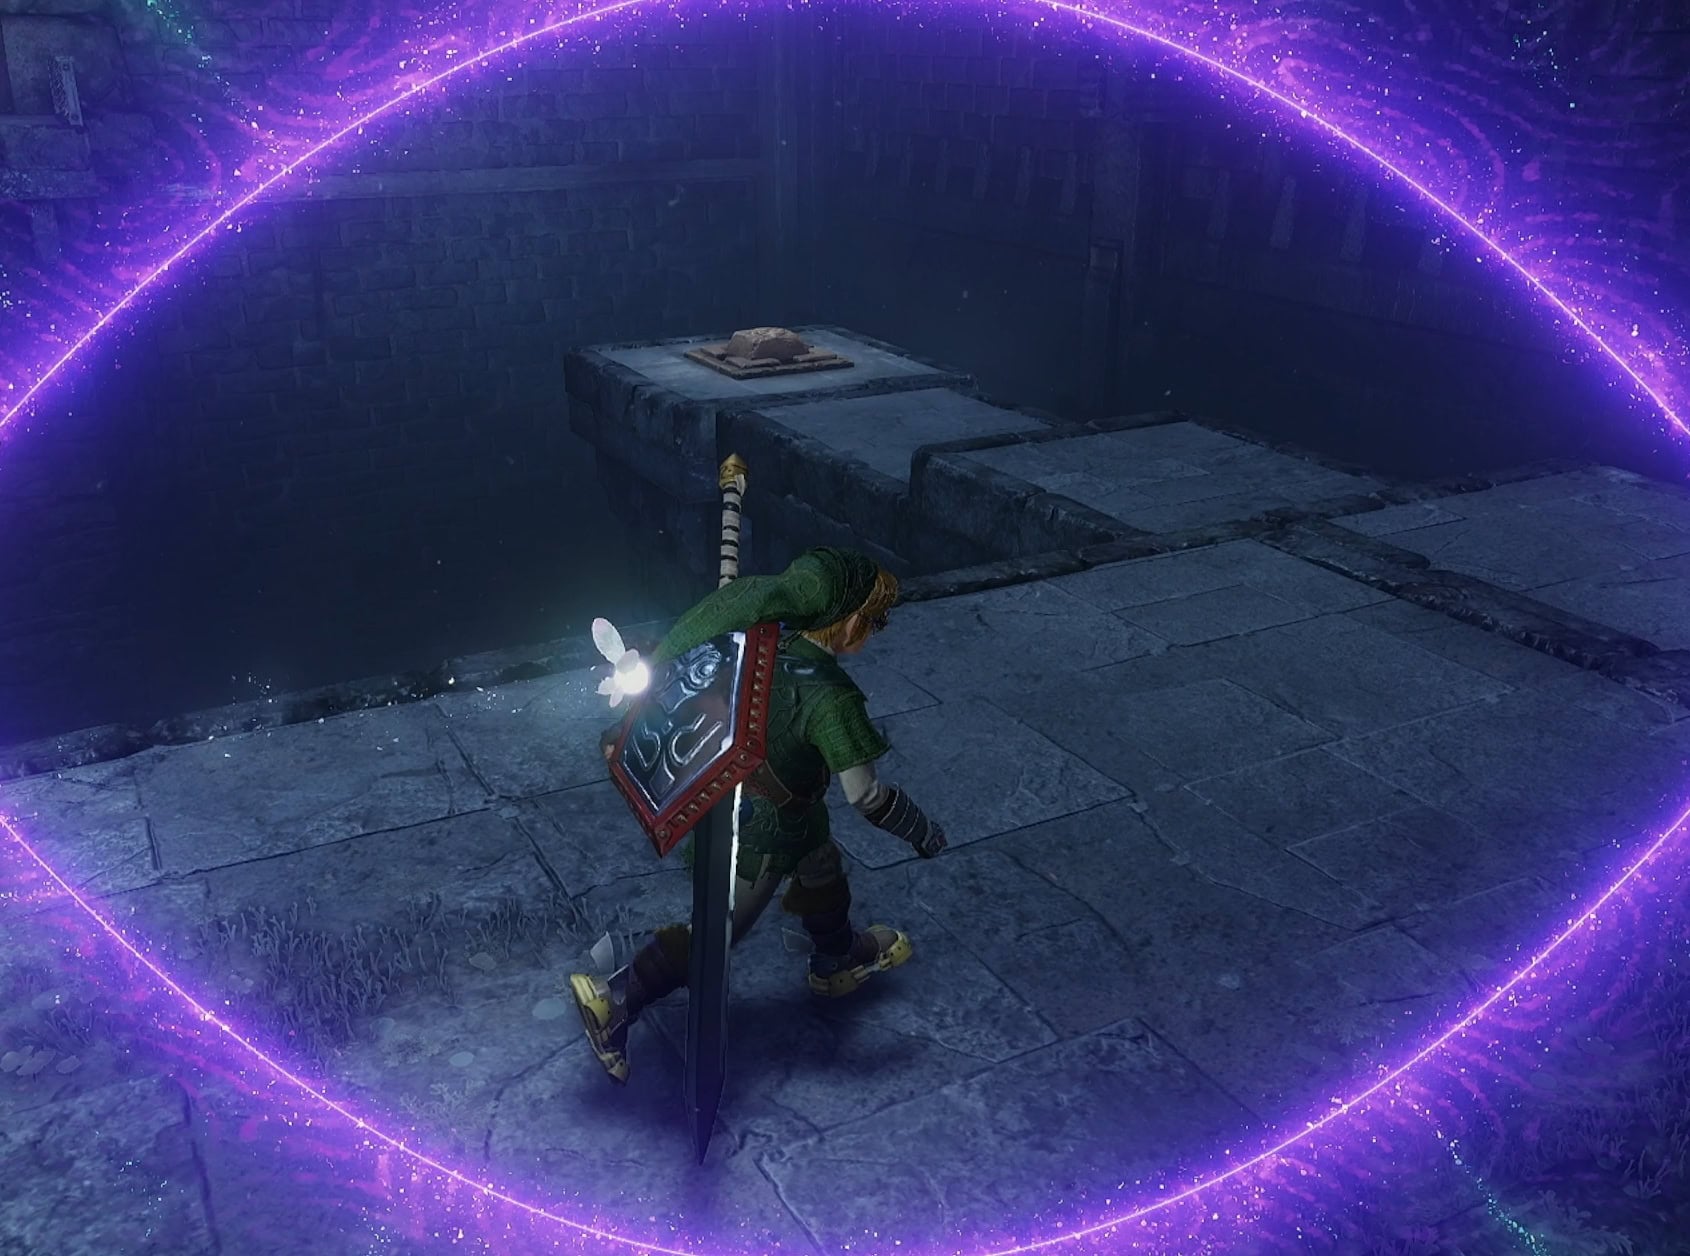
With the Golden Gauntlets, move the black and gold pillar to clear the way to the floor switch that unlocks the door. Equip the Lenses of Truth and Hover Boots to reach the door and take down the Shadow Barrier.
Great Fairy of Courage
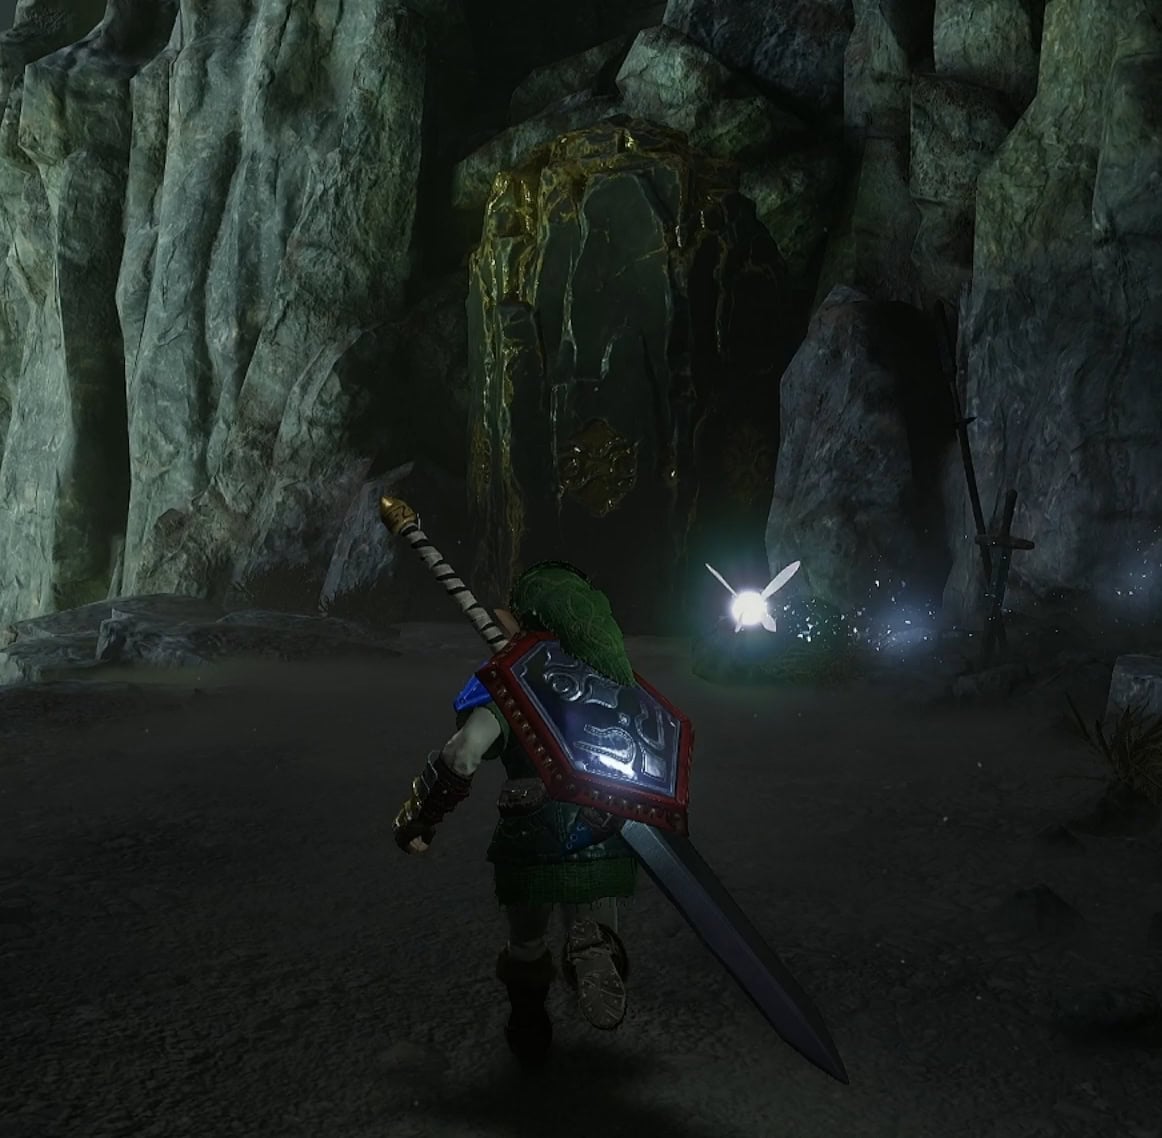
Now is an excellent time to step outside before going further. Outside of Ganondorf’s Castle to the east is a Gold Skulltula and a gold and black pillar. This leads to a Great Fairy that will halve your damage taken for 500 rupees.
4. Fire
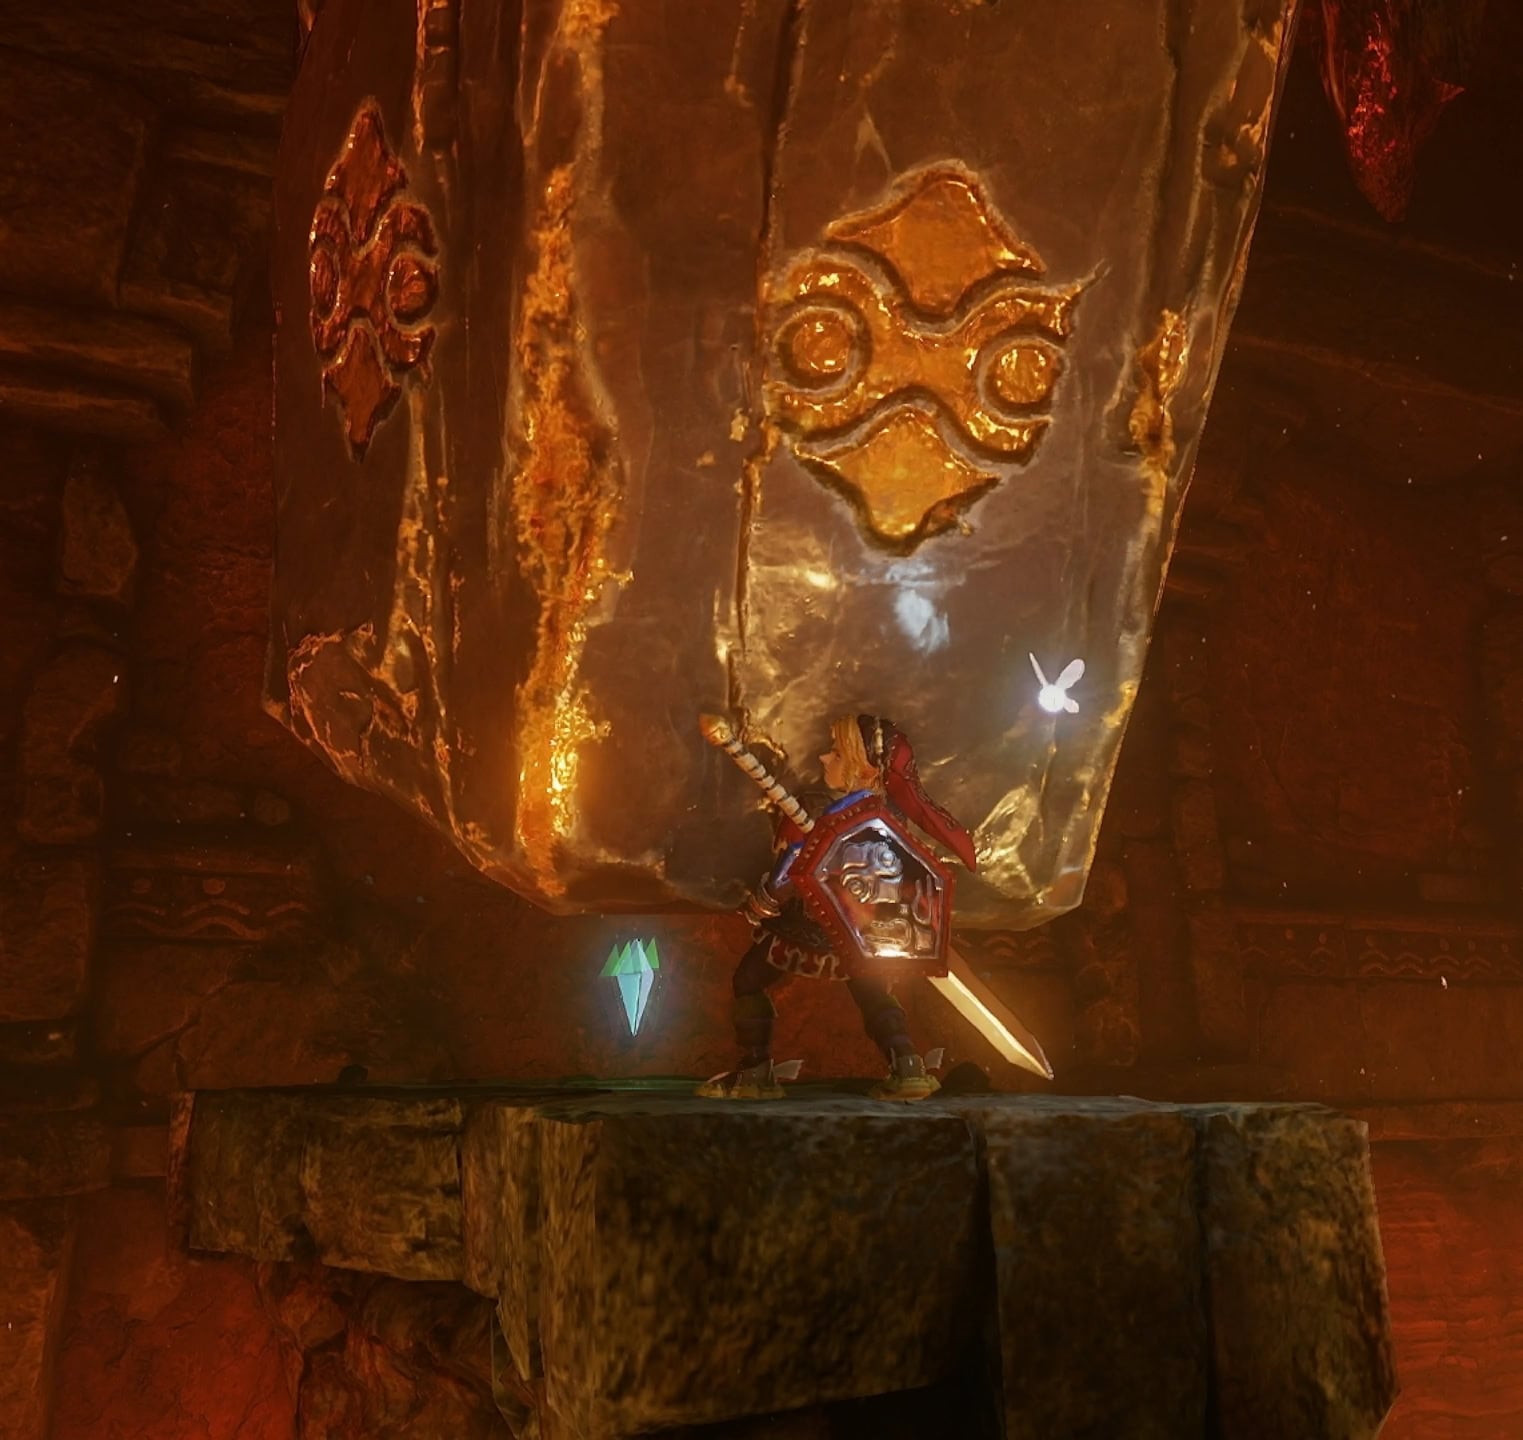
Equip your Goron Tunic and Hover Boots. The long platform in the center of the lava will sink if you step on it without the Hover Boots.
This room is fairly simple overall as you just need to collect the five silver gems seen in the room. Start by lifting up the gold pillar on the left side, this will create a platform leading to the silver gem on the right side of the room. Unlock the door and dispel the Fire Barrier.
5. Light
Equip the Lens of Truth to see invisible enemies. Defeating them will spawn the small chest containing a red rupee. There are 6 other chests in the room.
Going clockwise from the top of the room, the chests will contain the following items:
- Ice Trap Chest
- Blue Rupee
- Ice Trap Chest
- Blue Rupee
- Ice Trap Chest
- Blue Rupee
In the next room, play Zelda’s Lullaby on the Triforce Emblem to spawn a chest with a green rupee. On the side opposite of that chest is an invisible chest containing a Small Key.
In the next room, you’ll be collecting more silver gems. Two are in alcoves alongside the wall, while two are tucked in the center platform. Hookshot to the top to reach the one on top of the pillar.
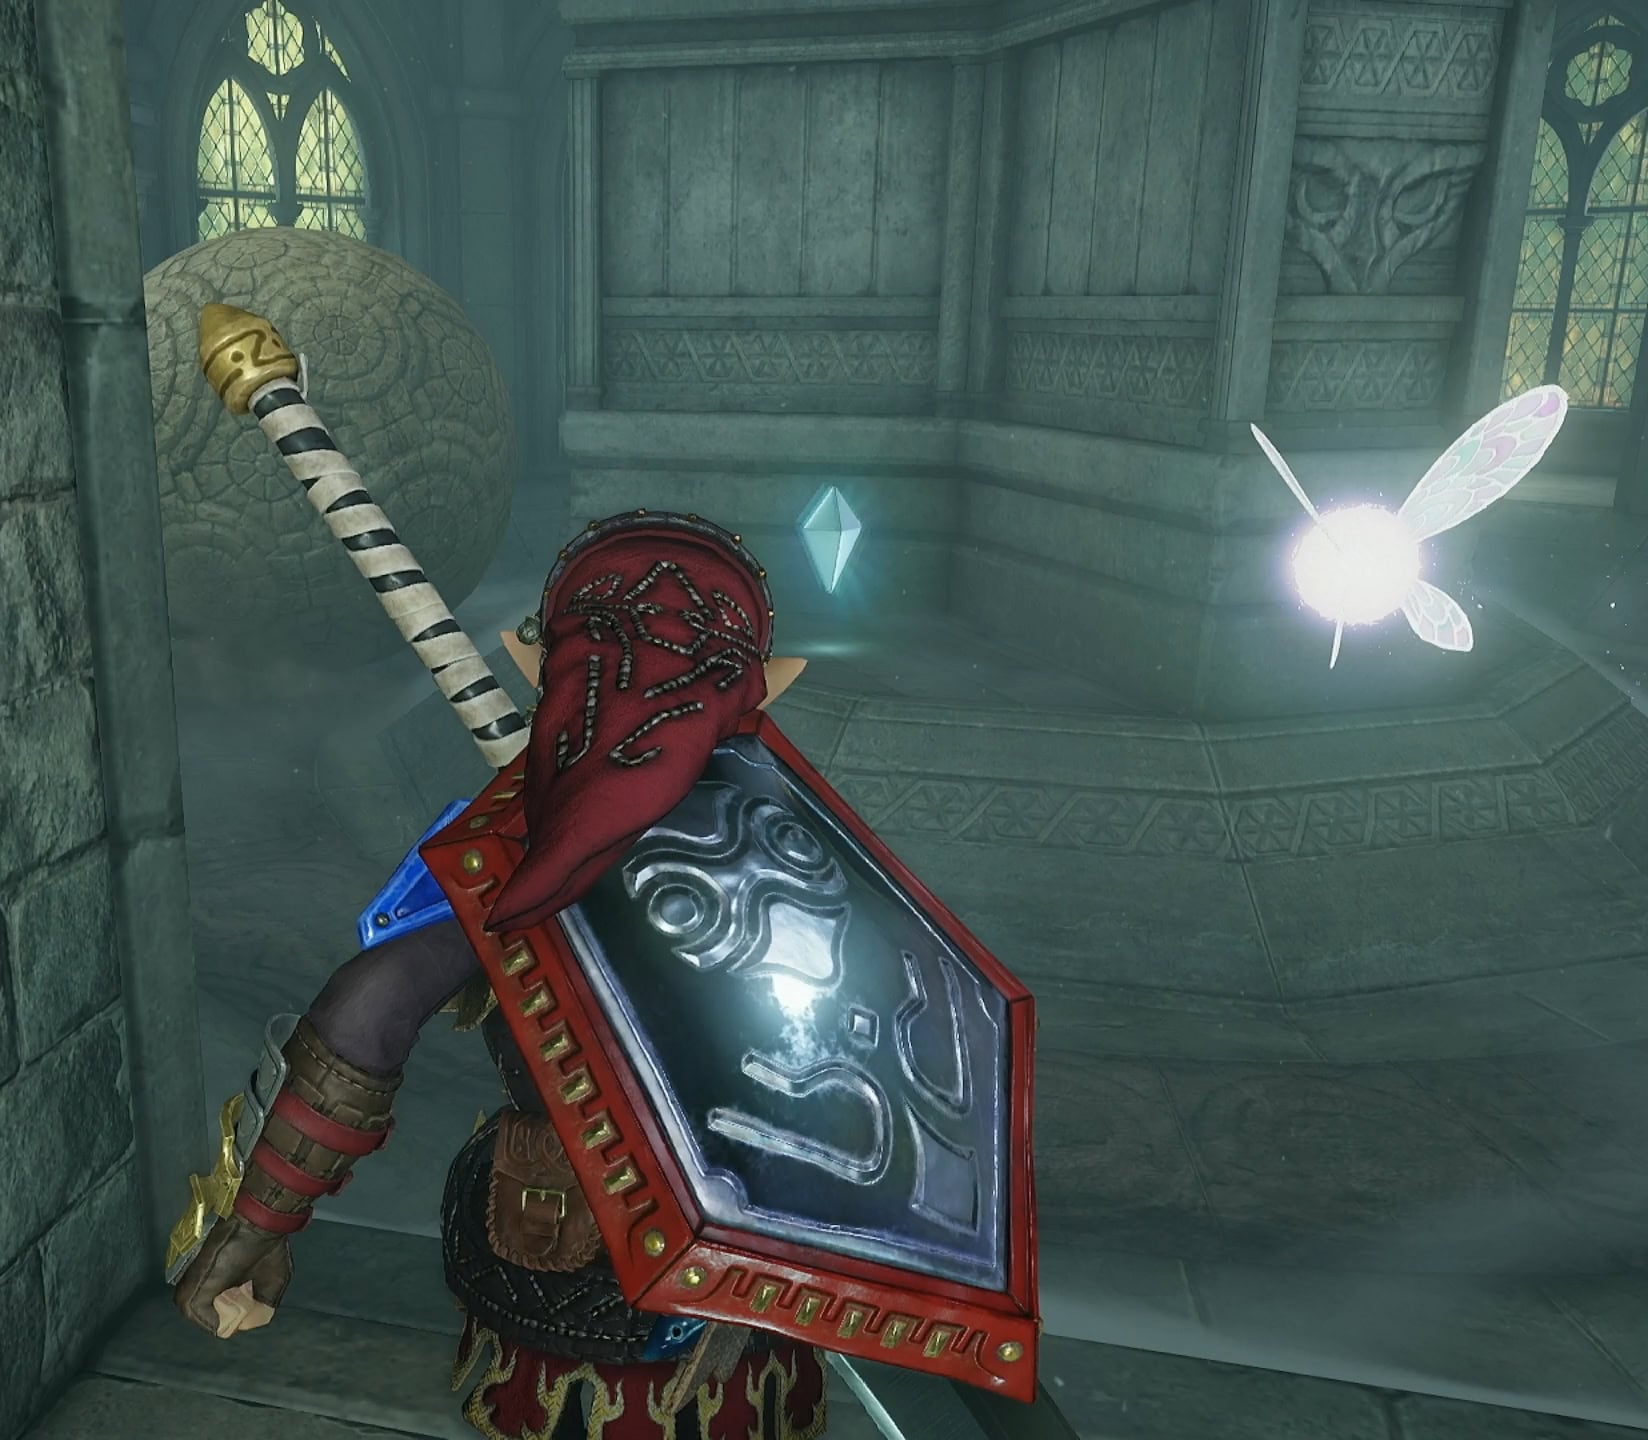
The Light Barrier will not be seen when you enter the final room. There’s an illusory wall ahead that you can go through to find the real chamber housing the Light Barrier. Watch out for the Wallmaster hanging above you.
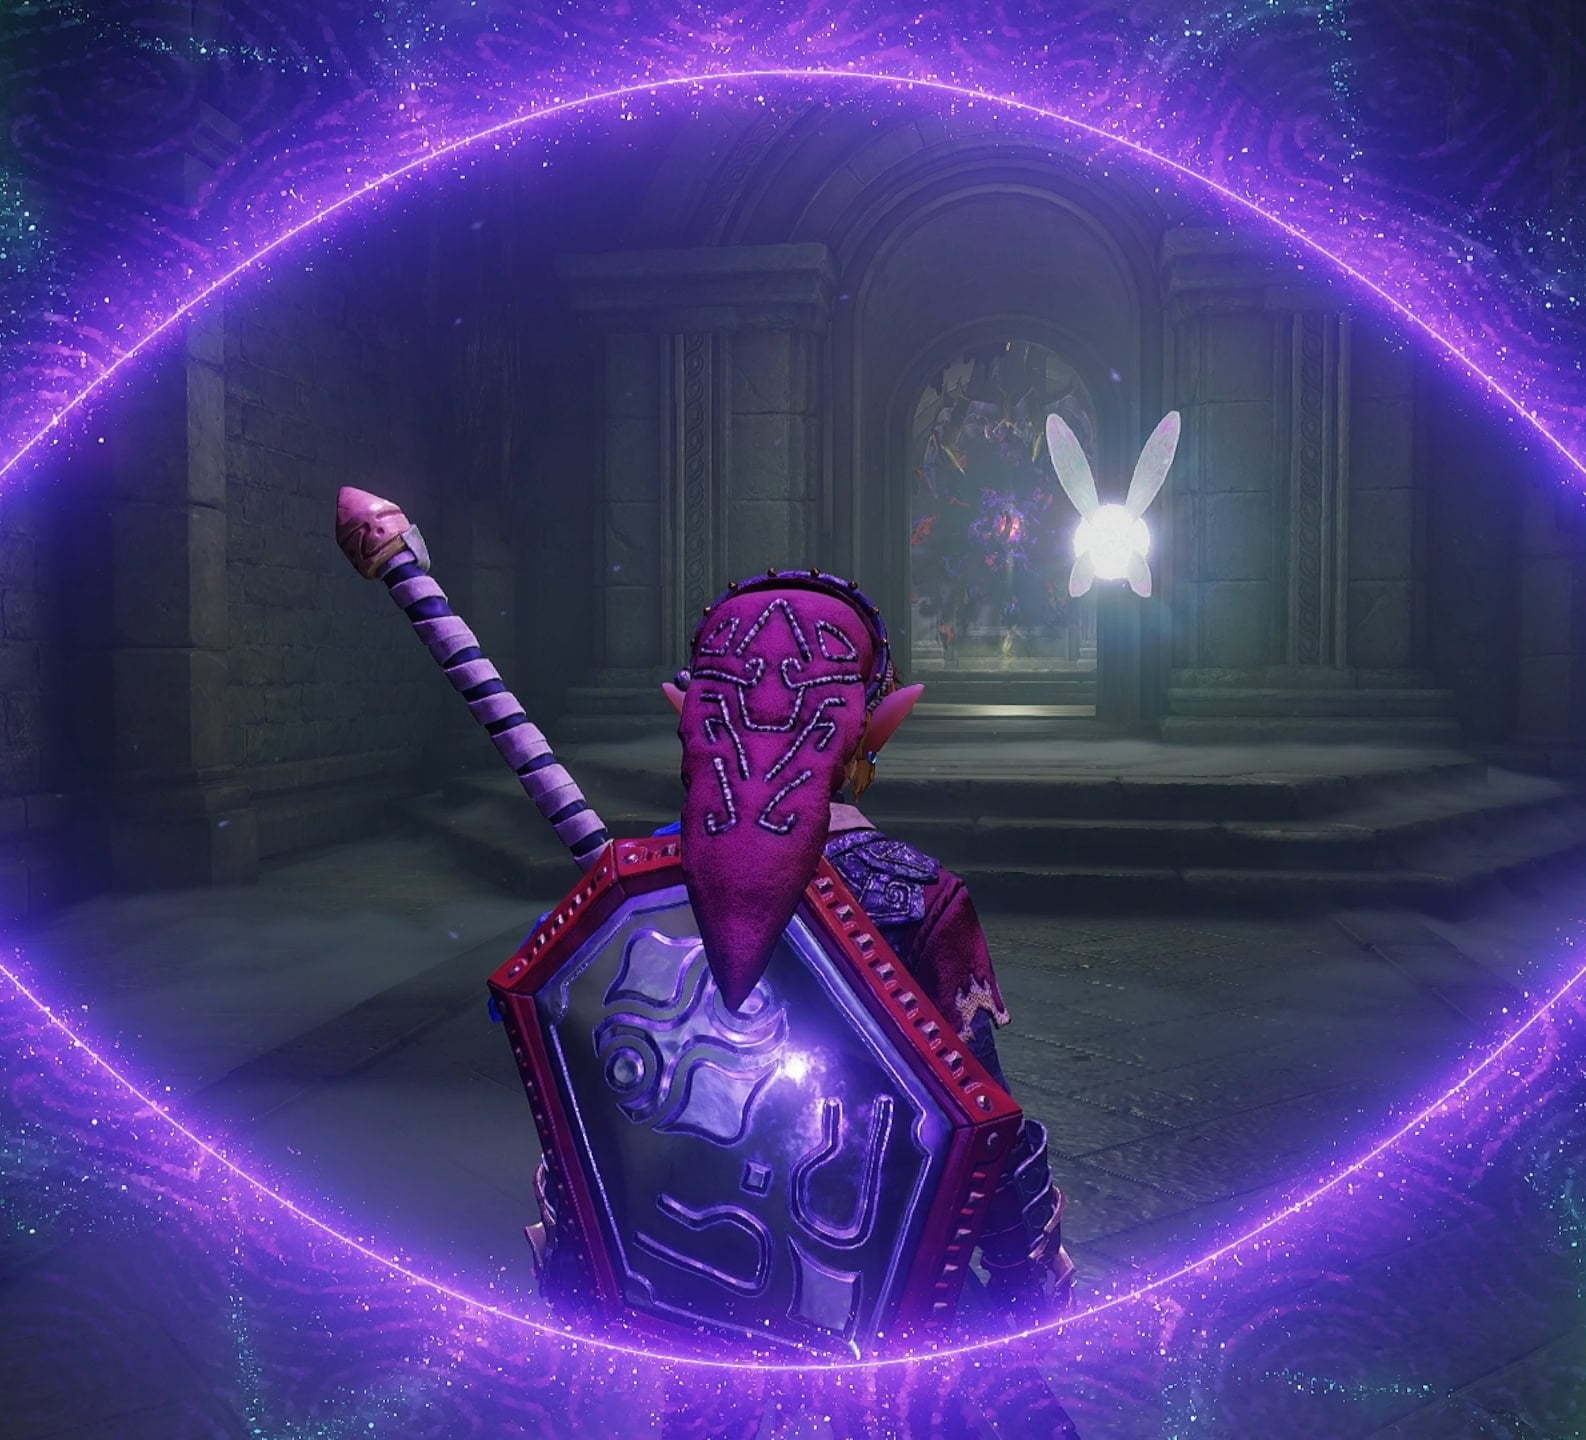
6. Spirit
Destroy the Beamos and collect the silver gems. None of the Armos statues are real, so you can push or pull them to safely reach the gems protected by spike traps.
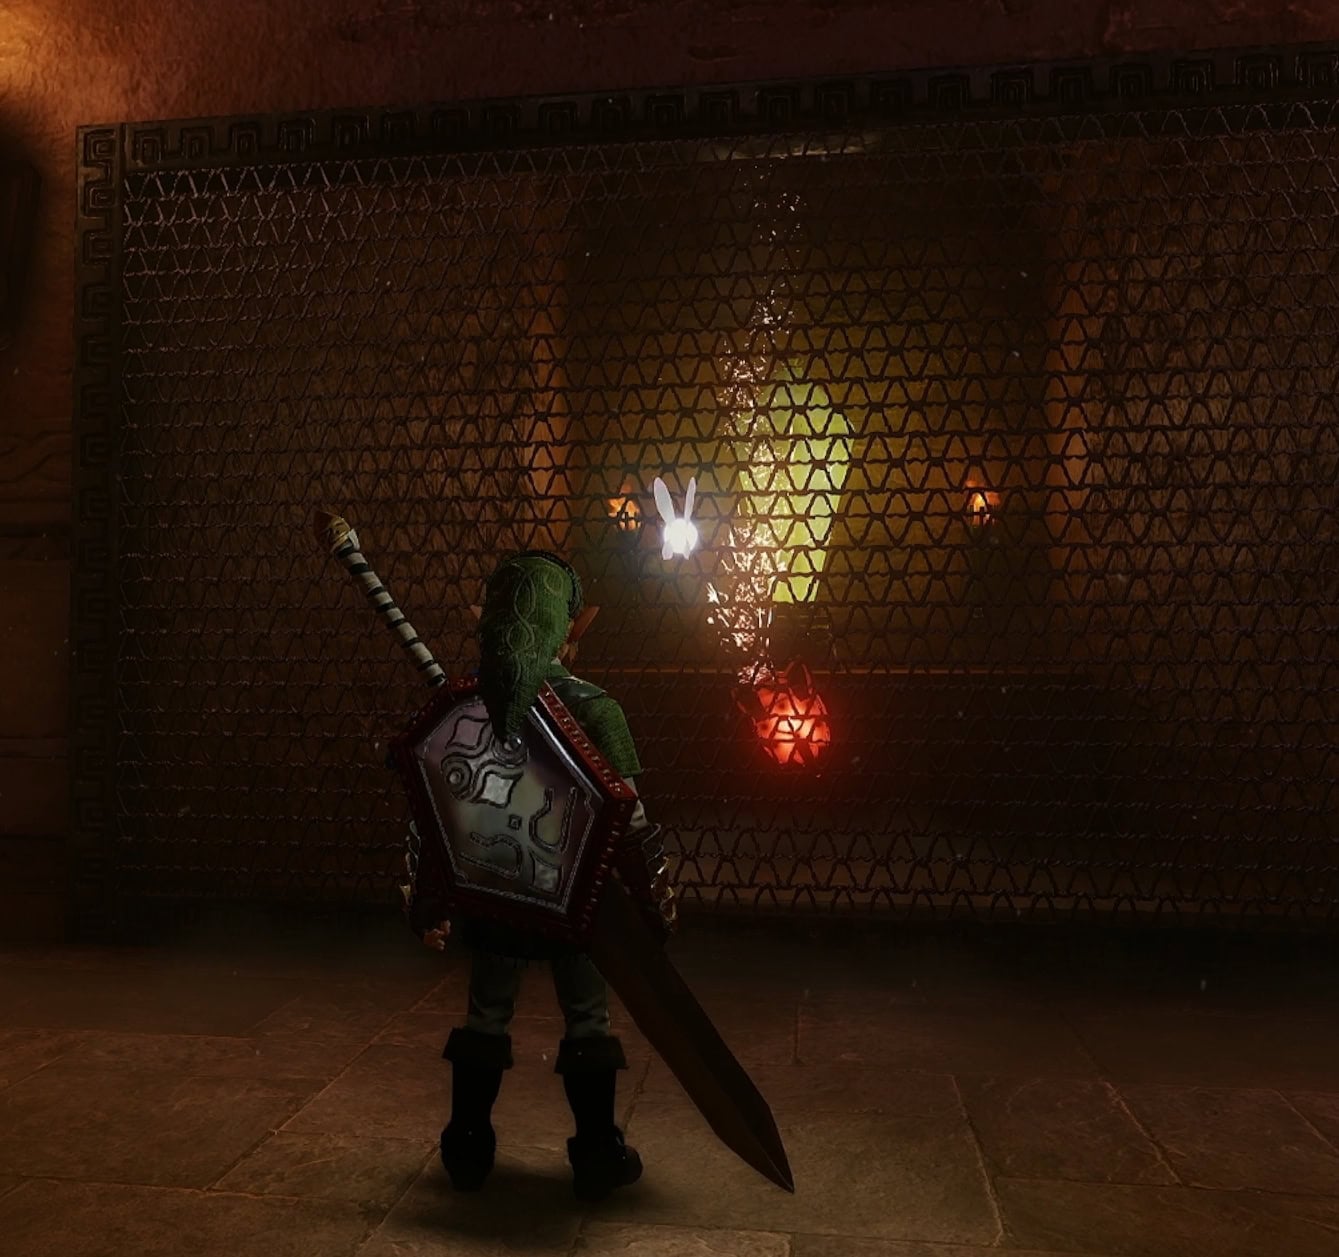
In the next room, defeat the two Torch Slugs to spawn a chest with Business Scrub Seed. Have a Bombchu travel through the opening in the fence to hit the crystal switch on the other side of the room.
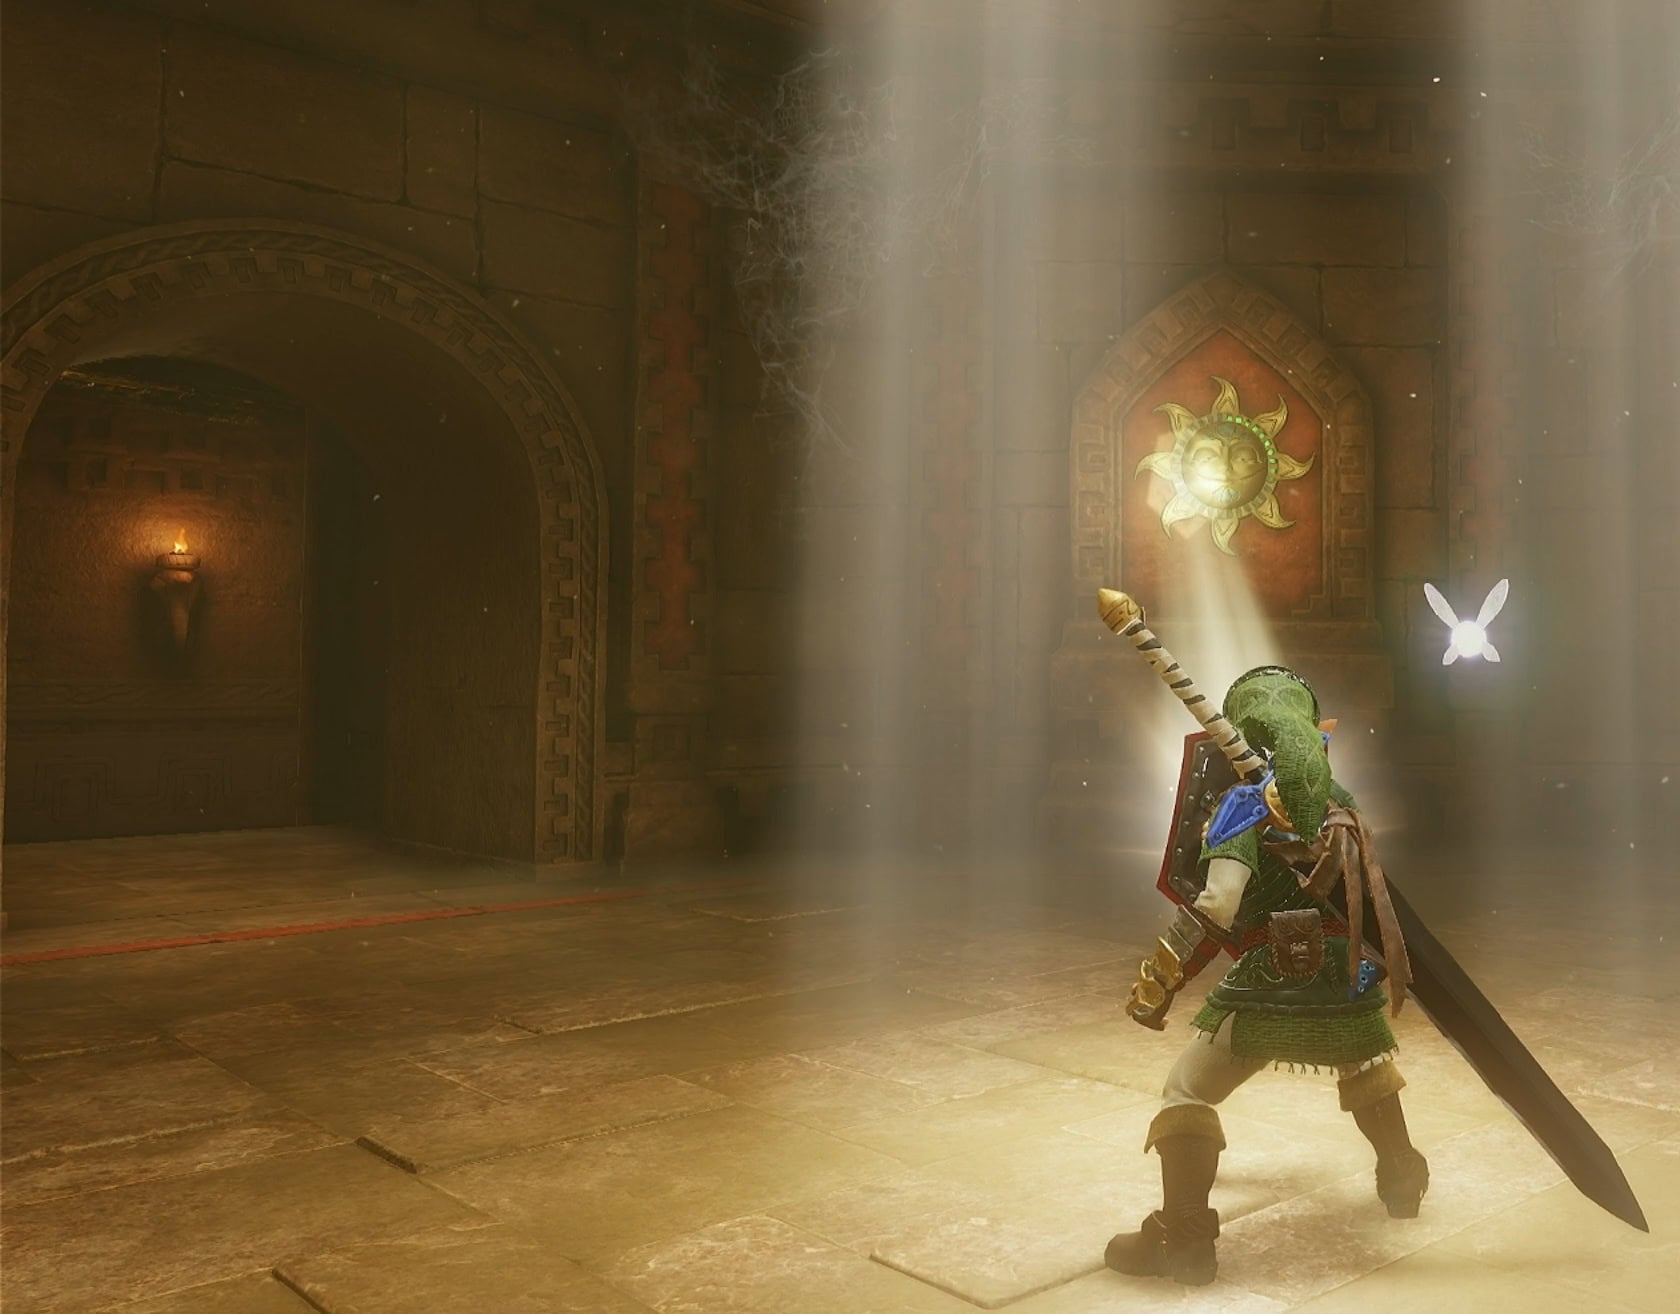
Lastly, you’ll find several sun switches along the walls of a round room. Use Fire Arrows to destroy the cobwebs on the ceiling to let some light in.
Face the entryway you came from, then reflect light onto the sun switch right of it to reach the Spirit Barrier. The rest of the sun switches spawn Floormasters or Wallmasters.
Ascending up the Tower
If you need more supplies, now is the time to go out and buy some. After dispelling all of the barriers, go through the maw of the doorway into the central tower.
There’s a fairy fountain and some jars with magic jars inside within the castle. It’s behind an illusory wall underneath the bridge.
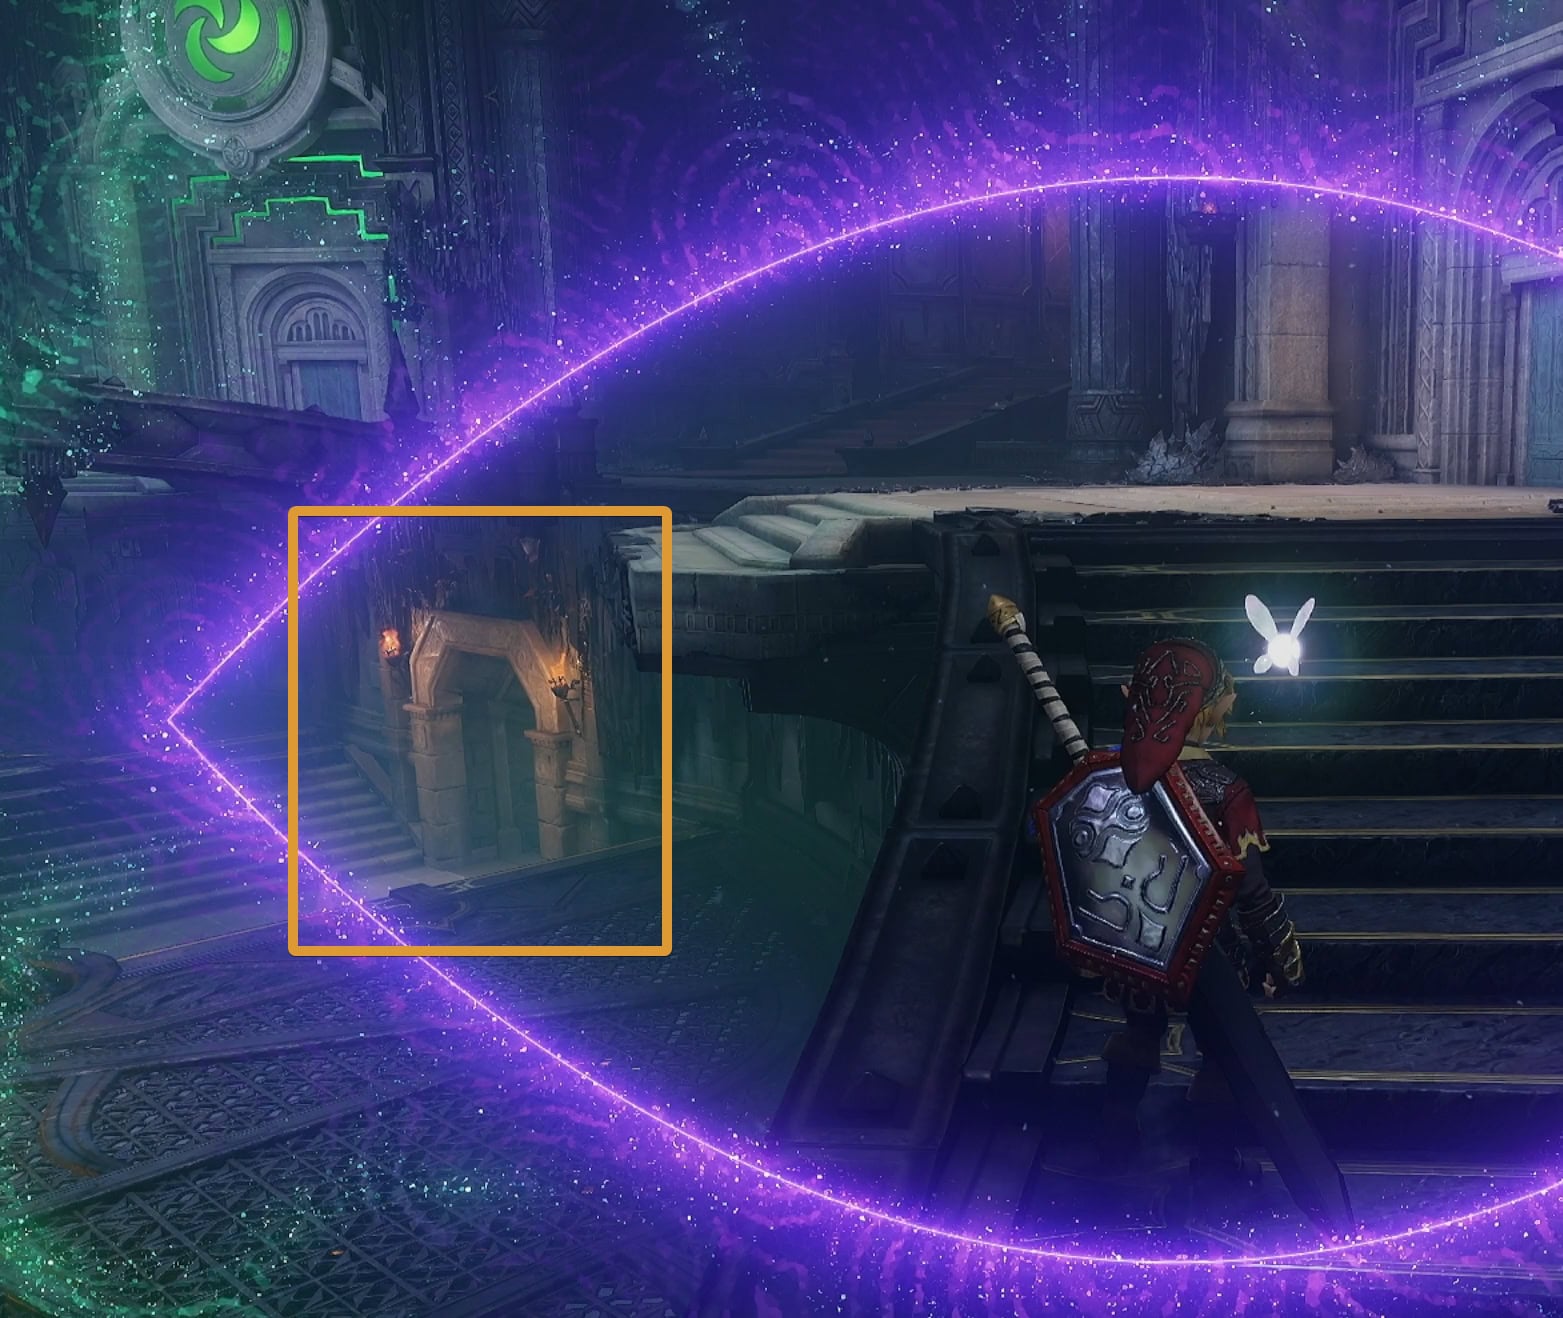
This next portion involves you fighting tough enemies such as Dinofos, Stalfos, and a pair Iron Knuckles.
For the two Iron Knuckles, it’s safer and easier to only wake up one, defeat it, then wake up the other. If you want a challenge, wake up both at the same time!
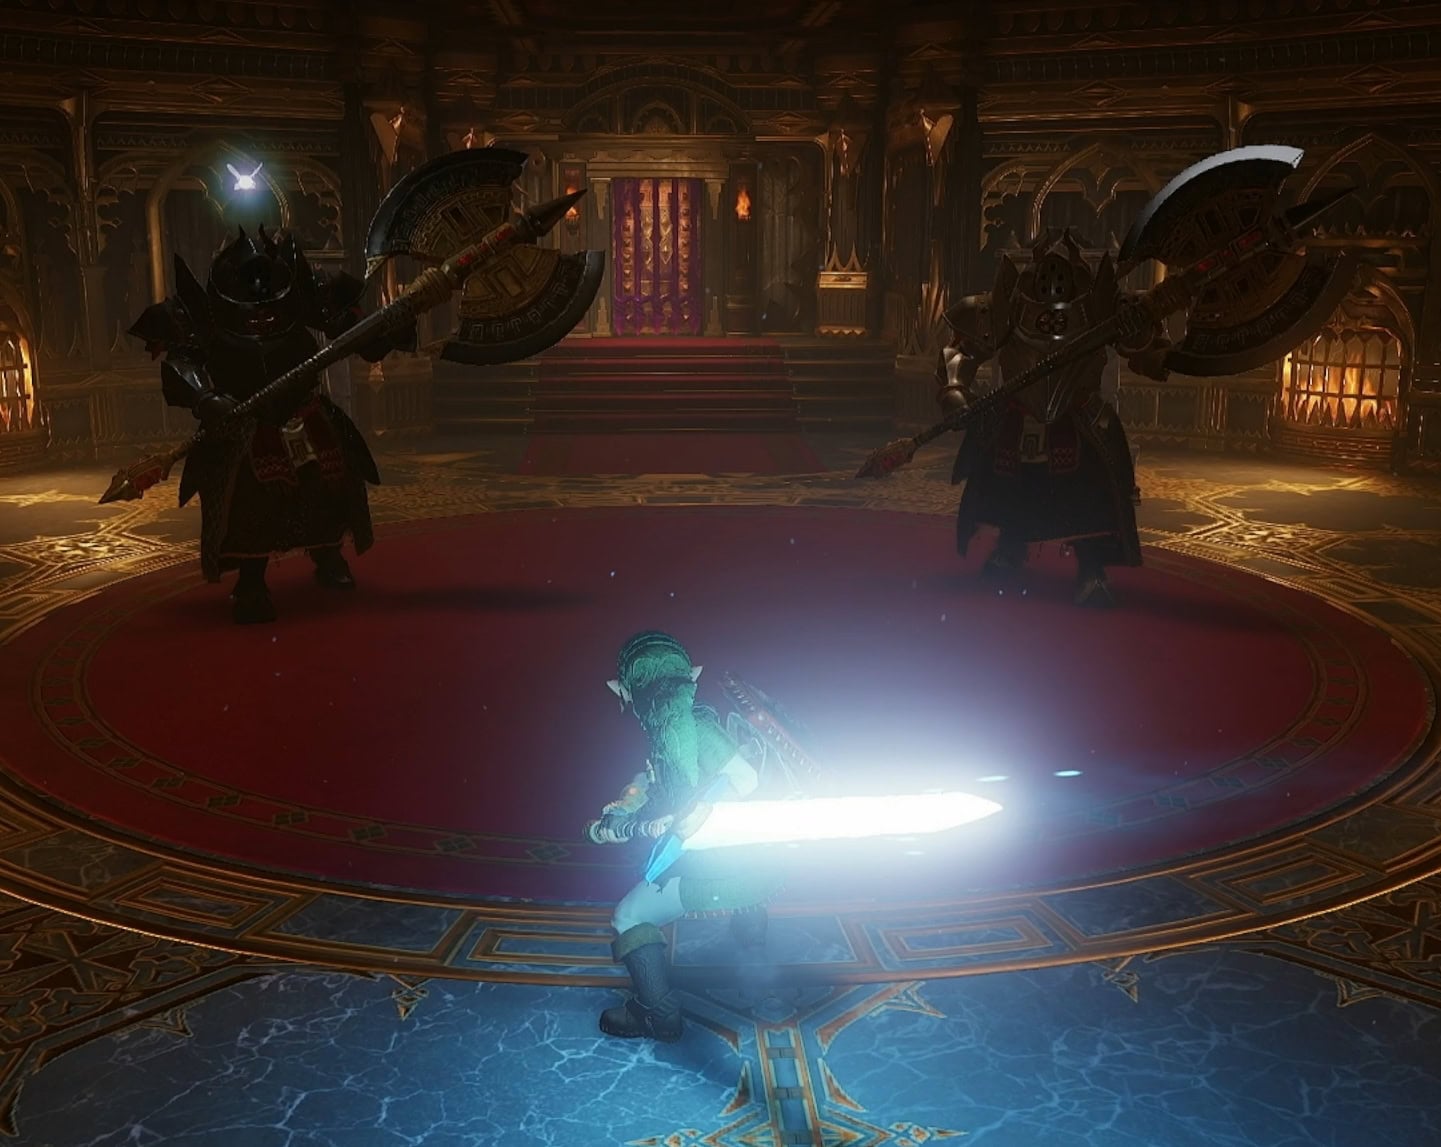
Continue going up the tower until you reach the final boss door. This is a good time to save, open the door when you’re ready to fight Ganondorf.
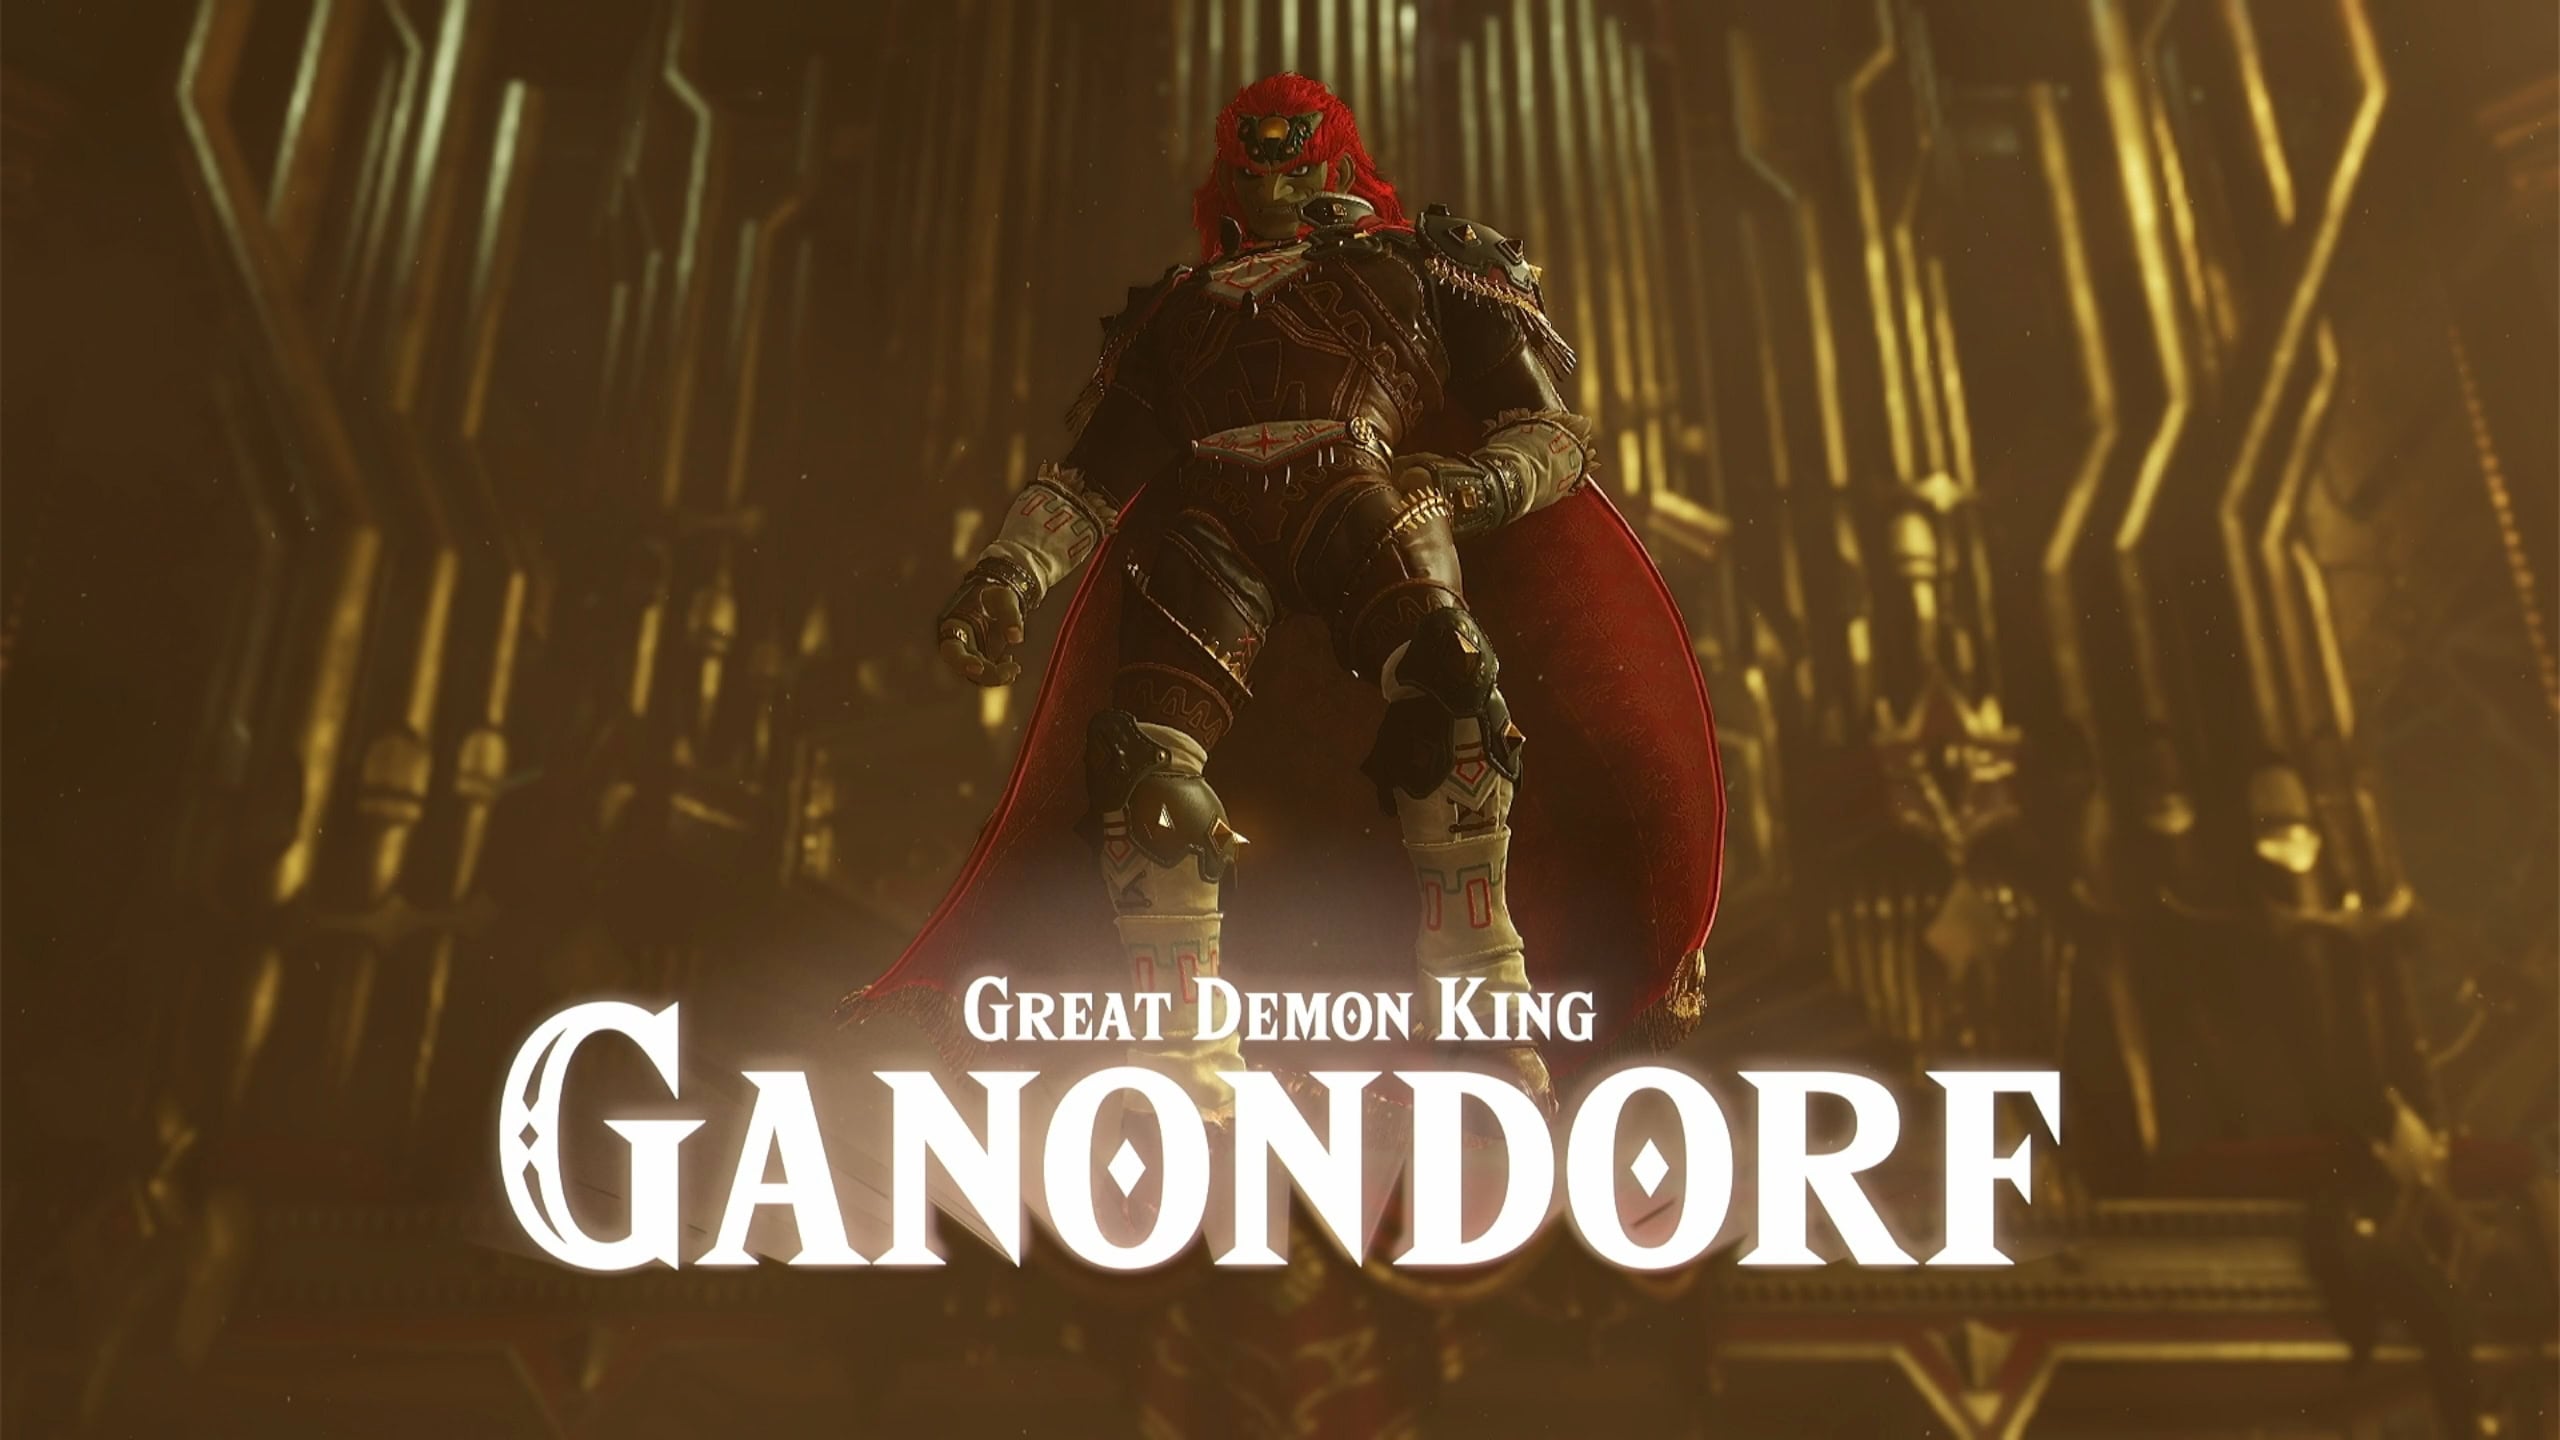
Ganondorf
The time has come to free Princess Zelda and save the Kingdom of Hyrule. With the bearers of the Triforce pieces reunited, it’s now a showdown to see who claims their divine power. Defeat the Great Demon King, Ganondorf!