
Learn how to lease a Restaurant in Crimson Desert’s Charting the Unknown DLC, how to properly manage it to level it up quickly, what layouts and dish combos work best, and how to make a lot of money from this business.
Use the Table of Contents, located in the left panel (top left button on the mobile menu) to navigate through this long guide more easily and quickly.
Key Points
- Layout: Put Serving Stations between the tables and the kitchen. Place Cooking Stations sideways in an L shape and keep Ingredient Boxes at the back.
- Tables: Place at least four tables with plenty of room to move around. At outdoor Restaurants, keep them under a roof in case it rains.
- Leveling up: Lower prices to get a Positive Response, keep every selling slot filled, and hire more staff at Popularity levels 2 and 4.
- Popularity level 4: Every Restaurant has the same task, “Welcome a special guest once,” so sell Traditional dishes to bring in more special guests.
- Profit: At Popularity level 5, raise prices to Mixed and sell dishes that match your Restaurant’s Unique Bonus Effect (Meat, Seafood or Crops).
How to Choose Which Restaurant to Lease
There are seven Restaurants available for lease across Pywel. Because the only real difference between them (apart from the rewards, which you can check at the end of the guide) is their size and shape, you can choose based on location or the vibe you’re going for, as long as the space fits your plans.
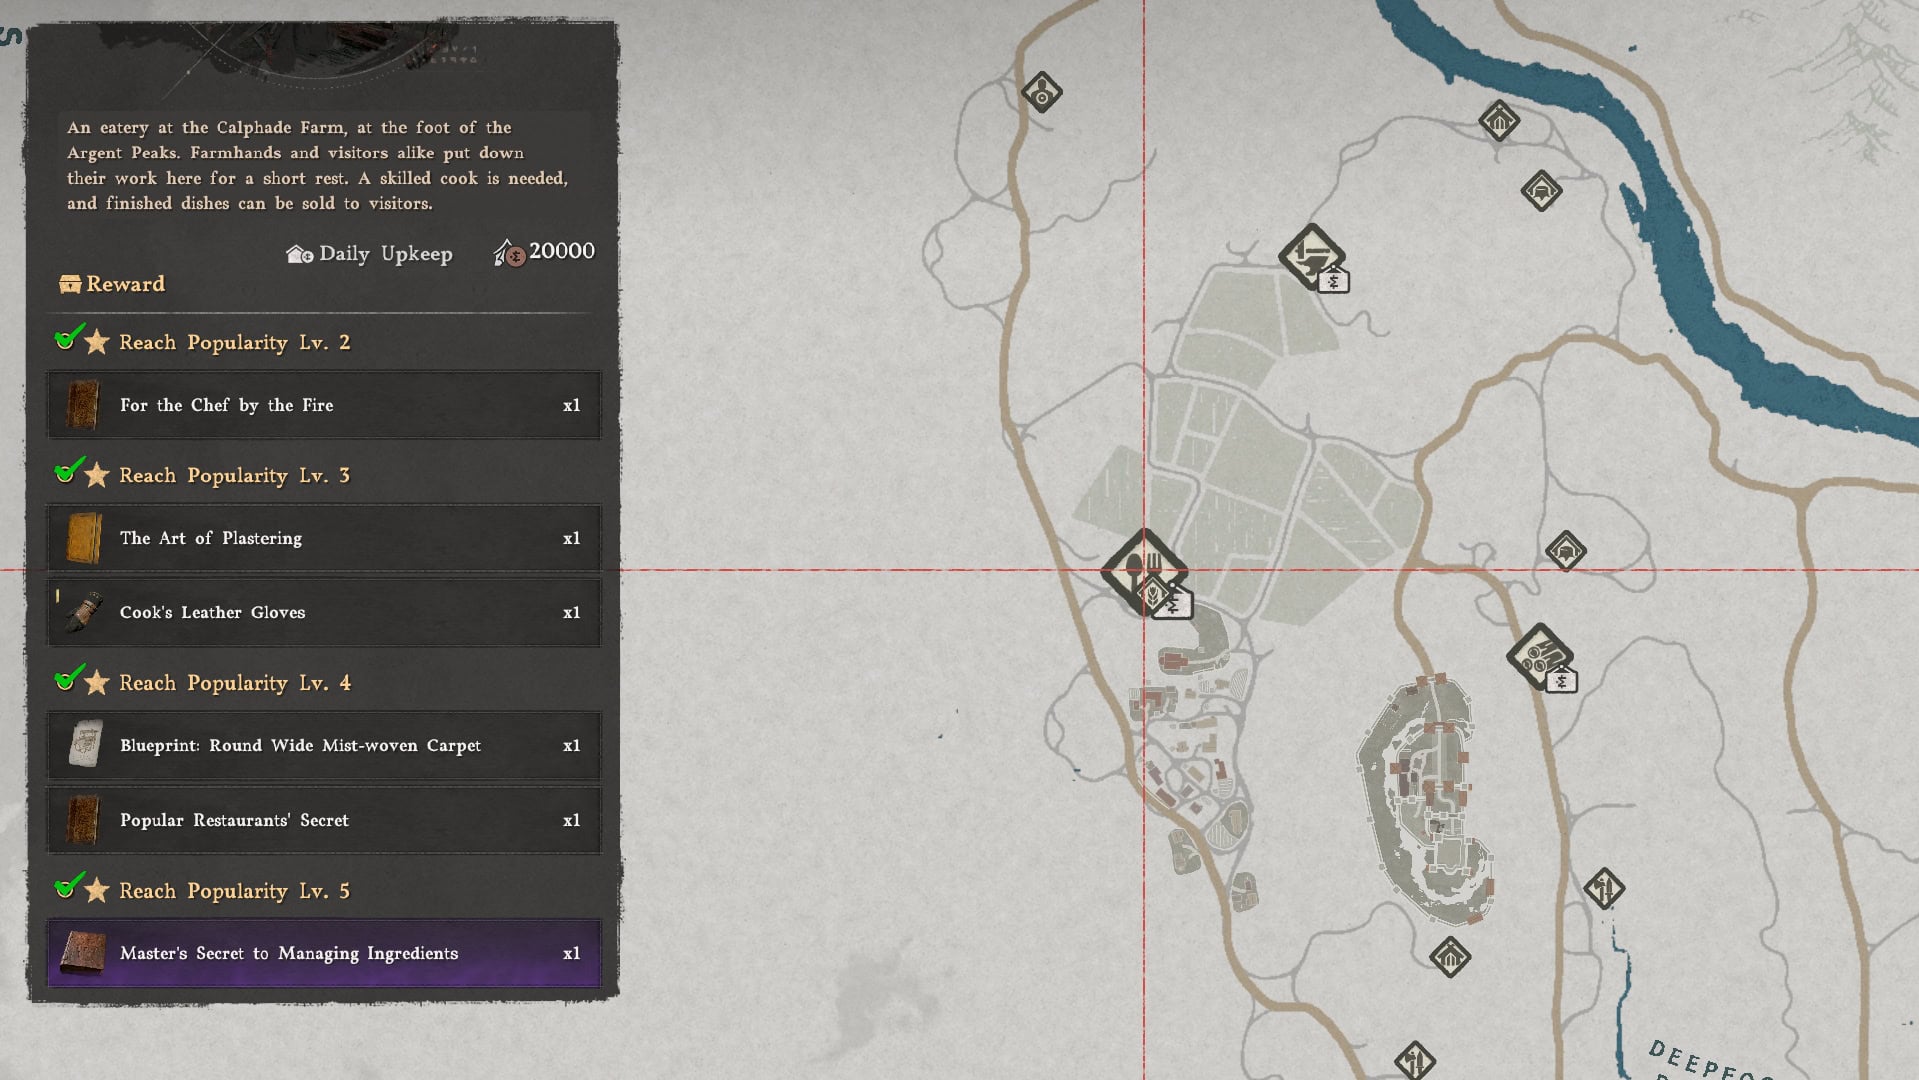
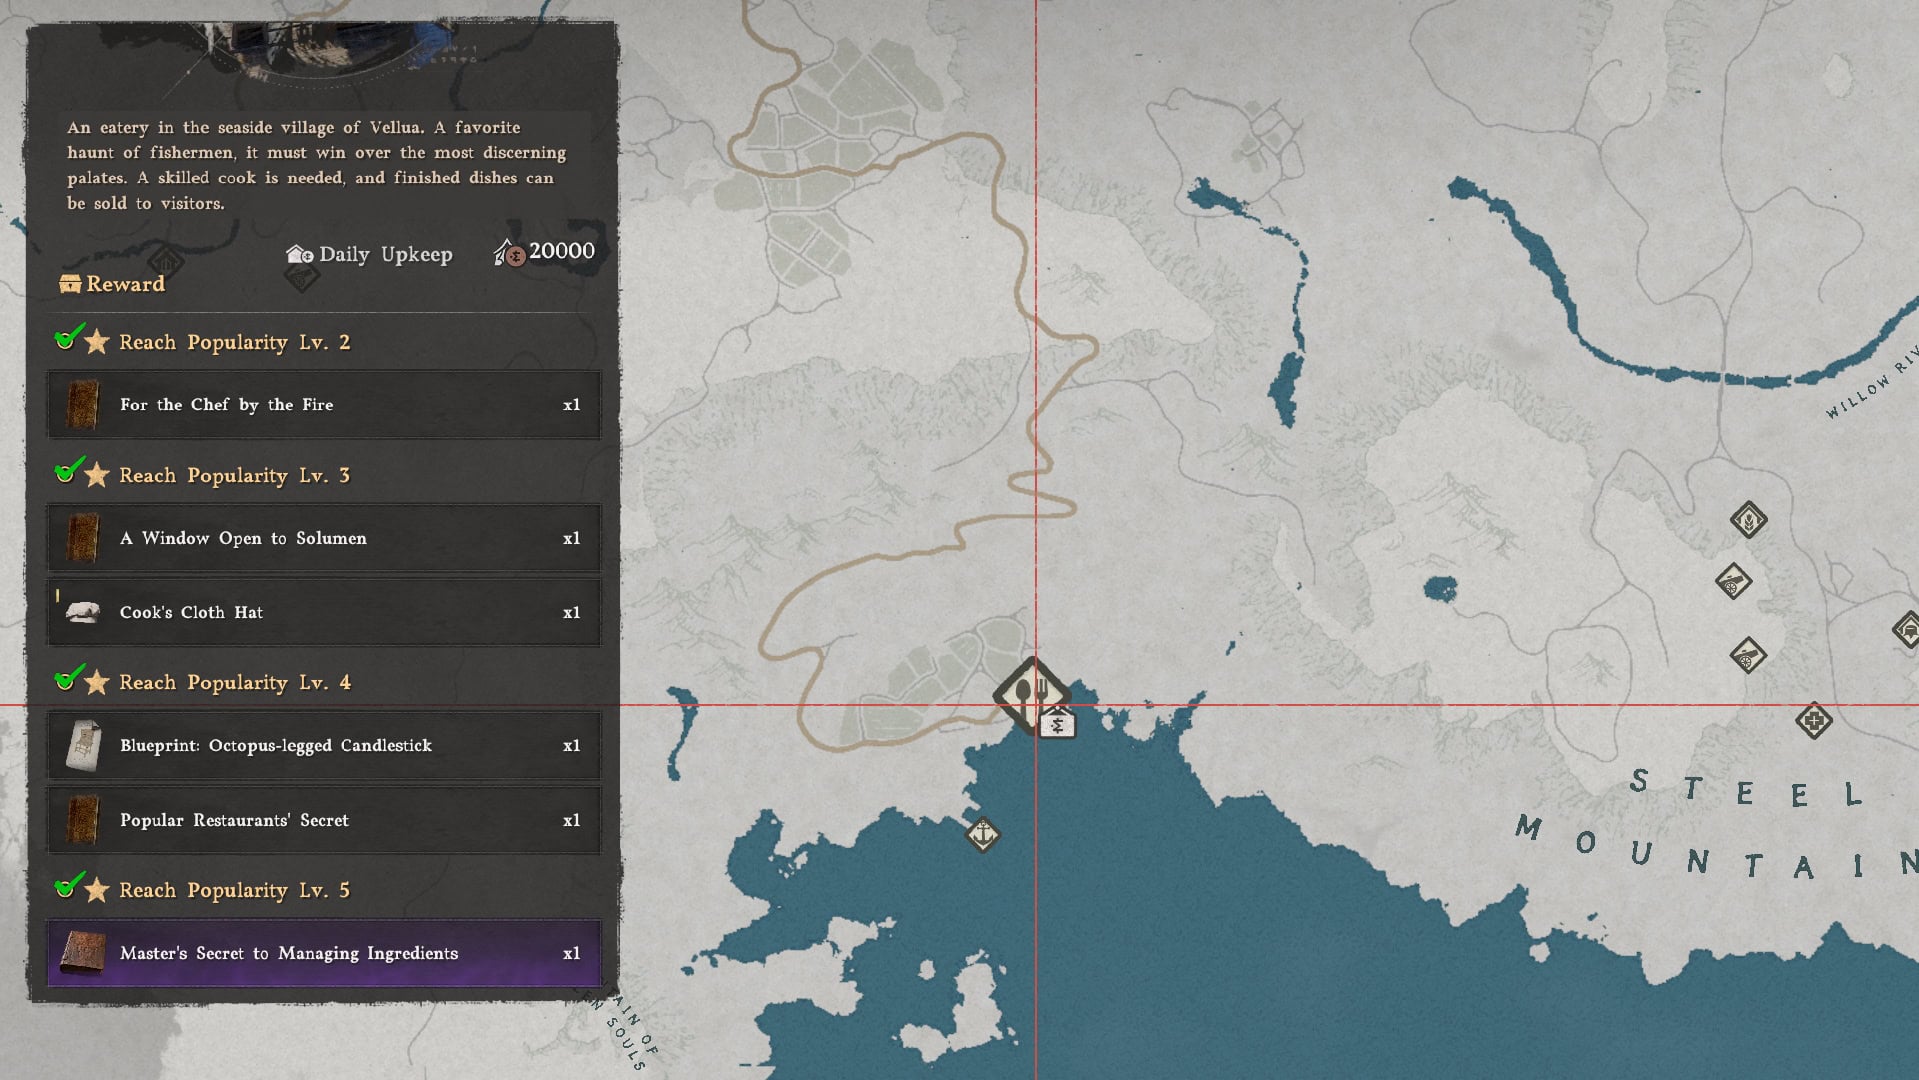
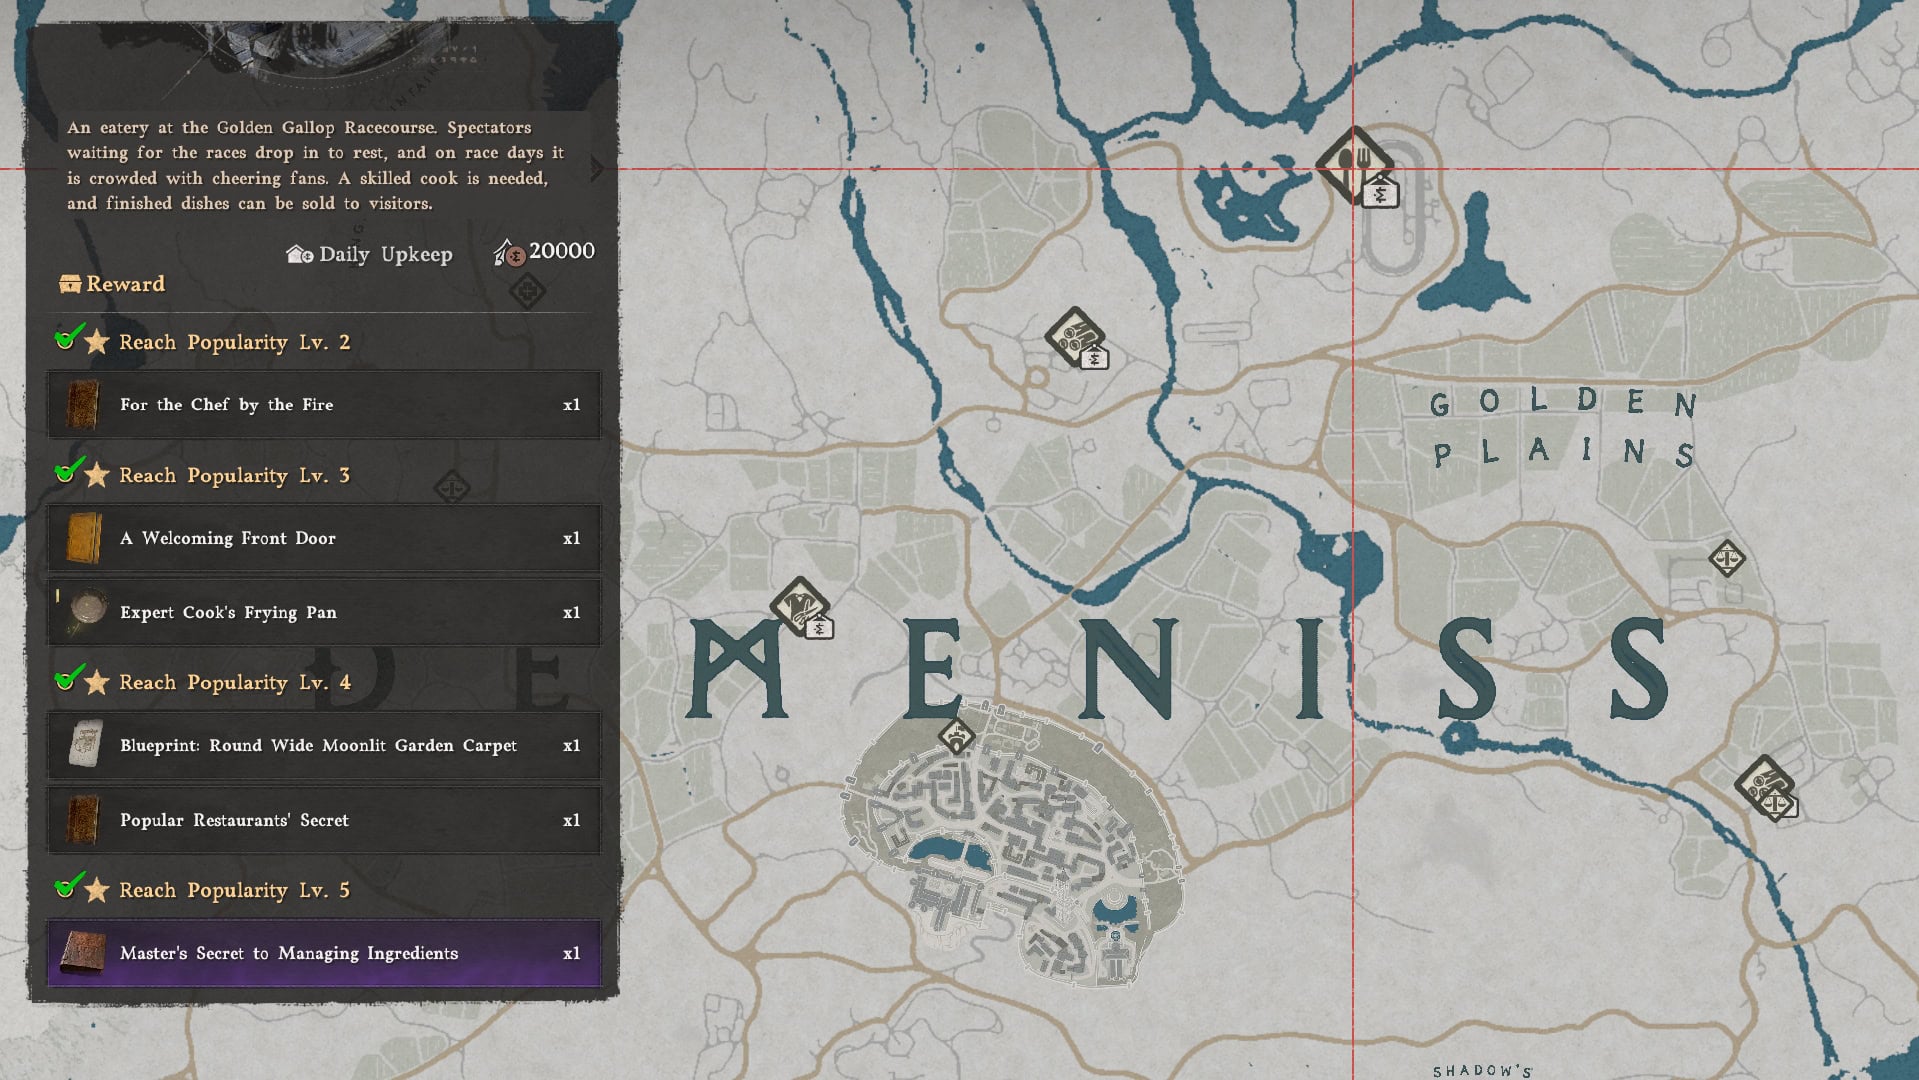
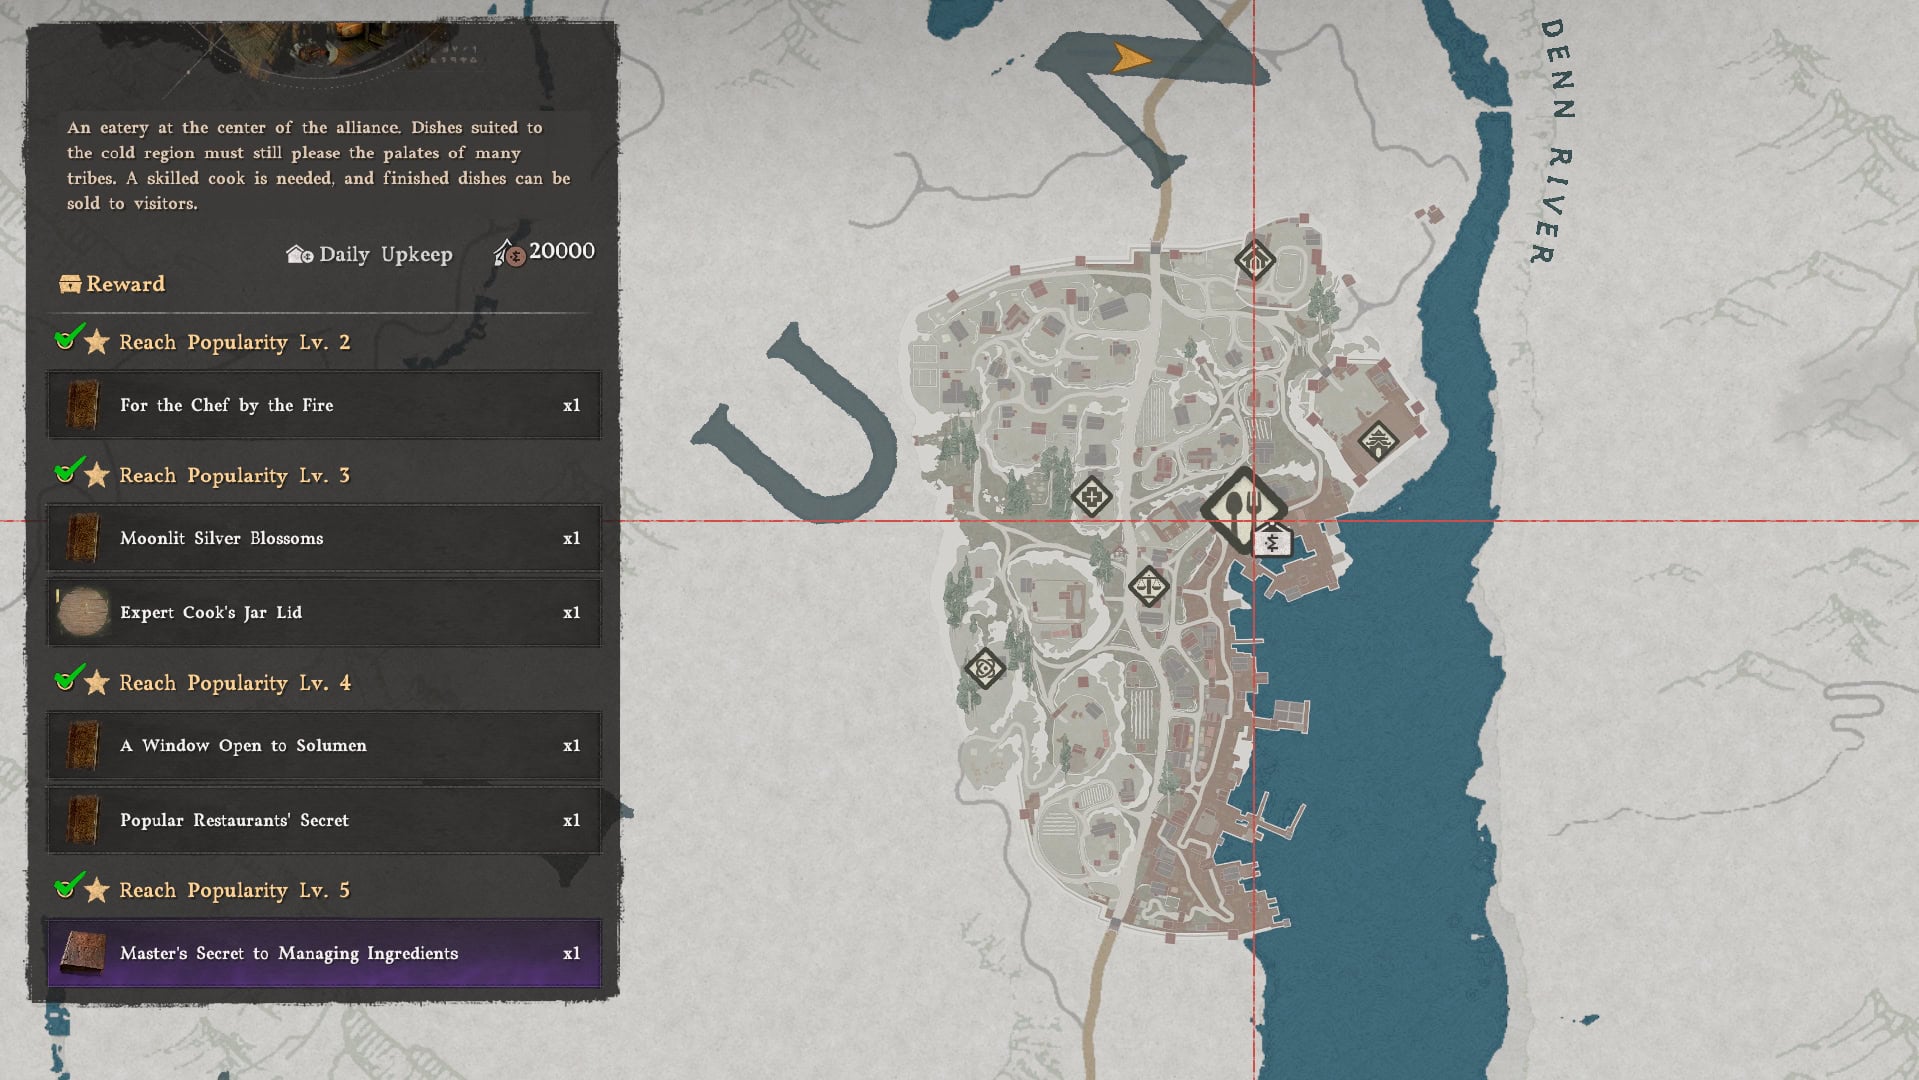
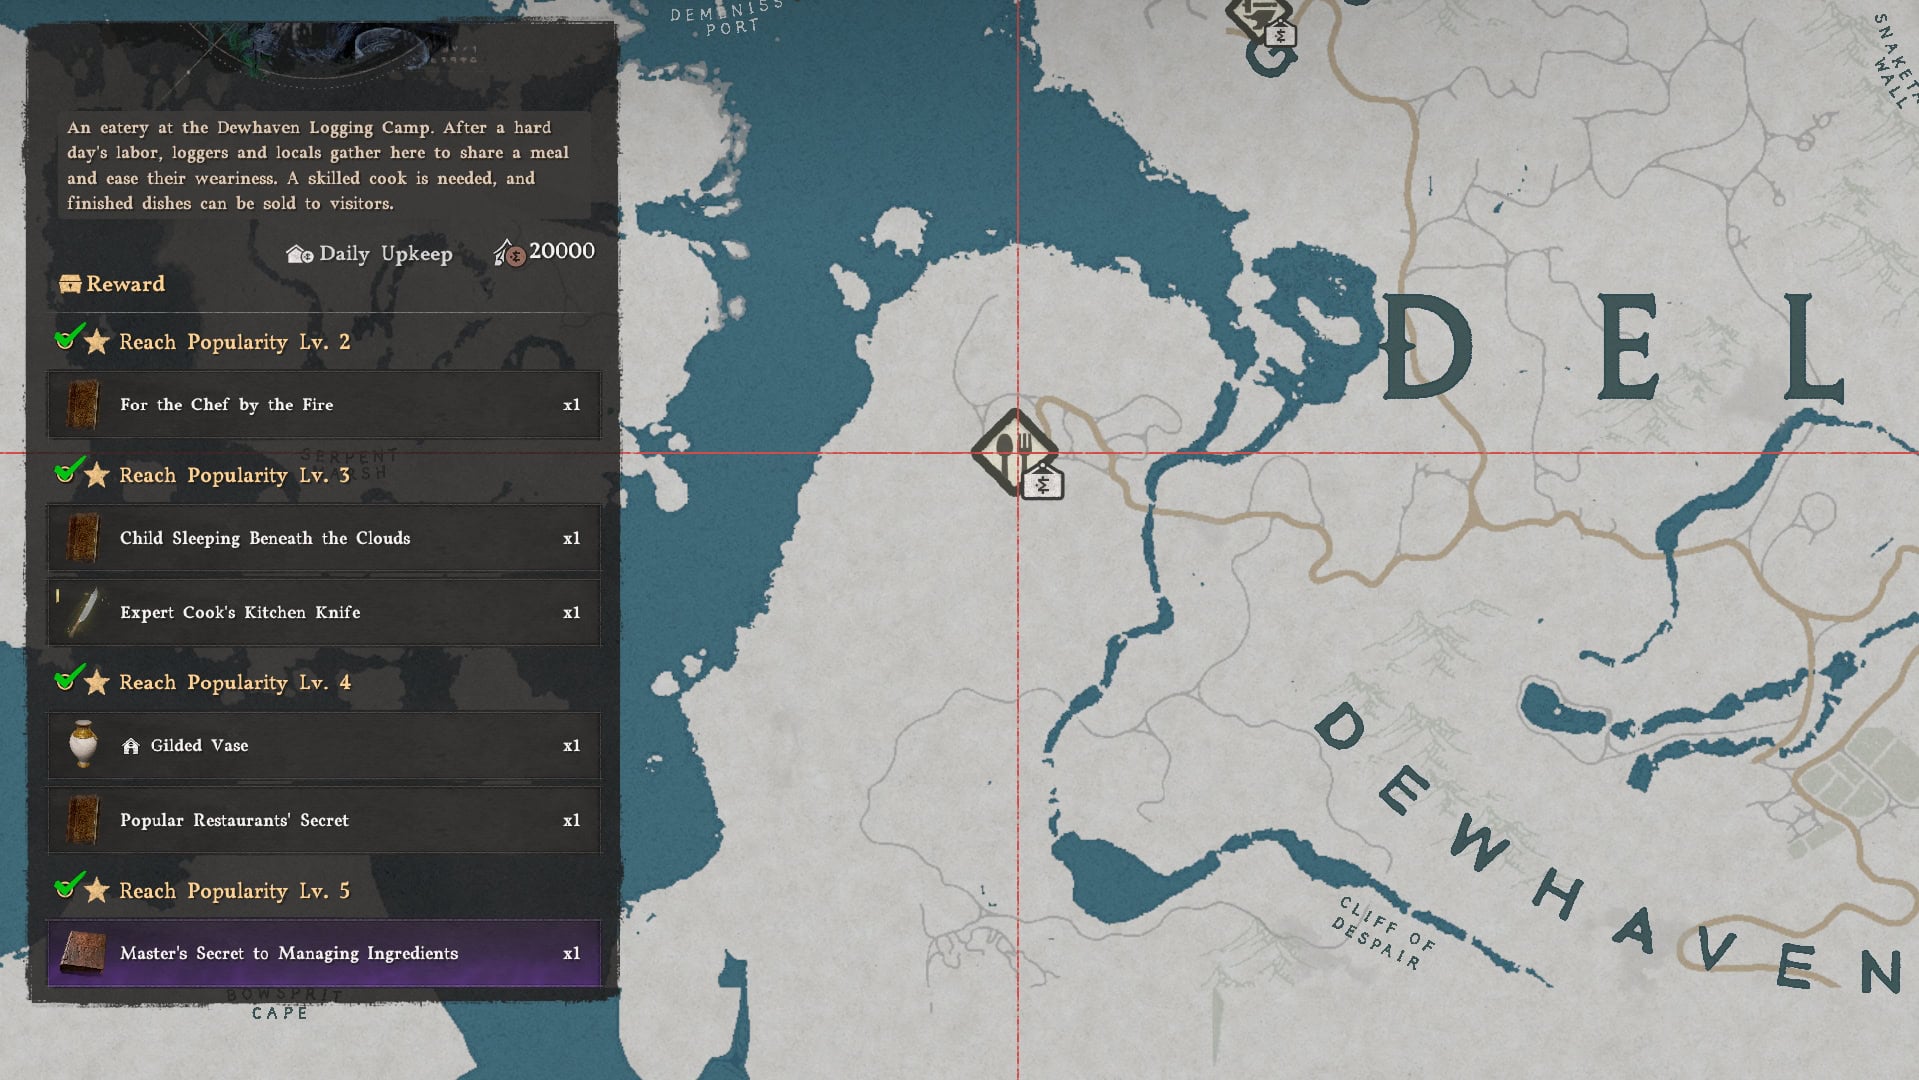
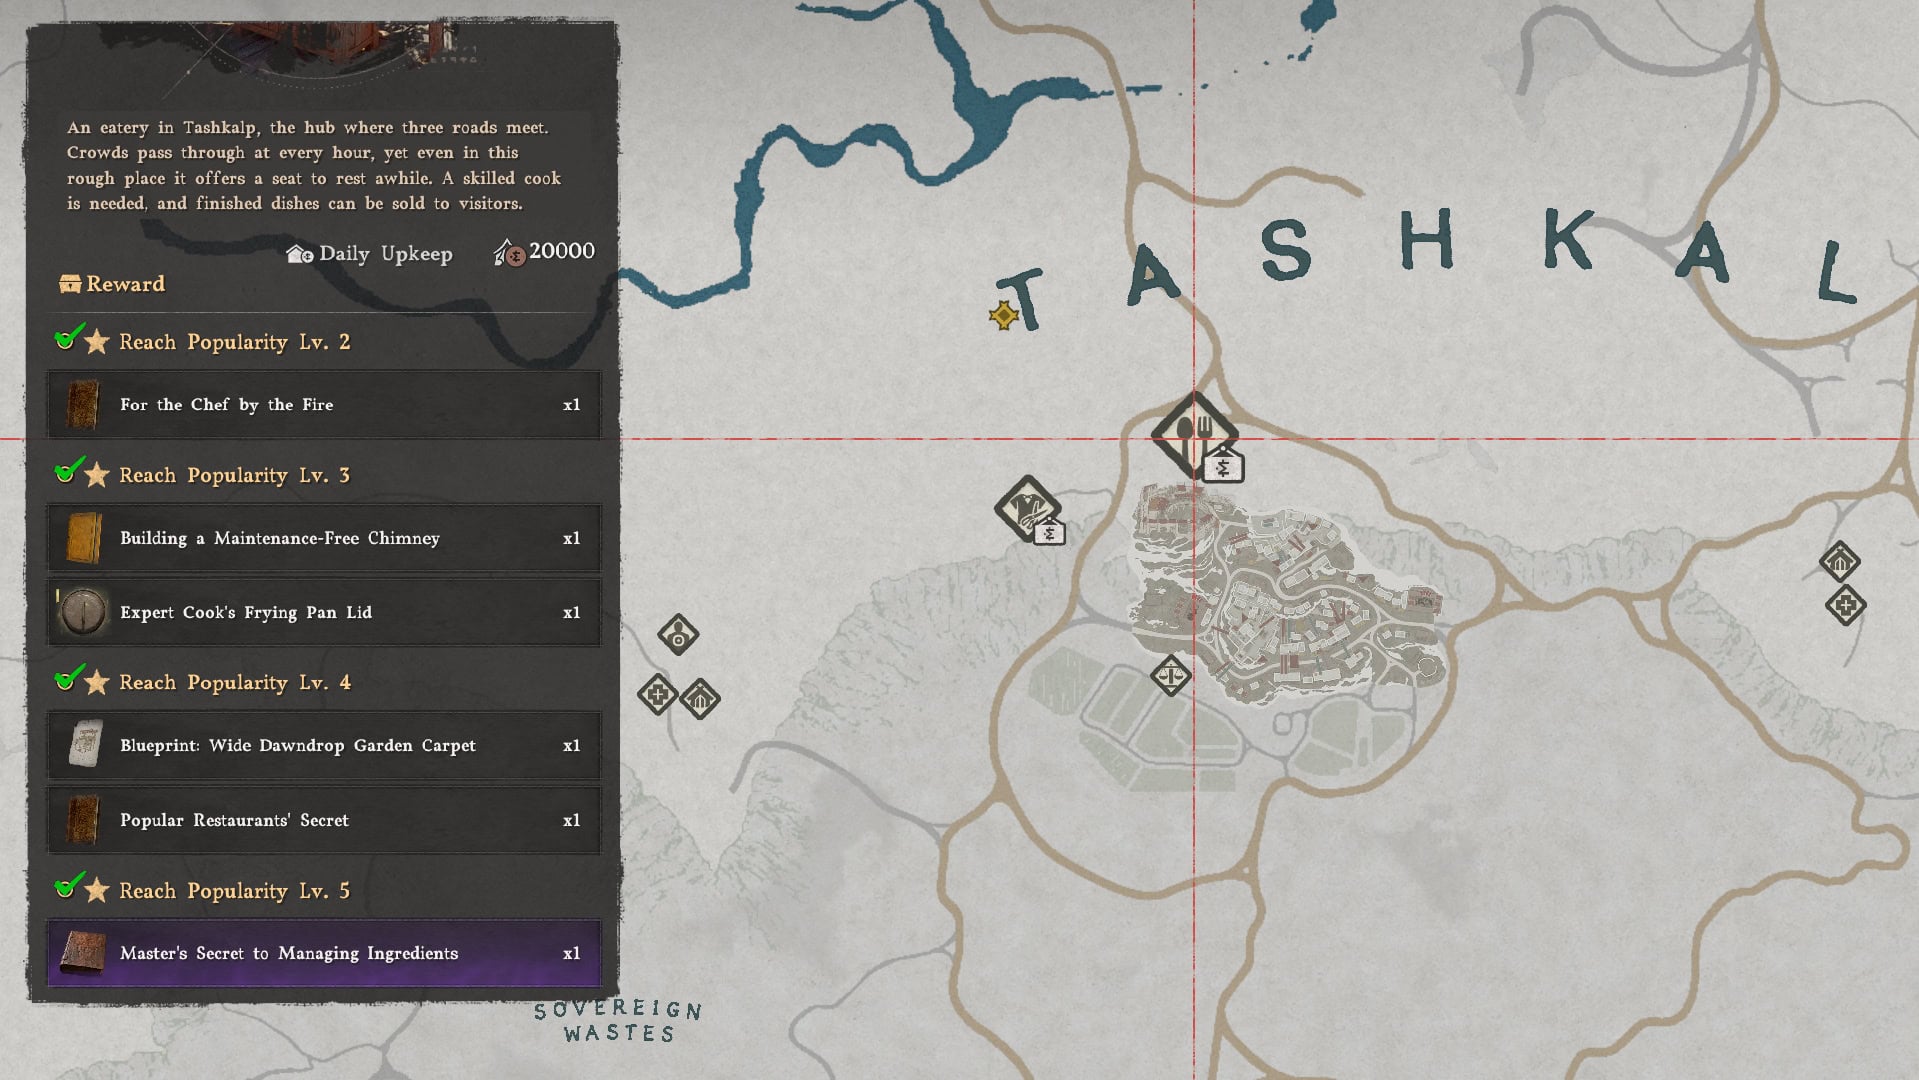
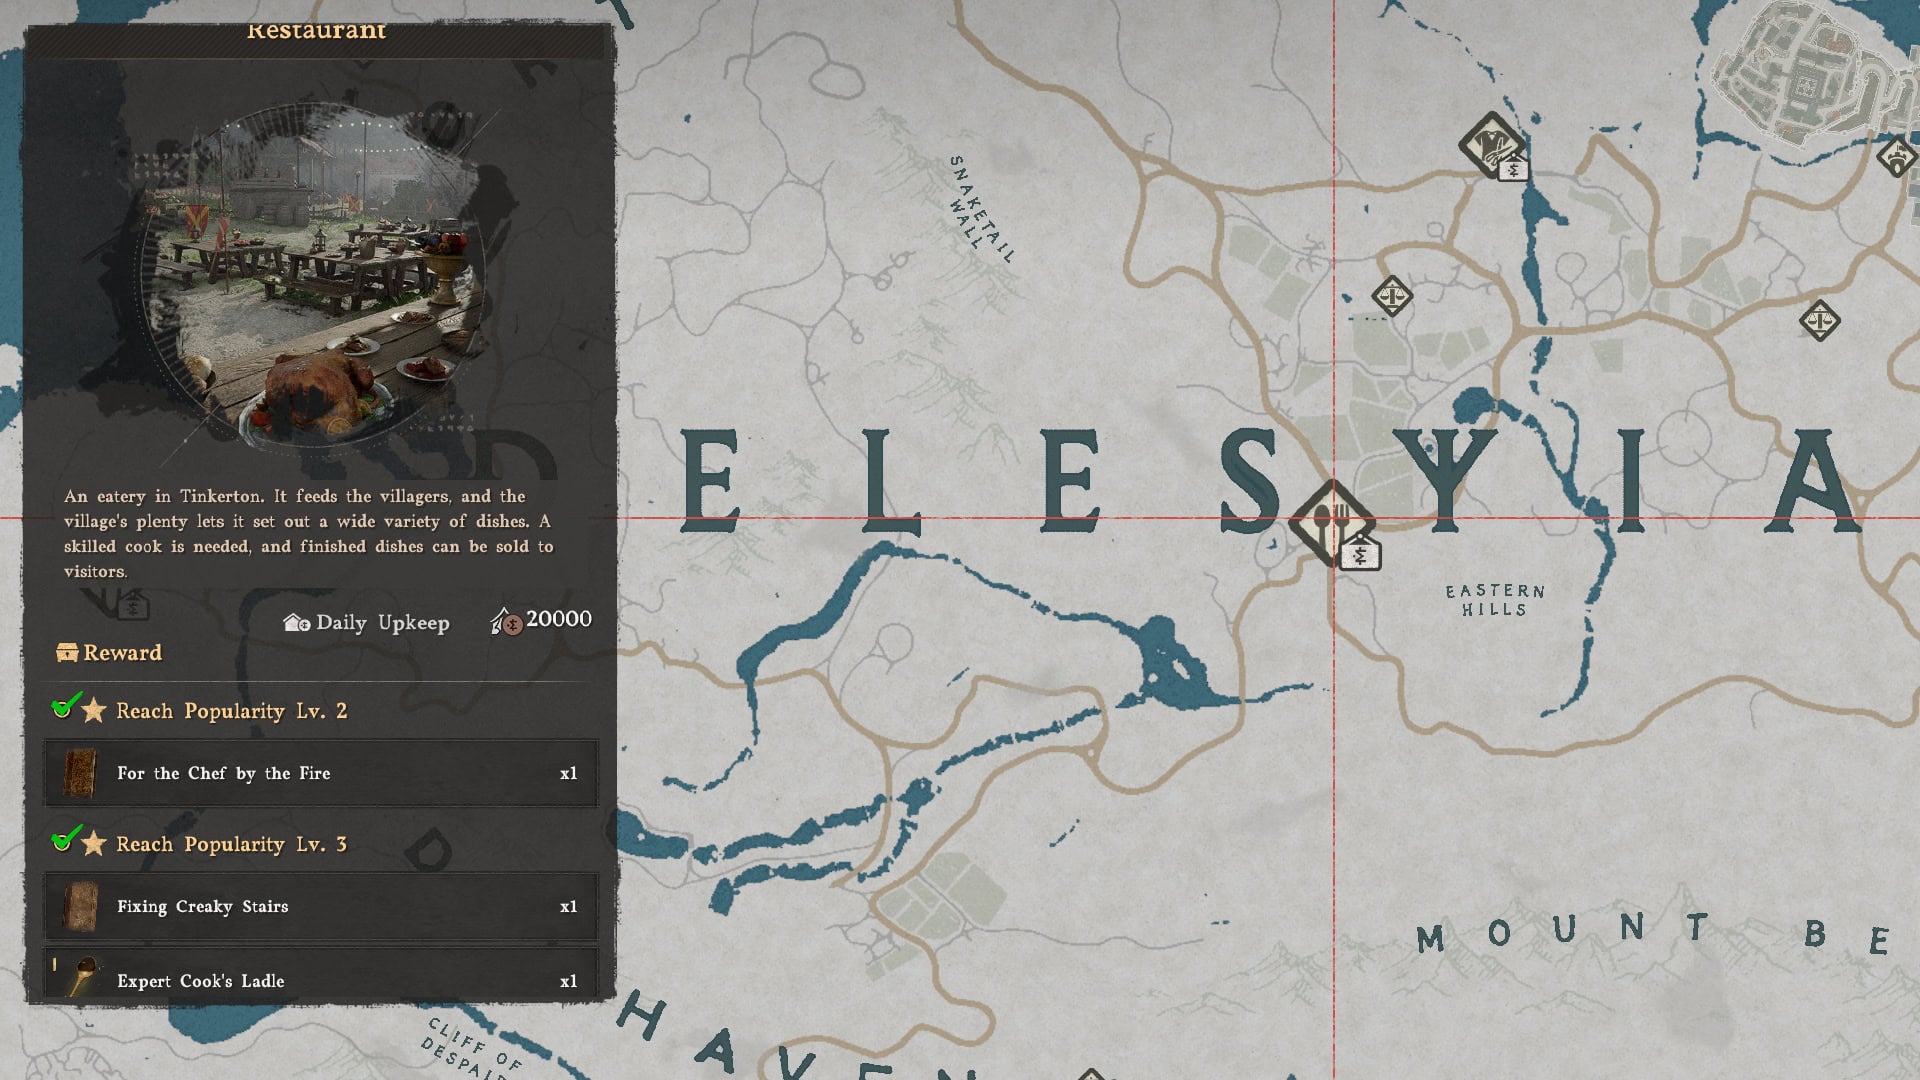
To learn more about leasing a facility, read our complete guide to Facility Management, where we explain everything from locations to the process of upgrading a facility.
Crimson Desert Facility Management Guide: Unlock & Earn MoneyOptimal Layout for Restaurants
Even though all facilities behave similarly, Restaurants have a few intricacies in how their Installables work that you can use to make your employees more efficient and maximize your profits.
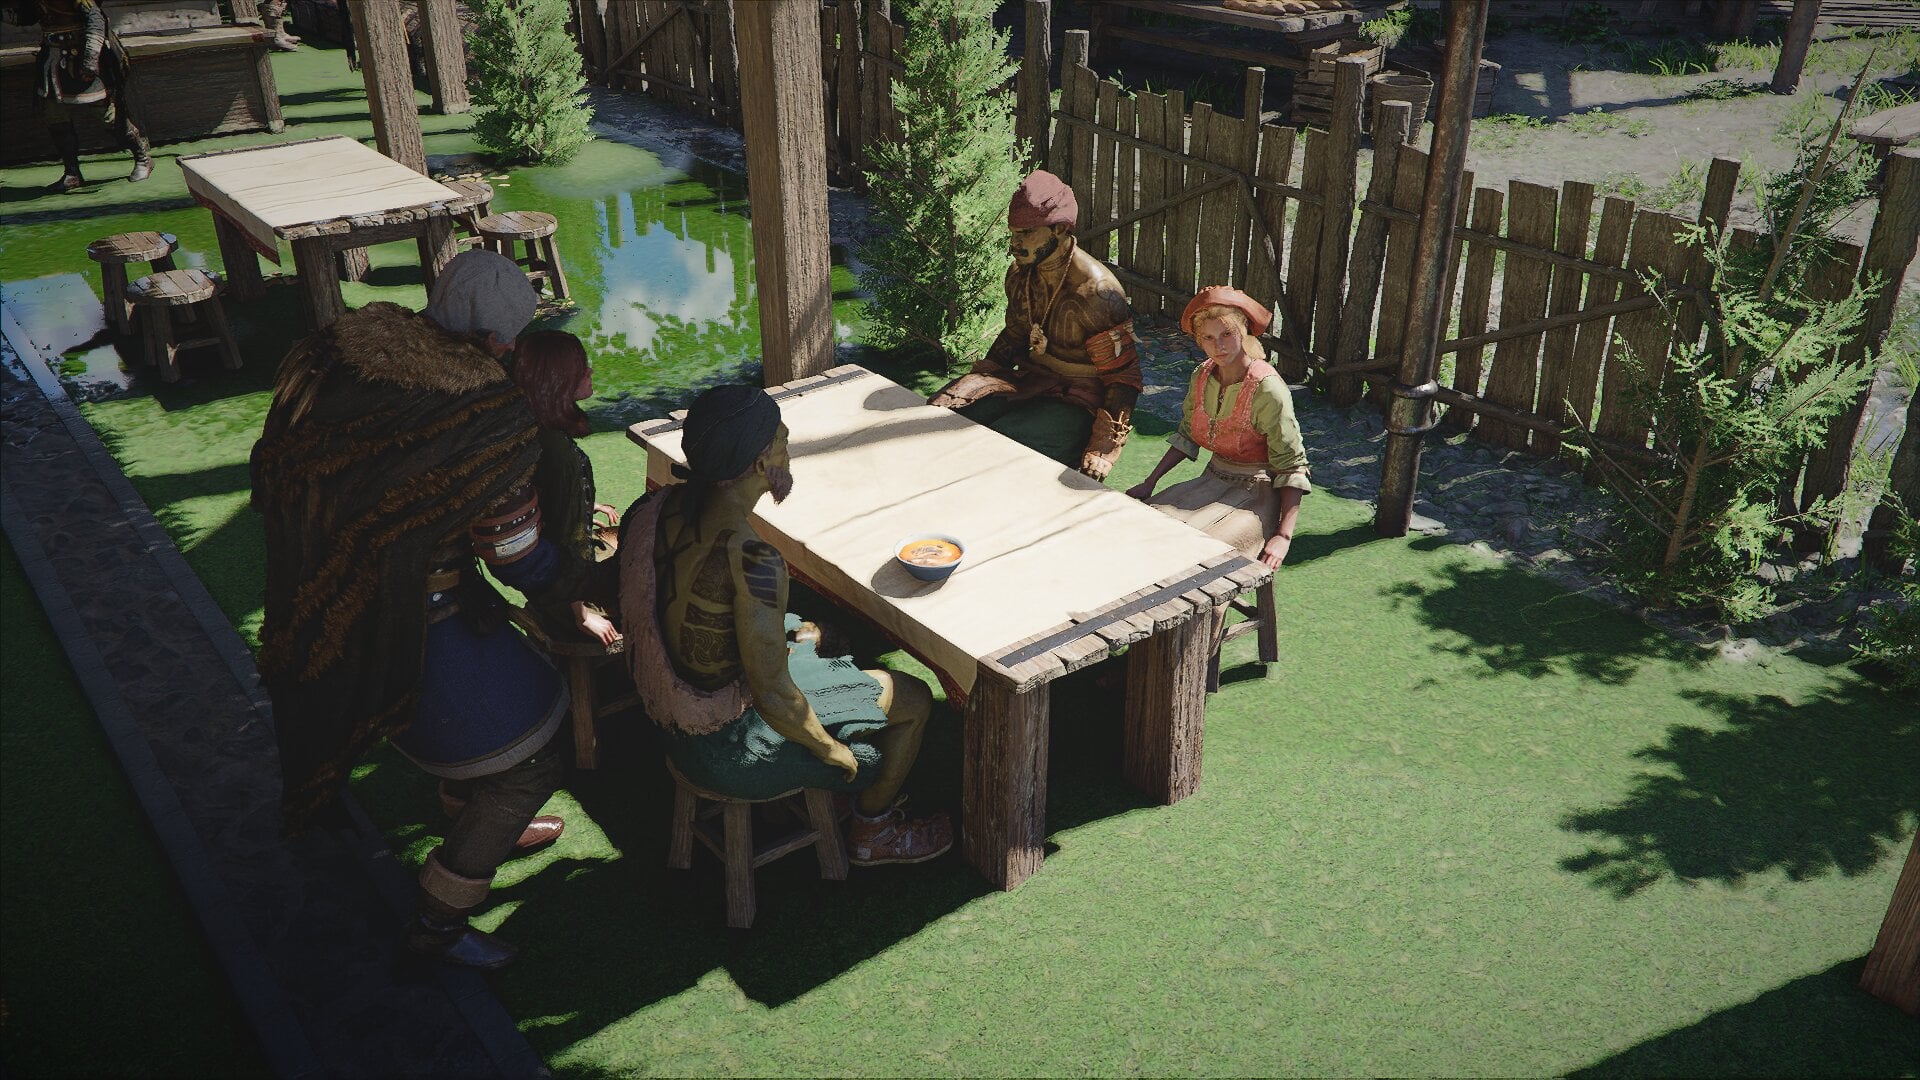
1. No Need for a Waiting Area
Unlike other facilities, customers in restaurants won’t stand around the entrance, blocking the path for your employees or new customers. Instead, they head straight to a table and sit down while they wait for their food, so you don’t need to place Standing Tables to attract them away from the entrance.
2. Place Many Tables with Ample Room
For the most part, customers head to the nearest table and sit down, but not always. Sometimes they will head to a table at the back of the Restaurant.
Once you reach max Popularity level, you’ll receive a lot of customers, so make sure you have plenty of tables (at the very least four) and leave enough room for them to move around without obstructing your employees.
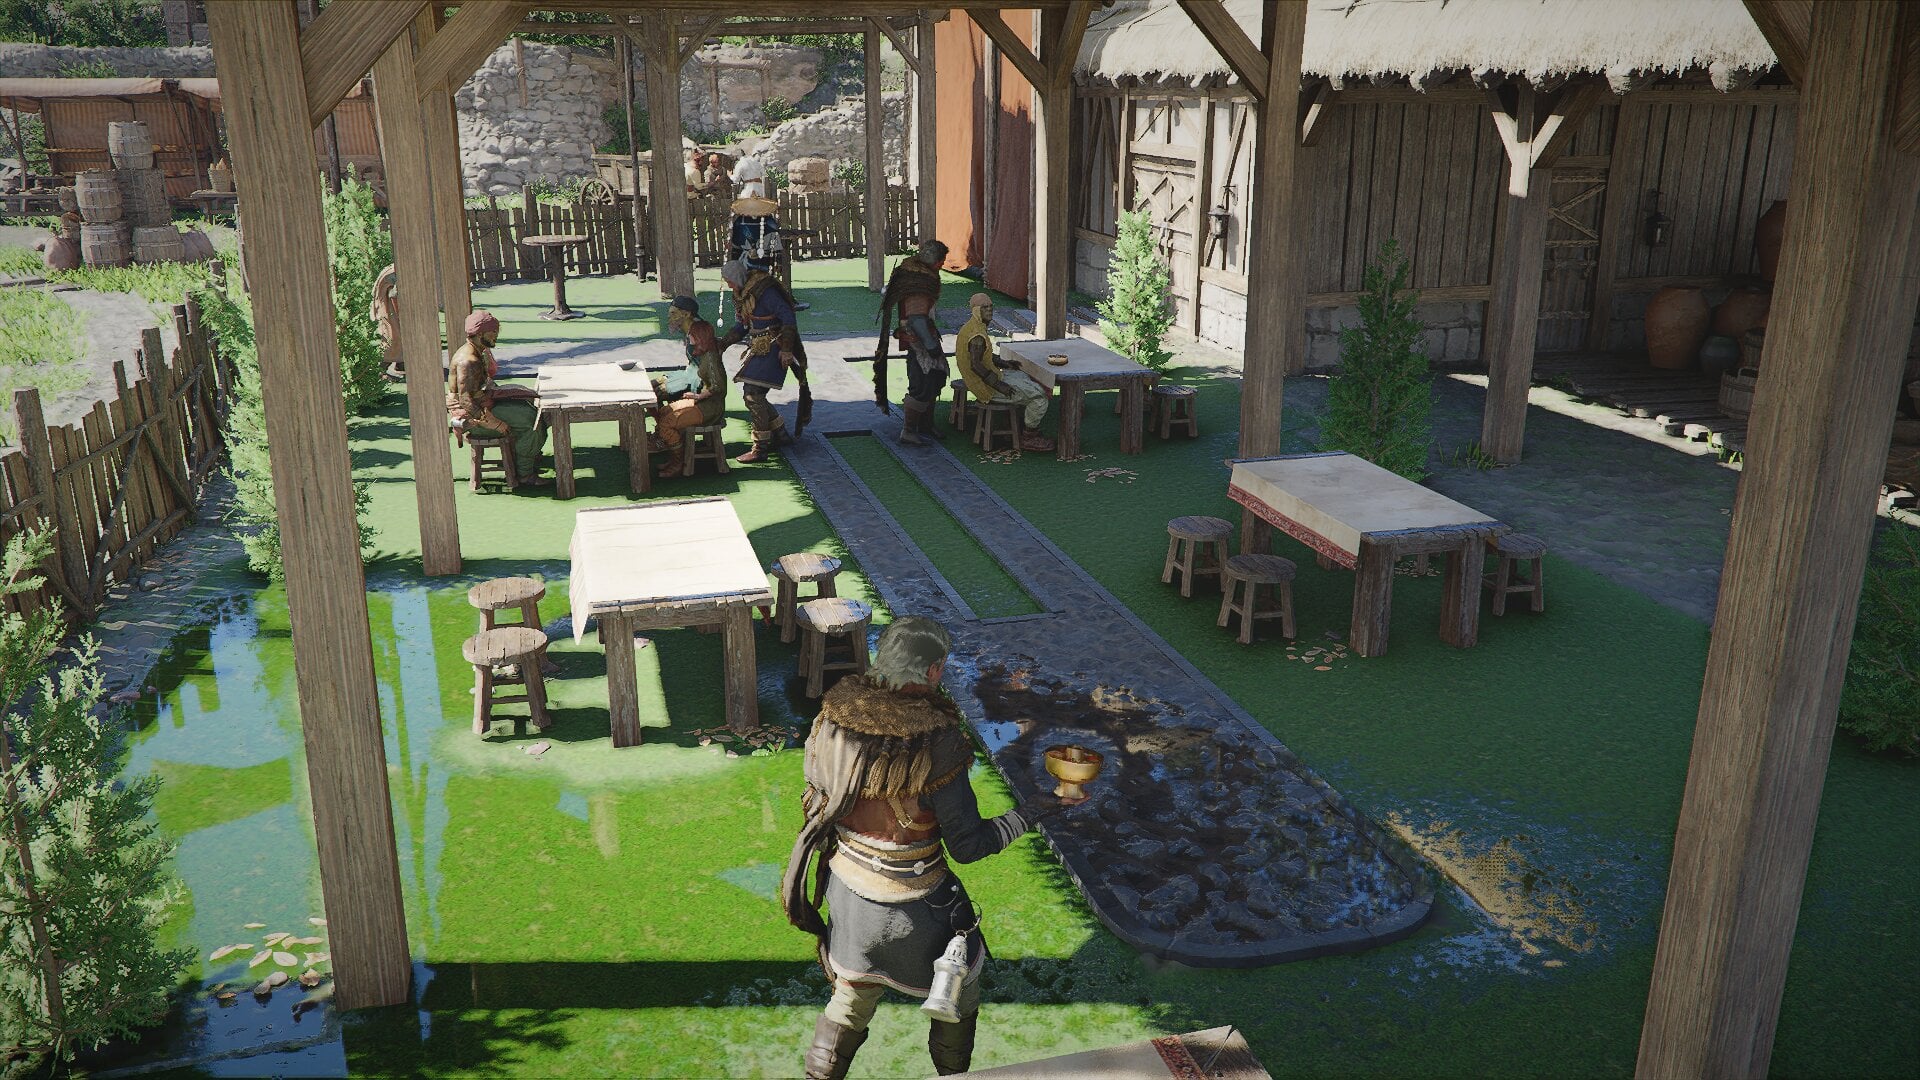
3. Place your Tables under a Roof
If you’re managing an Outdoor Restaurant make sure you place all your tables under a roof in case it rains. While it’s raining, customers may leave or fail to sit down.
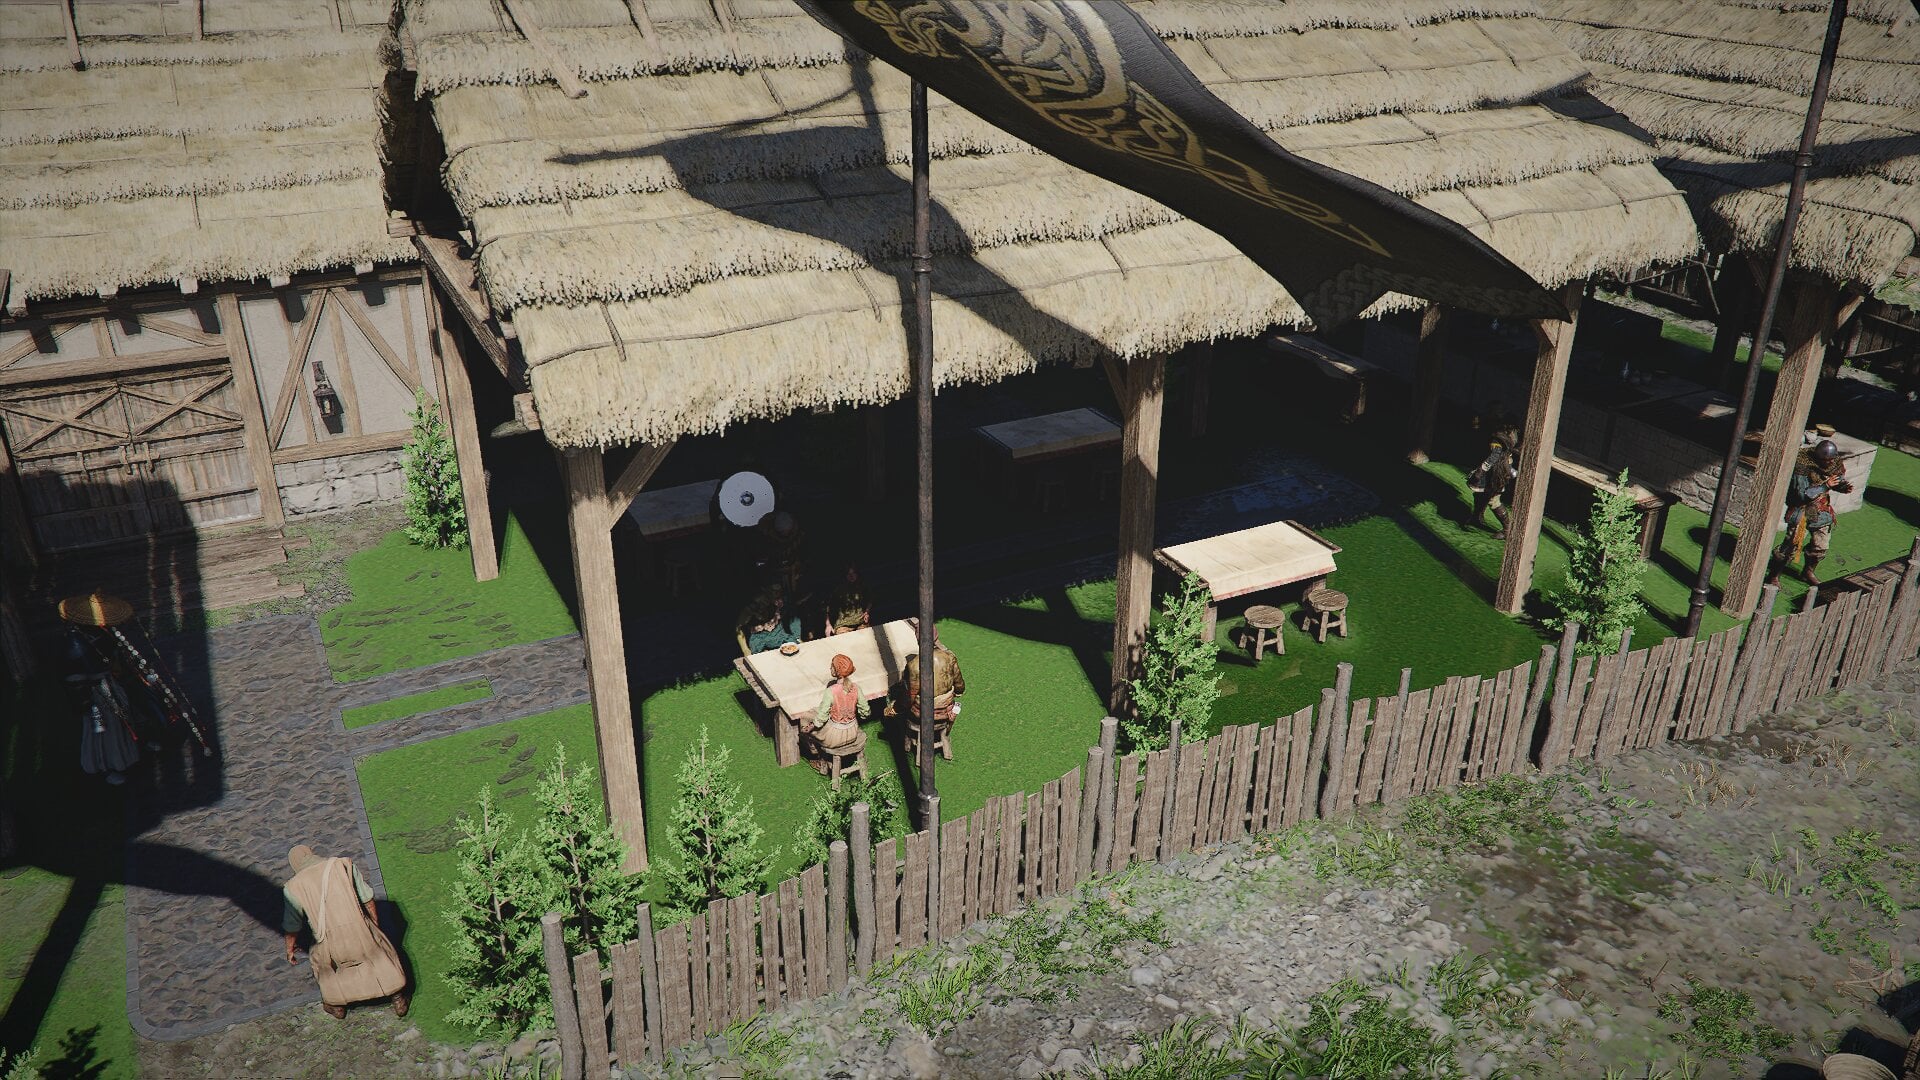
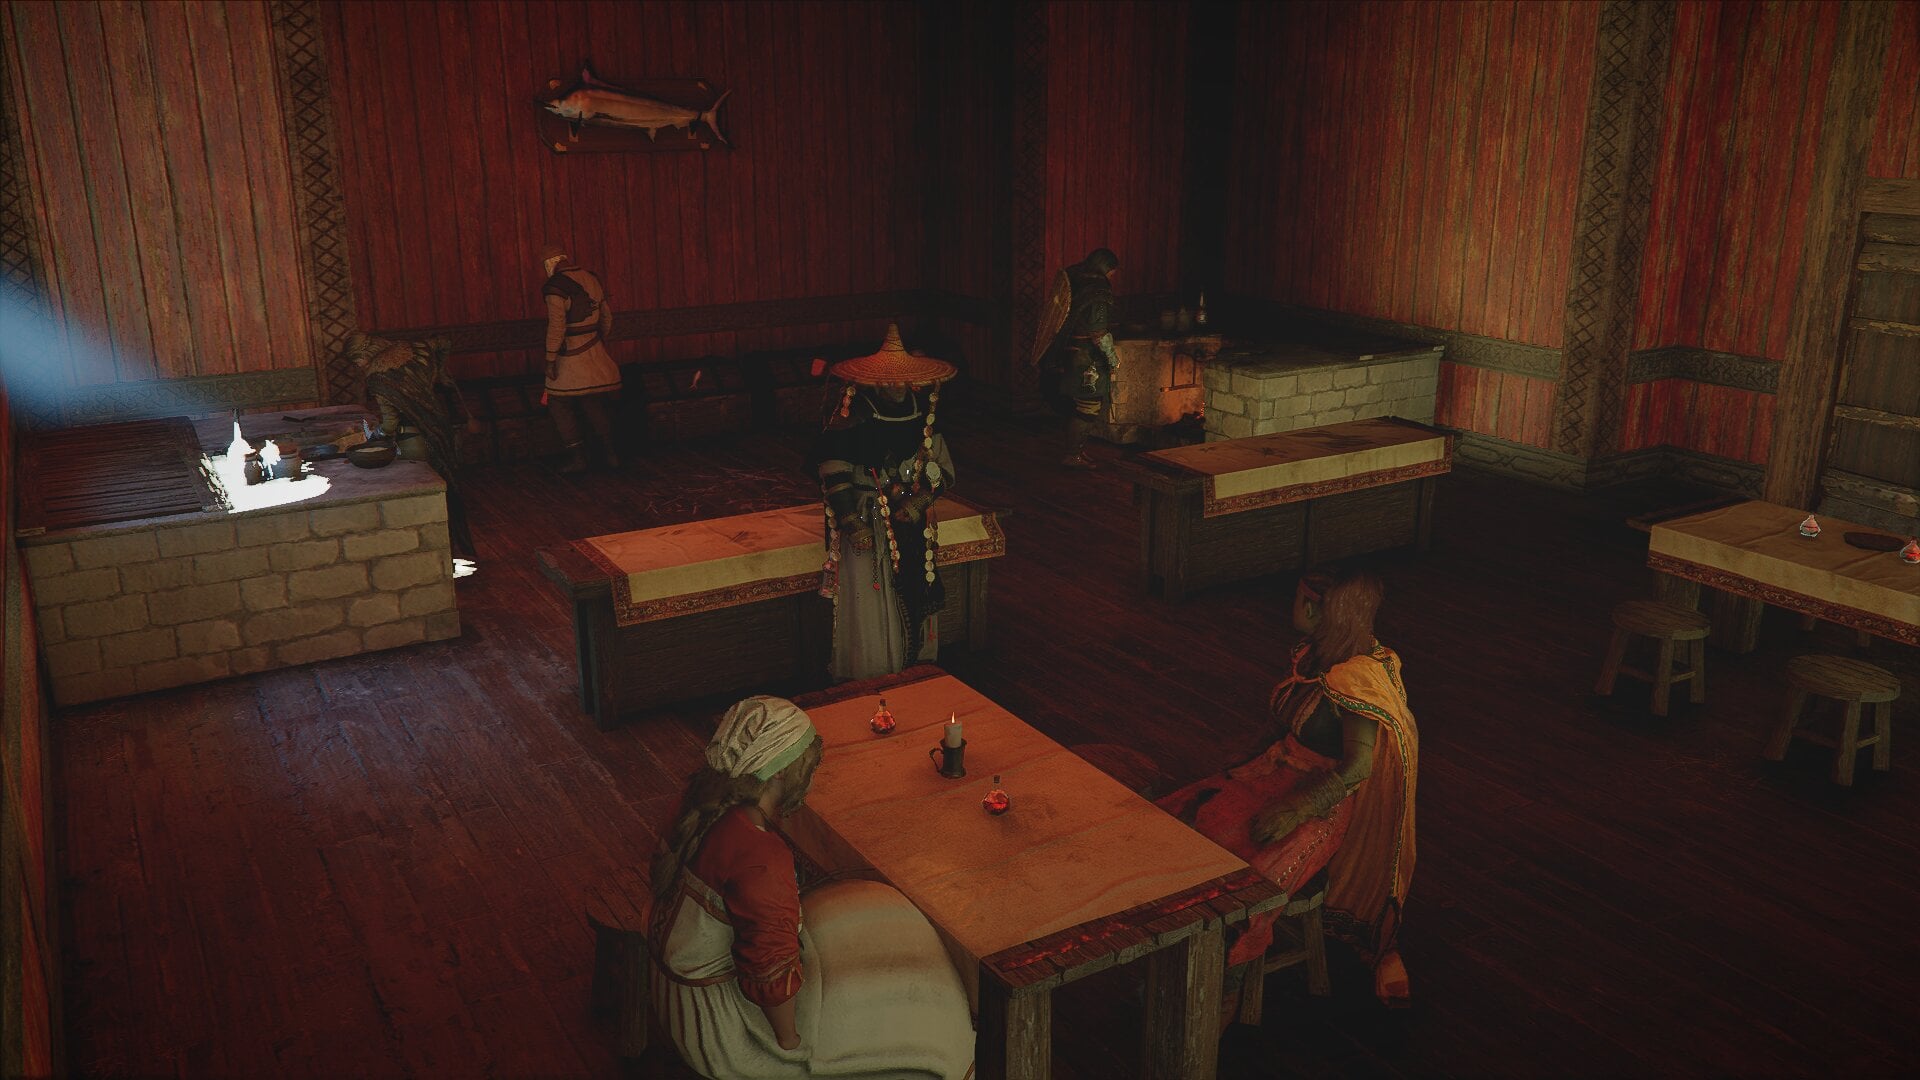
4. Place Serving Stations Between Tables and Kitchen
Once a customer sits down and places their order, your cooks will start working on it. Unlike other facilities, where a single employee sees an order through from request to delivery, in Restaurants the cook has to place the finished dish on a Serving Station, from where a waiter picks it up and takes it to the customer.
This makes it so that the optimal layout is one with your Serving Stations between your customers and your cooks, so dishes travel the shortest route possible.
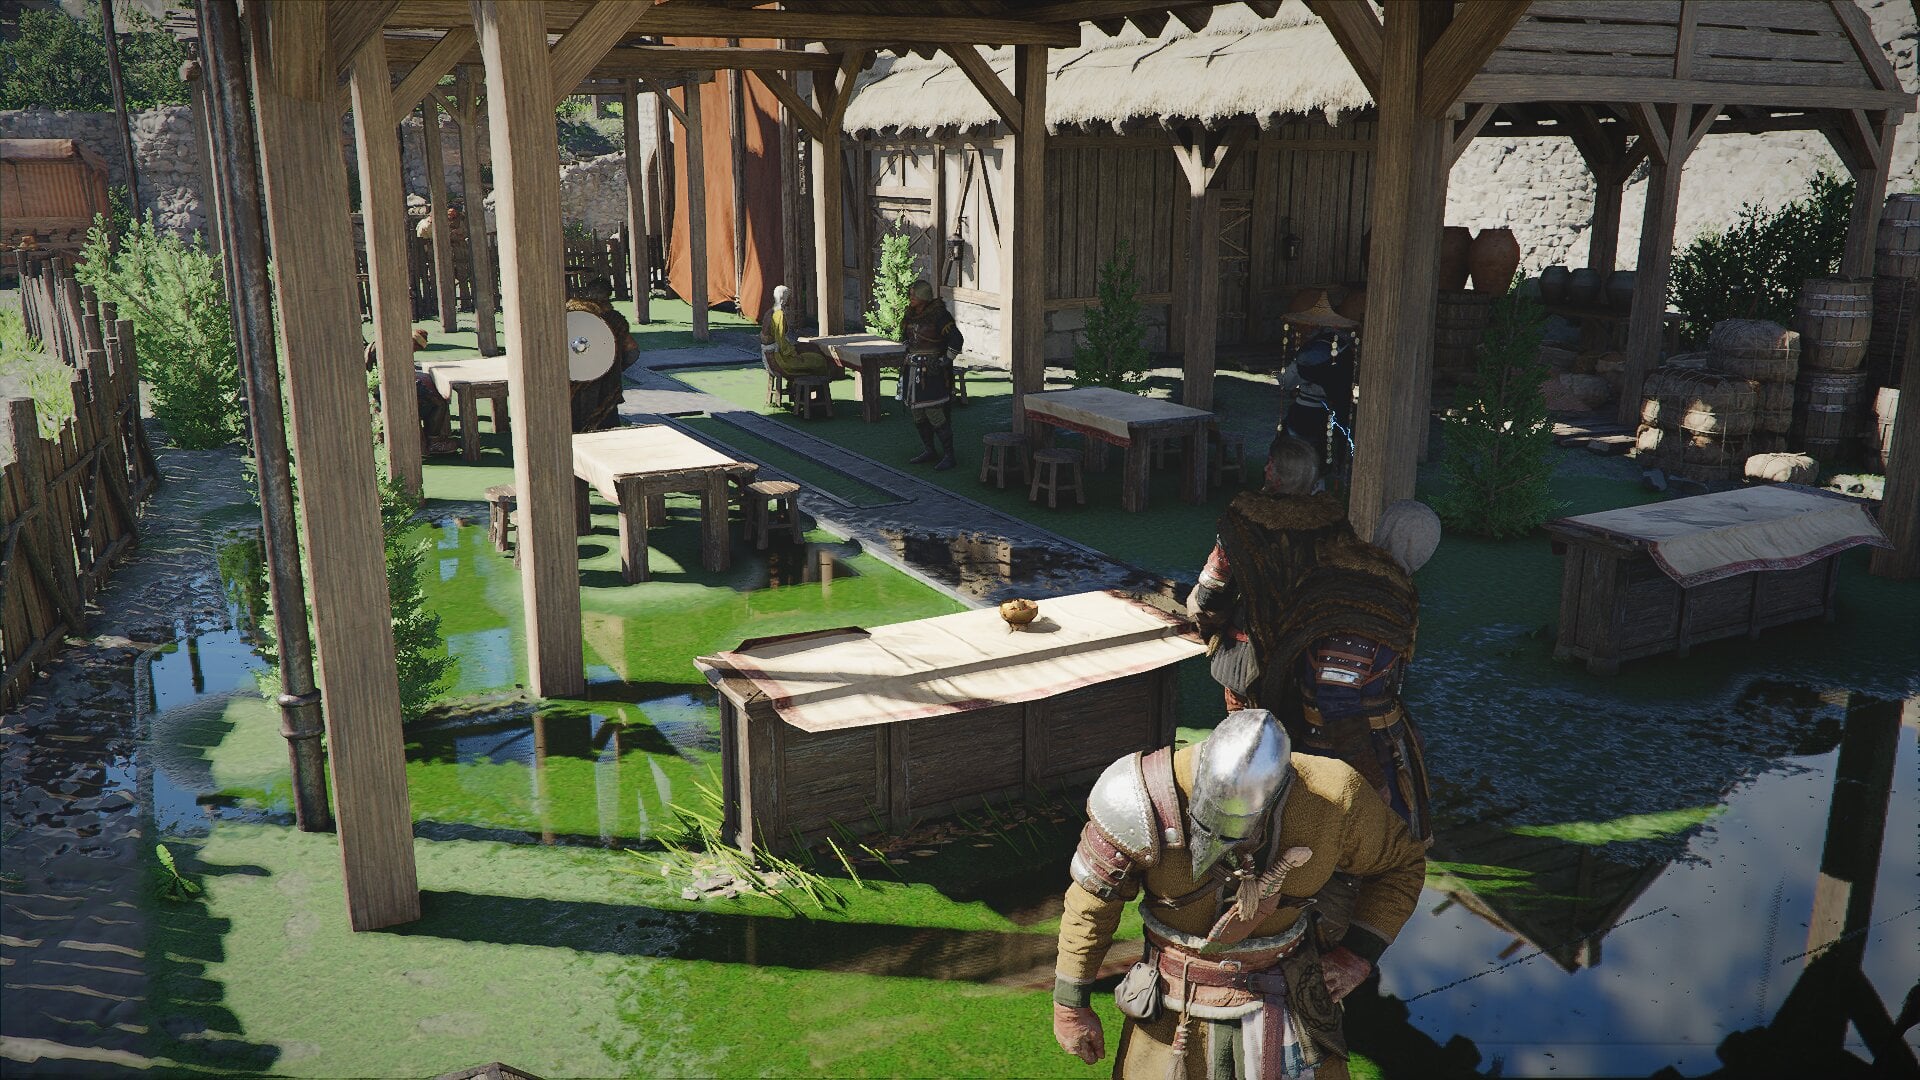
5. Place Cooking Stations Sideways Behind the Serving Stations
The shape of Cooking Stations matters. If you place them with the cook facing the customers while they work, they have to go around the station to place dishes on the Serving Stations. This wastes precious time, and they can even wander around before resuming their work.
Instead, place your Cooking Stations sideways so they form an L shape with the Serving Stations. This lets cooks place dishes down and return quickly to their work.
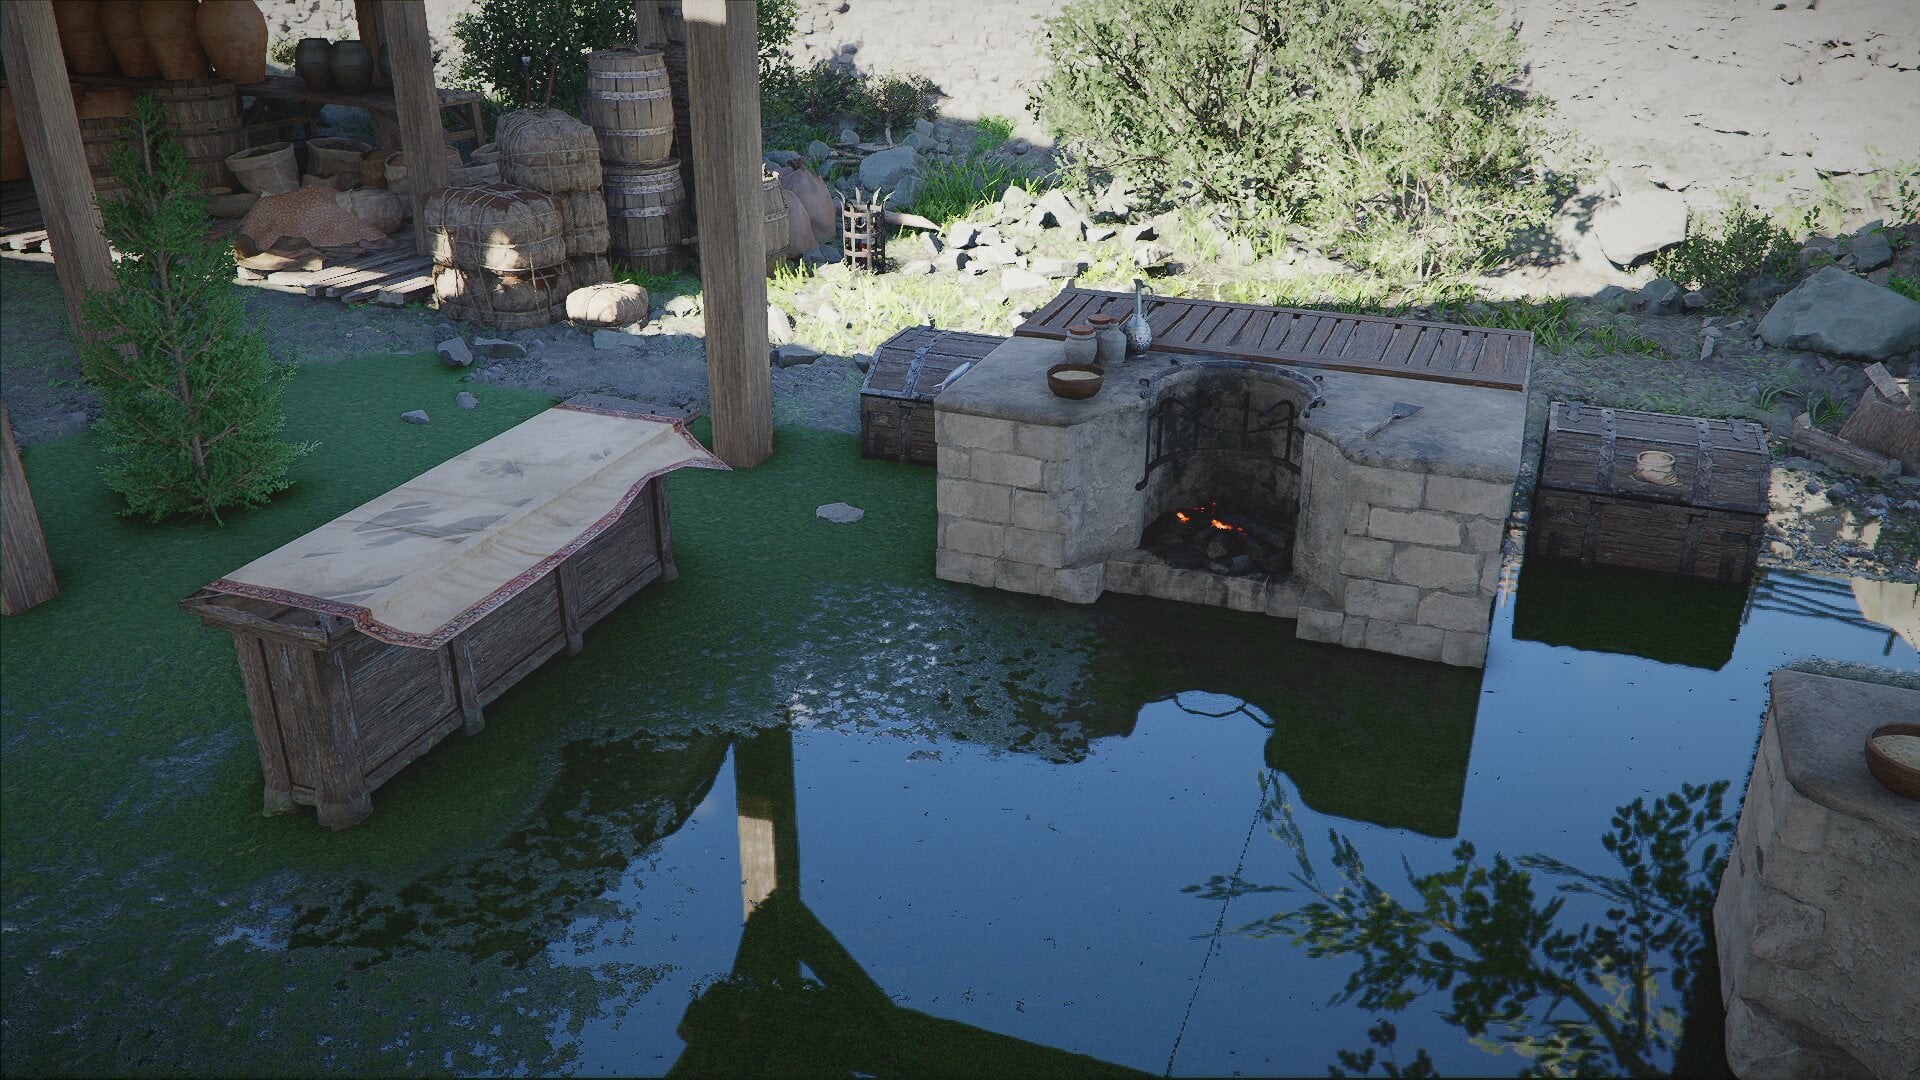
6. Place Ingredient Boxes at the Back of the Kitchen
Cooks need to retrieve supplies from Ingredient Boxes, so the best spot to place them is at the back of the kitchen, opposite the Serving Stations.
My favorite kitchen layout is to have two Serving Stations, two Cooking Stations, and six Ingredient Boxes (two of each kind). This results in an open square where the cooks can navigate uninterrupted.
Best Goods to Sell for Progression
While leveling up your Restaurant’s Popularity, focus on making sure customers leave satisfied rather than on making a profit:
- Lower your Selling Prices so your goods get a Positive Response.
- Make sure to hire more employees at levels 2 and 4.
- Make sure to fill all your selling slots. You unlock more slots with each level.
Focus on these Bonus Effects when selecting which goods to sell:
- Pan-Fried: Selling 1/2/3/4 pan-fried dishes increases their satisfaction rate by 10/25/50/70%
- Grilled: Selling 1/2/3/4 grilled dishes increases their satisfaction rate by 10/25/50/70%
- Refined: Selling 1/2/3 goods increases work speed by 10/20/30%
- Delicacy: Selling 2/3/5 goods increases customers by 10/20/30%
- Feast: Selling 2/3/4 feasts increases their Popularity by 1/2/3
- Traditional: Selling 2/3/4 goods increases special guest visit chance by 10/20/30%
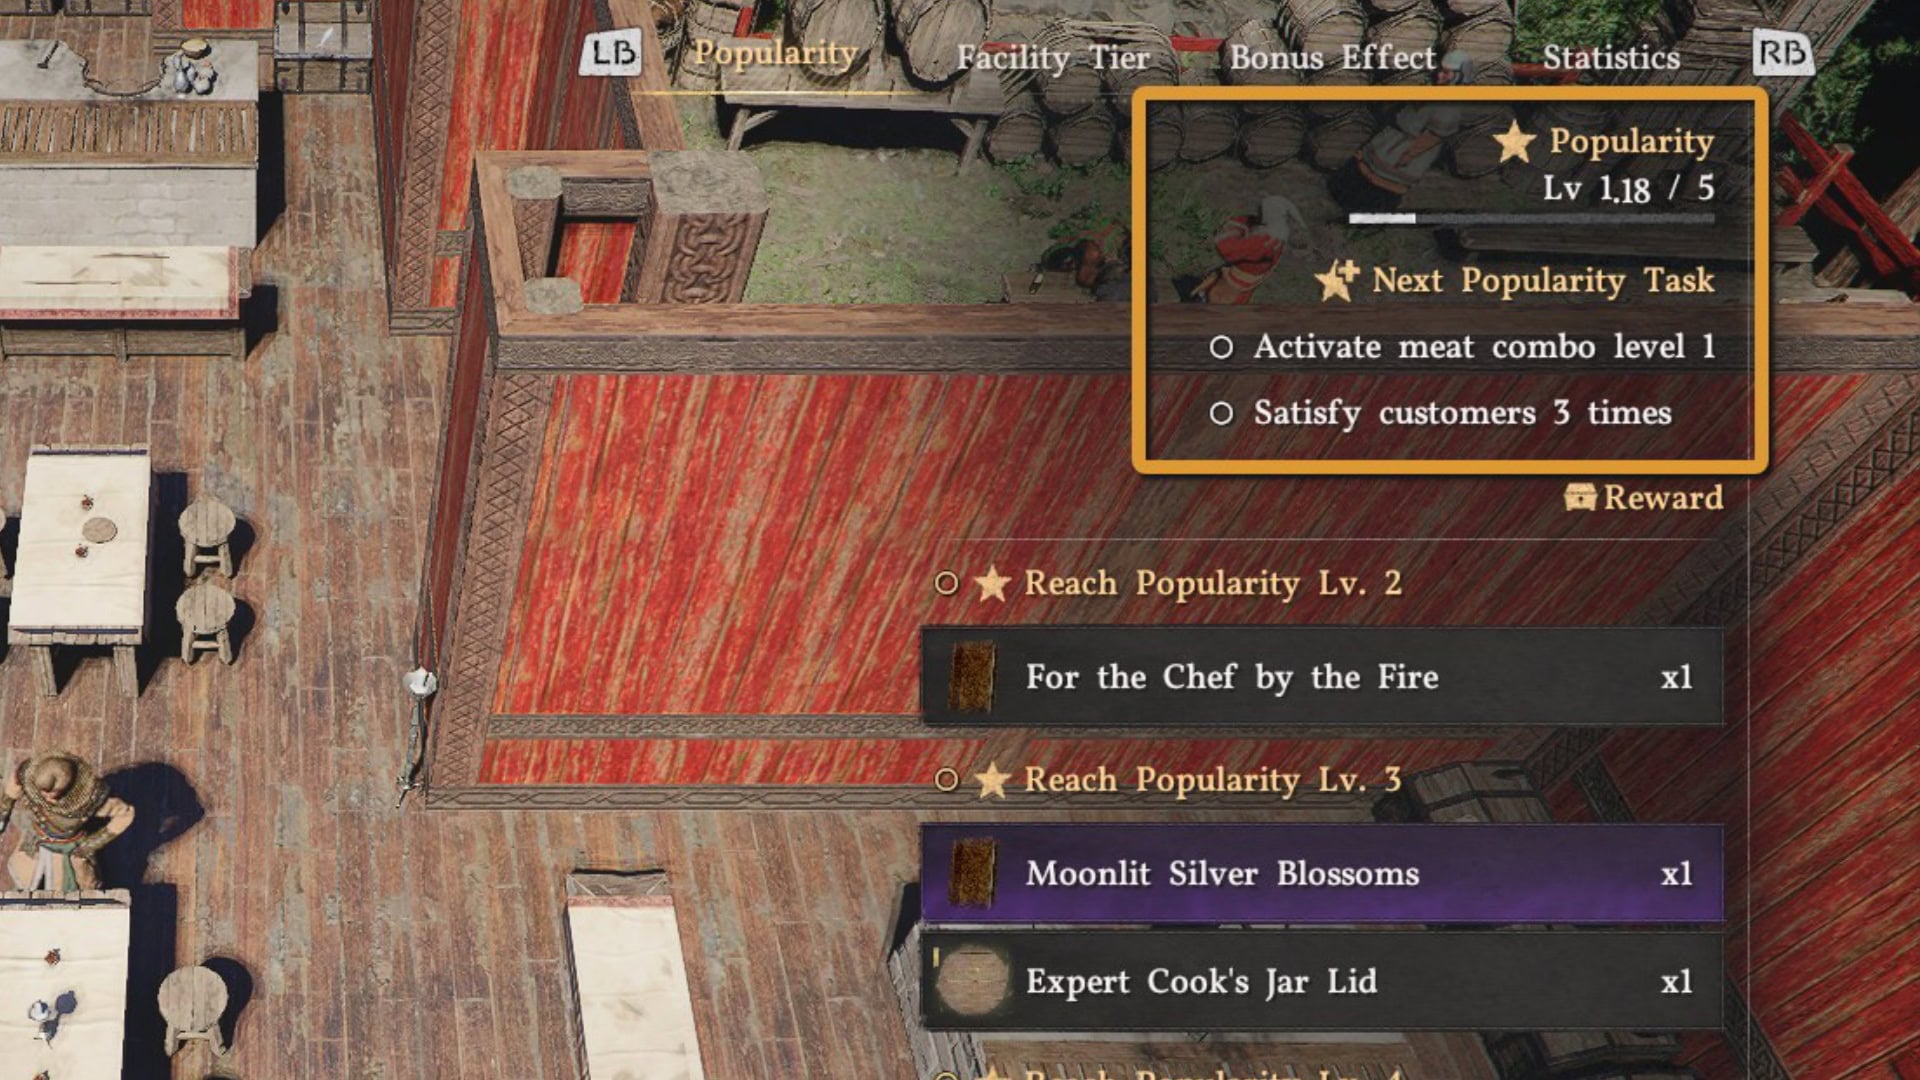
Each Restaurant has different Popularity Tasks, so you’ll have to adjust your goods accordingly to clear them. The only exception is at Popularity level 4, where all Restaurants share the Popularity Task of: “Welcome a special guest once.” This is where the Traditional Bonus Effect comes in handy.
If customers keep losing patience and leaving, review the layout tips above and make sure that customers and employees aren’t getting stuck. You shouldn’t need the Bonus Effects that increase customer patience.
Best Goods to Sell for Profit
Once you reach Popularity level 5, you can switch your focus to increasing your profit margin:
- Increase the Selling Price of your goods to Mixed or Unsure tier of Response.
- Sell goods that align with your Restaurant’s Unique Bonus Effect.
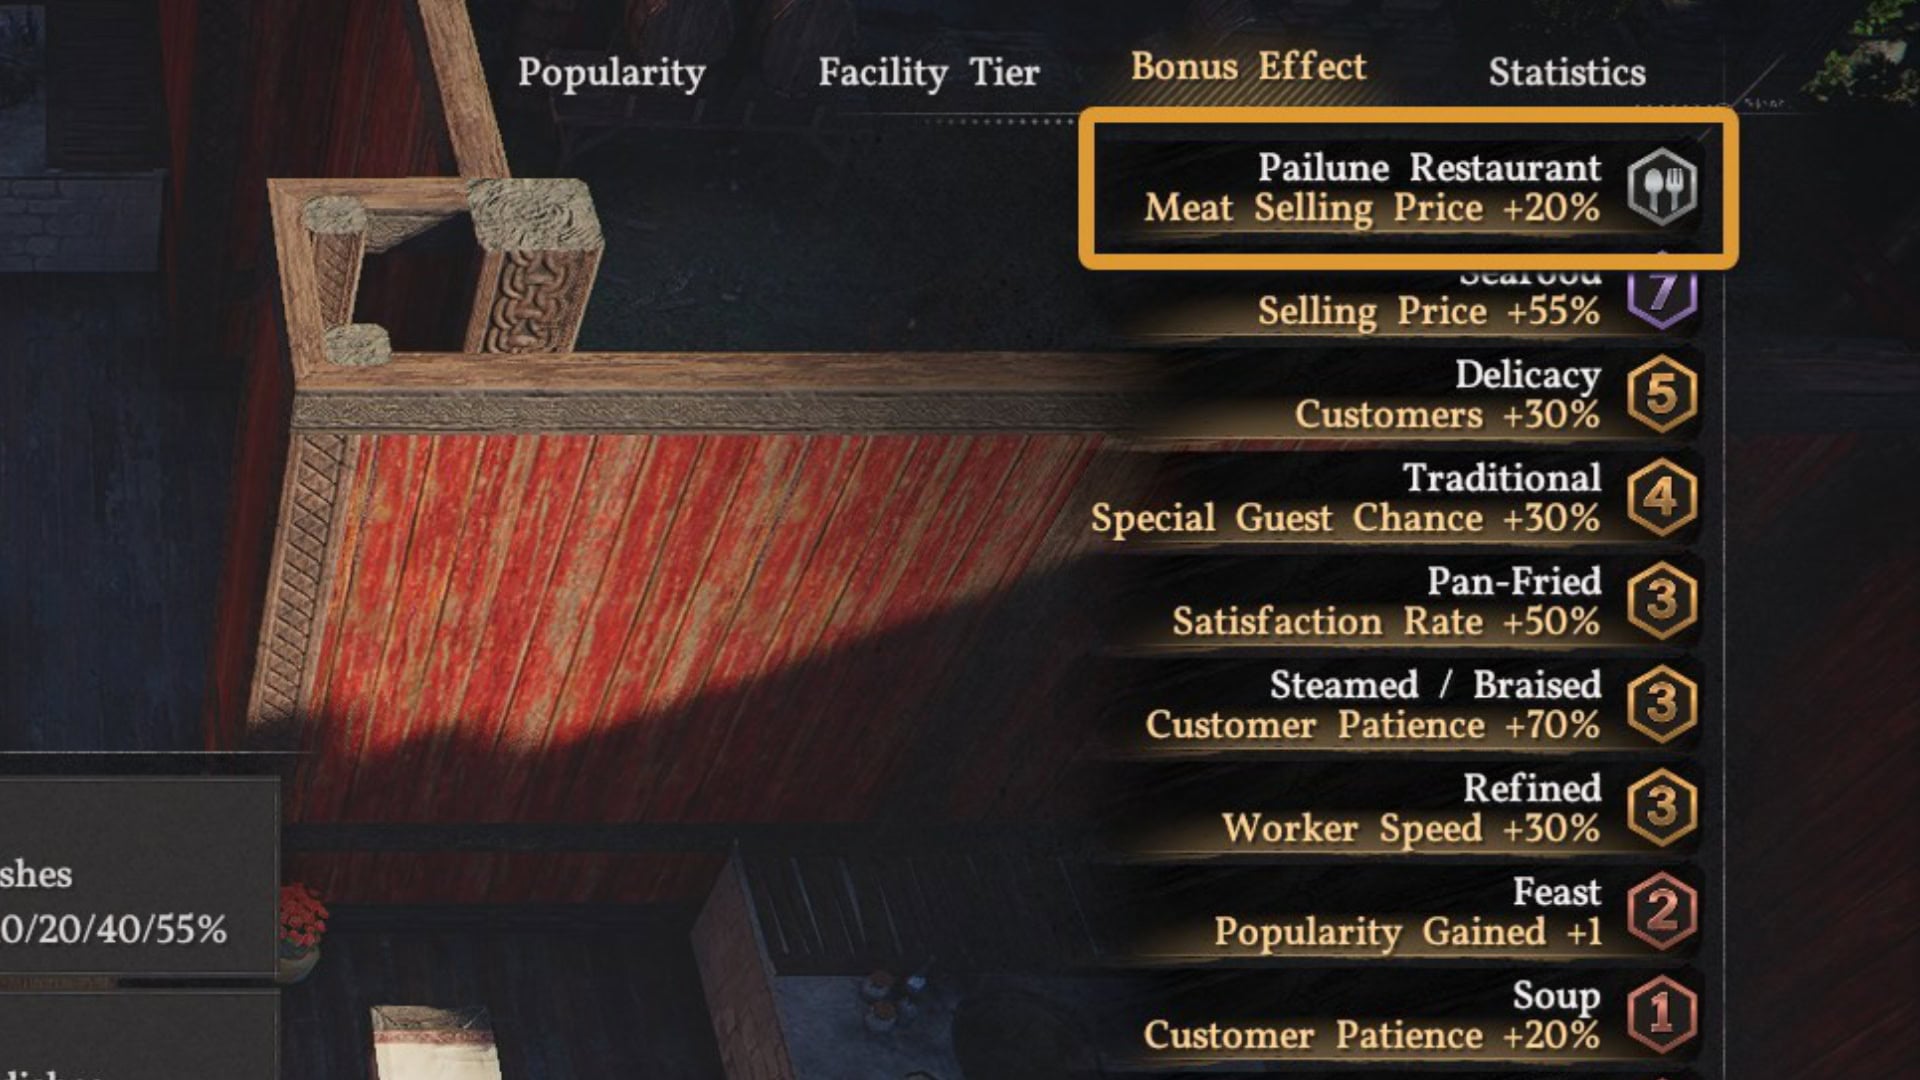
Your Restaurant’s Unique Bonus Effect appears at the top of the list of active Bonus Effects. These raise your Selling Price and depend on the type of dish you are selling: meat, seafood, or crops.
Keeping this in mind, focus on these Bonus Effects when selecting which goods to sell:
- Meat: Selling 2/3/5/7 meat dishes increases their price by 10/20/40/55%
- Seafood: Selling 2/3/5/7 seafood dishes increases their price by 10/20/40/55%
- Crops: Selling 2/3/5/7 crop dishes increases their price by 10/20/40/55%
- Refined: Selling 1/2/3 goods increases work speed by 10/20/30%
- Delicacy: Selling 2/3/5 goods increases customers by 10/20/30%
Recommended Goods to Sell for a Meat Restaurant
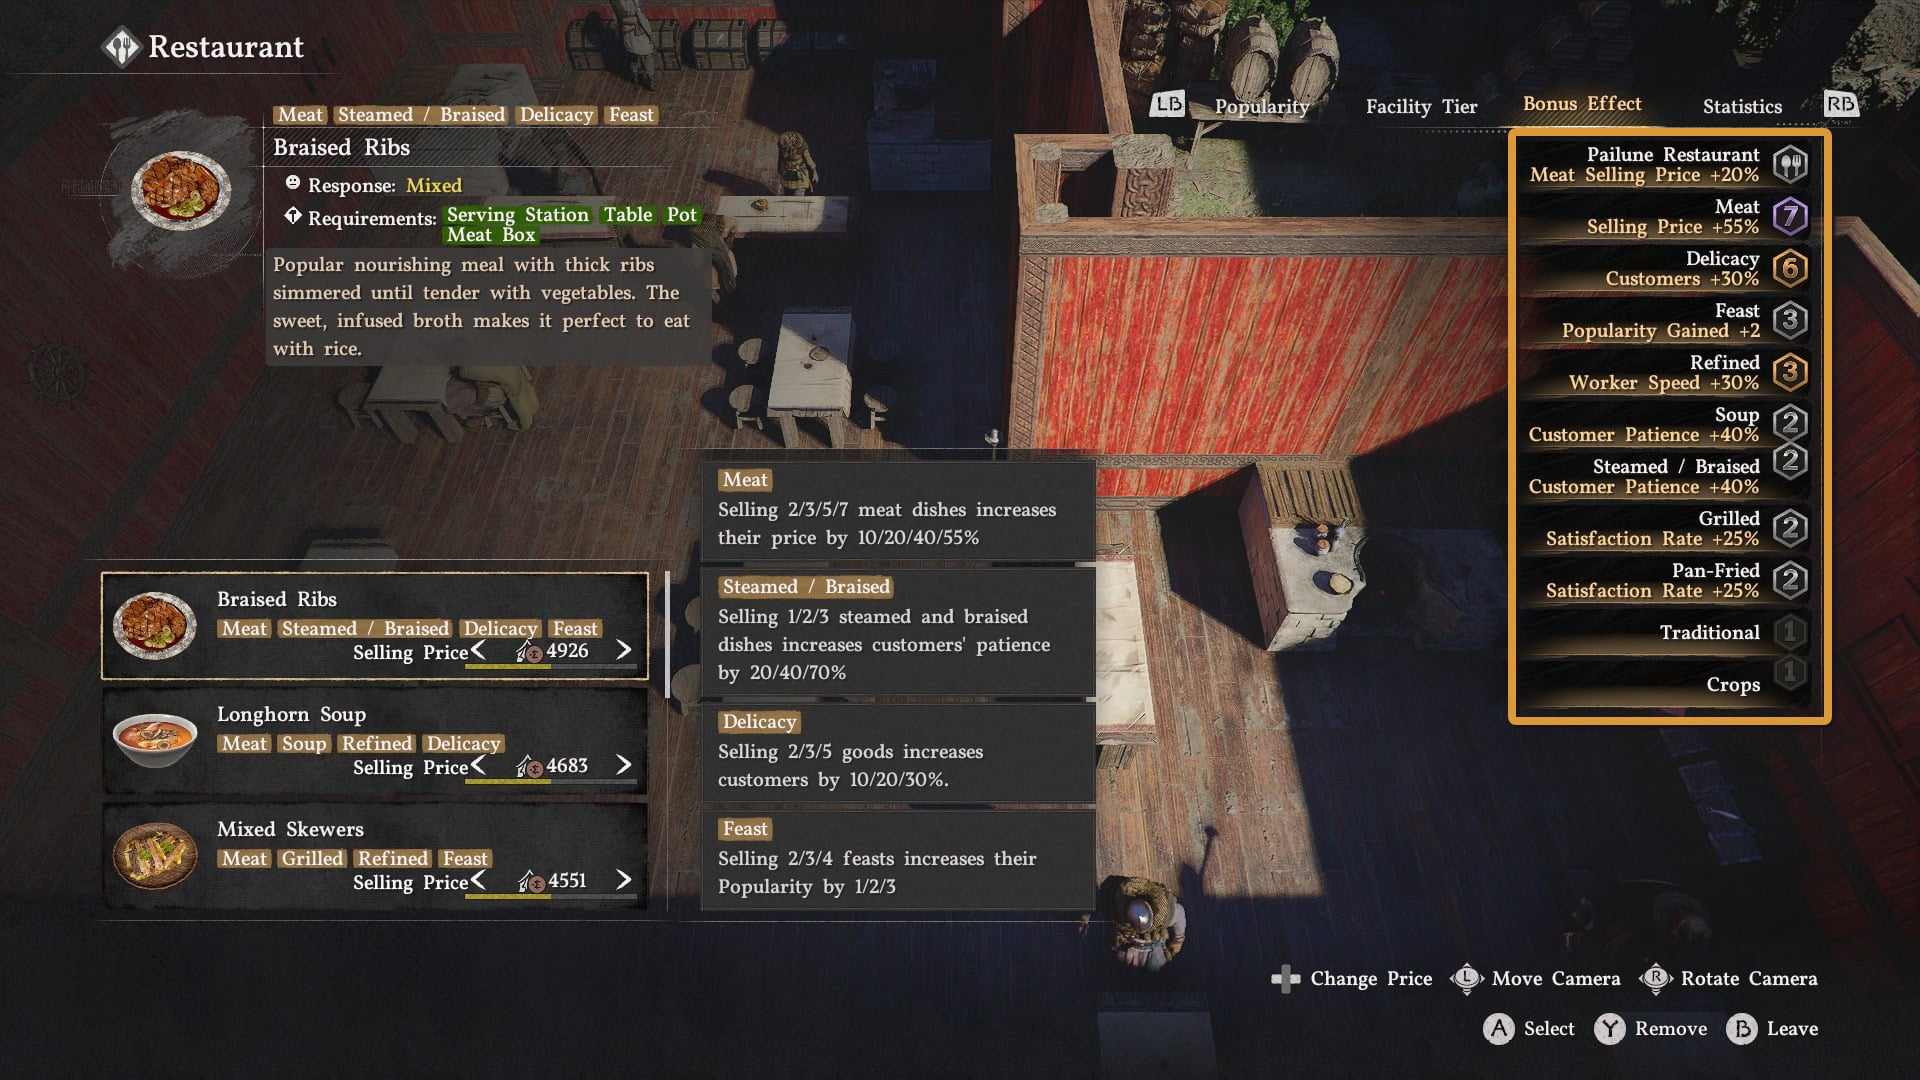
If you’re managing a Restaurant with a Meat Unique Bonus Effect, these are the dishes I recommend selling along with the Response tier to set for each one:
- Longhorn Soup – Mixed
- Braised Ribs – Mixed
- Mixed Skewers – Mixed
- Meatball Soup – Unsure
- Marinated Meat – Unsure
- Pan-Fried Marinated Meat – Unsure
- Grilled Meat Patties – Mixed
- Vegetable Rice Cake – Mixed
This setup gives you:
- Unique Bonus Effect: Meat Selling Price +20%
- Max level Meat Bonus Effect: Selling Price +55%
- Max level Delicacy Bonus Effect: Customers +30%
- Max level Refined Bonus Effect: Worker Speed +30%
Additionally, you’ll get some bonuses to Customer Patience and Satisfaction Rate from other Bonus Effects that this set triggers.
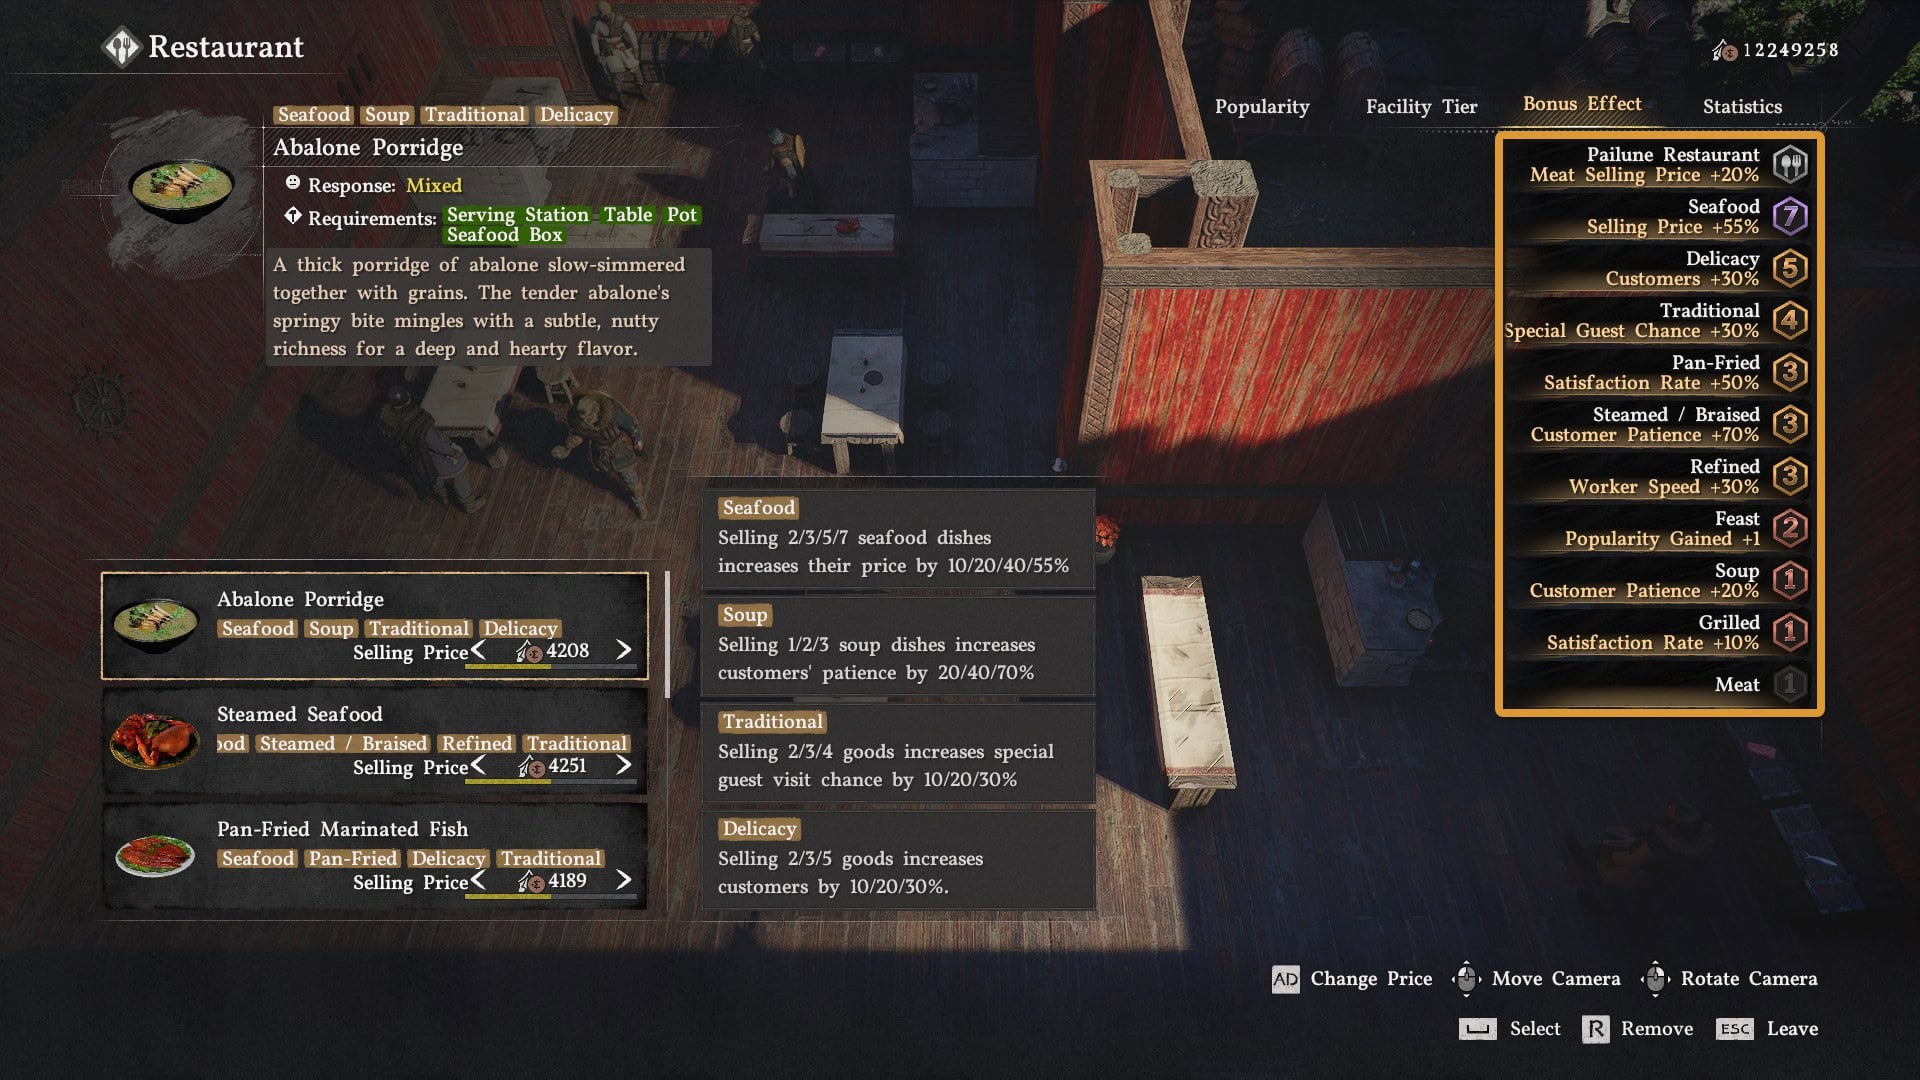
Recommended Goods to Sell for a Seafood Restaurant
If you’re managing a Restaurant with a Seafood Unique Bonus Effect, these are the dishes I recommend selling along with the Response tier to set for each one:
- Abalone Porridge – Mixed
- Steamed Seafood – Mixed
- Pan-Fried Marinated Fish – Mixed
- Assorted Parboiled Seafood – Mixed
- Sea Pineapple Rice Bowl – Mixed
- Grilled Cheese Clams – Unsure
- Jellyfish Salad – Unsure
- Braised Ribs – Mixed
This setup gives you:
- Unique Bonus Effect: Seafood Selling Price +20%
- Max Level Seafood Bonus Effect: Selling Price +55%
- Max Level Delicacy Bonus Effect: Customers +30%
- Max Level Refined Bonus Effect: Worker Speed +30%
- Max Level Traditional Bonus Effect: Special Guest Chance +30%
- Max Level Steamed/Braised Bonus Effect: Customer Patience +70%
Additionally, you’ll get some bonuses to Customer Patience and Satisfaction Rate from other Bonus Effects that this set triggers.
Recommended Goods to Sell for a Crops Restaurant
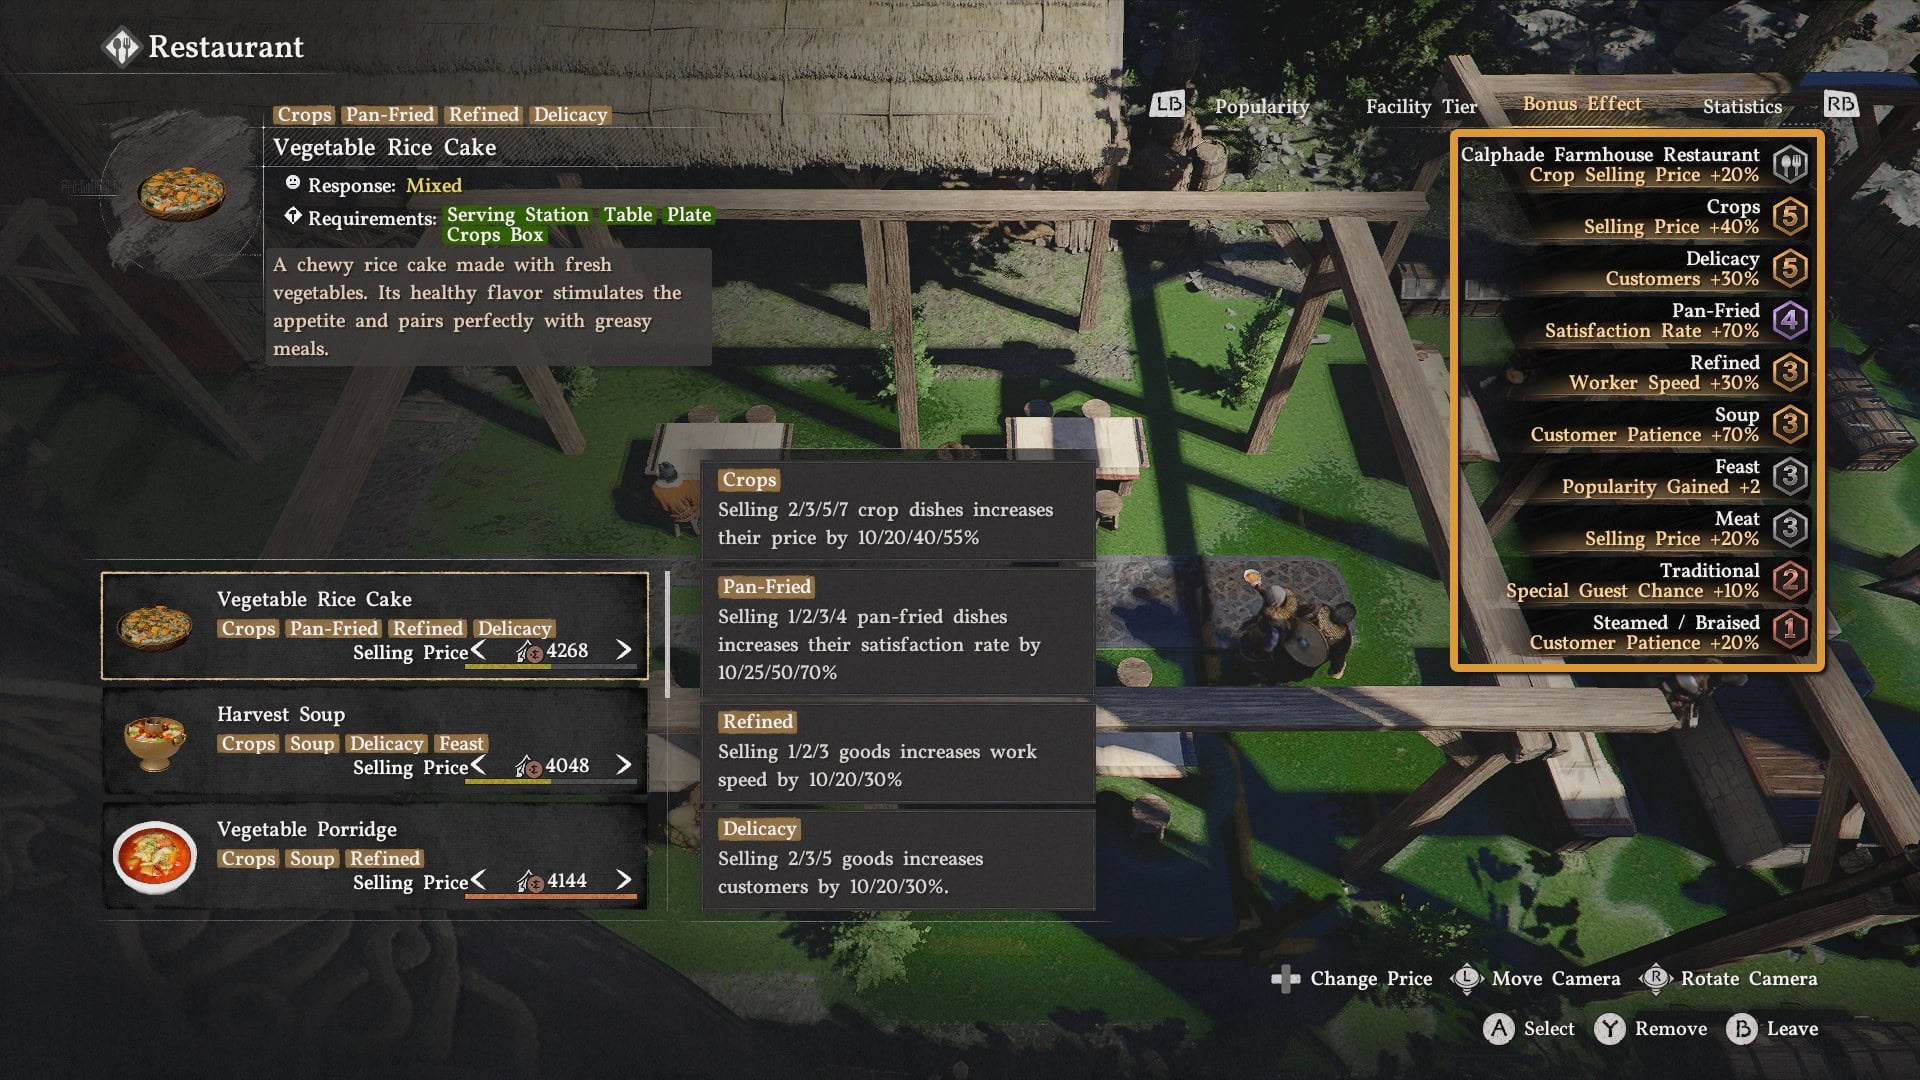
If you’re managing a Restaurant with a Crops Unique Bonus Effect, these are the dishes I recommend selling along with the Response tier to set for each one:
- Vegetable Rice Cake – Mixed
- Harvest Soup – Mixed
- Vegetable Porridge – Unsure
- Longhorn Soup – Mixed
- Pan-Fried Marinated Meat – Unsure
- Braised Ribs – Mixed
- Mixed Harvest Bowl – Mixed
- Pan-Fried Rice Cakes – Unsure
This setup gives you:
- Unique Bonus Effect: Crop Selling Price +20%
- Level 3 Crops Bonus Effect: Selling Price +40%
- Max Level Delicacy Bonus Effect: Customers +30%
- Max Level Refined Bonus Effect: Worker Speed +30%
- Max Level Pan-Fried Bonus Effect: Satisfaction Rate +70%
- Max Level Soup Bonus Effect: Customer Patience +70%
While this setup doesn’t reach Max Level Crops Bonus Effect, it makes up for it with Max Levels for Delicacy and Refined. Additionally you’ll get some bonuses to Selling Price and Special Guest Chance from other Bonus Effects that this set triggers.
List of Rewards for Each Restaurant you can Lease
All Restaurants
Popularity Lv. 2: For the Chef by the Fire
Popularity Lv. 4: Popular Restaurants’ Secret
Popularity Lv. 5: Master’s Secret to Managing Ingredients
Calphade Farm Restaurant
Popularity Lv. 3: The Art of Plastering, Cook’s Leather Gloves
Popularity Lv. 4: Blueprint: Round Wide Mist-woven Carpet
Dewhaven Logging Camp Restaurant
Popularity Lv. 3: Child Sleeping Beneath the Clouds, Private: Expert Cook’s Kitchen Knife
Popularity Lv. 4: Gilded Vase
Golden Gallop Racecourse Restaurant
Popularity Lv. 3: A Welcoming Front Door, Private: Expert Cook’s Frying Pan
Popularity Lv. 4: Blueprint: Round Wide Moonlit Garden Carpet
Pailune Restaurant
Popularity Lv. 3: Moonlit Silver Blossoms, Private: Expert Cook’s Jar Lid
Popularity Lv. 4: A Window Open to Solumen
Tashkalp Restaurant
Popularity Lv. 3: Building a Maintenance-Free Chimney, Private: Expert Cook’s Frying Pan Lid
Popularity Lv. 4: Blueprint: Wide Dawndrop Garden Carpet
Tinkerton Restaurant
Popularity Lv. 3: Fixing Creaky Stairs, Private: Expert Cook’s Ladle
Popularity Lv. 4: Blueprint: Mist-woven Carpet
Vellua Restaurant
Popularity Lv. 3: A Window Open to Solumen, Cook’s Cloth Hat
Popularity Lv. 4: Blueprint: Octopus-legged Candlestick
Frequently Asked Questions
Restaurants differ only in size, shape and rewards. Choose based on location or style, as long as the space fits your layout plans. Do all of them for the rewards.
Place Serving Stations between the tables and the kitchen, so dishes travel the shortest route. Put Cooking Stations sideways, forming an L shape with the Serving Stations, and keep Ingredient Boxes at the back of the kitchen.
No. Restaurant customers go straight to a table and sit down, so they don’t block the entrance.
At least four. Leave enough room between them so customers can move around without getting in your workers’ way.
It may be raining. Customers may leave or not sit down when it rains, so place all your tables under a roof.
Usually because customers or workers are getting stuck. Check your layout and make sure everyone has room to move.
Lower your selling prices until dishes get a Positive Response, and keep all your selling slots filled. Hire more workers at Popularity levels 2 and 4. The best Bonus Effects to target are Pan-Fried, Grilled, Refined, Delicacy, Feast and Traditional.
Every Restaurant has the task “Welcome a special guest once” at Popularity level 4. Sell Traditional dishes, since their Bonus Effect raises the chance of a special guest visit by up to 30%.
Once you reach Popularity level 5, raise prices to the Mixed or Unsure Response tier. Then sell dishes that match your Restaurant’s Unique Bonus Effect, which is shown at the top of the Bonus Effect list.
Every Restaurant gives For the Chef by the Fire at Popularity level 2, Popular Restaurants’ Secret at level 4, and Master’s Secret to Managing Ingredients at level 5.